Generated a disp map, but when i scaled and positioned my model in Maya, it distorts majorly. what can be the problema nd how can i fix this?
Please get back to me soon!
thanks guys!
Generated a disp map, but when i scaled and positioned my model in Maya, it distorts majorly. what can be the problema nd how can i fix this?
Please get back to me soon!
thanks guys!
could you please post a picture??
and did you try the maps before doing anything to your model?
and: did you flip the map?
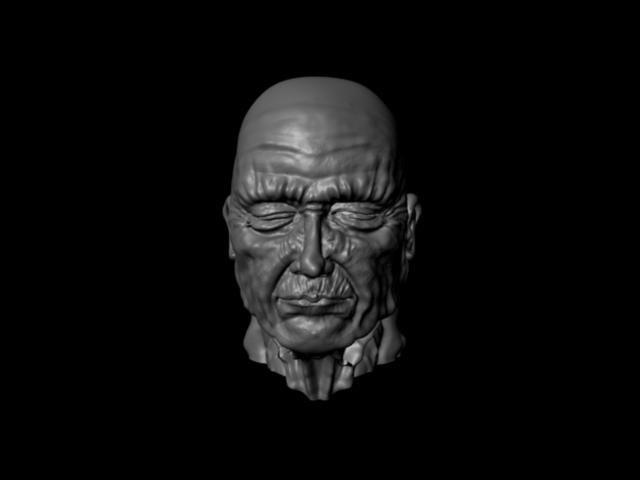
 It works fine when i have it on the model, but the head needs to be scaled and positioned to fit the scene and when i do that, this happends =[
hmmm,
first guess would be that the displacement values are just too high, since you scale it down, if I remember right, maya is a littel bitchy with that.
Thats not doing it, its still distorted.
Put the map on a displacement map
Use mental ray.
Go to Window>Rendering editors> Mental Ray> Aproximation Editor.
Here choose in Subdividing section the mental ray approx. Choose Spatial and Min 3 and max 6, lengh 0.1-0.001
Go to the properties of the displacement texture a do the Alpha bias = Alpha offset * -0.5
I believe to remember this was of this way, but i’m not sure about the last formula.
Search in the forum or try searching about “take me to your leader” in google.
I suspect that you did not restore your base mesh before you created the displacement map. This is the most common cause of bloat. It’s caused by the fact that when you return to level 1 of your model, your model will be smaller than what it started at. (Multi-resolution subdivision editing causes the contractions that came from subdivision smoothing to be translated back to level 1 when you return to that level.) As a result, when you calculate the map to apply to your original model, the map’s values are all exaggerated.
Here are the correct steps:
if you scale model, it is needed to increase Alpha Gain your dismap.