ZBrushCentral

Did You Know That (ZBrush 3.5)

Ochard

It is possible to that. Just install 3.12 on your work computer and use the same serial number that was given to you. If you don’t have the package file you will have to create a support ticket on support.pixologic.com to ask for another download.

When working with multiple subtools,
pressing alt+click over some inactive tool switchs active
tool to the clicked one :wink:

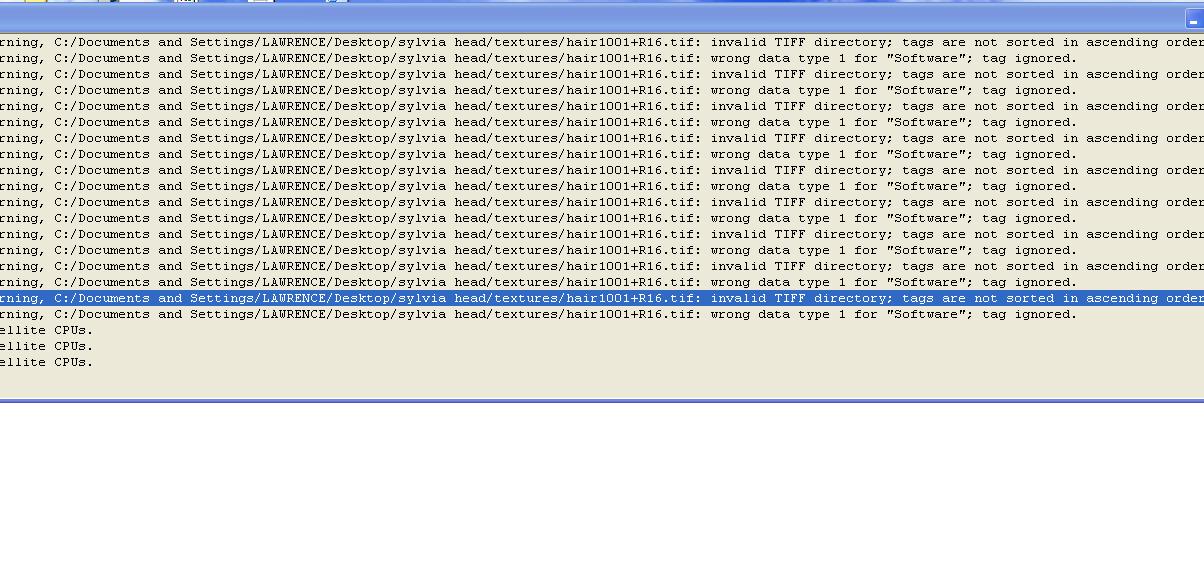
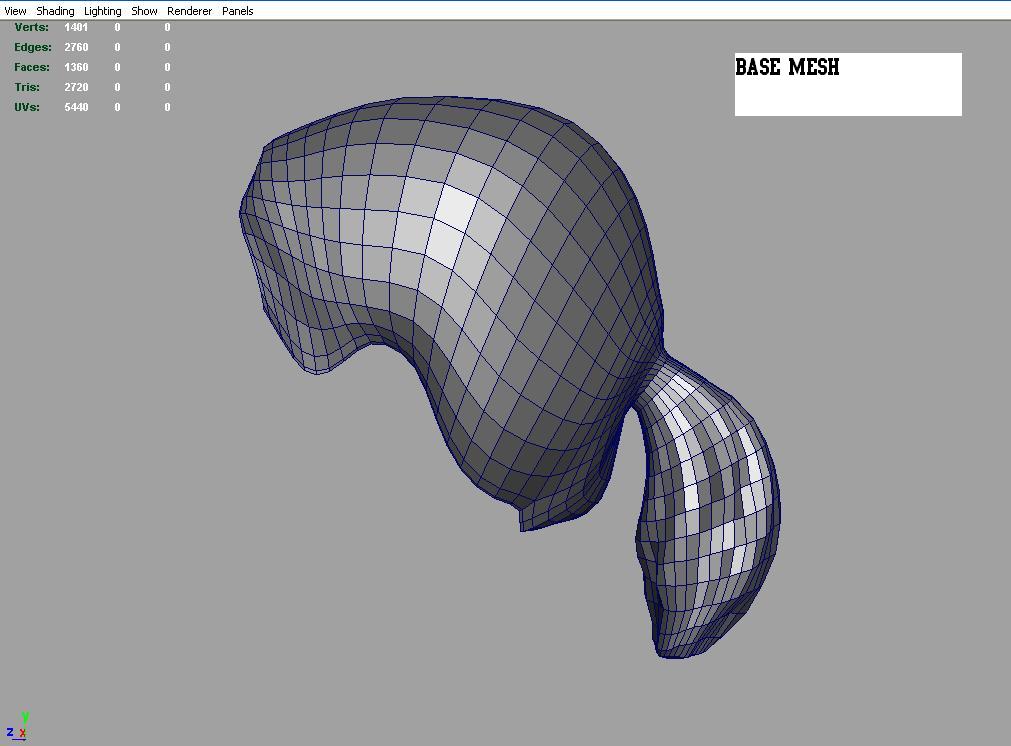
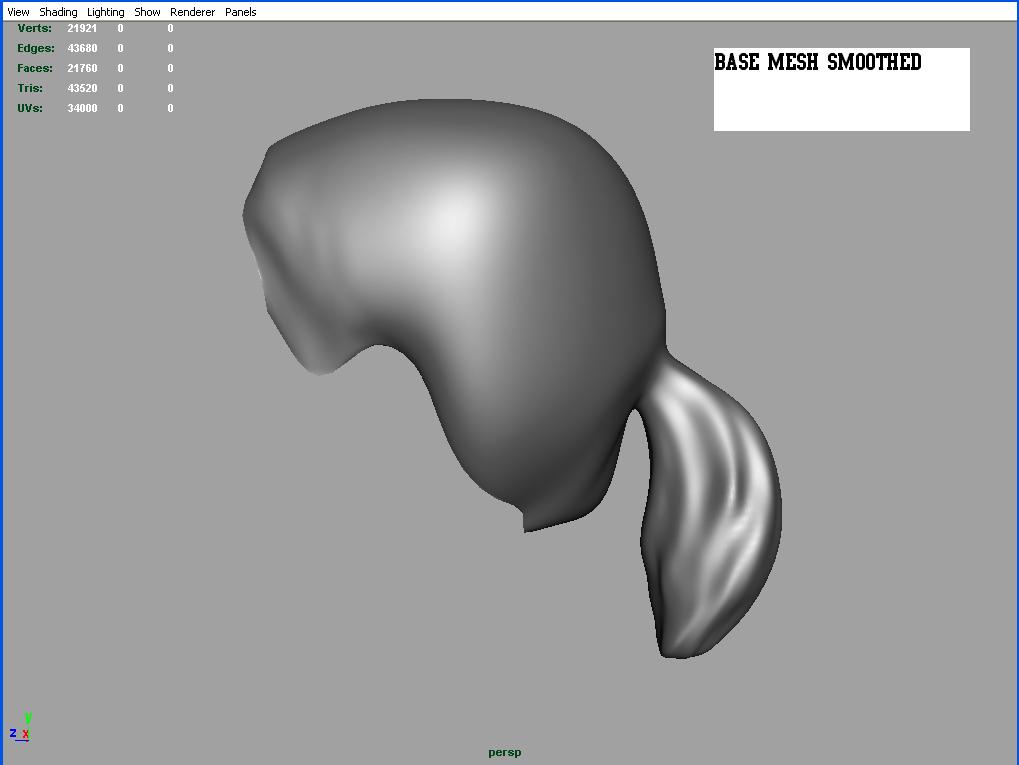
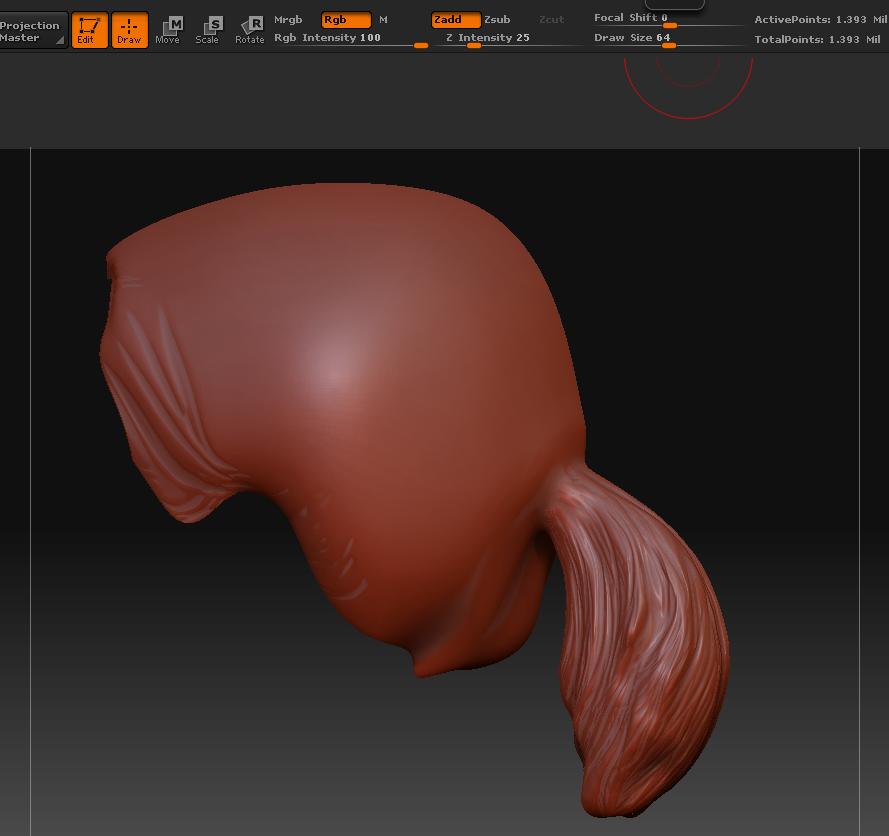
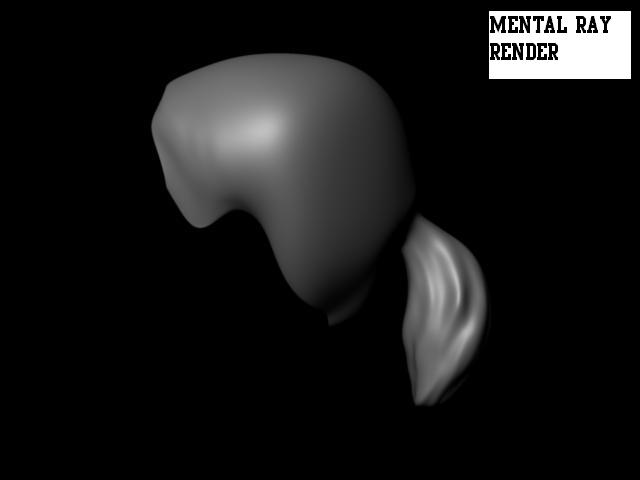
Thanks for the great Video tutorials.I’m still having problems with displacement in Mental Ray even though I followed the cliff tutorial religiously.Even using Maya Software I don’t seem to be getting any displacement happening.The renders look just the same as putting a smooth on the mesh.Any idea what might be happening.I have attached pictures of my attempts and the message from Maya’s output window.Though this is a tiff file I did try a converted .map file . I got a bloated dislplacement and then after adjusting Alpha gain I got back to where I started-i.e no displacement.

Attachments

output window.JPG

base mesh.JPG

base mesh smoothed.JPG

hair from zbrush.JPG

mental ray render.jpg

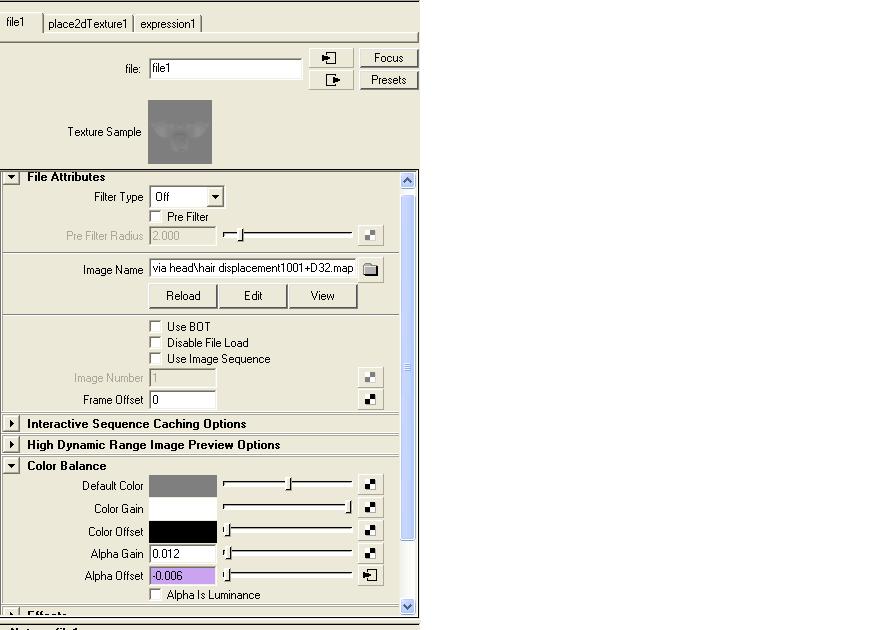
can you post a screen shot of your displacement map settings? Particularly the color balance settings. I might be able to help as I have messed with those a bunch in an effort to get good settings.

do you have GoZ yet? I think that is available in the latest version of Zbrush that feature has made it really easy to move between ZB and Maya with good displacement settings.

I was just watching the custom menu video (post#142) and for some reason I cant get it to work in 3.5.

When I ctrl click on my new menu to set the hotkey it brings up a prompt saying “press any key comb to assign a hotkey”, but when I right click to assign that menu to the RMB it cancels the operation.

Anyone had any luck with replacing the right click menu in 3.5? or even better yet can I edit the default menu?

Thanks for the reply ilmostrog.Here is a screenshot of my displacement map settings.

No I haven’t got Go z yet.I think it’s only available for macs at the moment and I have a PC.Should be good though when the windows version comes out.I’m hoping that a lot of these displacement issues will then dissappear!

Attachments

colour balance settings.JPG

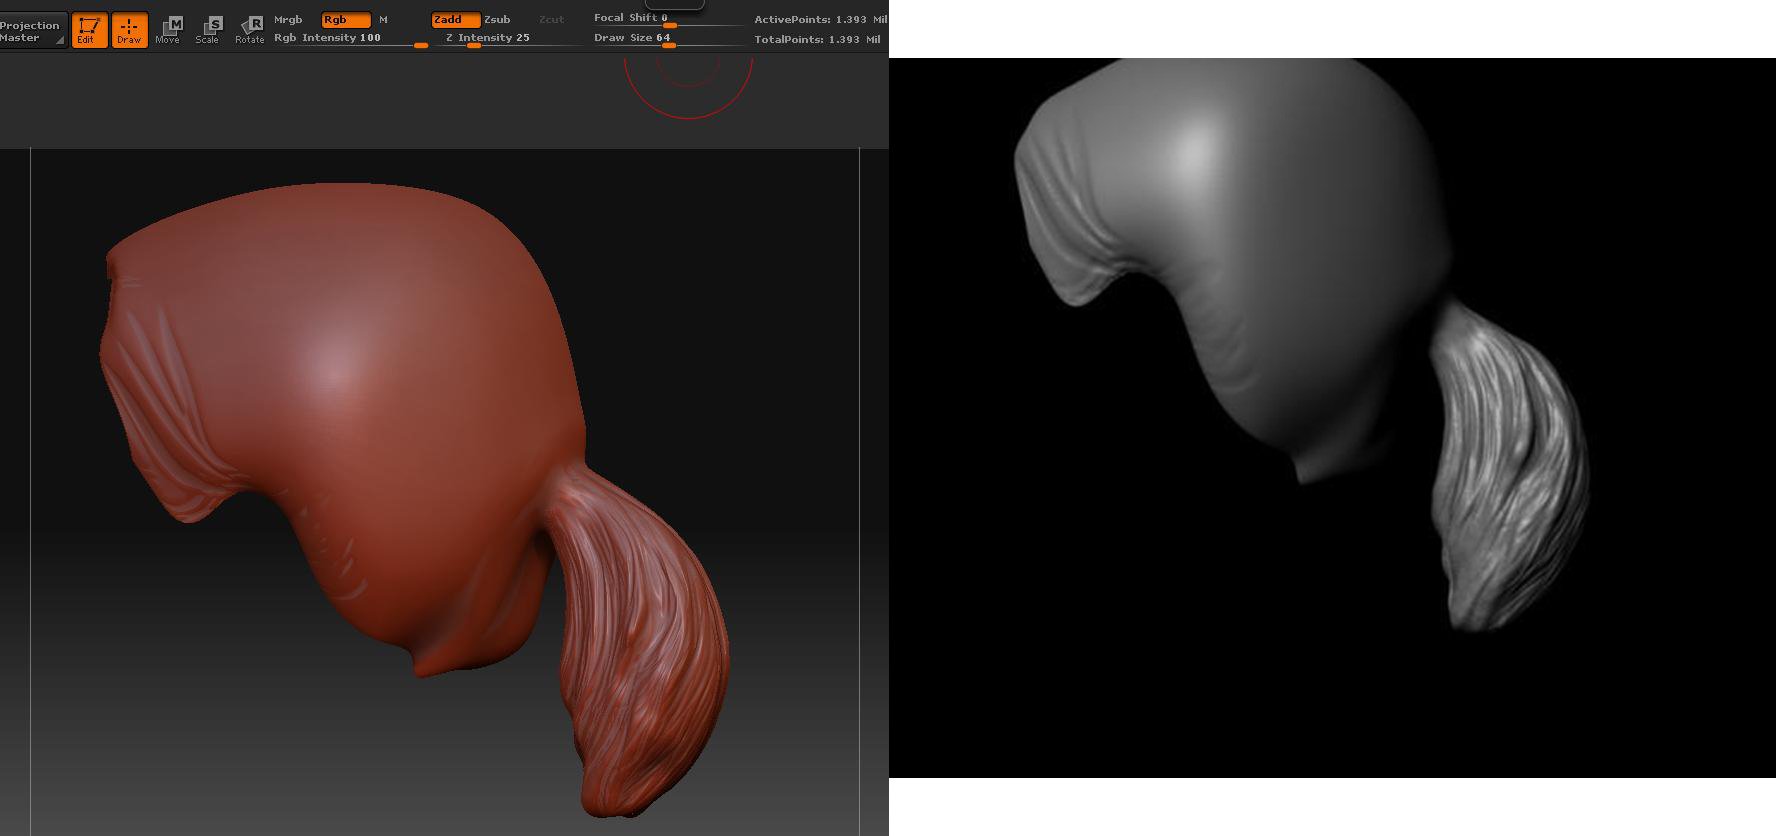
At last I seem to have cracked it with Mental Ray.I had not taken account of the tweeks needed for Maya 2008.After reading Scott Spencers post and using the script here is what I got.

Attachments

successful renders.jpg

apologies for not responding sooner, I didn’t see the image file posted but it does look like you have it solved. What did you end up doing? I am curious to know as I haven’t had much luck with displacement maps in maya other than with GoZ

Paul, these videos have been very helpful. I have just gotten around to watching them, but they’ve become immediately useful. :+1: :sunglasses: :+1:

No need to apologise ilmostrog.The problem I was having was bloating when I rendered in Mental ray with maya 2008.The solution was to download the script from Scott Spencers post.This fixed the bloating and the seams.Here is the link to the tutorial I followed if your interested.http://www.zbrushcentral.com/zbc/showthread.php?p=429433#post429433

Hello all!!!

I would like to make a question about zspheres.
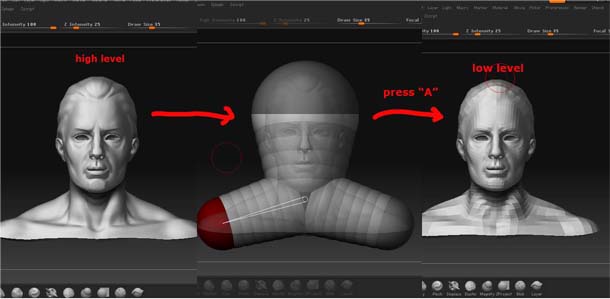
Once a time i have loaded a zsphere and put the spheres exactly on the model. and wen i pressed the shortcut “a”, the zsphere appeared whith the format of the model, but with the level 1, as a retopology.
I do not know how it happened, and i cant not find anywere that explains something like this
I dont know if i was clear.
Thanks for your attention!

would be great if the zbrush had the autosave feature for projects!
:wink:

Hi Hugo ap,
My understanding is that pressing the shortcut ‘‘a’’ gives you a preview of the mesh from the z-spheres you have created.If you want to see your Z-spheres again press a and they re-appear.I hope that I understood your question and that helps.

hi hhal9000!
That is the question, in this case (when I put the zspheres over the object)instead of appearing the preview mesh, she automatically became the object that i was modeling.
That was incredible, but I don´t know how it happening.

Thanks!

Hugo

Can you put some images up please. I am not sure of the issue that you speak of.

Paul

Hello Gabo!

It´s something like this:

Attachments

level.jpg

Hugo

Can you give me the exact steps that you are doing? Are the ZSpheres a subtool? This image looks like you have the zspheres as a subtool with transparency on. What version are you using?

Paul

Hello Community

In this video I will walk through a new feature found in ZBrush3.5R3. The new Visibility capability to grow and shrink your selection inside ZBrush will most definitely speed your workflow up . The new sub-palette is found in the Tool Palette at Tool>Visibility.

With this new feature it is extremely easy to split up a tool into multiple subtools. In the video I will demo how to take a mesh that has several mesh shells with one polygroup and convert that mesh into multiple subtools by converting the multiple shells into multiple polygroups so that I may GroupSplit them into Subtools.

In the video you will also see how easy it is to select parts of a mesh now with a few keys strokes.

This is the YouTube Video:

//youtu.be/wt-Rimg_cDM

Here is the Veoh video:

[veoh]v19753272qsHMyhQ9[/veoh]

This will most definitely help your workflow. Now that this feature is inside ZBrush I find myself working faster then ever before.

Paul

DidYouKnowThat.jpg

Hi. How can we save this video to our hard drive? Thanks! ~S.~

Didn’t know that. :wink: …Thanks Paul great tip!

awesome!, Thanks