I start of with a Dynamesh then sculpt it it and export the low mesh into 3Dmax and unwrap it and then import it into zbrush to decimate and when i get to about 20k polys the mesh starts to look funny and wont let me go any lower , this problem just started happening and i’m not sure what could be causing it
Not all your pictures are showing up yet.
not even the ones i attached?
Maybe you deacimate it to high, so it has too low poly count to keep details?
How your oryginal mesh looked?
im not sure what you mean by i did it to high? you mean the mesh was to high? ive decimated meshes with higher poly counts than this.
i also included a jpeg of how the tpage looks after decimation
Attachments
I think they meant too high a decimation (meaning not enough faces in the end result). The way zbrush displays individual faces, the fewer of them you have, the more faceted the result is going to look.
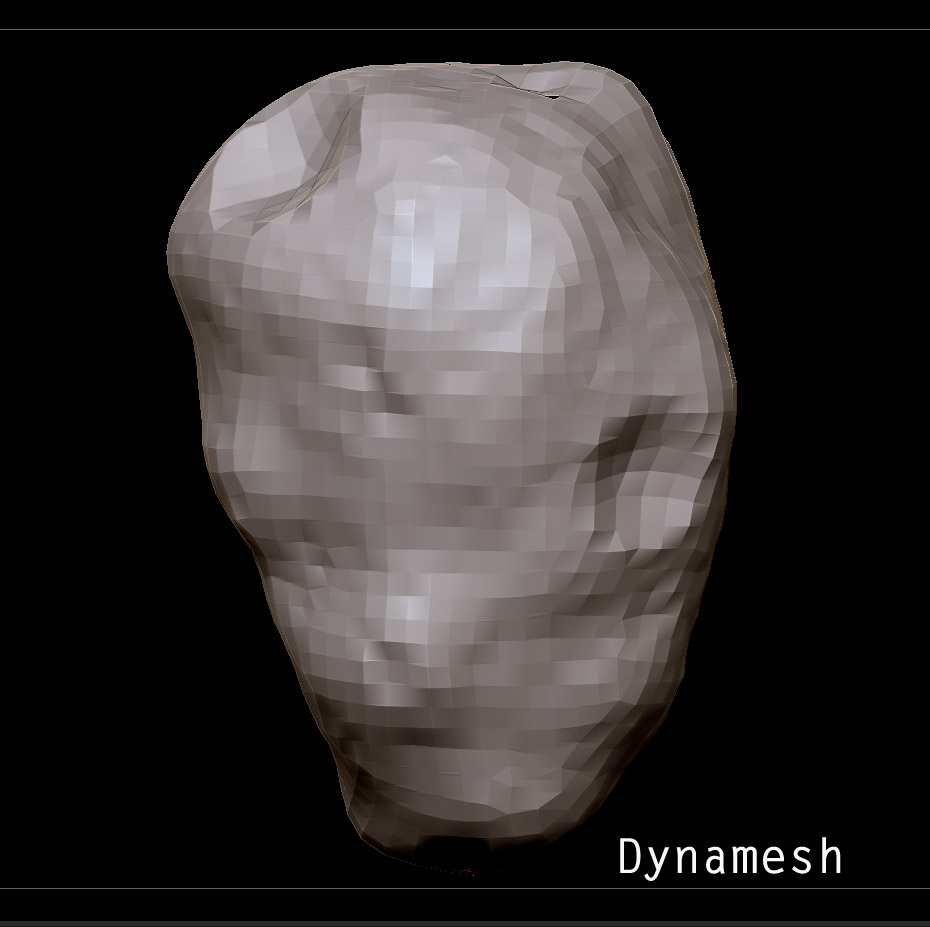
Perhaps Decimation Master is the wrong approach for what you’re trying to accomplish. It’s good for cutting down a high-res sculpt and preserving the details (which is nice for saving on memory when you’re done with a part of the mesh and don’t wish to make any changes on it, and for keeping the file size down when you export to other programs to bake maps there or to print), but I don’t think it’s good for creating low-poly meshes. Aside from the manual retopology option, you might get a better result just dynameshing or remeshing a clone with a low resolution. Throw some UVs on that (either with UV Master or GoZ), and you’ll have something that’s low poly, more optimized, and ready to have the detail from the original sculpt projected and baked.
It looks like you might have some problems with the object intersecting itself. This can happen if you pull or push the object with different sculpting brushes. This may be causing some of the issues you’re seeing.
Another thing to ask is what’s your end goal for your model; animation, game, low end rendering, high end rendering, etc.?
Something as simple shaped as the rock you posted should be very easily and quickly retopologize into a low rez model and transfer the details from the high poly dynamesh. Dynamesh is great for quick shaping and modeling but it usually needs to be retopo-ed for transfer into other programs or usage.
@cyrid I was trying to get a good looking simi low mesh that has some of the big details like the craters . i did it with 4 other models and they came out fine and the decimation worked perfect and i used the same tools an brushes. i could do retopo but i think its faster just to decimate it.
@MentalFrog im using it for a game .
if there is a way to retopo fast and still have the dents of the craters that would be awesome
Yeah, I figured as much. The methods I suggested (Dynamesh and Remesh) should only take around 1-2 seconds to do, and should be quite a bit more optimized for real time rendering than what Decimation Master spits out. Even at a lower resolution it might still pick up some of the larger dents and craters, but the important part is just to capture it’s silhouette. The rest of the detail would be easily handled in the normal map and other textures.
Manually retopologizing it on the other hand might take around 5 minutes total, which should still be faster than trying to get an acceptable result from Decimation Master. IMO it’s great for prints and for getting a high-poly’s size down for baking in other programs, but I don’t think it is intended to create good meshes for games, and shouldn’t be used for this purpose.
Is there a tutorial for the dynamesh remesh or can you tell me how to do it ?
Dynamesh:
(I’d use a clone of the subtool for this)
- Lower Tool: Geometry: Resolution*
- Turn on Tool: Geometry: Project
- Use Tool: Geometry: Dynamesh
*The resolution can produce different results based on the scale of the model. If the lowest resolution gives a very dense result, then the mesh is quite large in its size. If that’s the case then use the Size Deform (or the Unify button) to shrink it down.
Remesh:
- Lower Tool: Subtool: Res
- Tool: Subtool: ReMesh All
This creates a new subtool, select it and click - Tool: Subtool: Project All
Using either of these you should be able to get a result that nicely captures the silhouette with under 1-2k points / 1-3k triangles.
okay I did it both ways and I don’t think I did it right but I followed your instructions
the dymesh is all most 2k active points and the remesh is about the same but there mush less detail
also when i tried to do the dynamesh it just looks like i lowered the geometry down to level one but with the layers turned on/bake
Attachments
The dynamesh is looking good enough to me, the Remesh probably just needs to have the distance value turned higher when using Project All. Depending on the use of these in the game, you could probably even go lower (just scale the mesh down if this is the result of the lowest resolution).
I’m happy with the results also and I would use that mesh BUT now i’m having a problem with the Occlusion map 
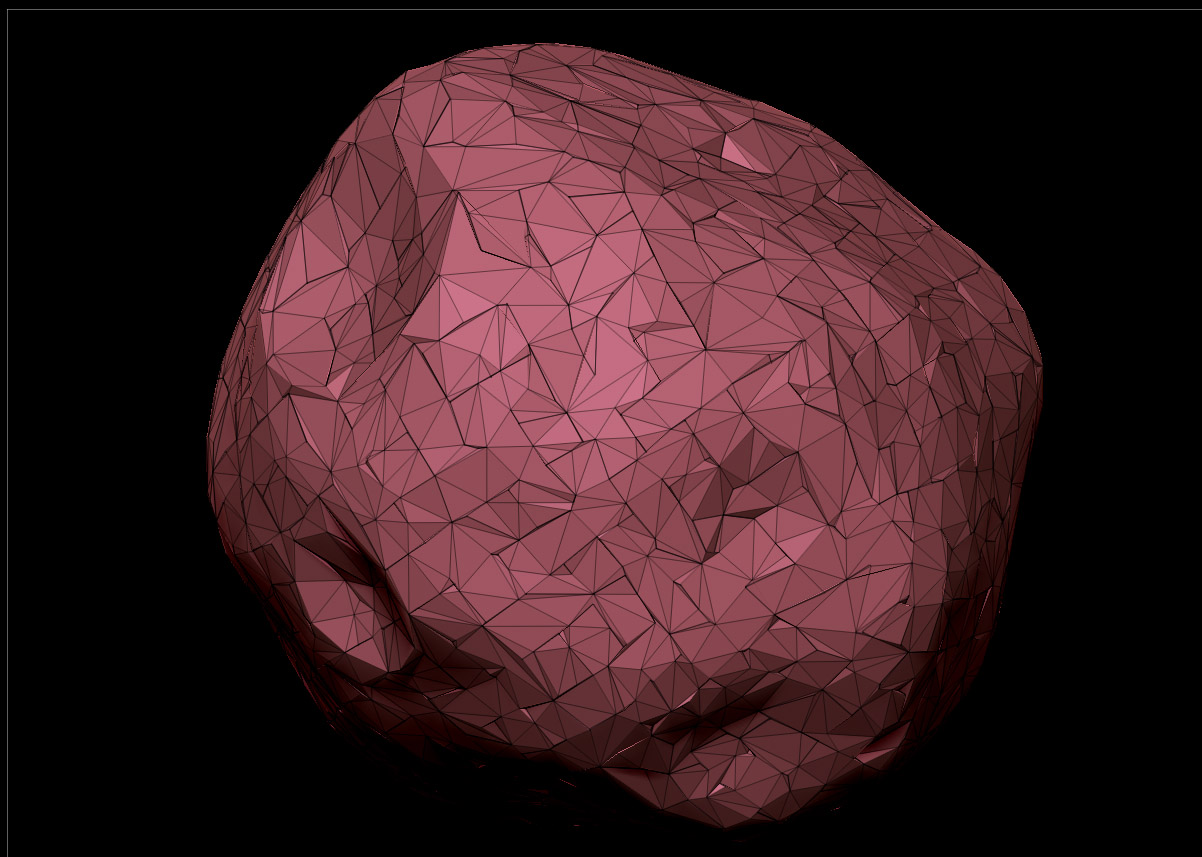
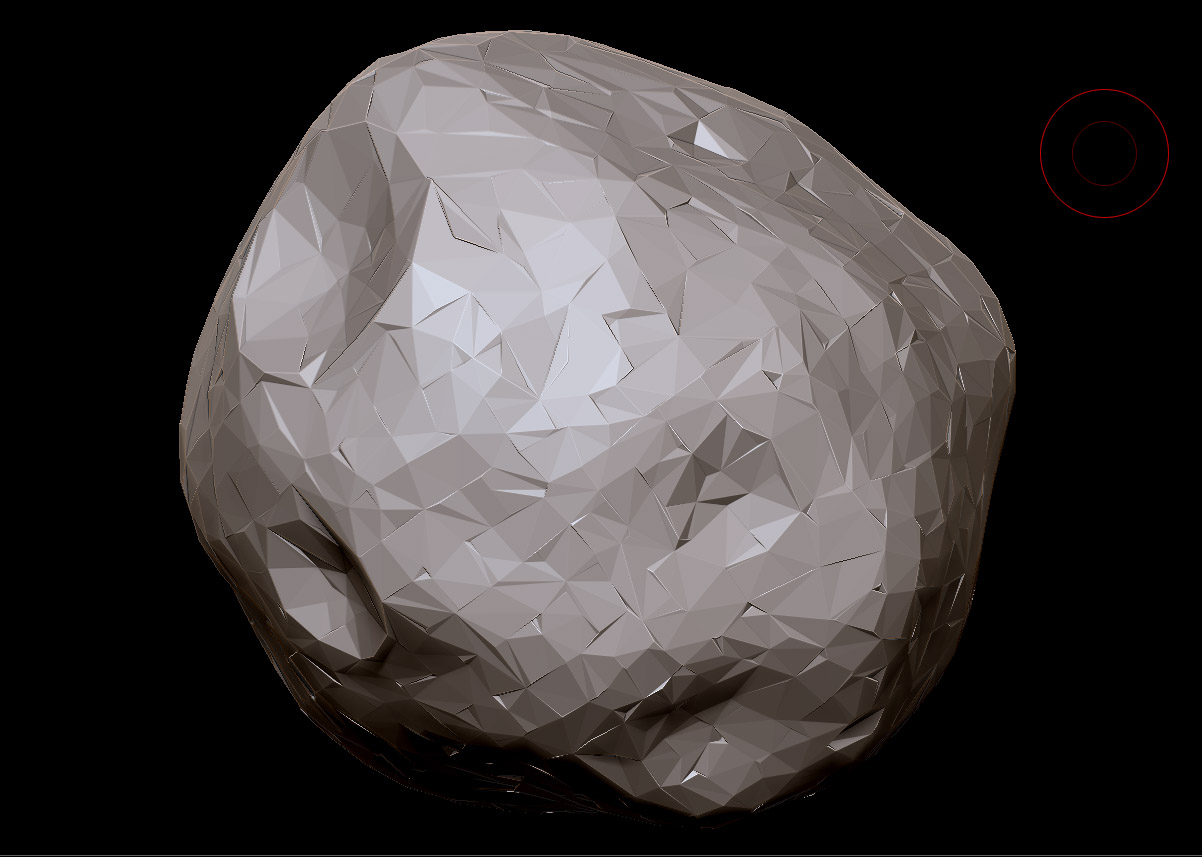
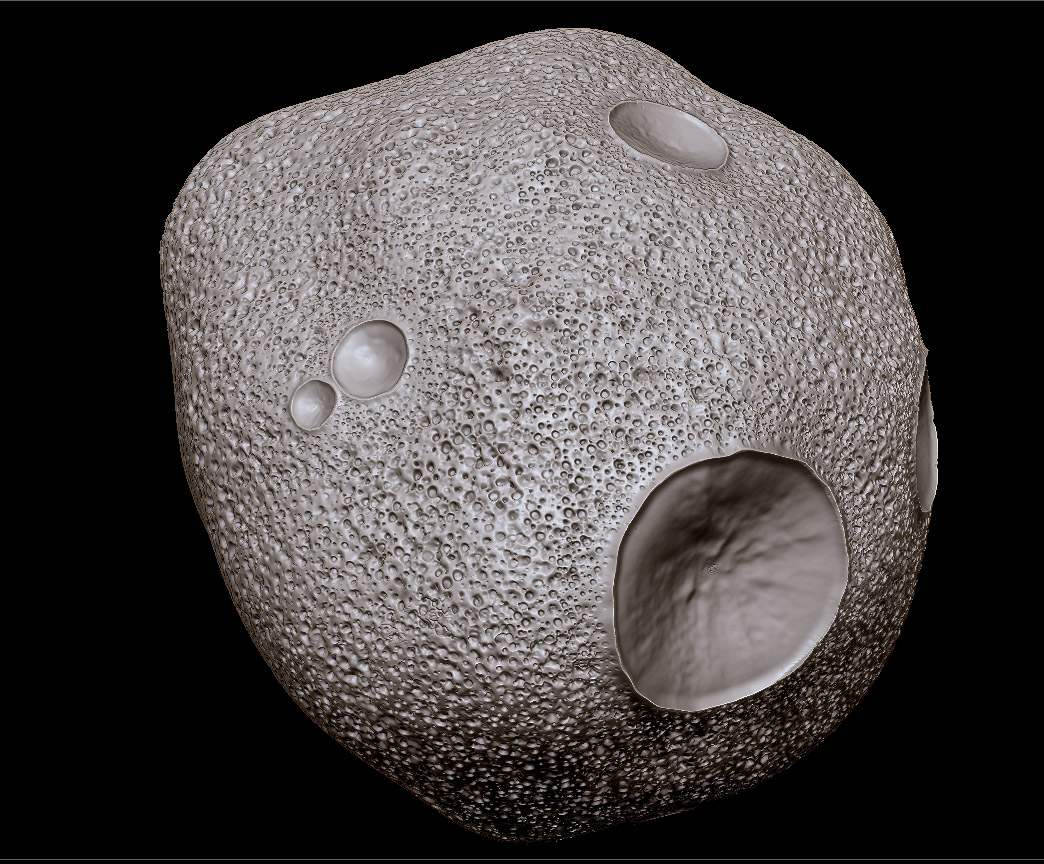
im starting to think i messed up the mesh after starting it with dyamesh then exporting it into 3Dmax and scaling it up and unwraping it and importing it in Zbrush and sculpting.
I attached a pic of the occlusion map i rendered in xnormal