Thank you very much! I am only going to do this part for the shot. I considered doing the whole body, but I just wanted to do a test for organic sculpting and texturing to see if I could do it. I did add some fibermesh hairs around the mouth area, but they are pretty faint.
Cool nymph. There’s a crazy amount of dragonflies in my area at the moment, so it feels appropriate.
I’m also looking forward to seeing more of your Gundam pieces.
Have you ever written up anything about the process of creating those three 4R7 Beta images you posted last page? I’d love to learn a bit more about how you created them, especially all of the wiring/cabling and how you personally utilized zmodeler and arraymesh.
Cheers!
Hi cdizzle. Thank you! I’m sorry for taking a little while to get back to you. I don’t have anything out describing how I used Zmodeler and ArrayMesh, but if you watch Joseph Drust’s Webinars on Zmodeler and ArrayMesh he has and will cover everything I know.
http://www.zbrushcentral.com/showthread.php?199267-WEBINAR-RECAP-The-Lowdown-on-ZModeler-(Recap-in-Post-1)
http://www.zbrushcentral.com/showthread.php?199701-ZBrush-WEBINAR-2-Array-Mesh
As for the cabling, it was definitely tricky. I made a tri parts brush with the different fasteners and clasps, but I couldn’t it to work exactly the way I wanted. What I ended up doing was making a very simplified version of the geometry that I wanted to draw out the cables on with CurveTubeSnap (trying to draw curves out on geometry that complex won’t allow you to draw out straight curves). Then I just manually drew out the cables. Once I got something I liked I duplicated it and moved the cables around to get the complexity I wanted. I then used NanoMesh to assign the clasps, etc. to certain faces on those curves. With Nanomesh you can move all of the clasps and position them at once. It worked pretty well, but it did require a bit of manual positioning on some of the elements. Sorry. I know that’s a lot of words with no images, so it could be hard to follow. Hope that helps somewhat.
Thanks for the reply, David. I have had similar challenges with trying to do cabling with curve brushes, so your tip about doing it in stages and using Nanomesh to apply connectors/fasteners/etc. is a good one. Thanks, again.
Here’s one of the pieces I used Zbrush the most on The Division. This is the lamp post you see in the Bryant Park area. Let me know if you have any questions!
Attachments
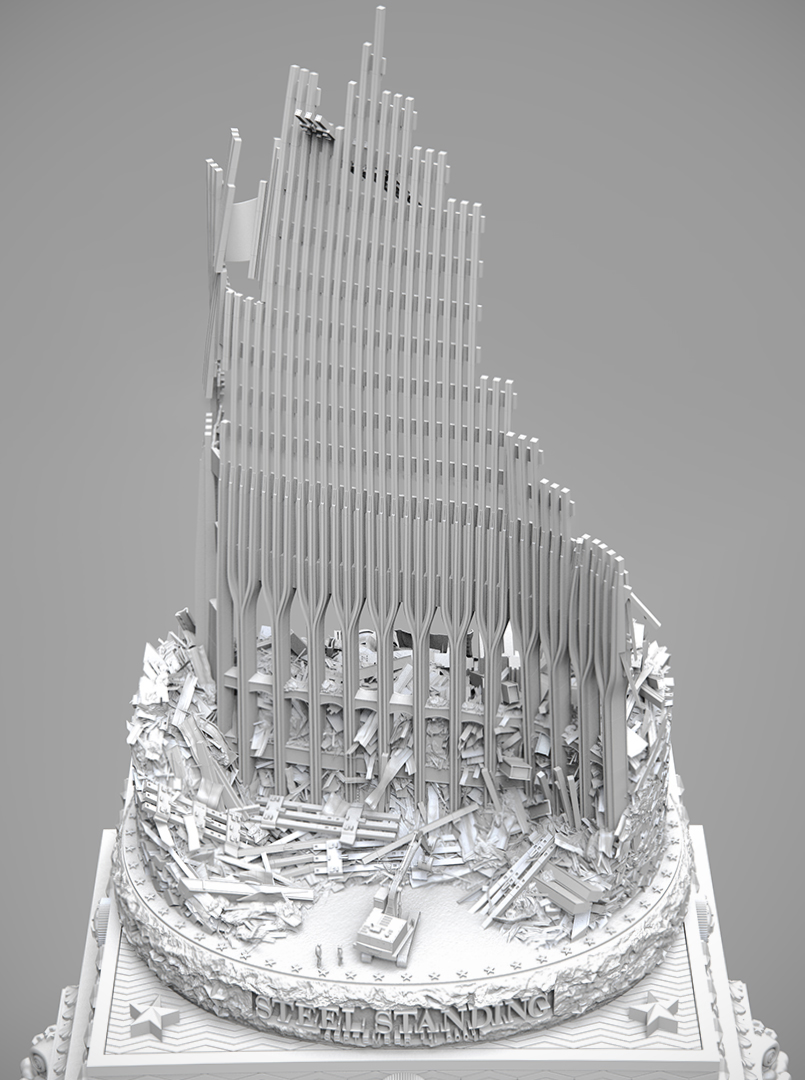
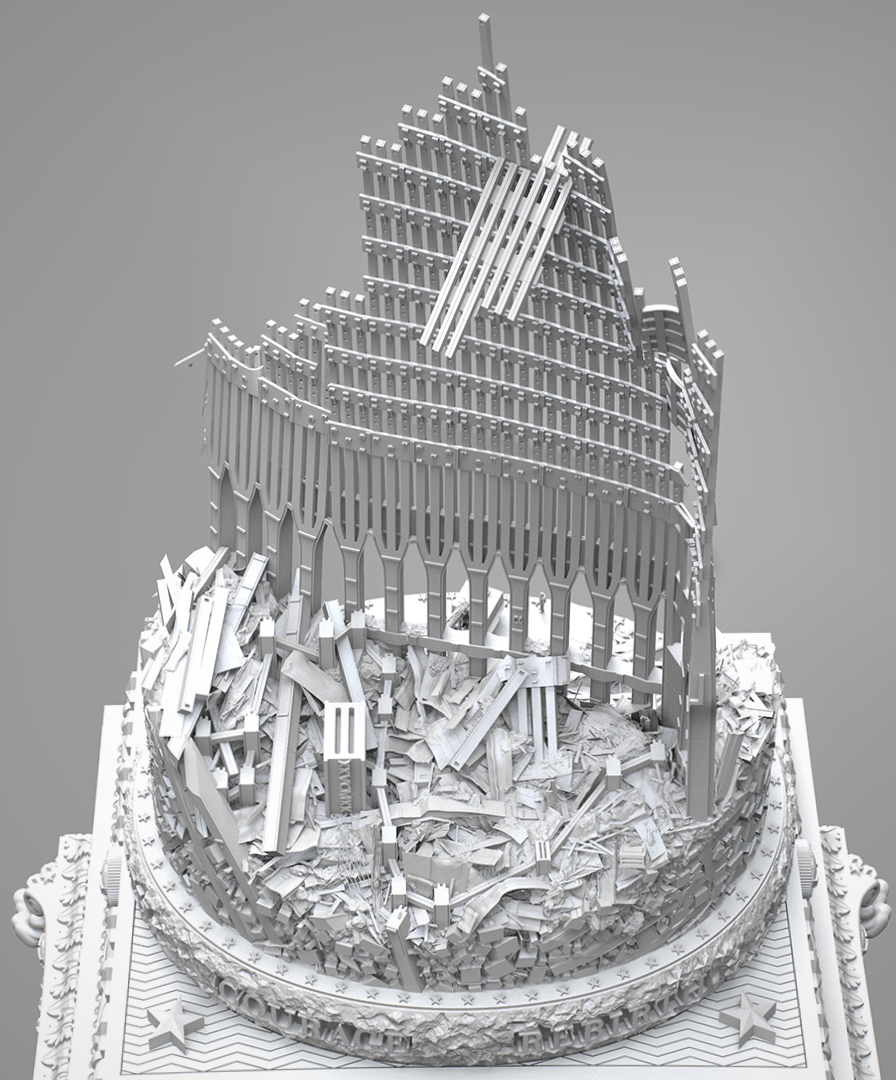
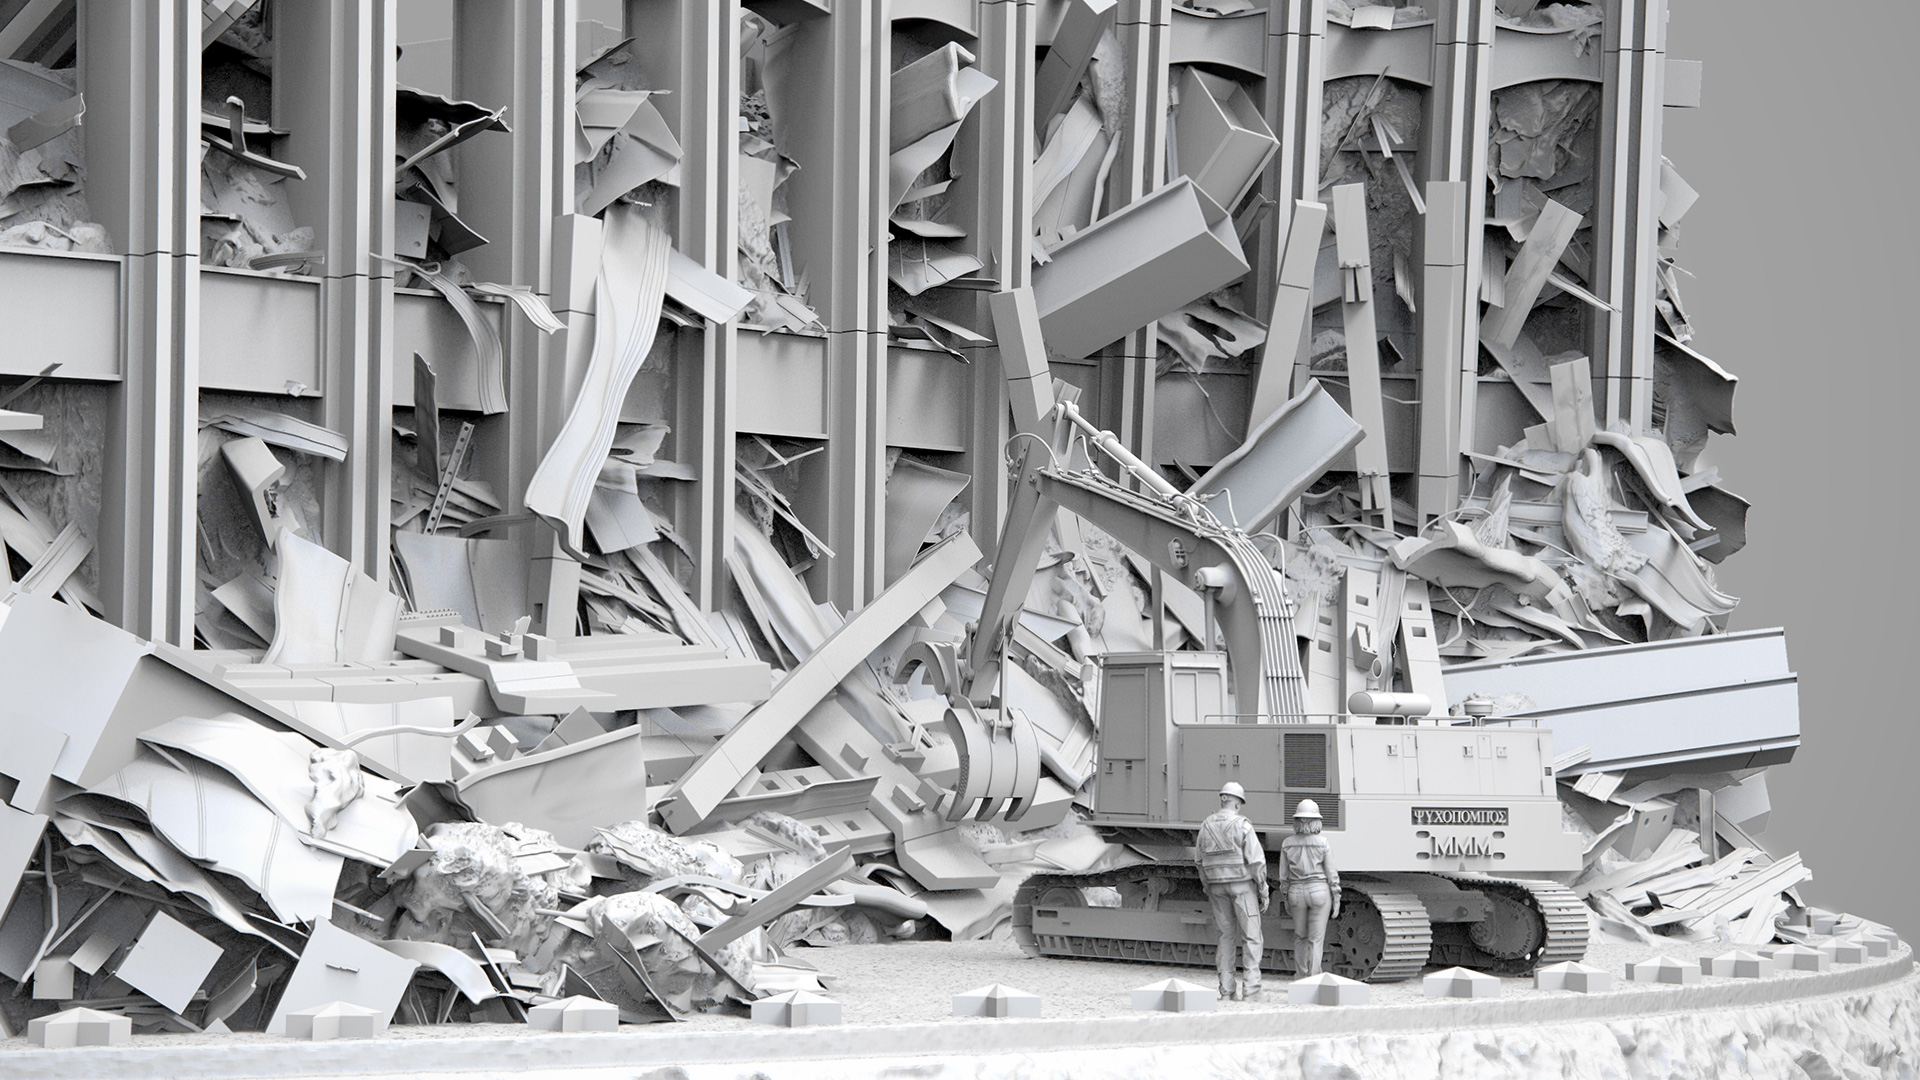
These are renders of a project I worked on with Steve Henricks, Joseph Drust, Robert Melville, and Anthony Whitaker. I was very happy to get to take part in this project, and I learned a ton in the process. Anthony is in charge of the project and designed the sculpture based on a photo he took as a first responder after 9/11. You can read more about the photo and his work here: http://theharlemtimes.com/culture/steel-standing-artist-talk
These models are going to be 3d printed and then cast in metal (I believe it will be steel, but I am not sure). There will be a 3 foot tall version that will be in The Pentagon where the planes hit and will serve as a memorial on that site. There are more talks to hopefully have a larger version somewhere in New York City.
Steve Henricks made the excavator and reworked some of the main structure as well as some other tweaks to various pieces. Joseph Drust made the two first responders (if that is the term). Robert Melville made the base and did the majority of the work on the main structure. I did all the work on the rubble, and I set up the renders.
As for my work, I did some intial modeling in Modo, and all of the rest was done in Zbrush using Nanomesh, Dynamesh, and Decimation Master. I also used Substance Designer to make some simple noise/dirt alphas to use as surface noise for the dirt base. The renders are out of Keyshot.


Attachments
David,
I have not written anything on Zbrush Central in years (though, have been a long-time lurker). I saw your works today and have to applaud you. This is one of the most inspirational pieces of CG art I’ve seen, that moved me, in quite some time. Thank you for sharing and congratulations on getting to work on such an amazing project!
Thank you very much, MisterE! I am glad to hear that, and I will pass this on to the other guys.
I think I am finally done with this one. I did most of the early concepting of this in Zbrush. I remade the pieces in Fusion 360, then I exported them out to Zbrush and built out the scene there. I exported this back out to Keyshot and then did final tweaks in Photoshop.
Attachments
I got intrigued by your latest upload and decided to have a look at your entire thread. All I can say is: congrats! Youcombine patience with high quality and every image radiates ‘this is exactly how it has to be’.
I am very impressed indeed!
Thank you very much, Erik! That is very kind of you to say.
So, maybe I wasn’t completely done with this one. I got some good feedback, and I made the wiring make a bit more sense, and did more work to separate the background from the foreground.
Attachments
Looks awesome Dave! Thanks for sharing =)
-Joseph
Thanks a lot, Joe!!
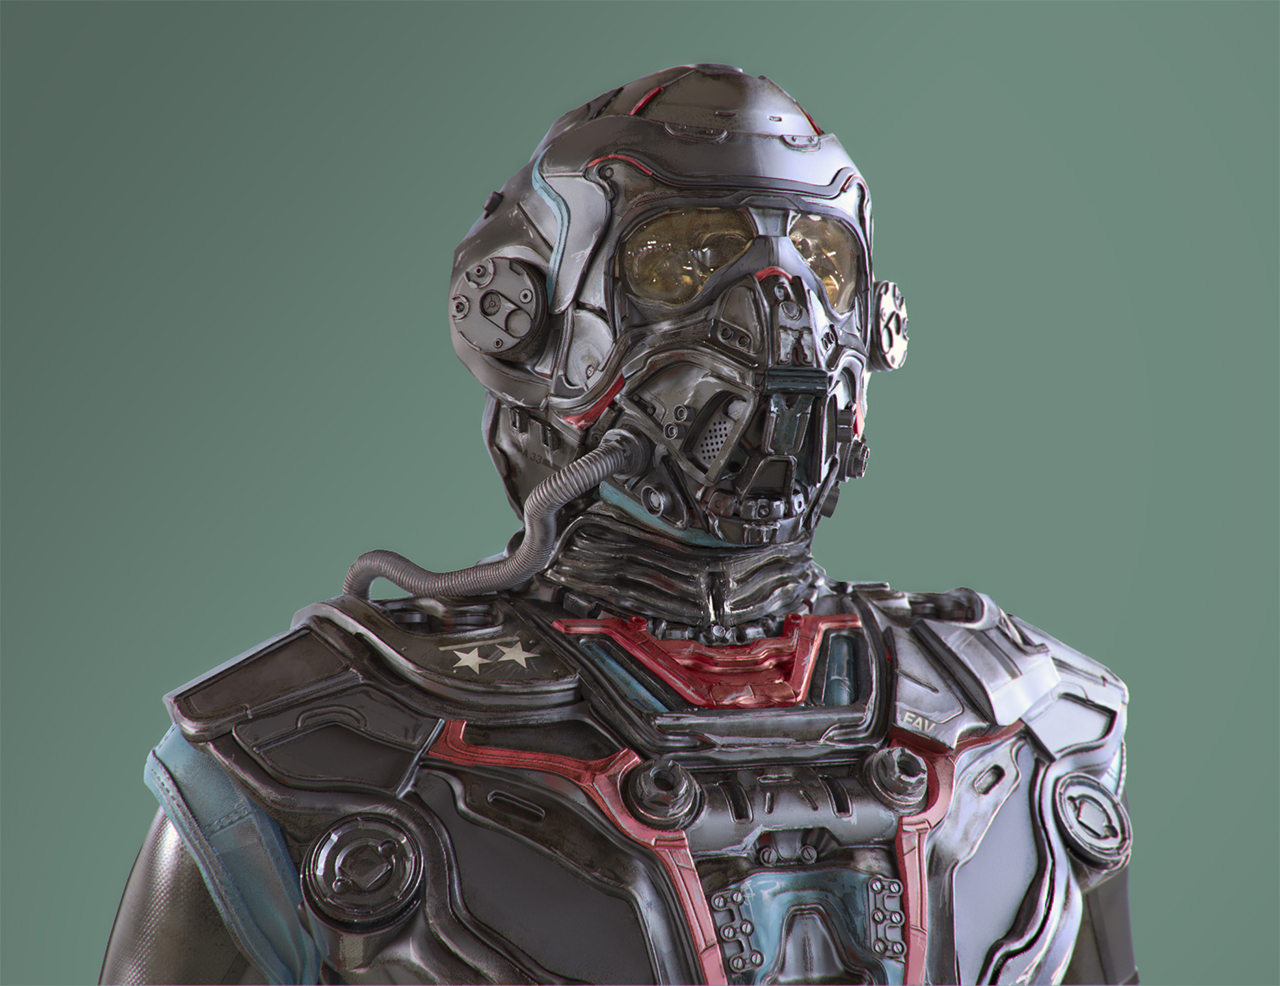
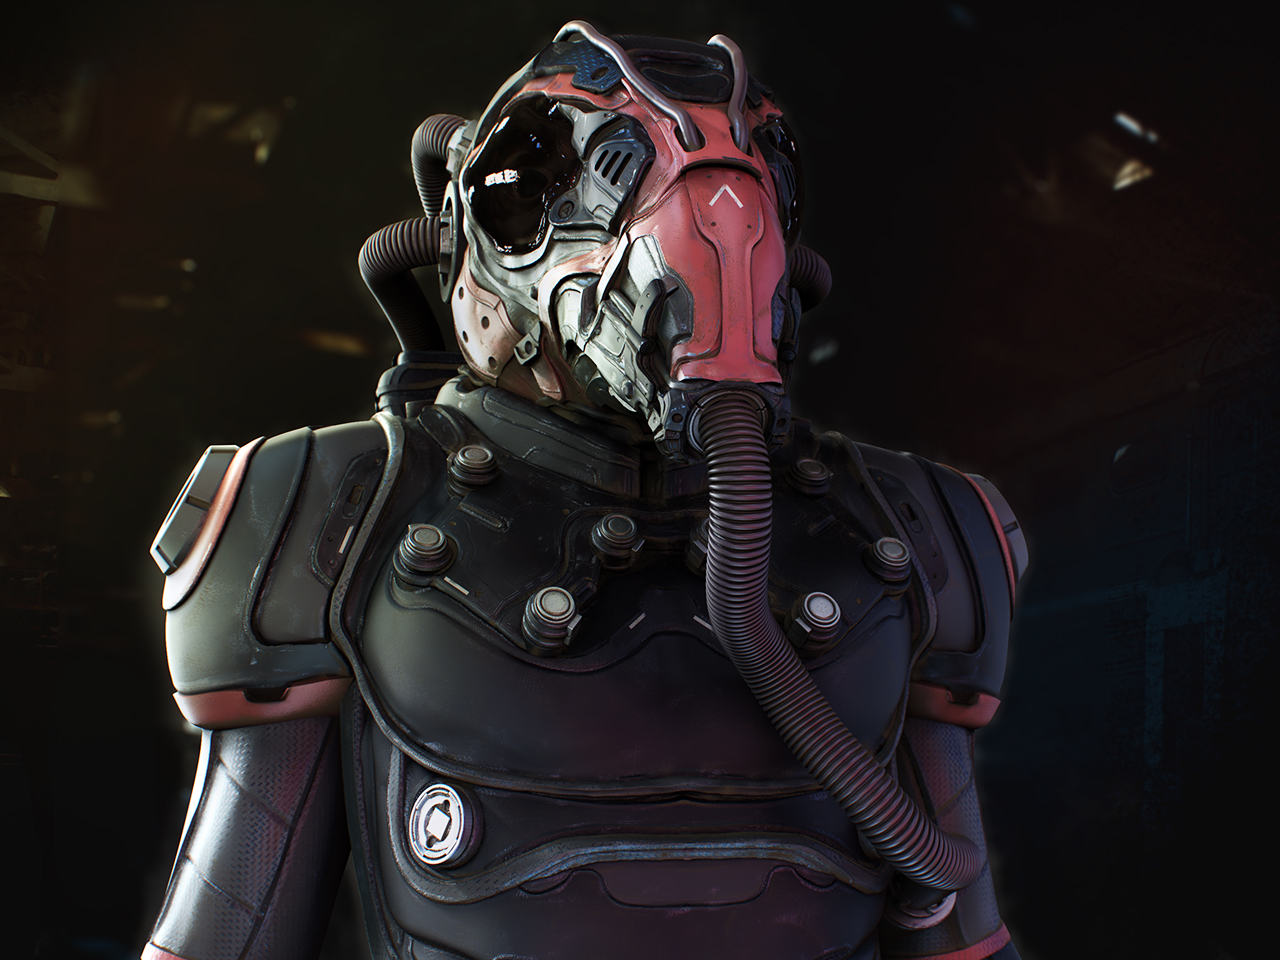
Jet fighter bust. I’m trying to learn some new things. It’s still pretty loose, but after watching Peter Konig’s talk at the Zbrush Summit, I decided to move on and focus on getting more ideas out. It’s about 90% Zbrush with some addons made in Fusion 360. It is rendered in Keyshot with post work in Photoshop.
Attachments
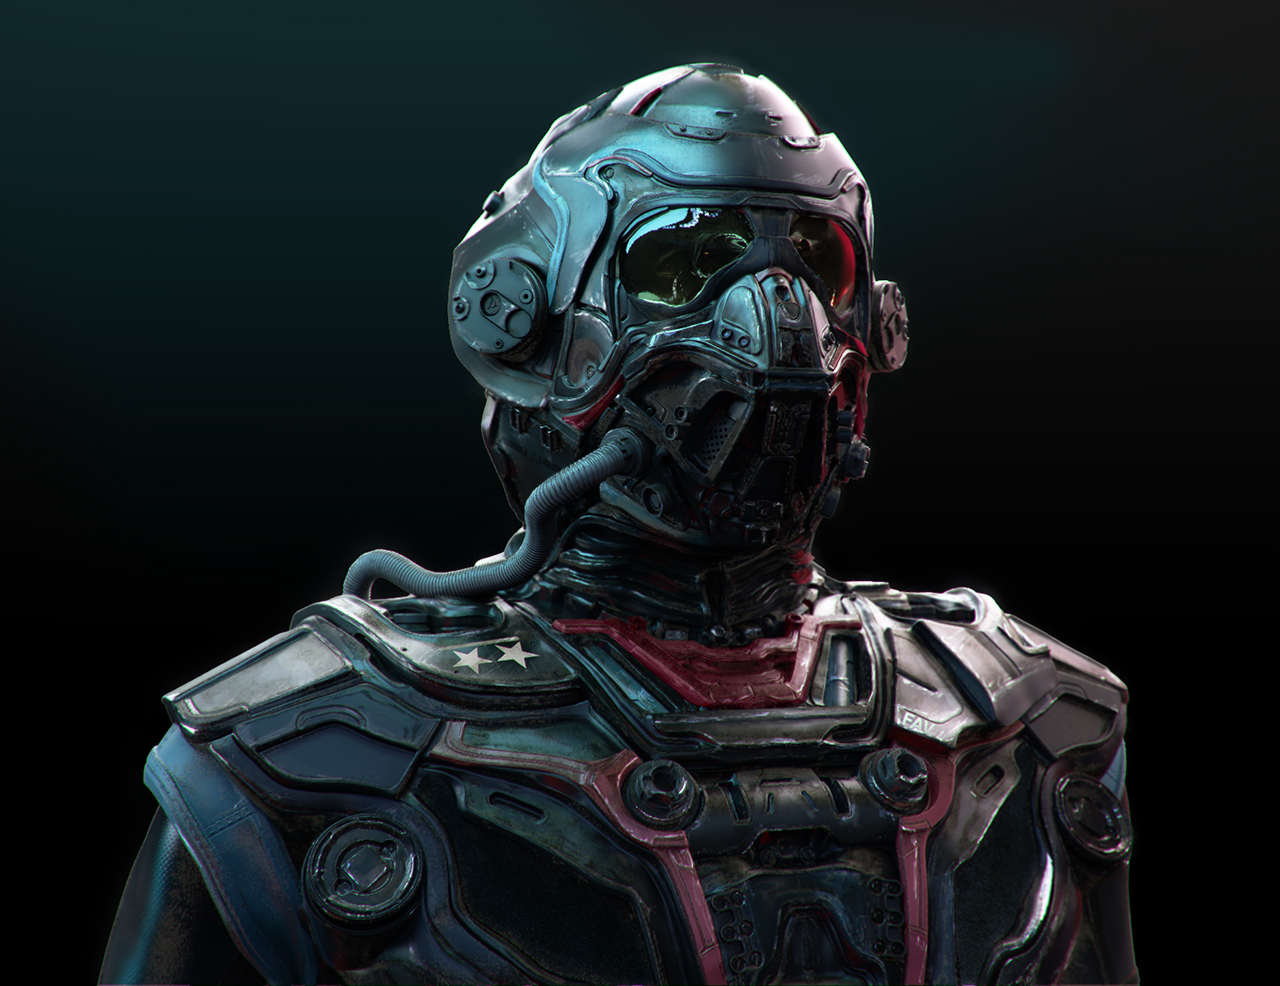
I made a more Dark Side version of this Jet Fighter Bust. In case you didn’t see the other one, it is mostly Zbrush with some addons from Fusion 360, rendered in KeyShot and post work in Photoshop.
High res here: https://www.artstation.com/artwork/3ZeKD
Attachments
Future Tapir Man. I’ve been working on something new. Still trying to be fairly quick with these, so it’s still a little loose. #zbrush#keyshot#fusion360
High res here: https://www.artstation.com/artwork/zW8nd
Attachments
nice armors good work 
Thank you!!
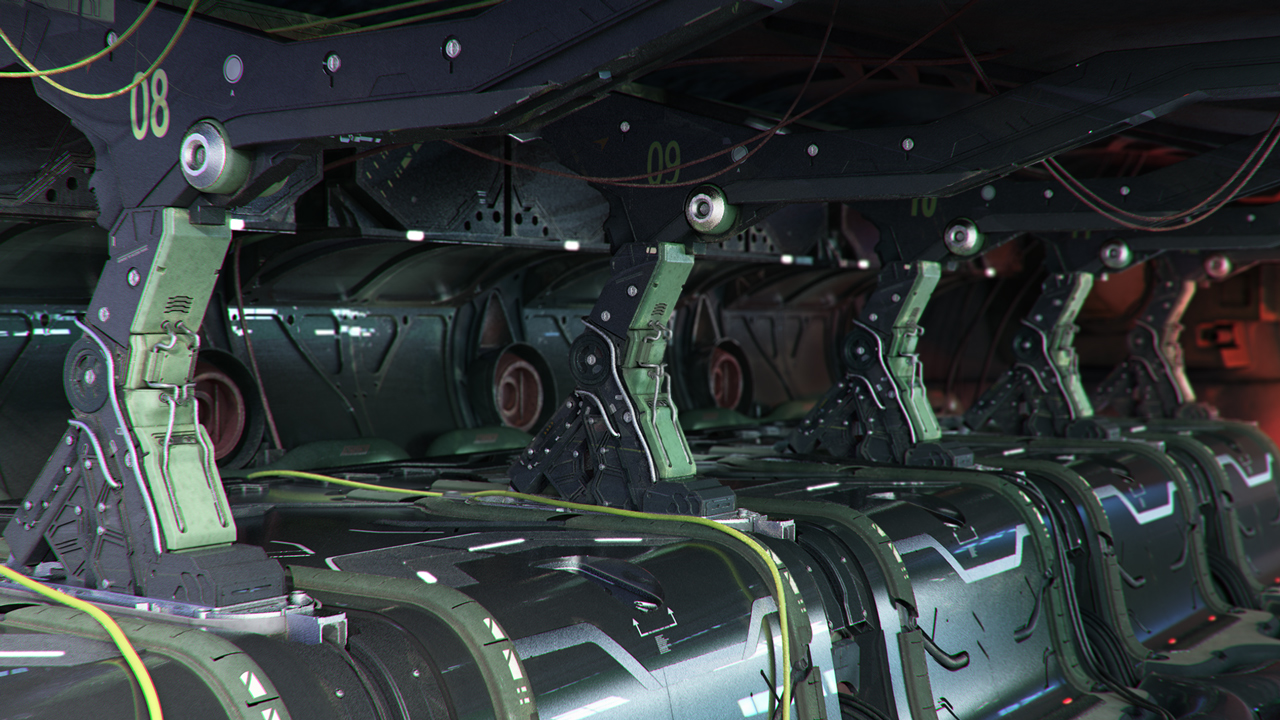
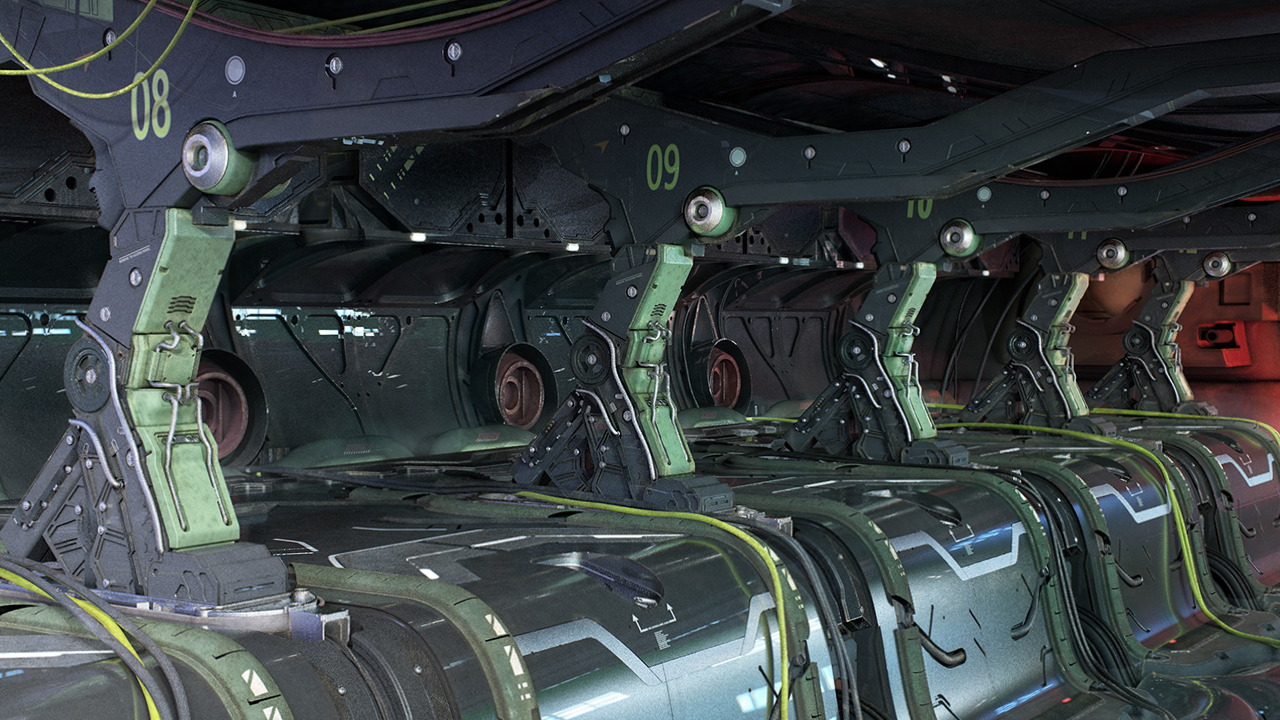
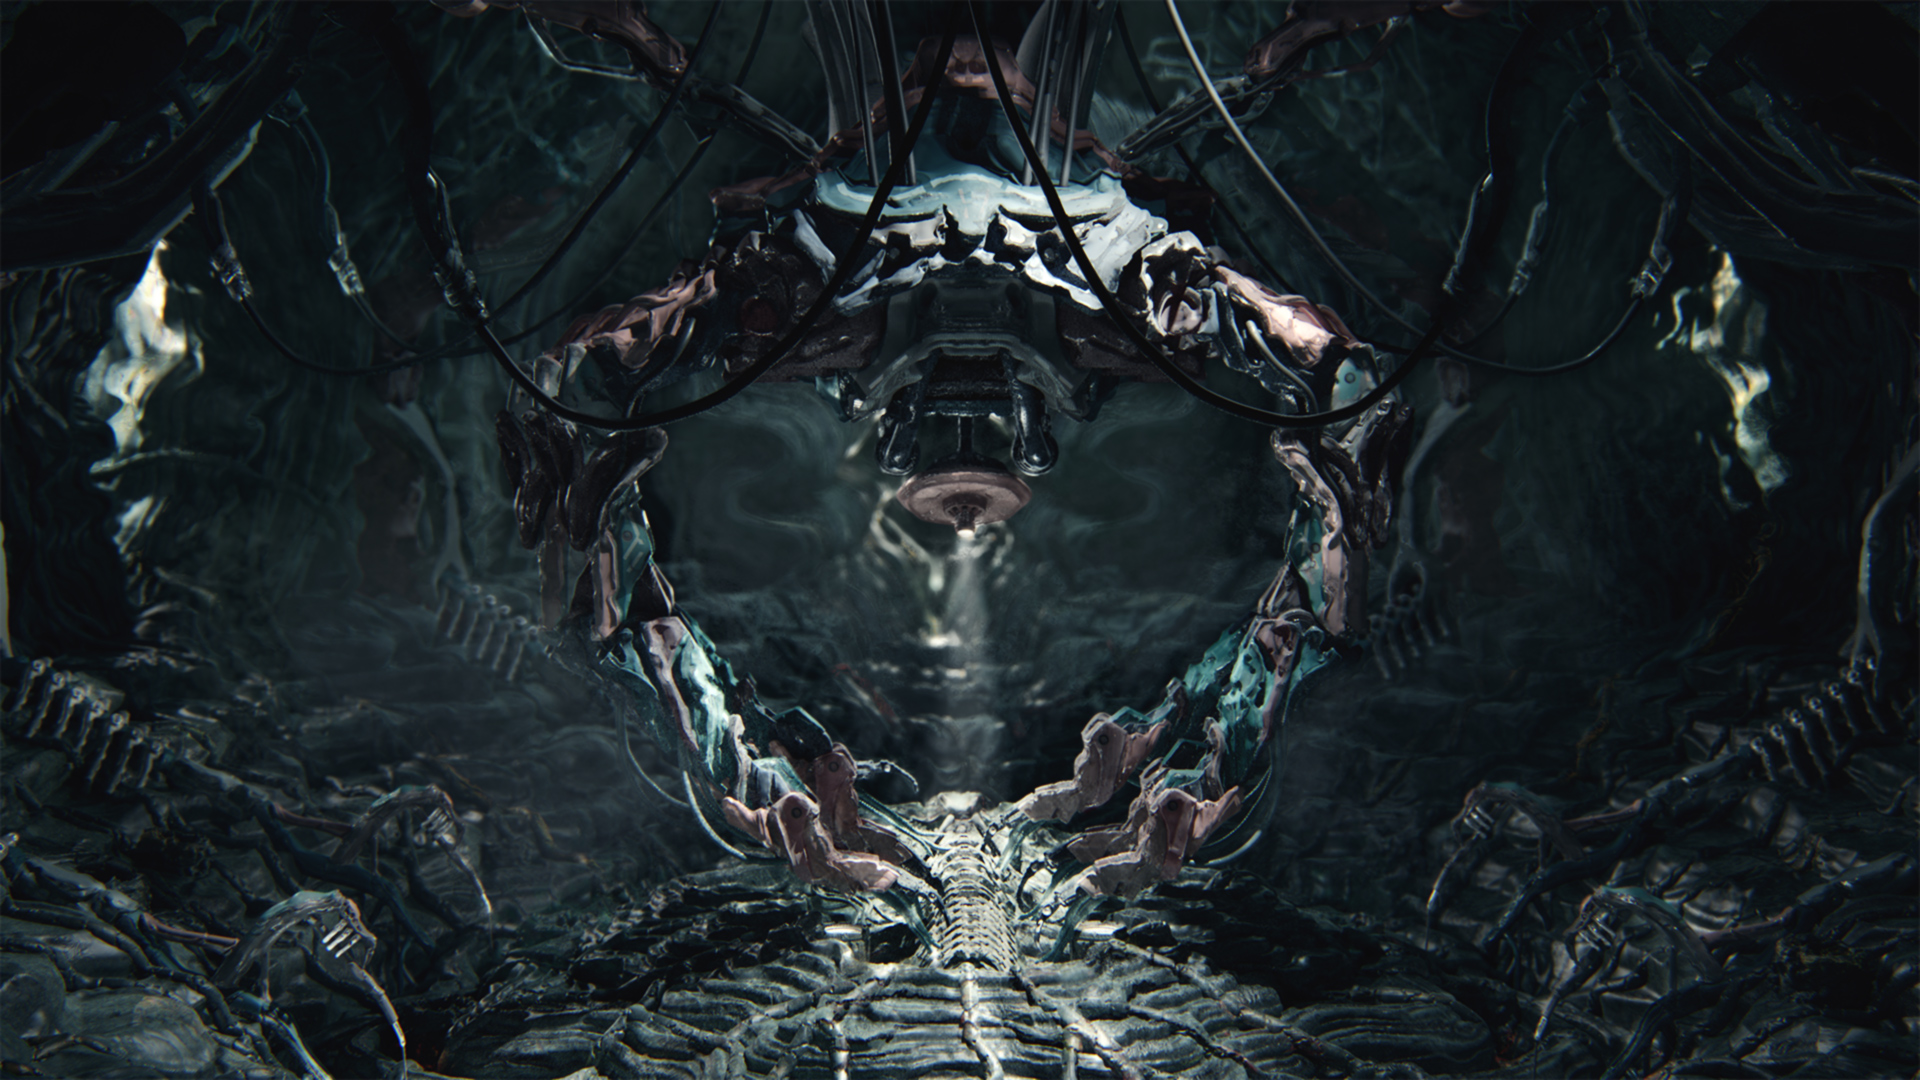
Hello all. I’ve been working on a new piece. I imagined this as a sort of alien facility where they are harvesting biological elements from specimens. This was initially supposed to be a quick concept for an environment with a little more painting and less modeling. I ended up taking it further than I initially planned. Some of the geometry is still a little rough, but hopefully it gets the ideas across. I did a lot of Photoshop work to get it to this point. All of the modeling/sculpting was done in Zbrush.
I’m using Interior lighting mode following the set up described in this post: https://www.keyshot.com/forum/index.php?topic=13204.0
If you have any feedback, I’d be happy to hear it.
Attachments