Hi ZBrushers, I hope you are all enjoying the amazing new tools. Its been quite while since I’ve posted on the forums. As always life intervenes. I had the pleasure of beta testing in the final round before release. I’ll post some images of what I worked on as well as some new projects since the release.
Here are some images from beta testing. A UH 1 Huey helicopter, still a WIP.
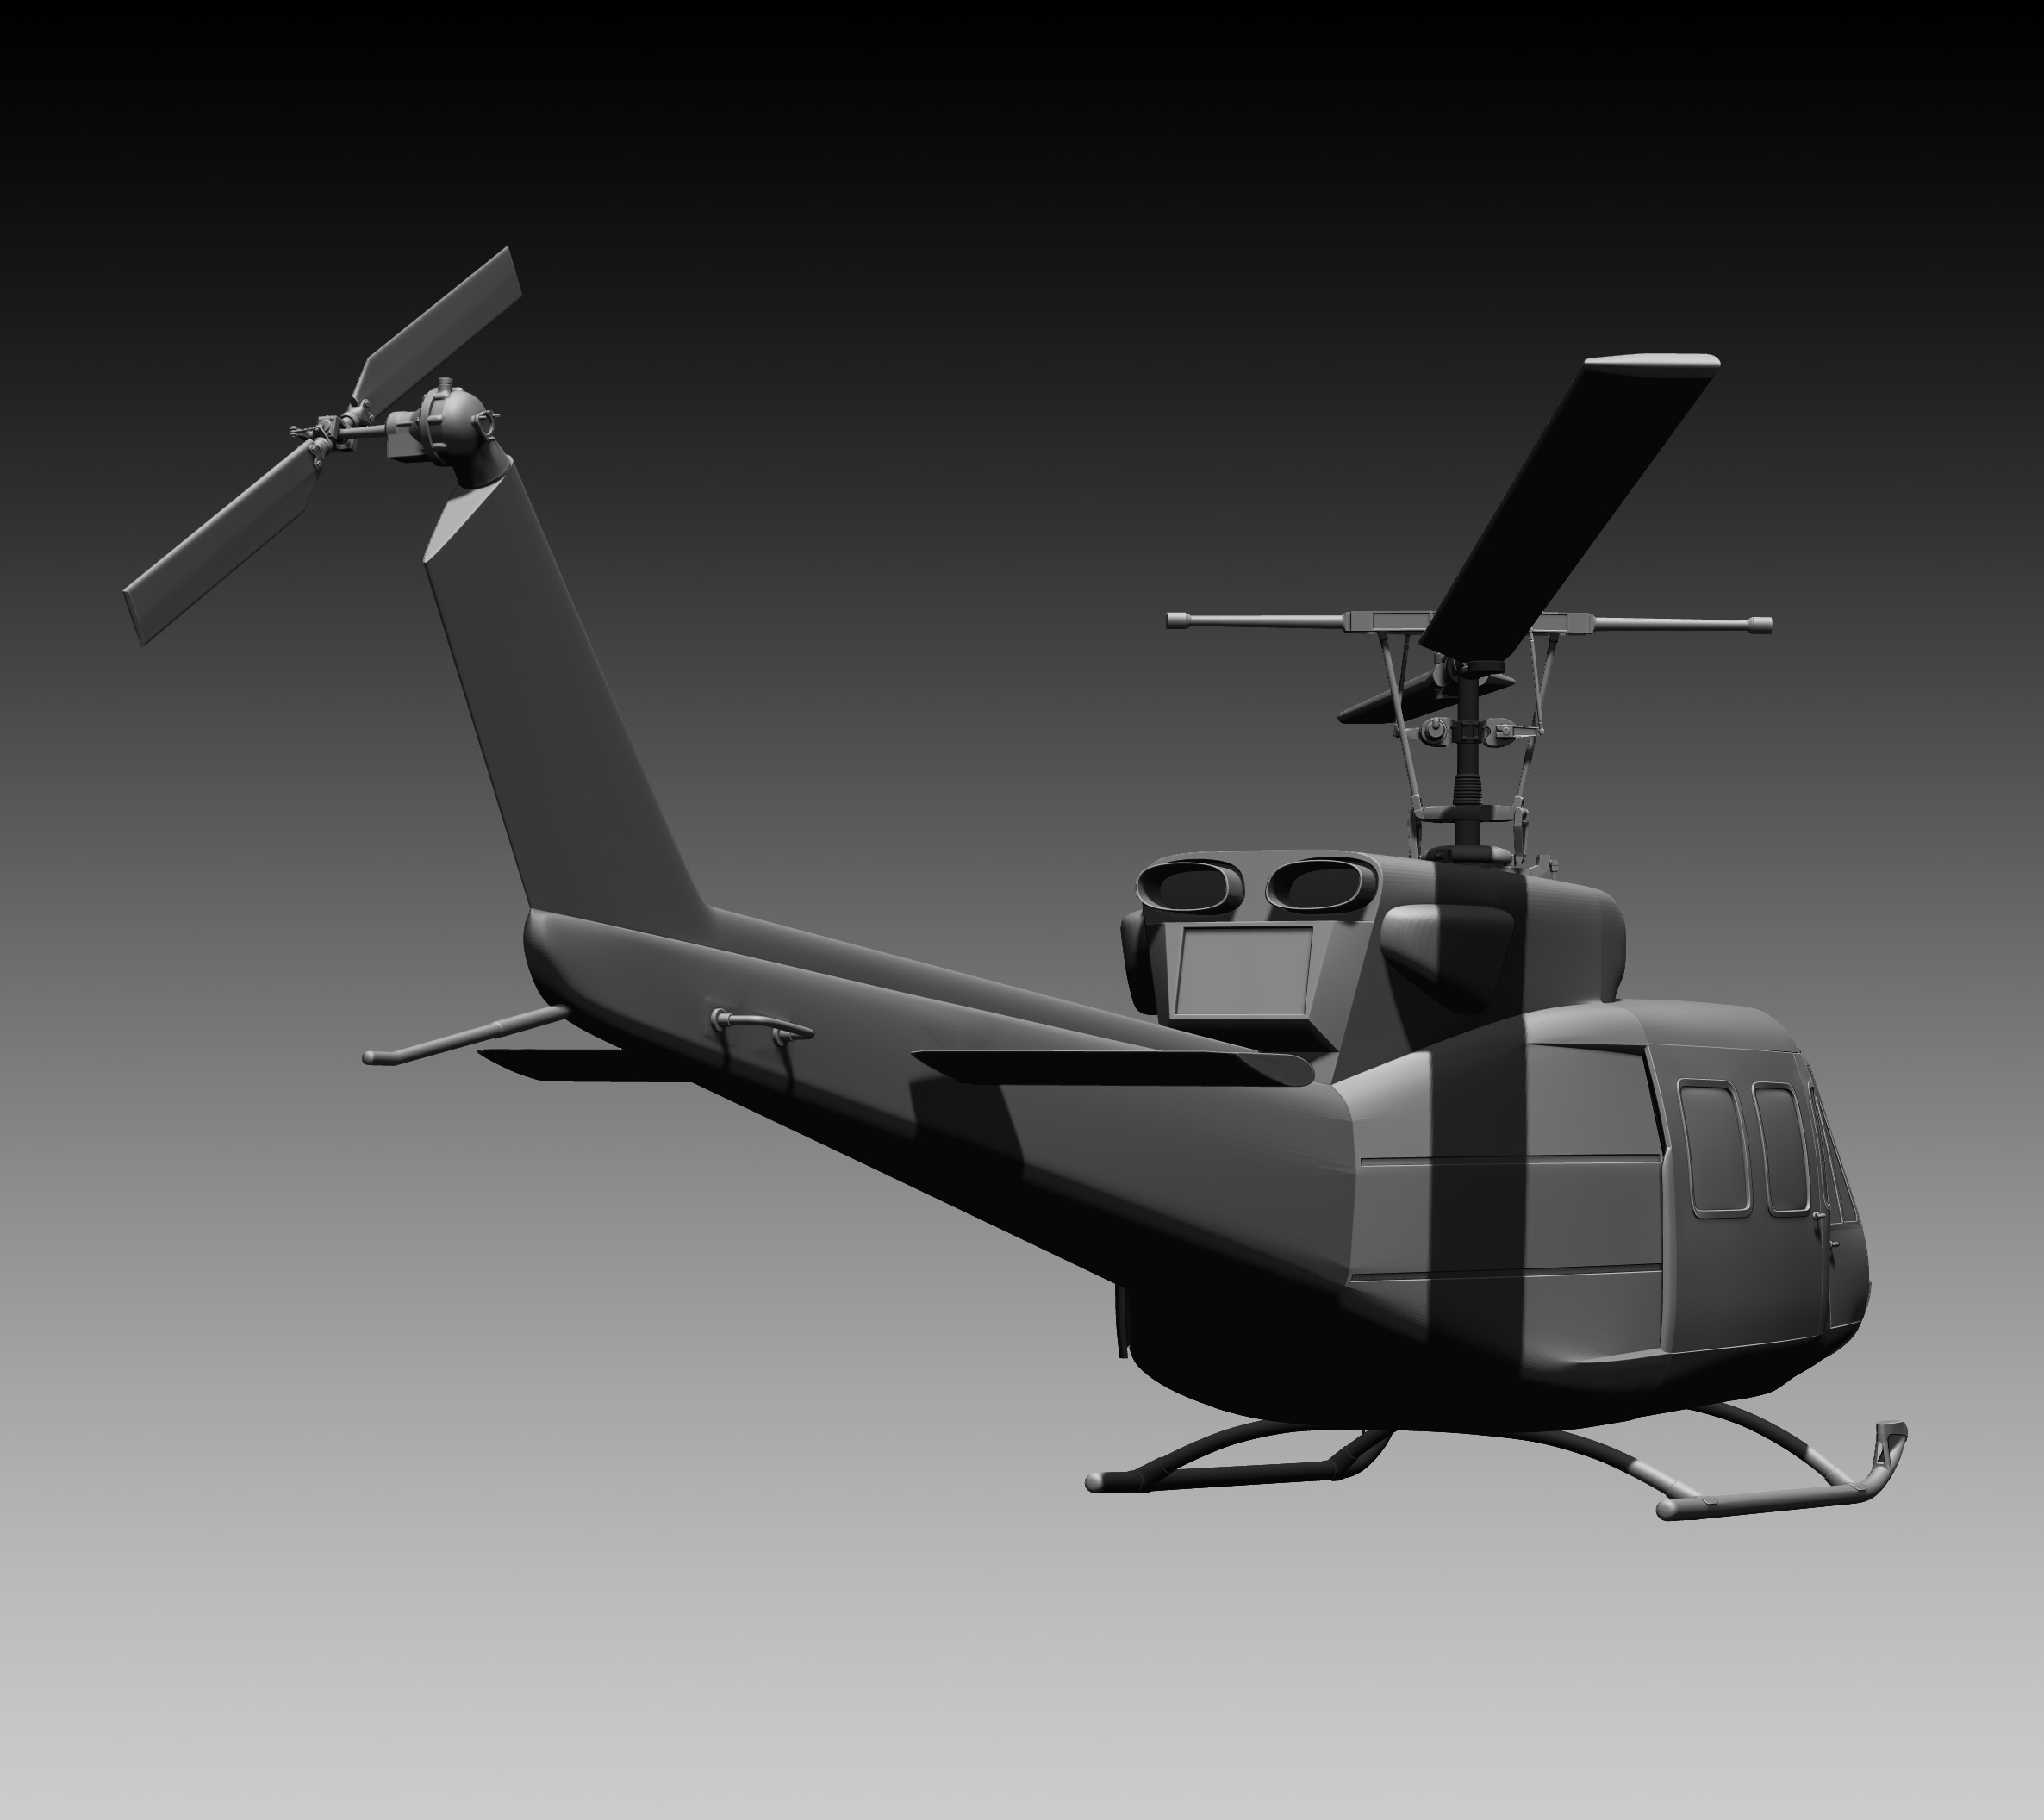
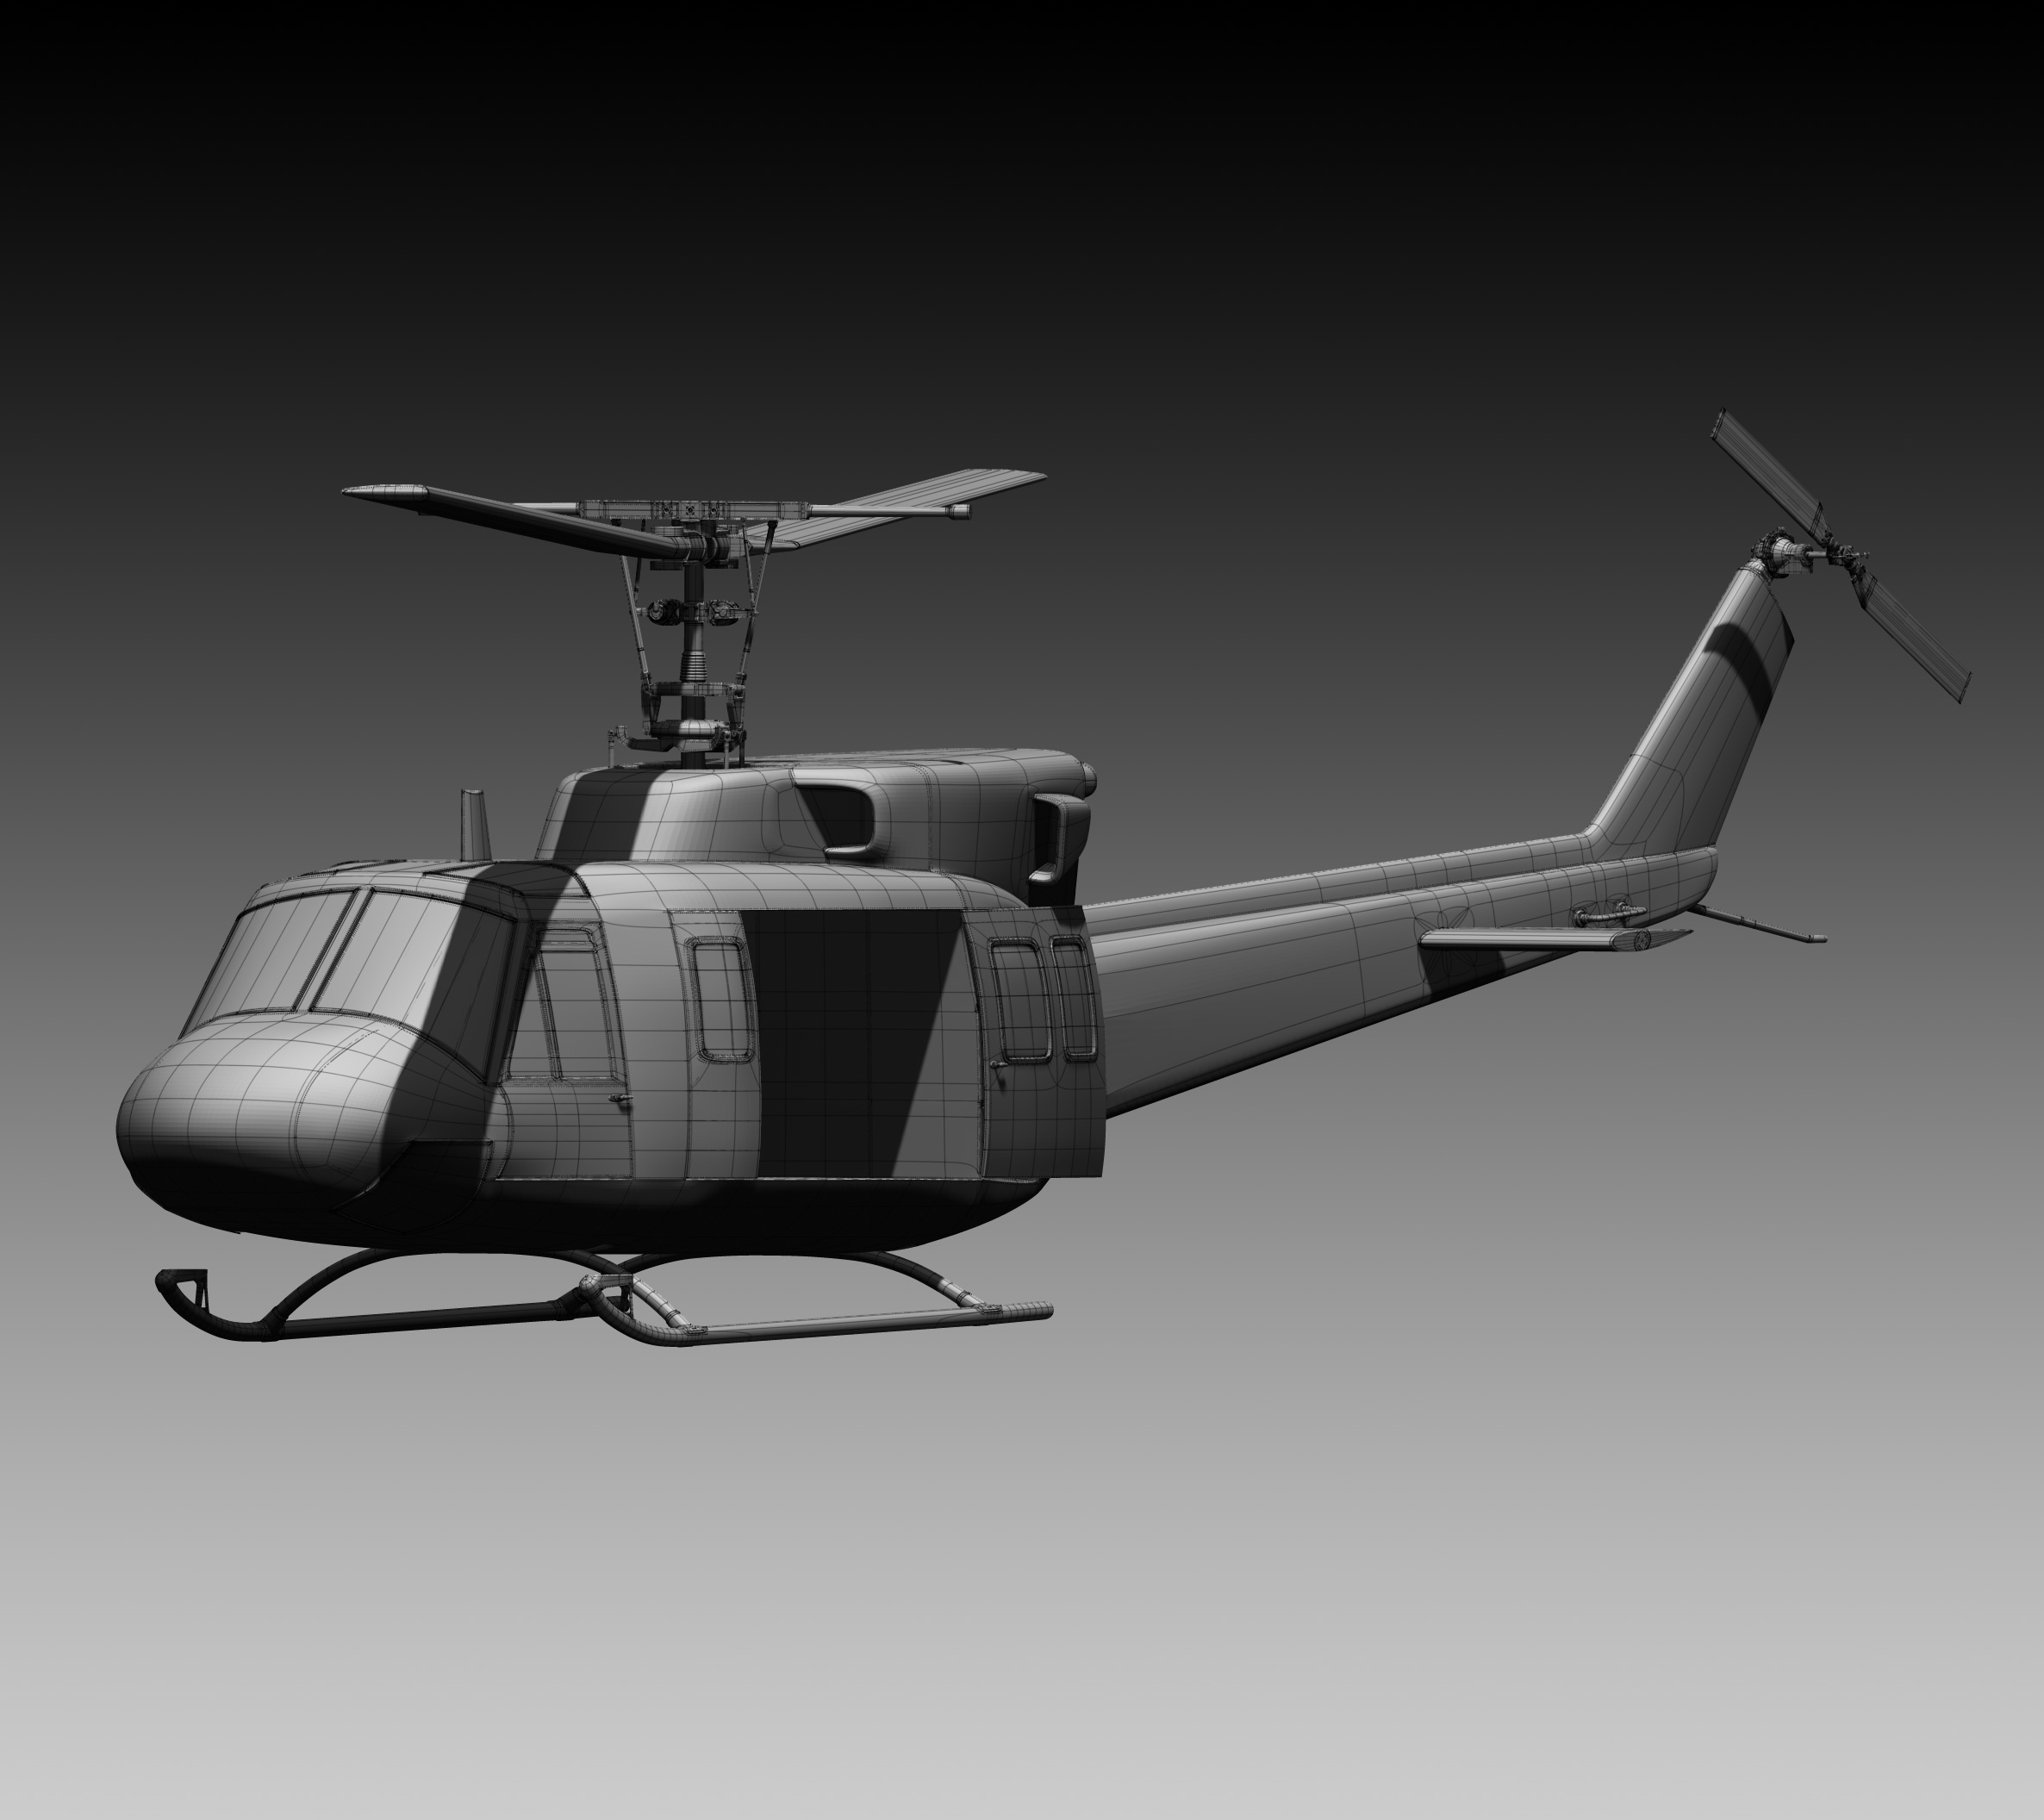
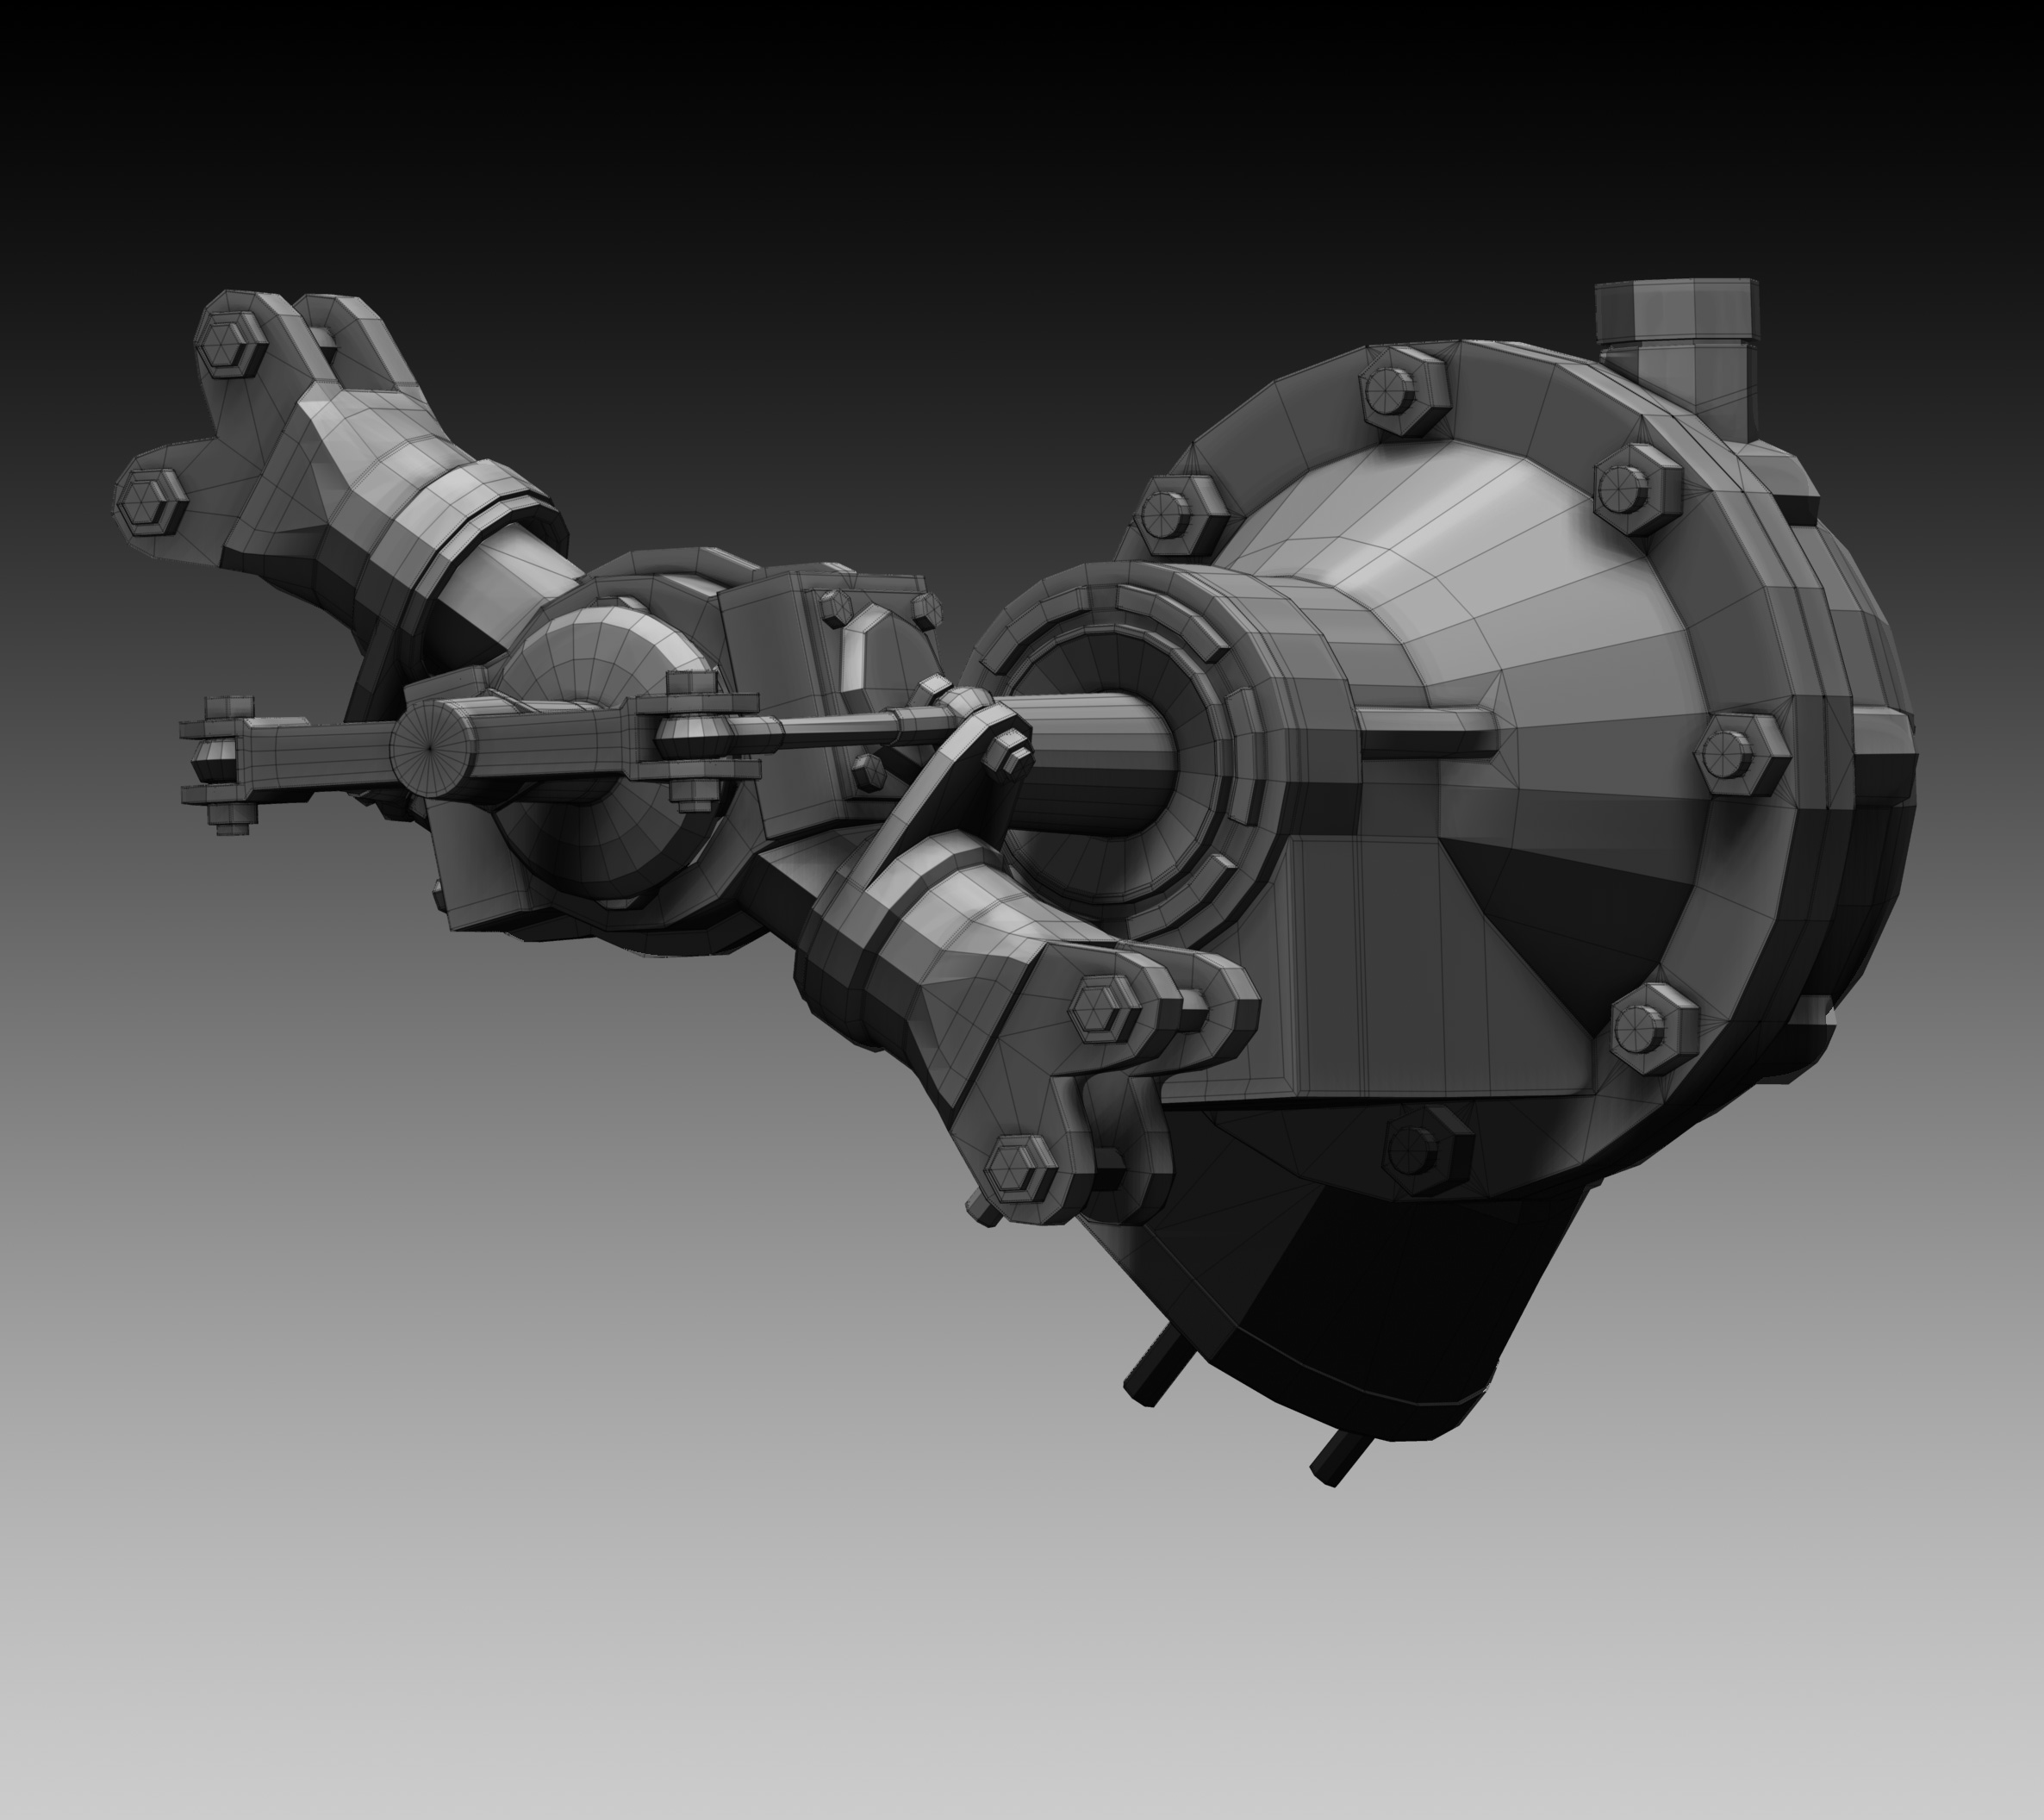
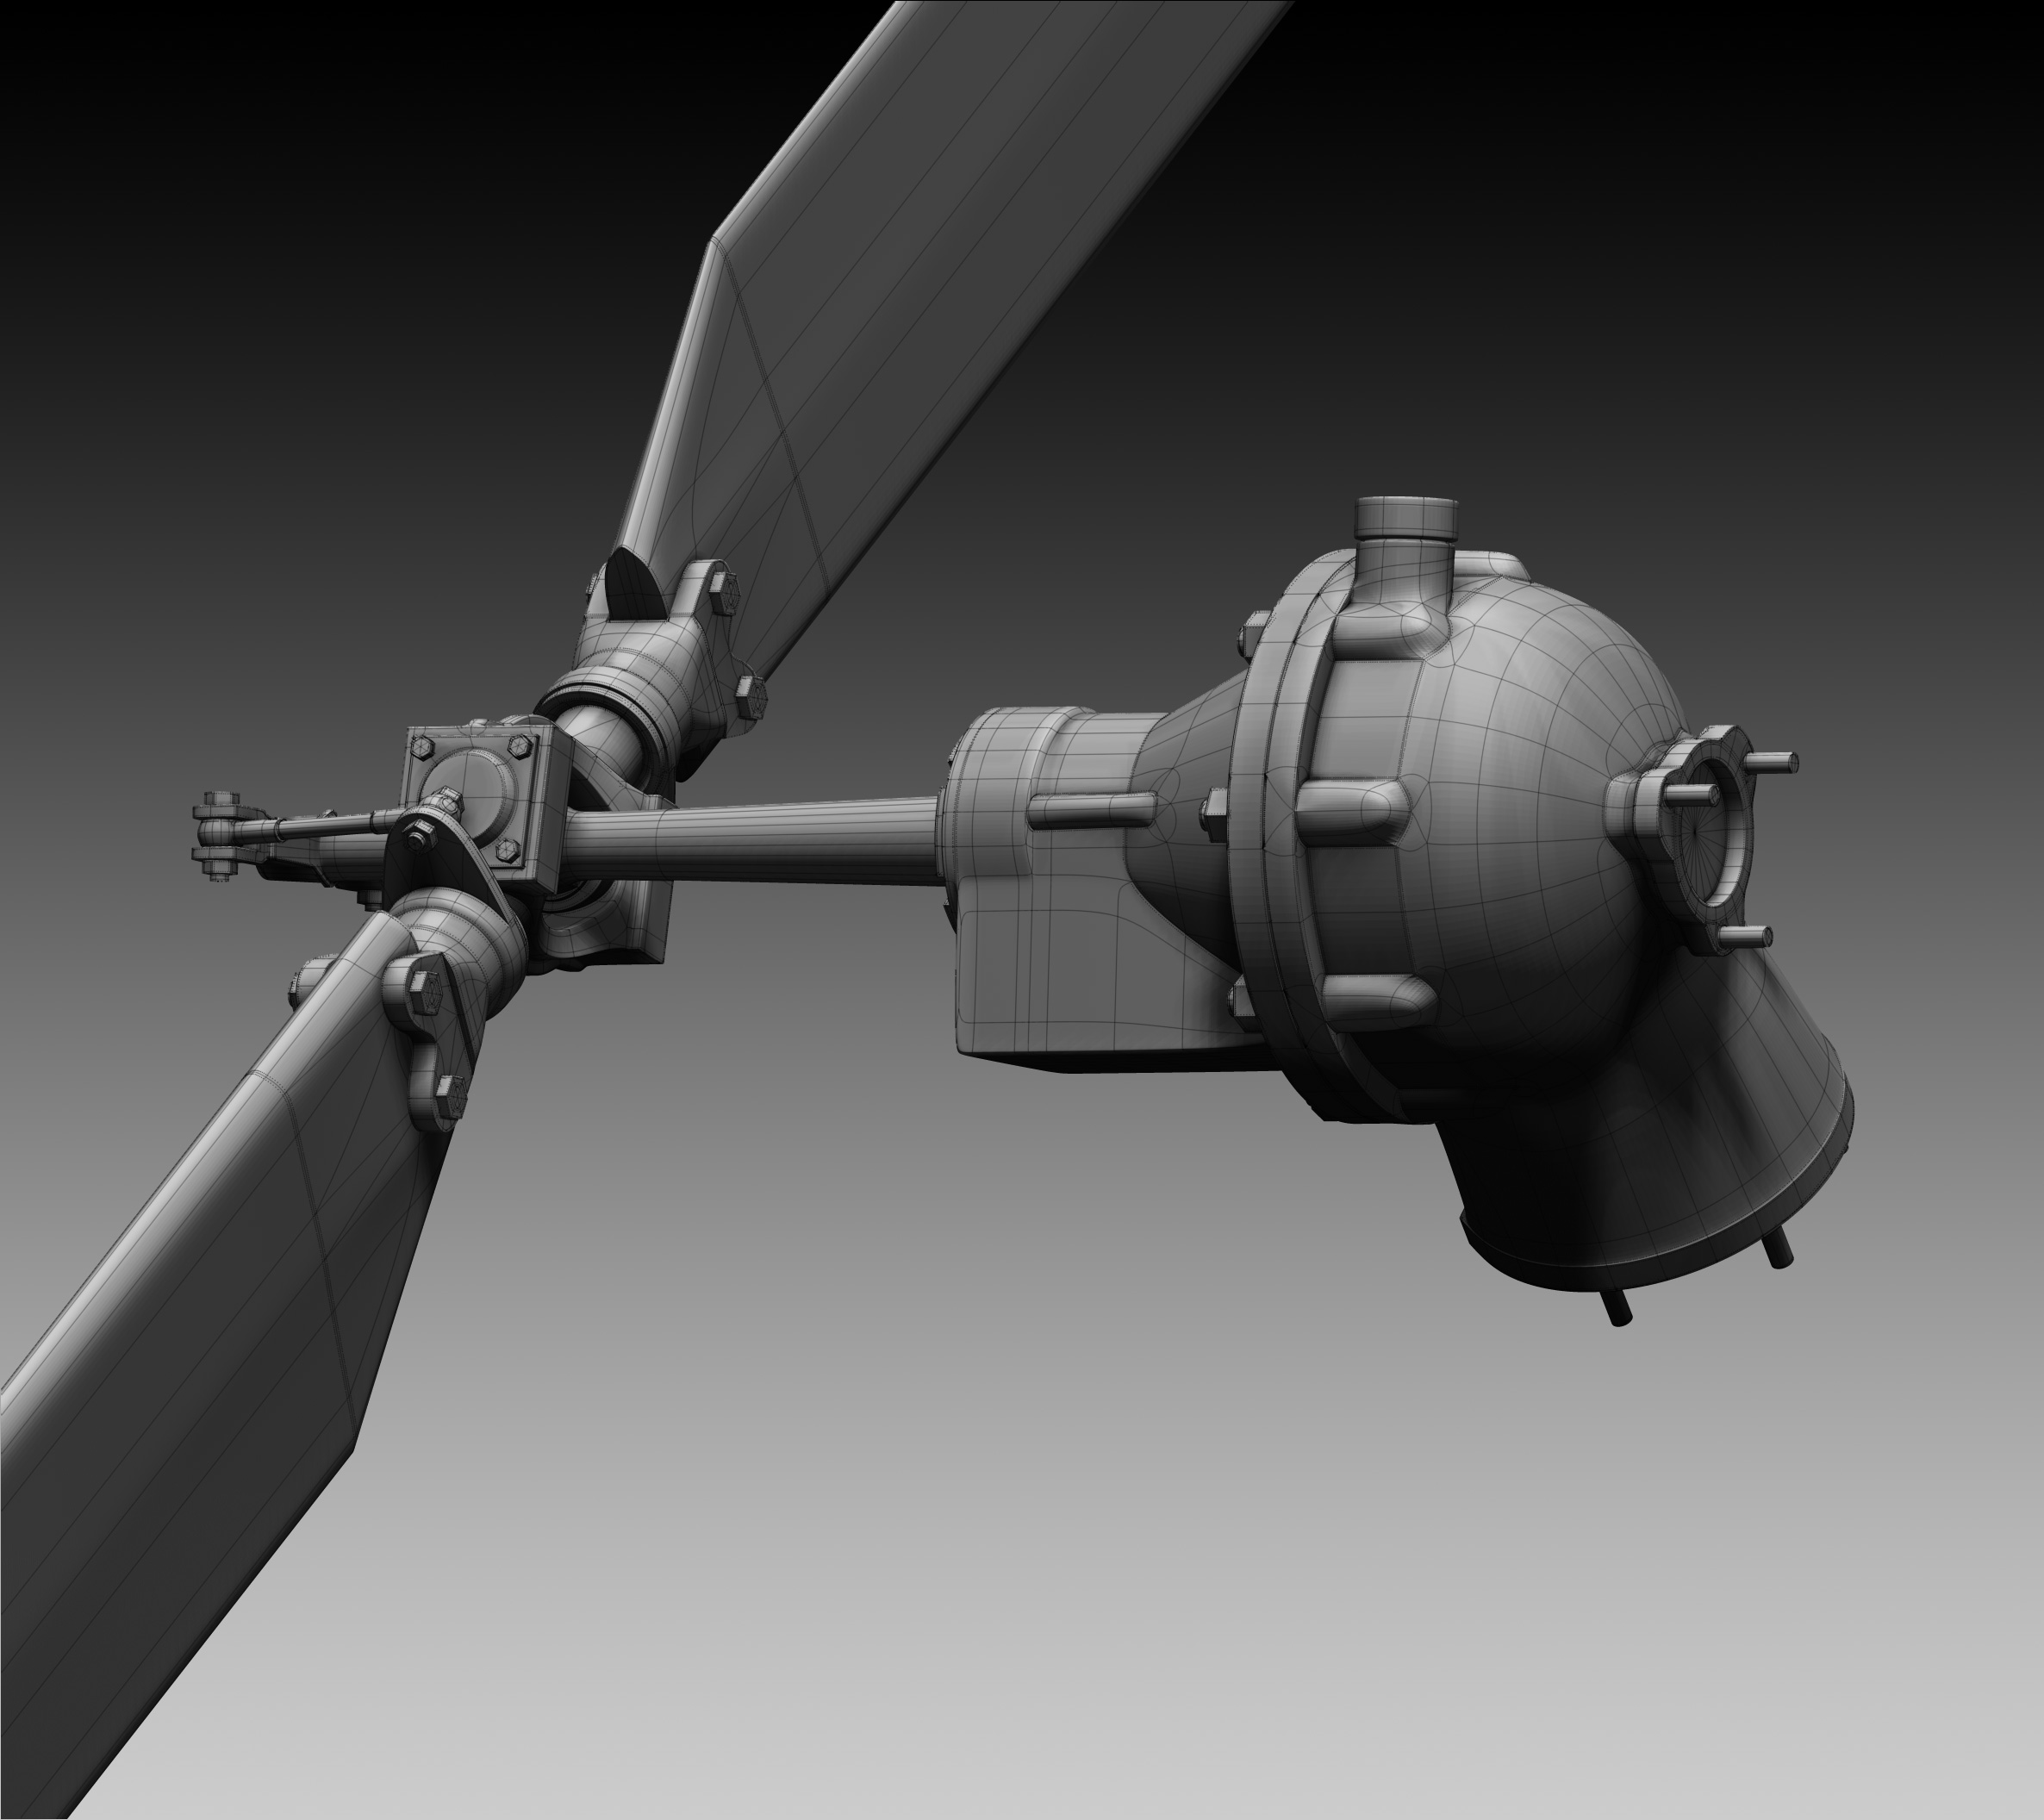
Attachments
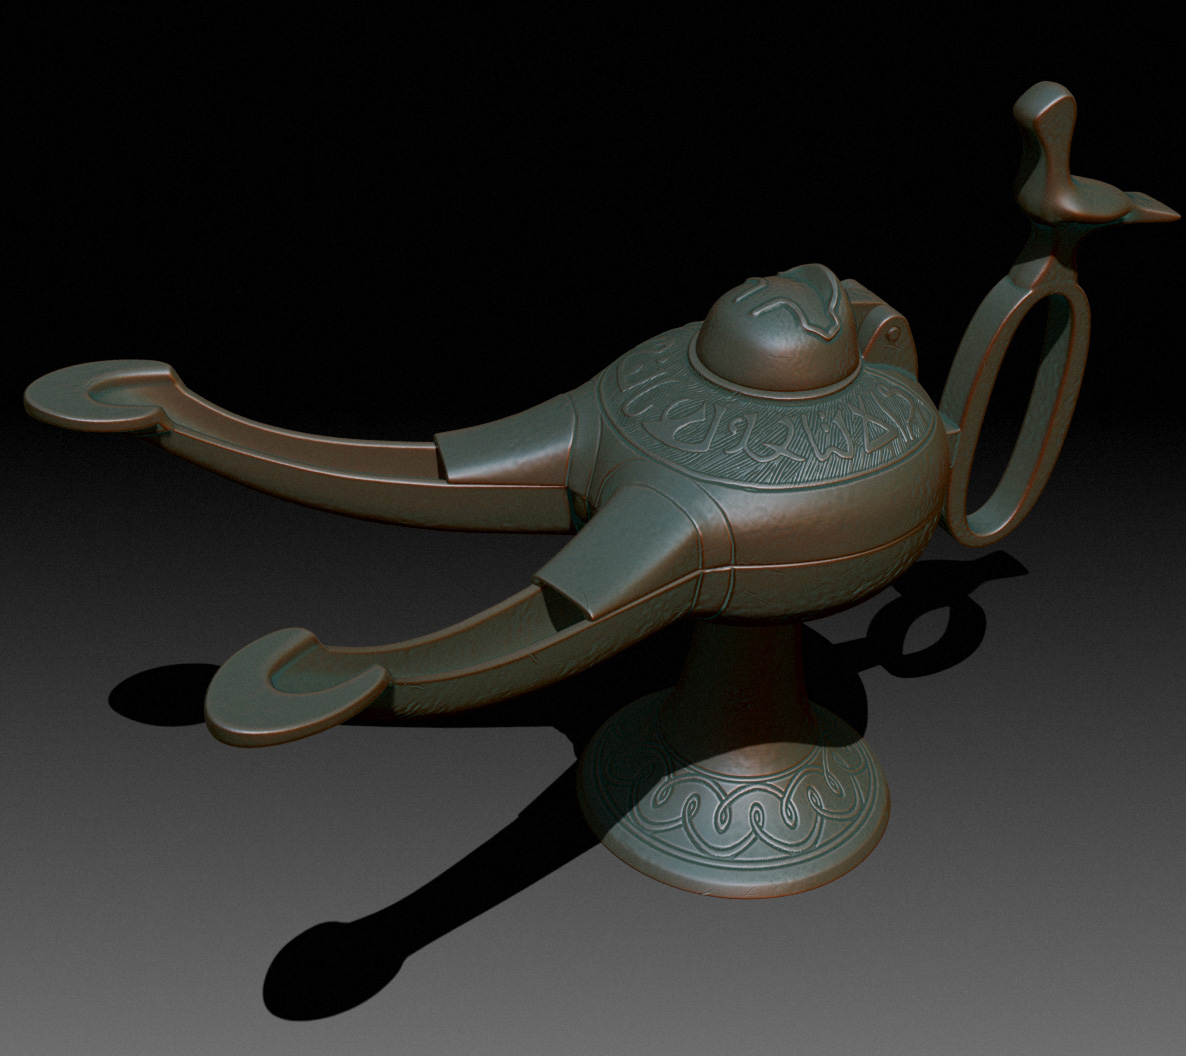
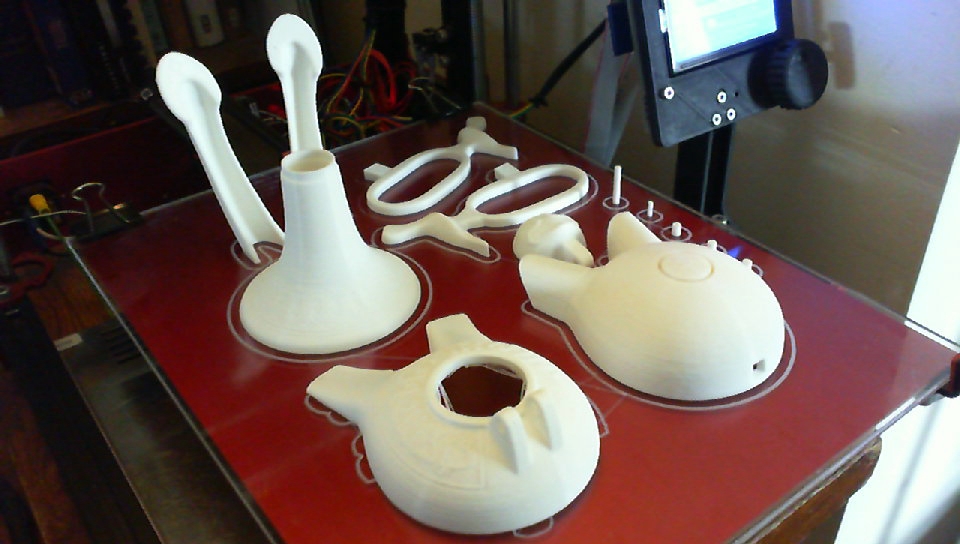
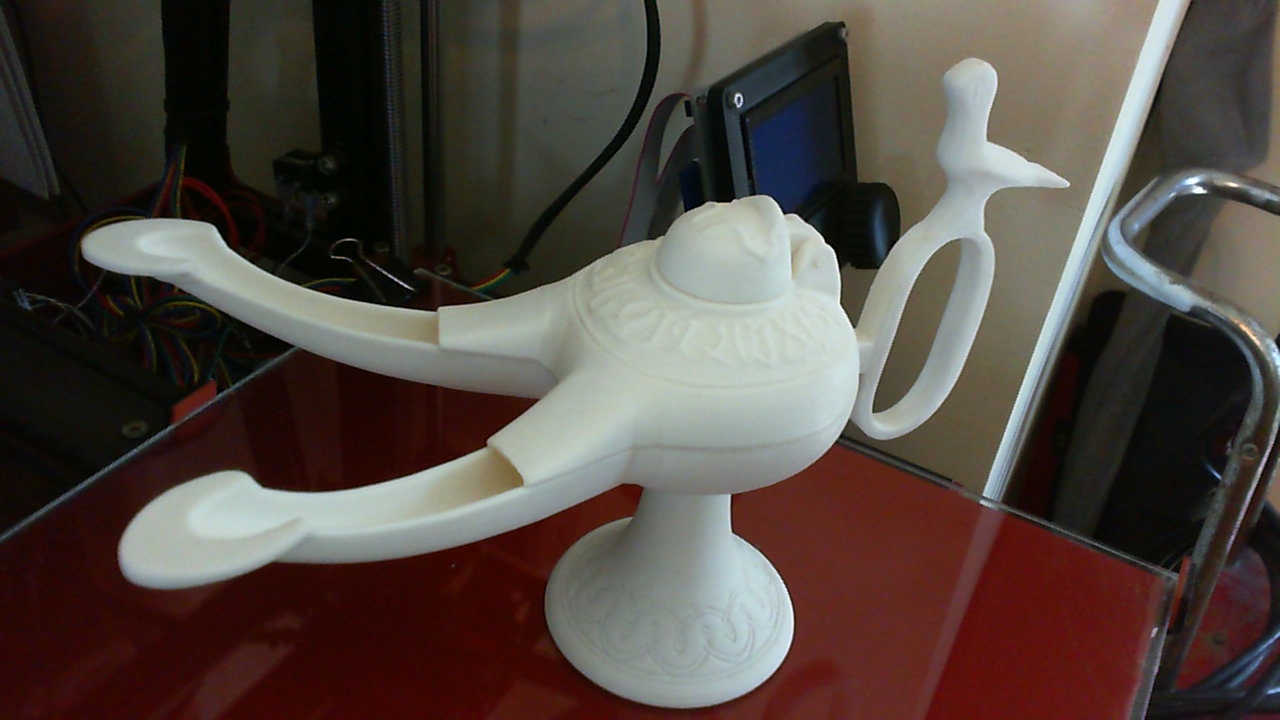
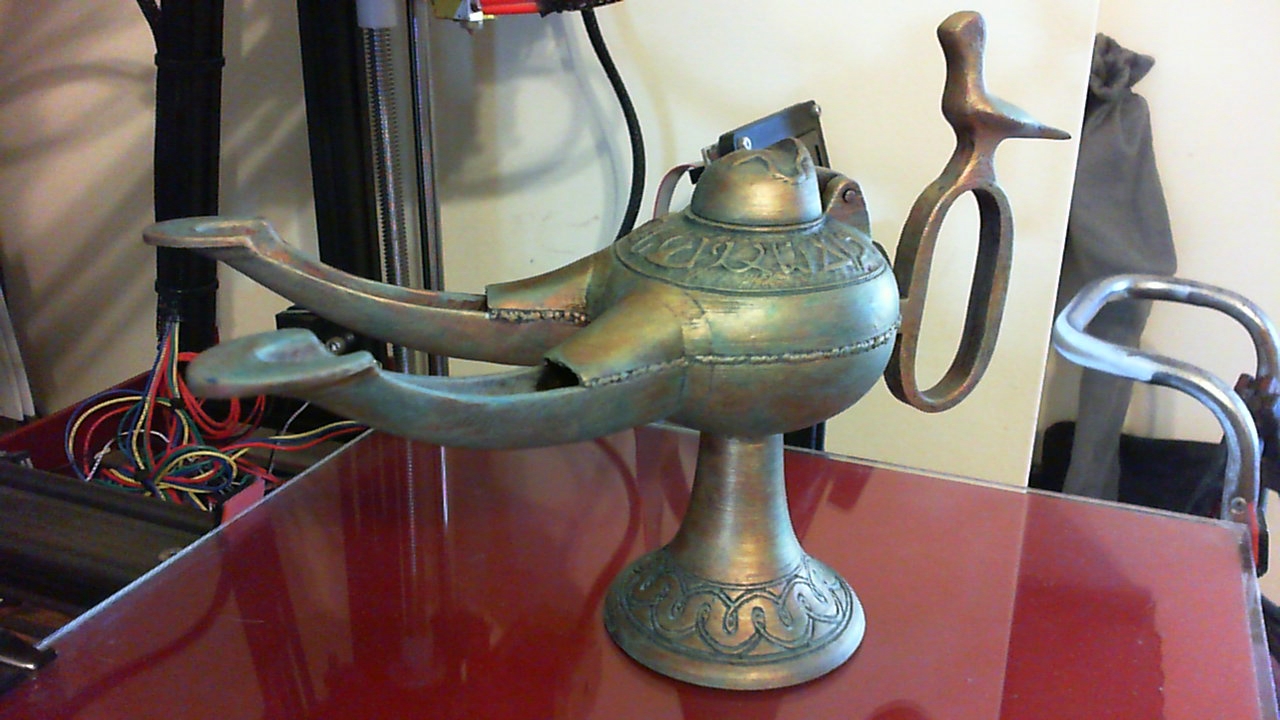
Here is a Mamluk era oil lamp I did to prototype a prop for a short film project. I 3D printed the piece on my FDM printer in PLA and hand painted it to look like bronze.
Attachments
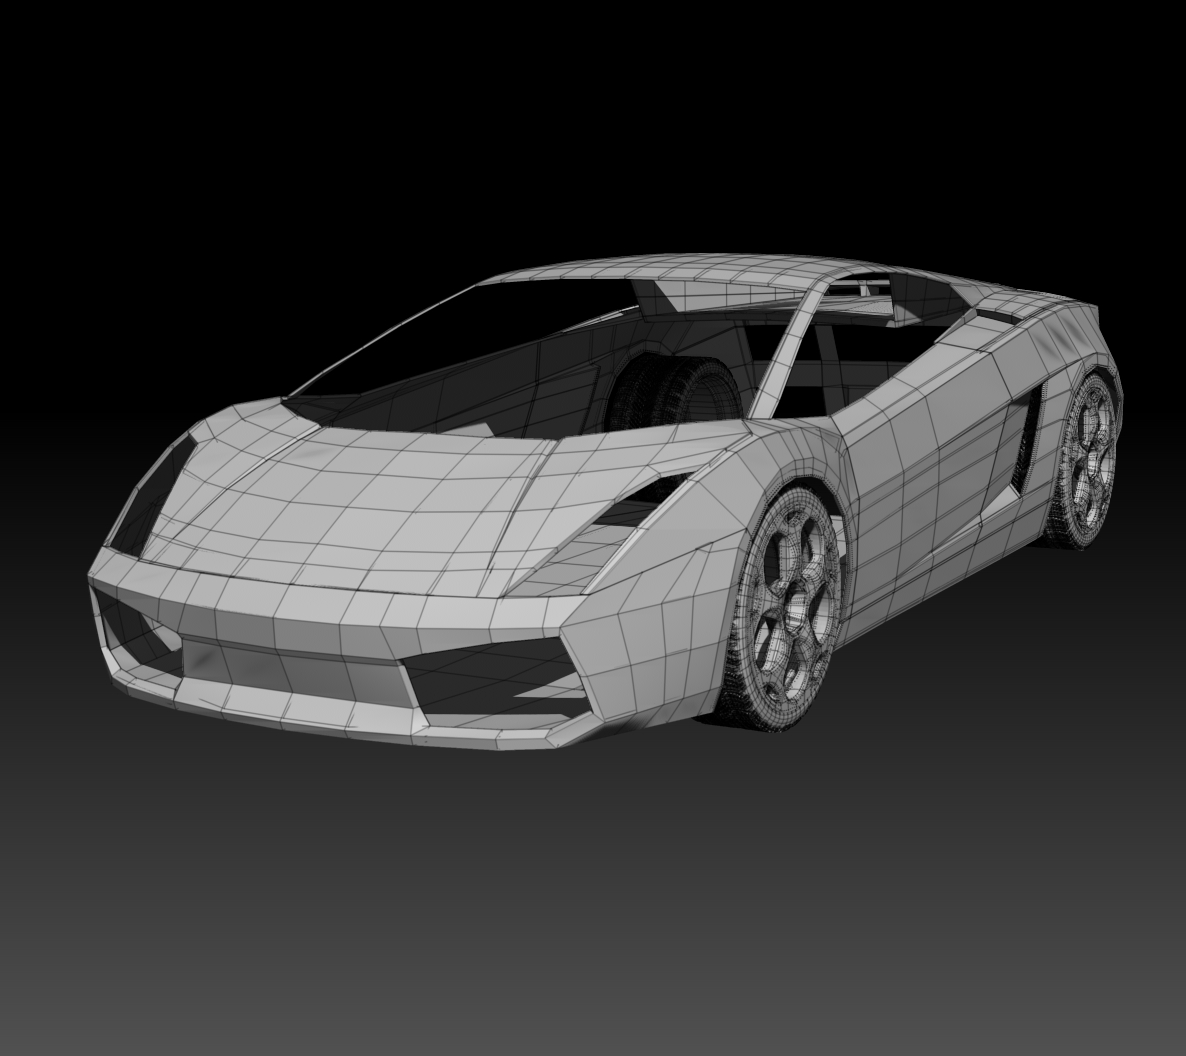
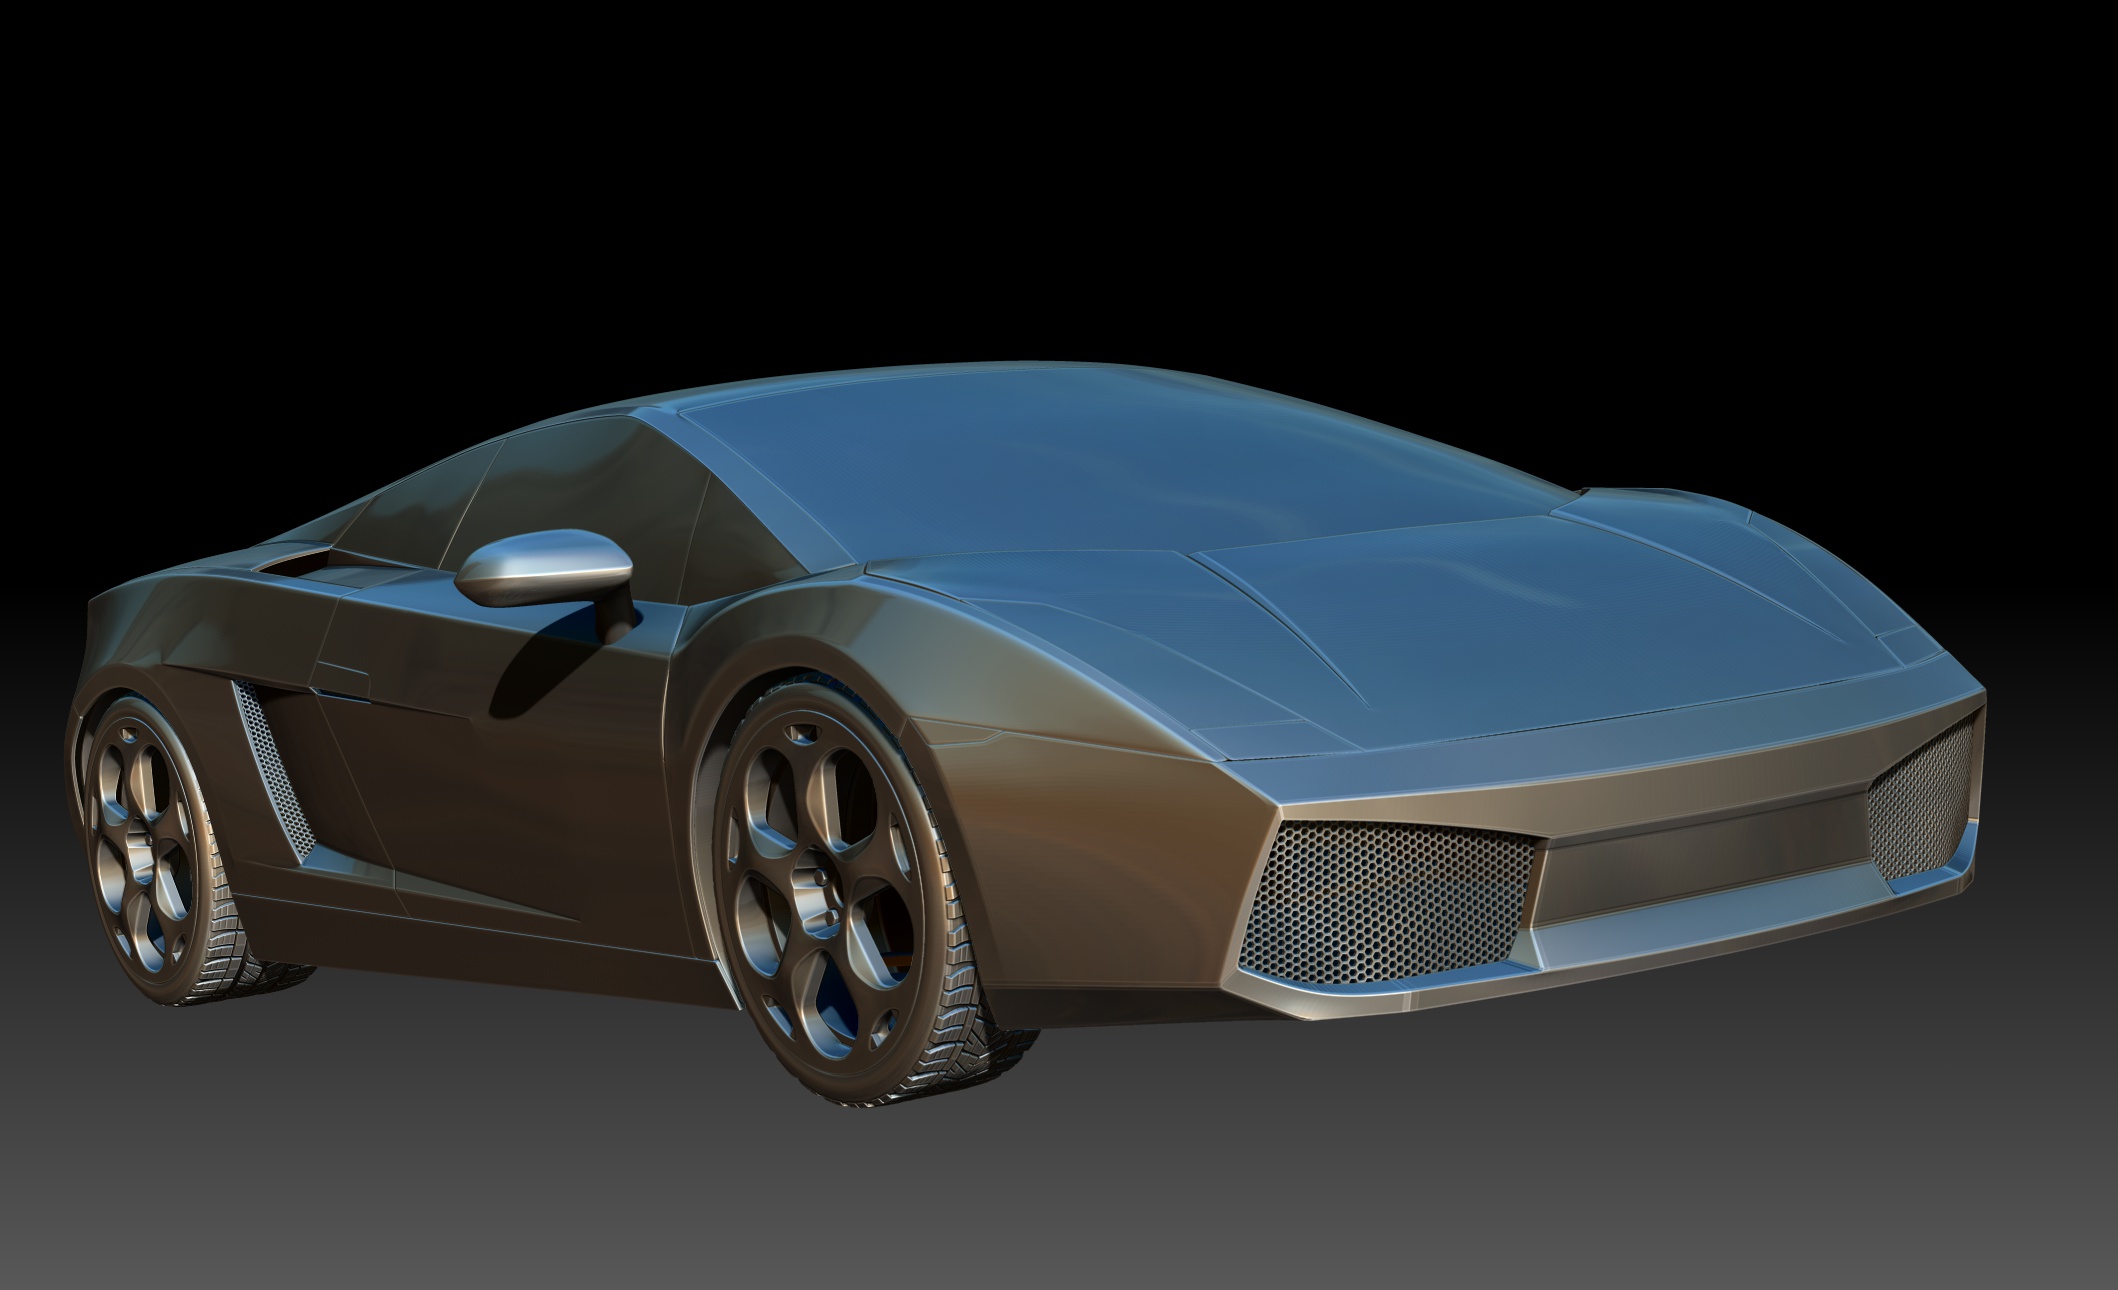
ZModeler is spectacular for modeling vehicles and here is a new project I’m working on. Soooooo much fun!!!
Attachments
Did you make that with zmodeler only? Can you please explain a little bit of your process if possible. Thanks!
Yes, it is all ZModeler. I did use some array mesh of ZModeler parts i.e. tire treads. For the process, I started with a QCube and deleted all the faces except one. Then using move point, insert edge, and delete poly to fashion the side using blue prints applied to the X,Y,and Z grids. Once I had a flat face of the side, I used QMesh to give a small bit of depth then I started masking and moving points to bend the side into shape based on top and front views. When I had that I deleted the extra polys so I was back to just a single face of the side of the car. From there I inserted edges and deleted polys for the air scoop along the side. I used a lot of reference to see where the cuts would be and how the parts fit along the sides and top. I made polygroups for each part i.e door panel, fenders etc. then applied Unweld Groups Border in the Geometry sub pallet. This gave me separate parts that I could add depth to with QMesh but maintain the lines that run along the body. I mirrored the side along the X axis and added depth once again with QMesh. Then using QMesh while holding Ctrl, and symmetry on, I selectively acquired polys for parts along the top and sides i.e. the hood, engine cover etc. I could then use bridge holes to create those pieces. On parts that wrap around from the side to front or side to back I just deleted polys as needed on the side pieces and used bridge holes. Again inserting edge loops or deleting them as needed and using move, slide and swivel to form the correct shape. I hope this makes sense .
Hello DLangley, man, been some time since I had been around your neck of the woods- That 50 CAL came out great BTW. Real quick, as per Error 503 comment: “Did you make that with zmodeler only? Can you please explain a little bit of your process if possible. Thanks!”
Do you have any time to do a ‘TUTE’ i.e. screen capture of this process you just explained or better yet, a recording of you doing so? Would be great for those us interested in how you made the Lambo. As usual, great and cool looking works you put out (still can’t believe all the detail in that 5o CAL).
Great stuff man!
Loving the Huey and car as well!
I’m currently learning ZModeler, never having done any low-poly box modelling before, and I have to agree its really good for vehicles and the like: lots of fun actually. Funny enough I’m currently working on an AH-64 Apache Longbow heli myself to learn the process… quite the challenge!
Hopefully it will come out as nice as your Huey!
Cheers,
Claudio
Really neat stuff here in your thread. Your hard surface / machine modeling is really good; nice capturing of the details.
Thanks guys. Not sure when I can get to a tutorial, I may be starting a film project soon which will be crazy busy for a couple of months.
Cool, I understand about your ‘time’ issue. Anywho, digging what you have here. Best, Saul.
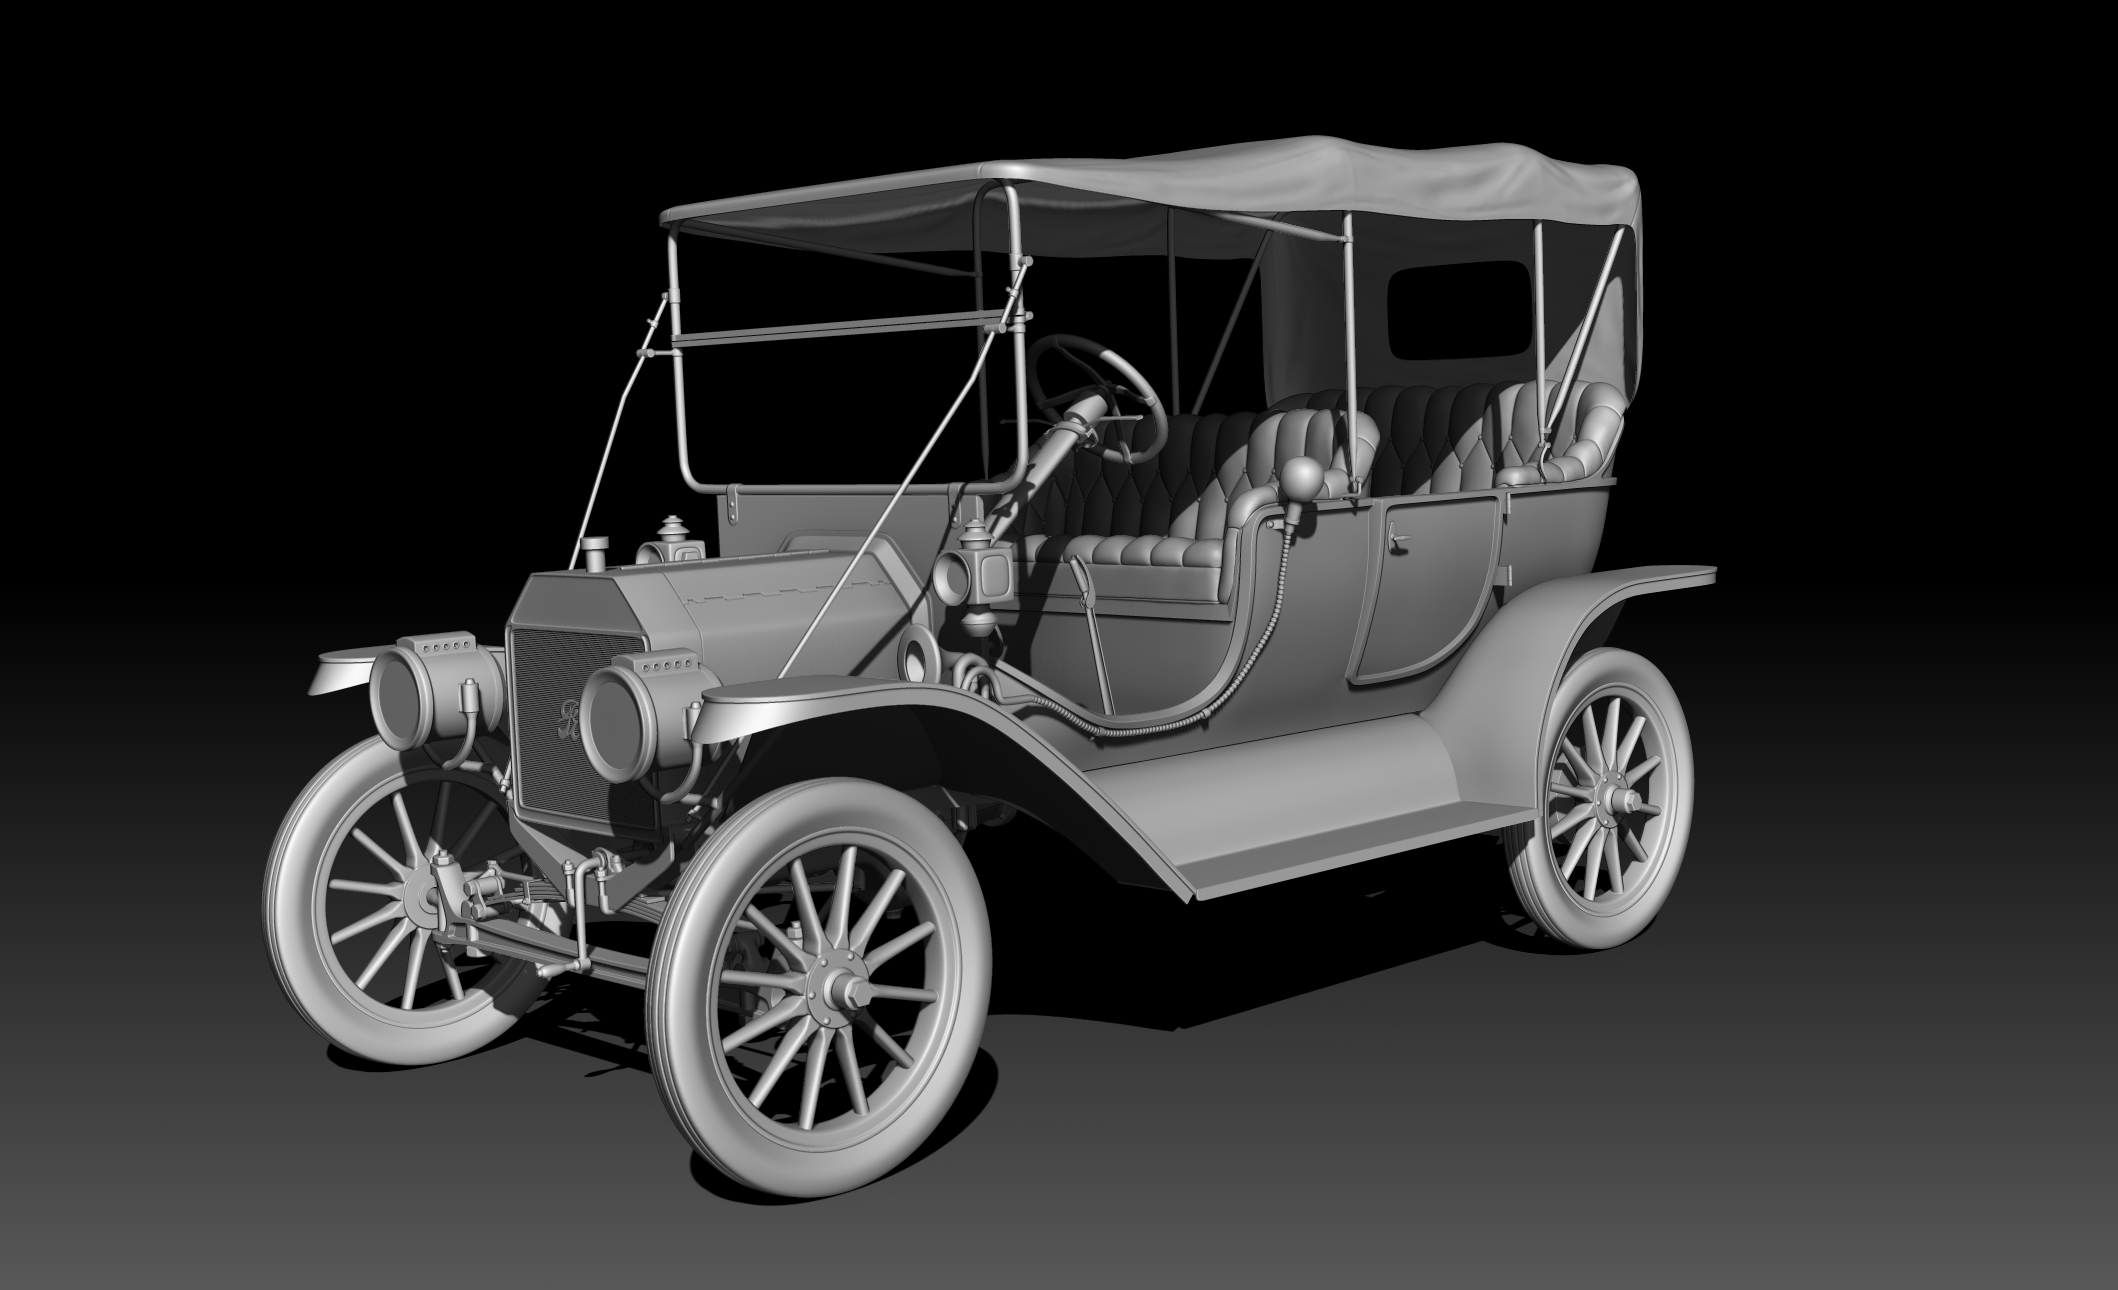
Hello fellow ZBrushers, its been a really long time since I’ve posted anything. I’ve been really busy this year, but I finally had some time to sit down and work on this project. All ZBrush using ZModeler.
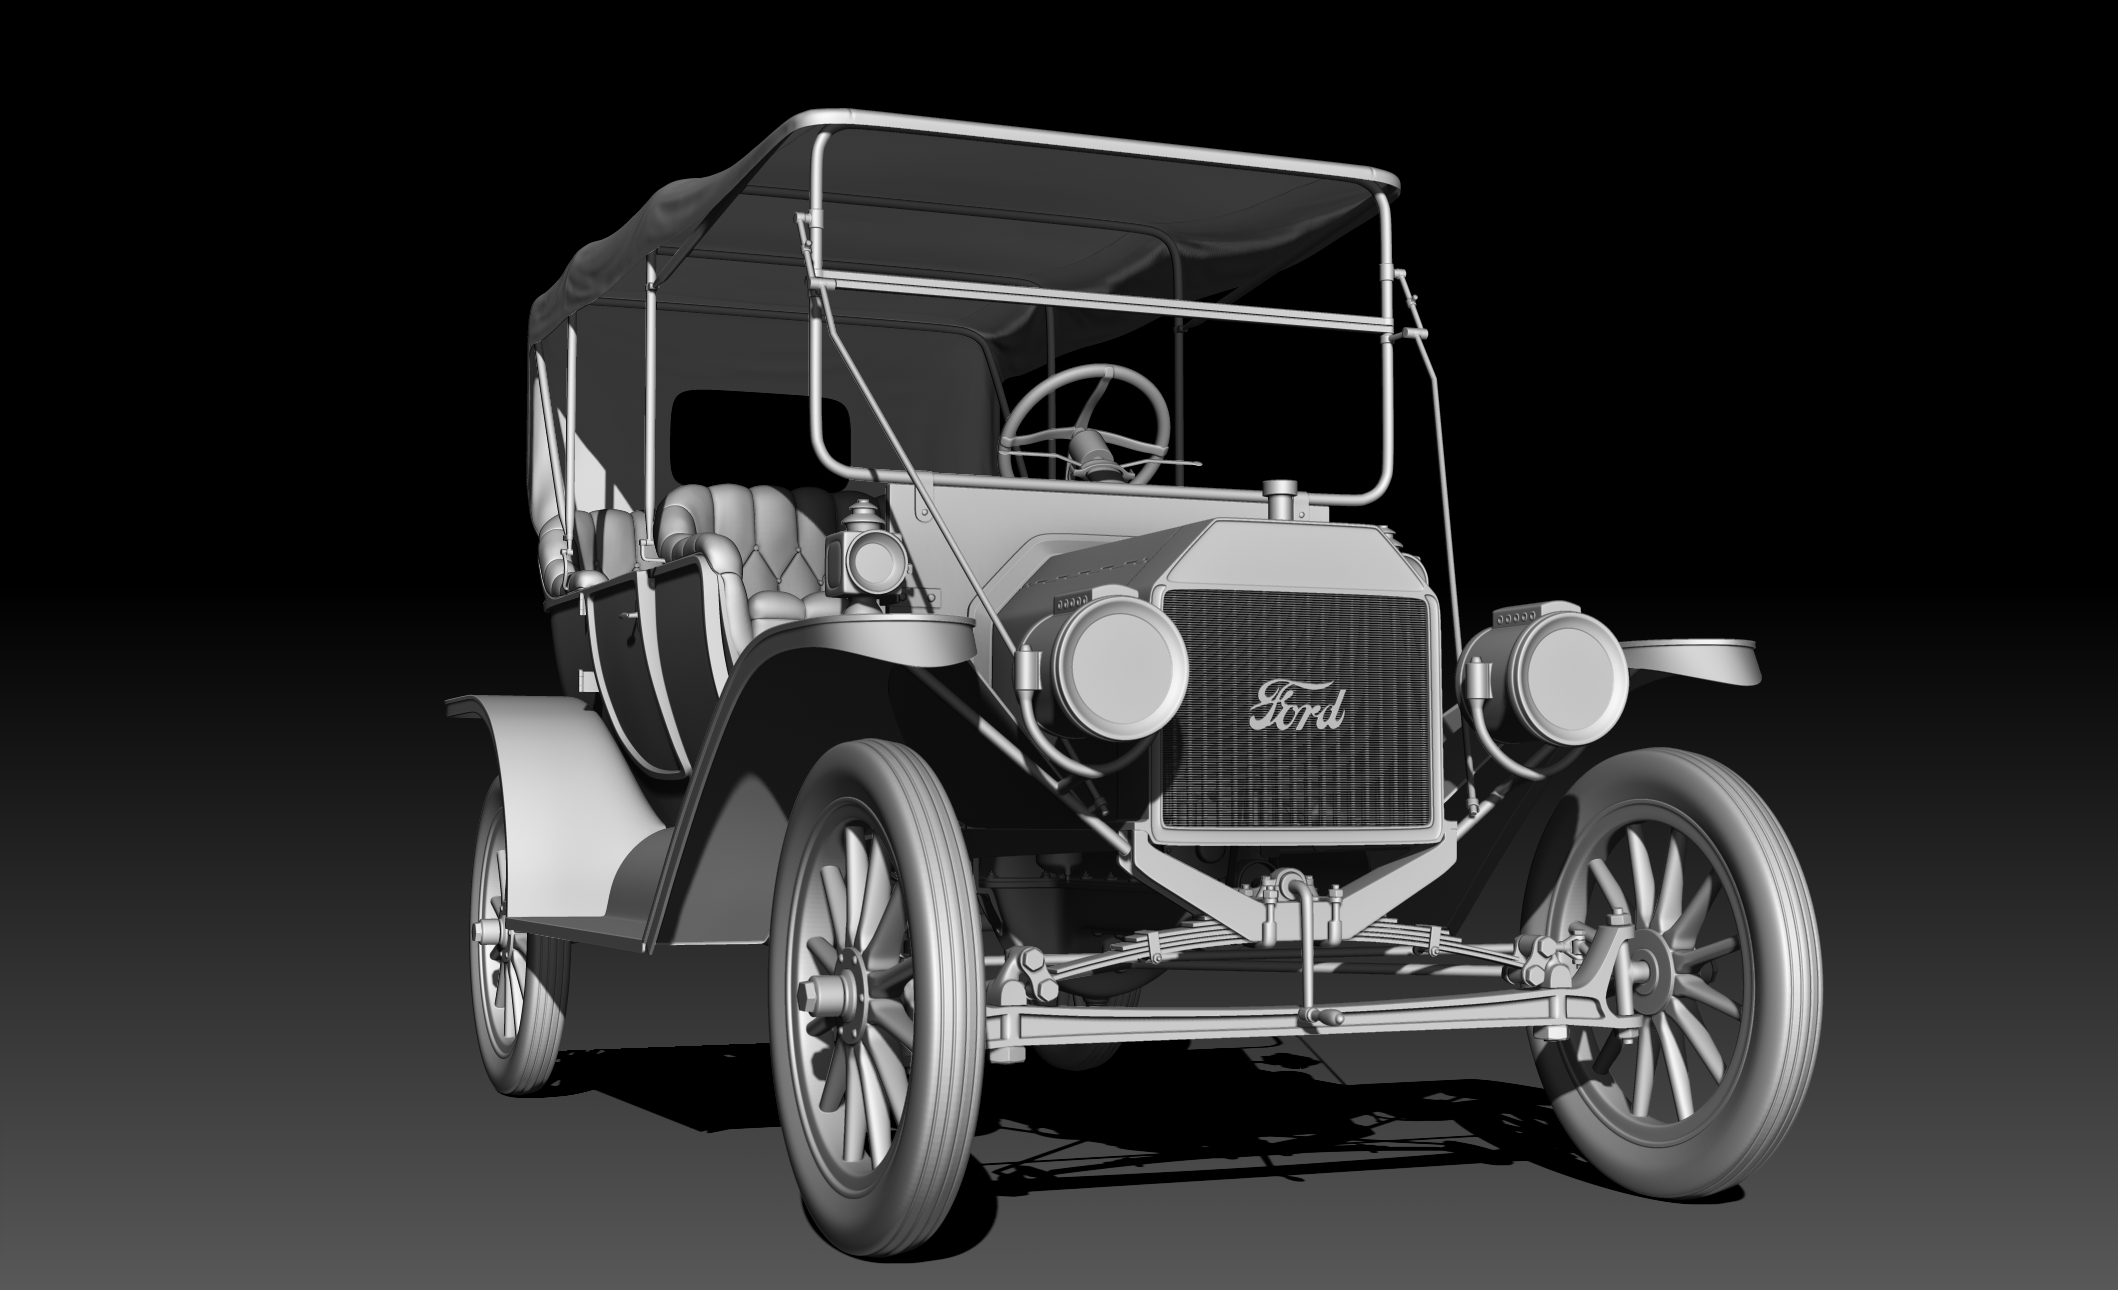
Attachments
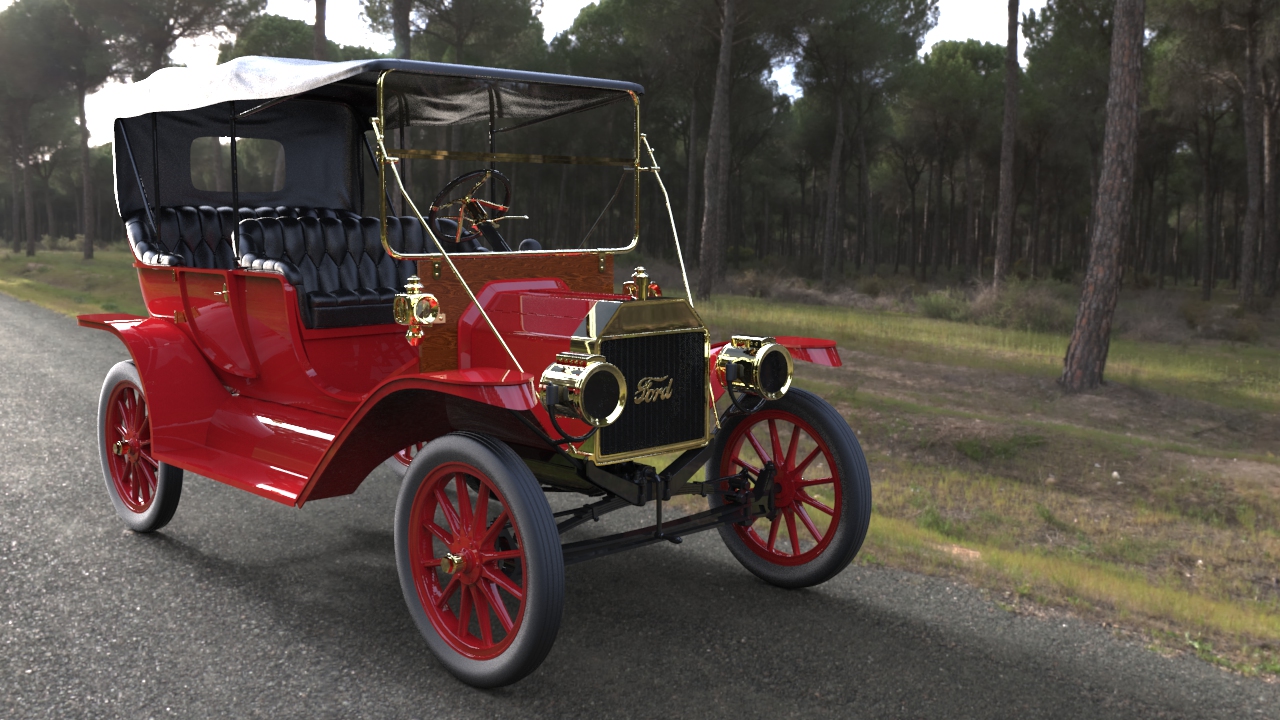
Here is a quick Keyshot render playing with materials.

Attachments
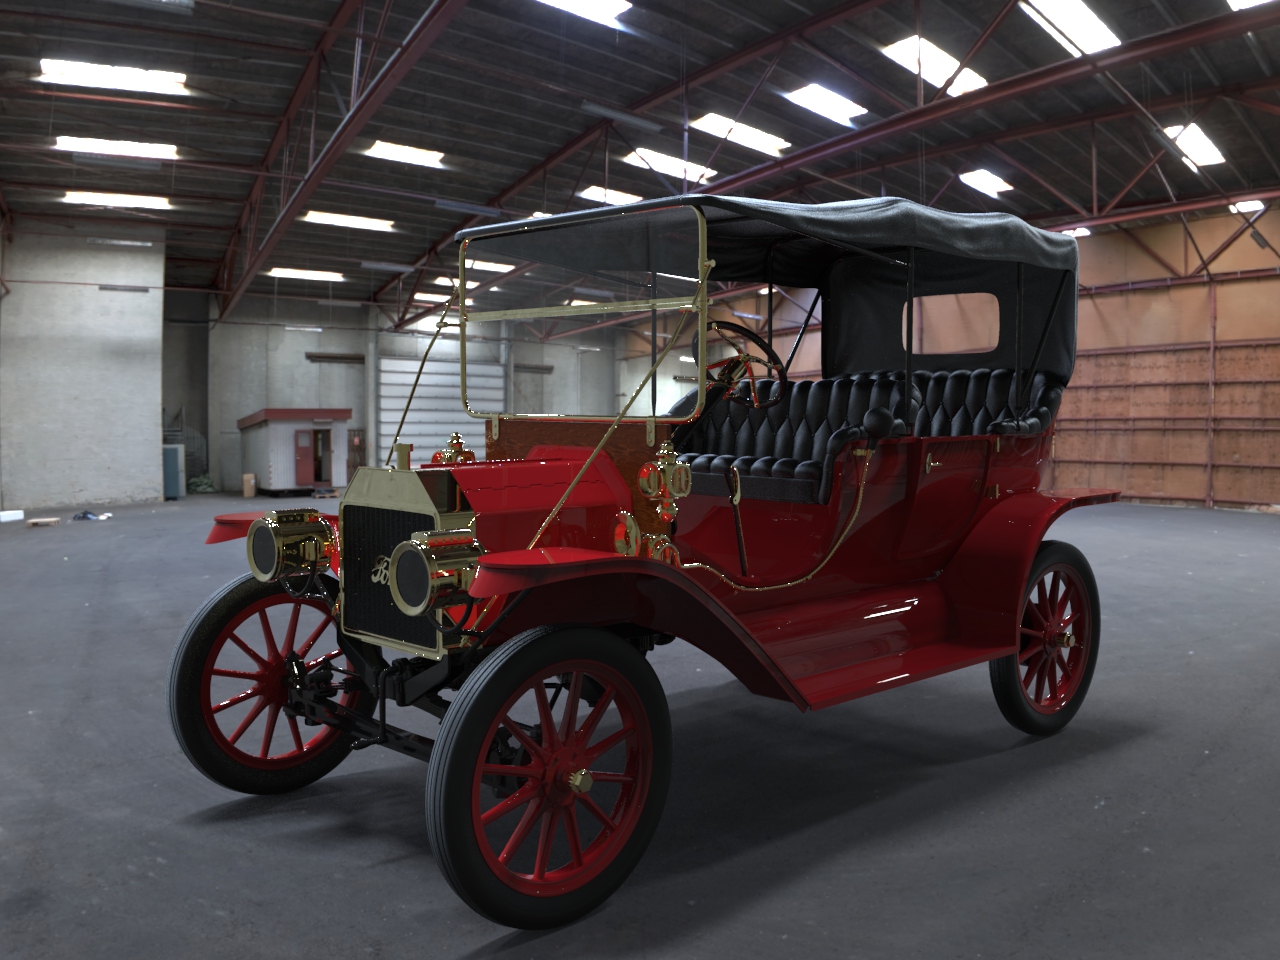
A couple more tweaks to go but I think we’re pretty close to done with this one.
Attachments
I predict that you either get one of the last top row spots of 2016 or first spots in 2017 with this…excellent work!!! great details!!!
Didn’t Ma and Pa Kettle have one of these? or Professor Ned Brainard in the Absent Minded Professor?
happy new year!!  small_orange_diamondsmall_orange_diamondsmall_orange_diamondsmall_orange_diamond
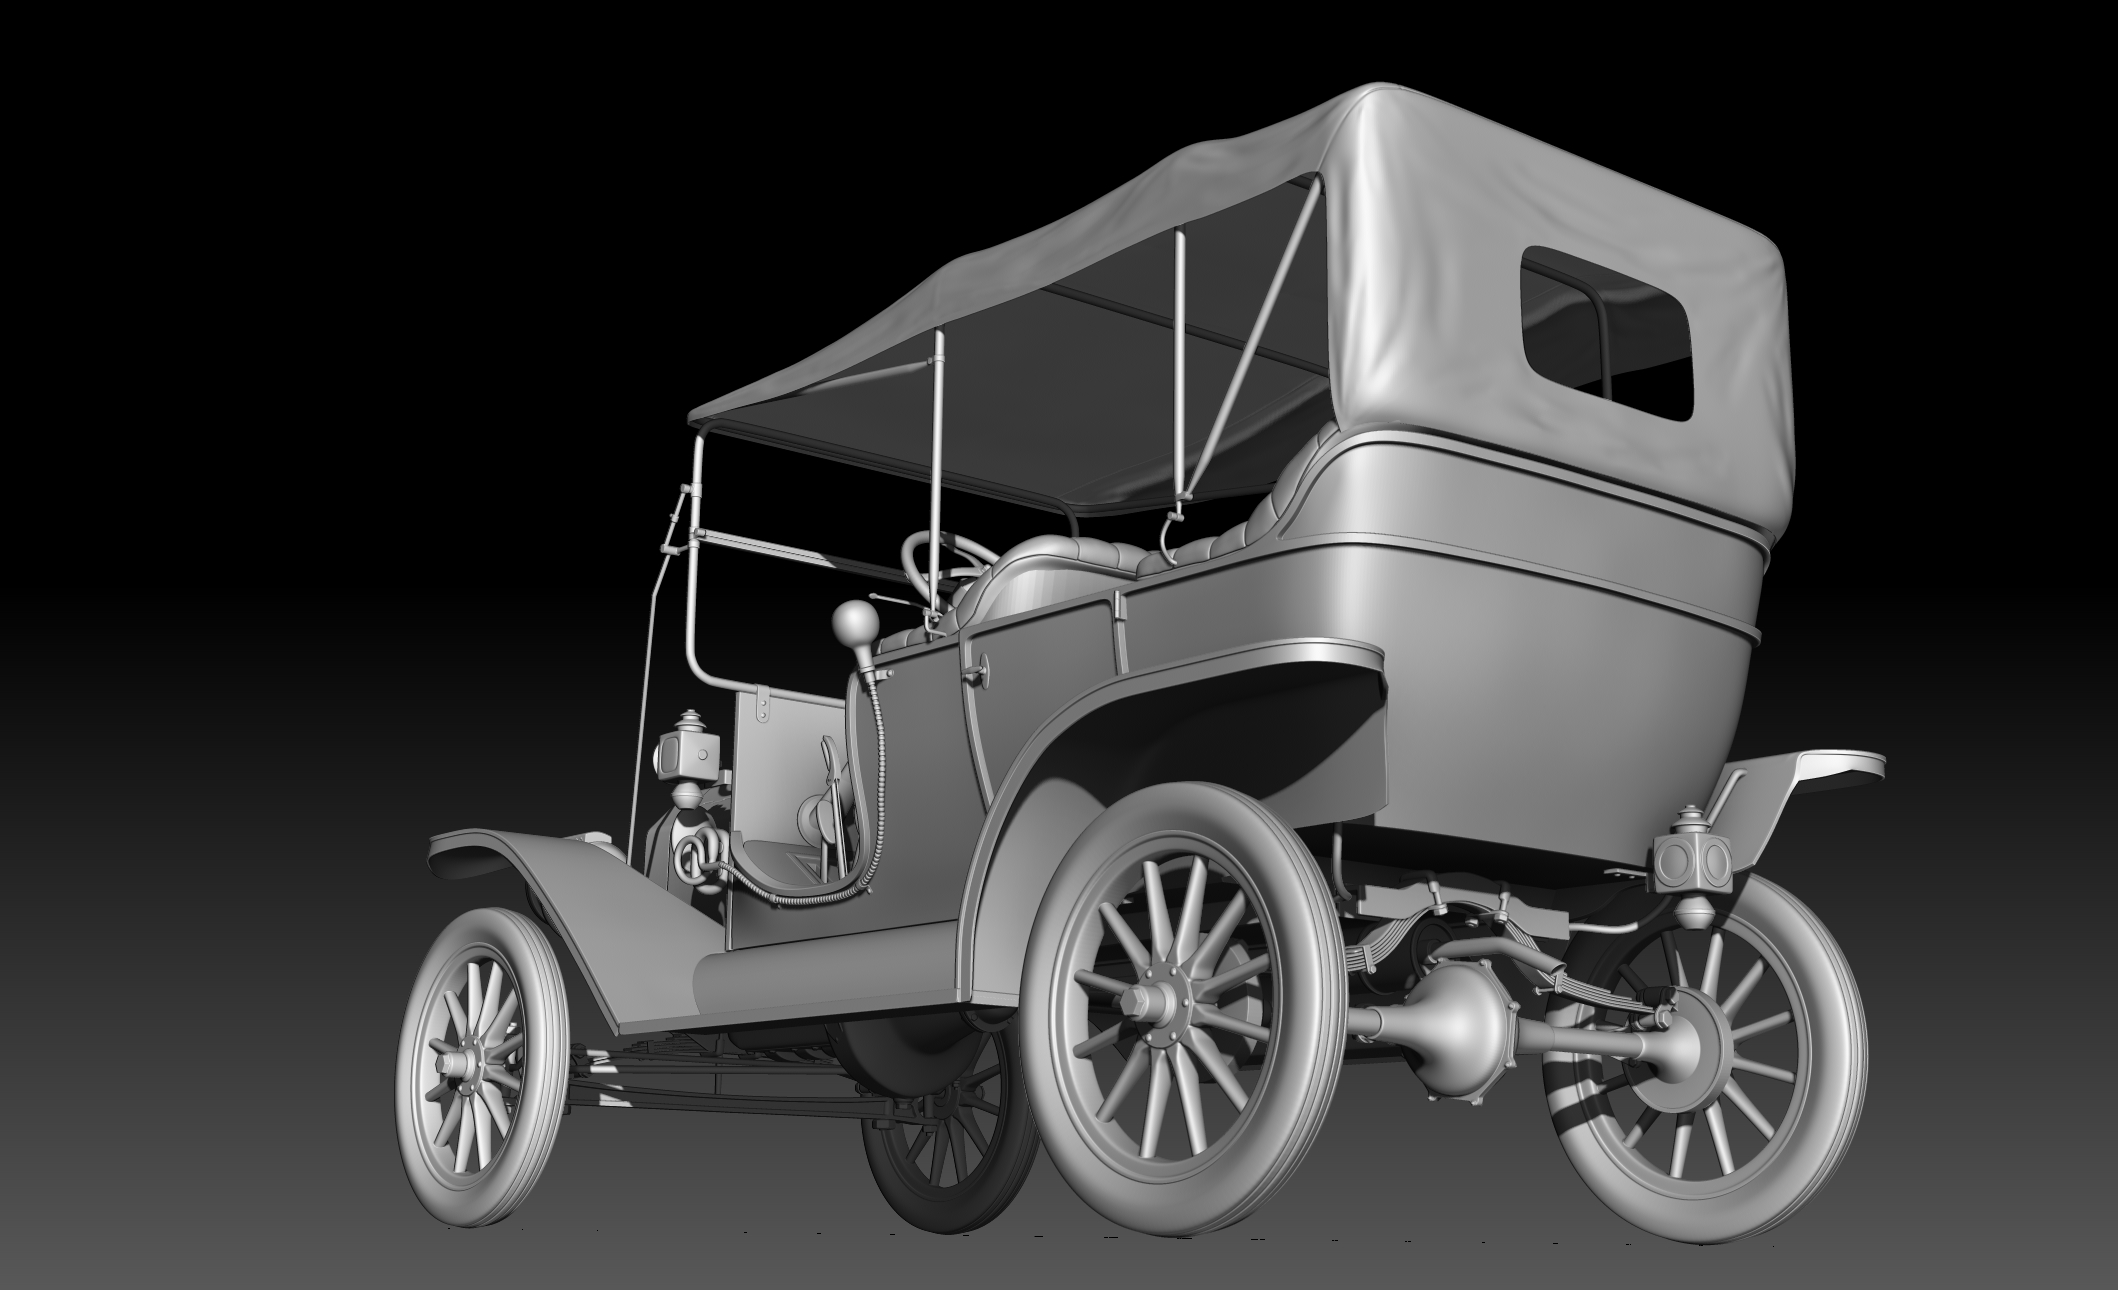
Thanks skinnybonez. I believe you may be right about the Kettle’s and the Absent Minded Professor. This is the 1909 version. Here’s another render from Keyshot.
Attachments
That’s really good work. The tyres could be a bit darker, the Mold Tech rubber and leather materials in Keyshot are much better than the stock Keyshot ones. I’m not sure if the Mold Tech materials still come with Keyshot as I saved mine from an earlier version. But you can probably still download them from the Keyshot site or through the cloud download function.
I just opened Keyshot and checked and the materials are still available. In KS5 and above you can get them by clicking on the cloud download and typing in “Mold-Tech” and picking the materials you want to download. In KS4 and earlier you can still get these materials from the Keyshot site, manually downloading and installing.
Thanks dillster I’ll take a look
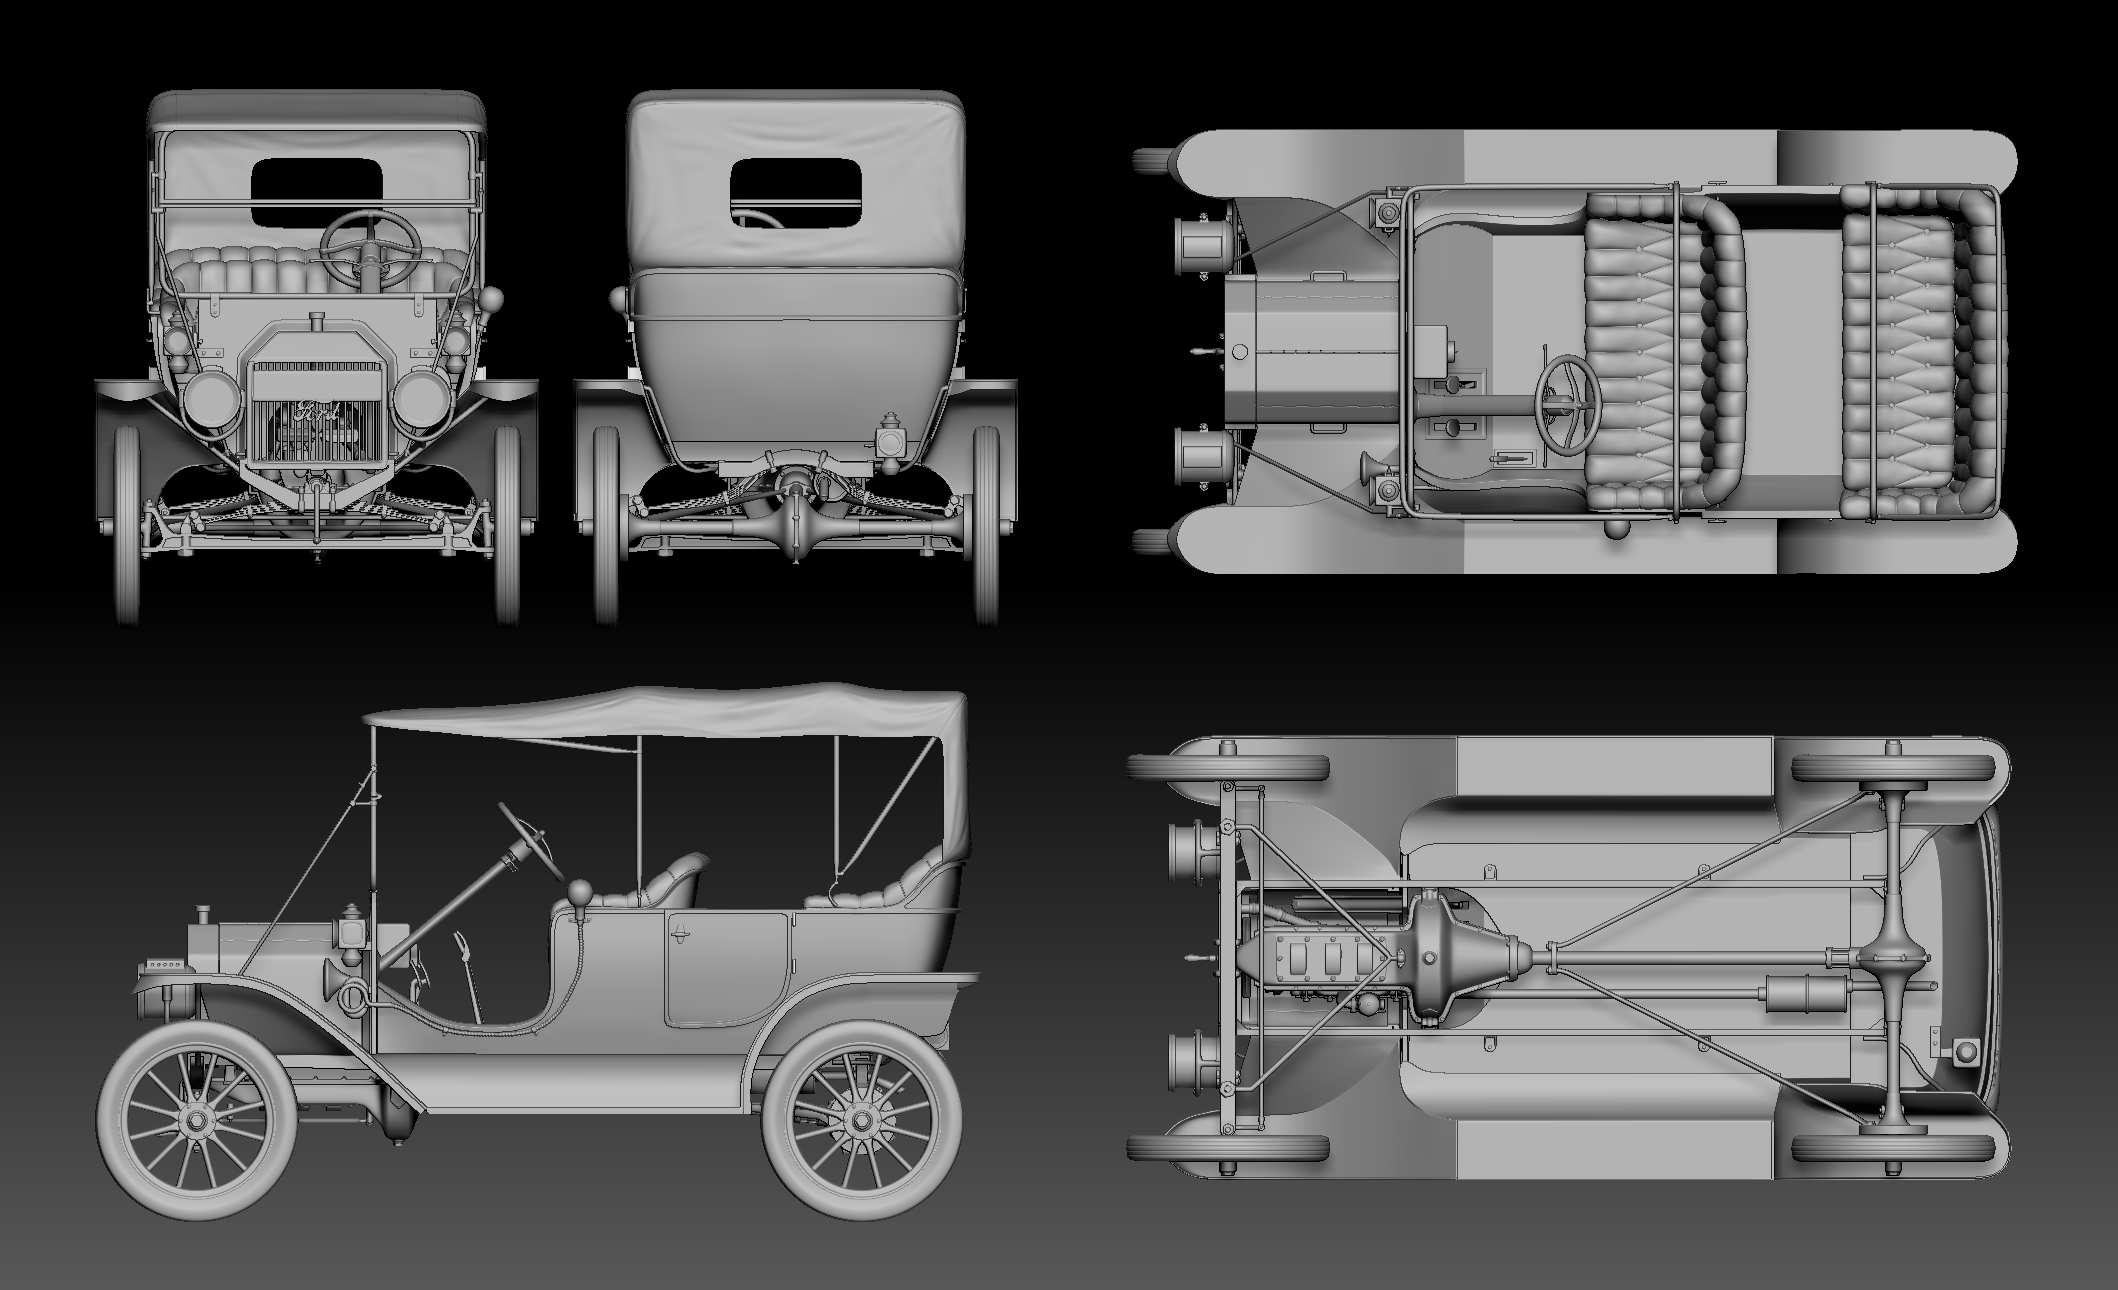
Finally getting around to working on this model again. I need to work on the interior and undercarriage, but the exterior is pretty well complete.
Attachments