ZBrushCentral

Daeschri-Sketchbook

I’m finally starting my sketchbook :slight_smile:

I wanted to share some of my sculpts with the community. I’ve been a huge fan of many of the works that get posted on ZBC and it keeps me motivated to improve my own skills. I hope to keep this thread updated with new pieces as frequently as possible. I look forward to all comments and critiques.

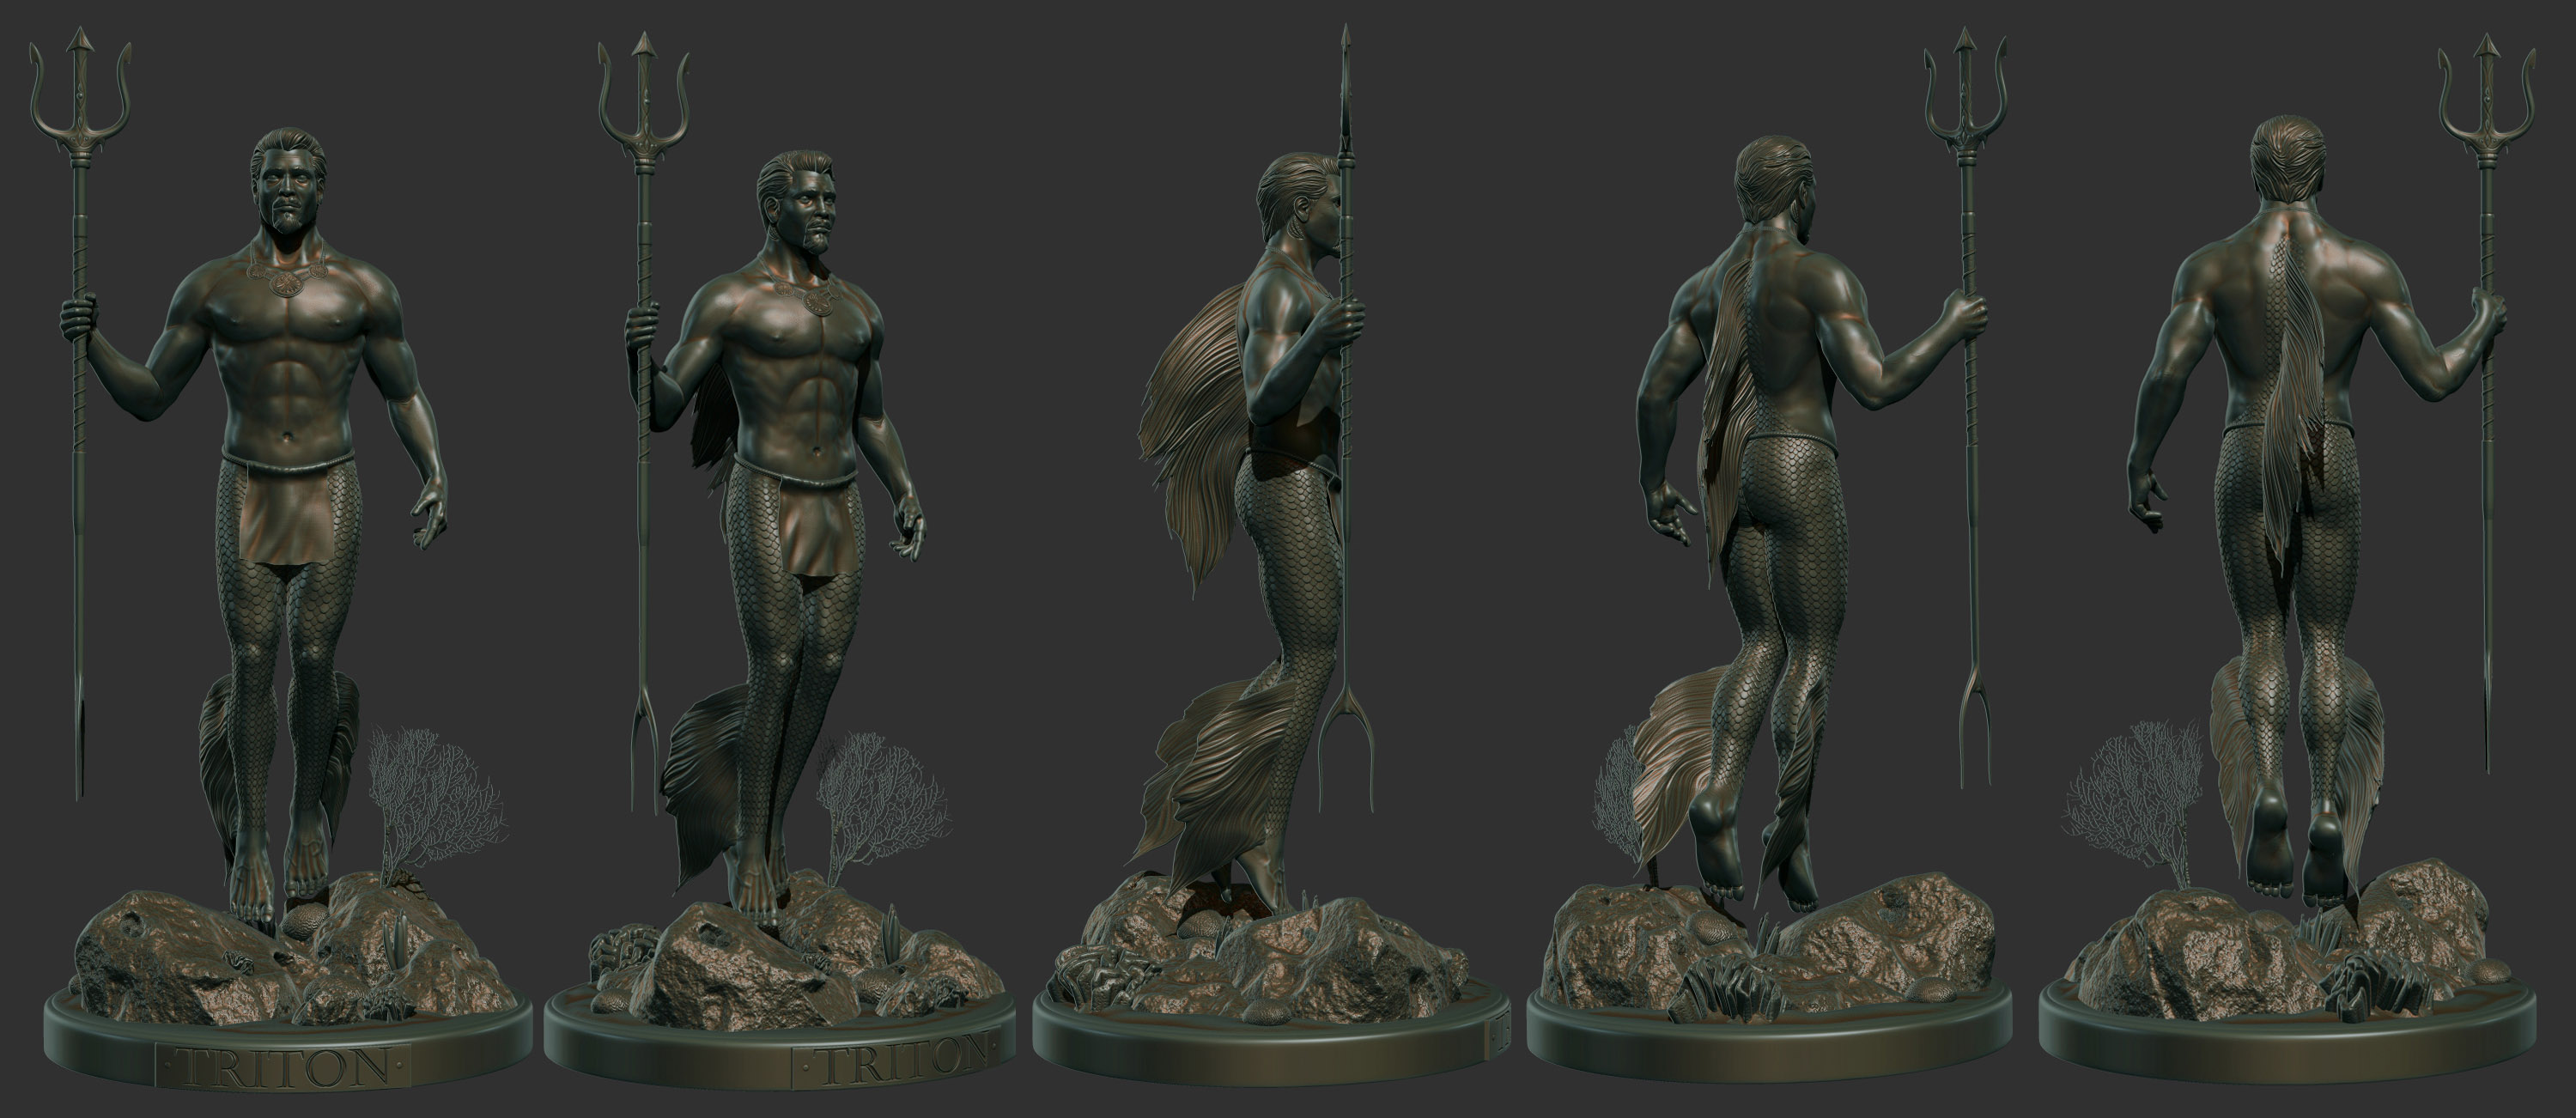
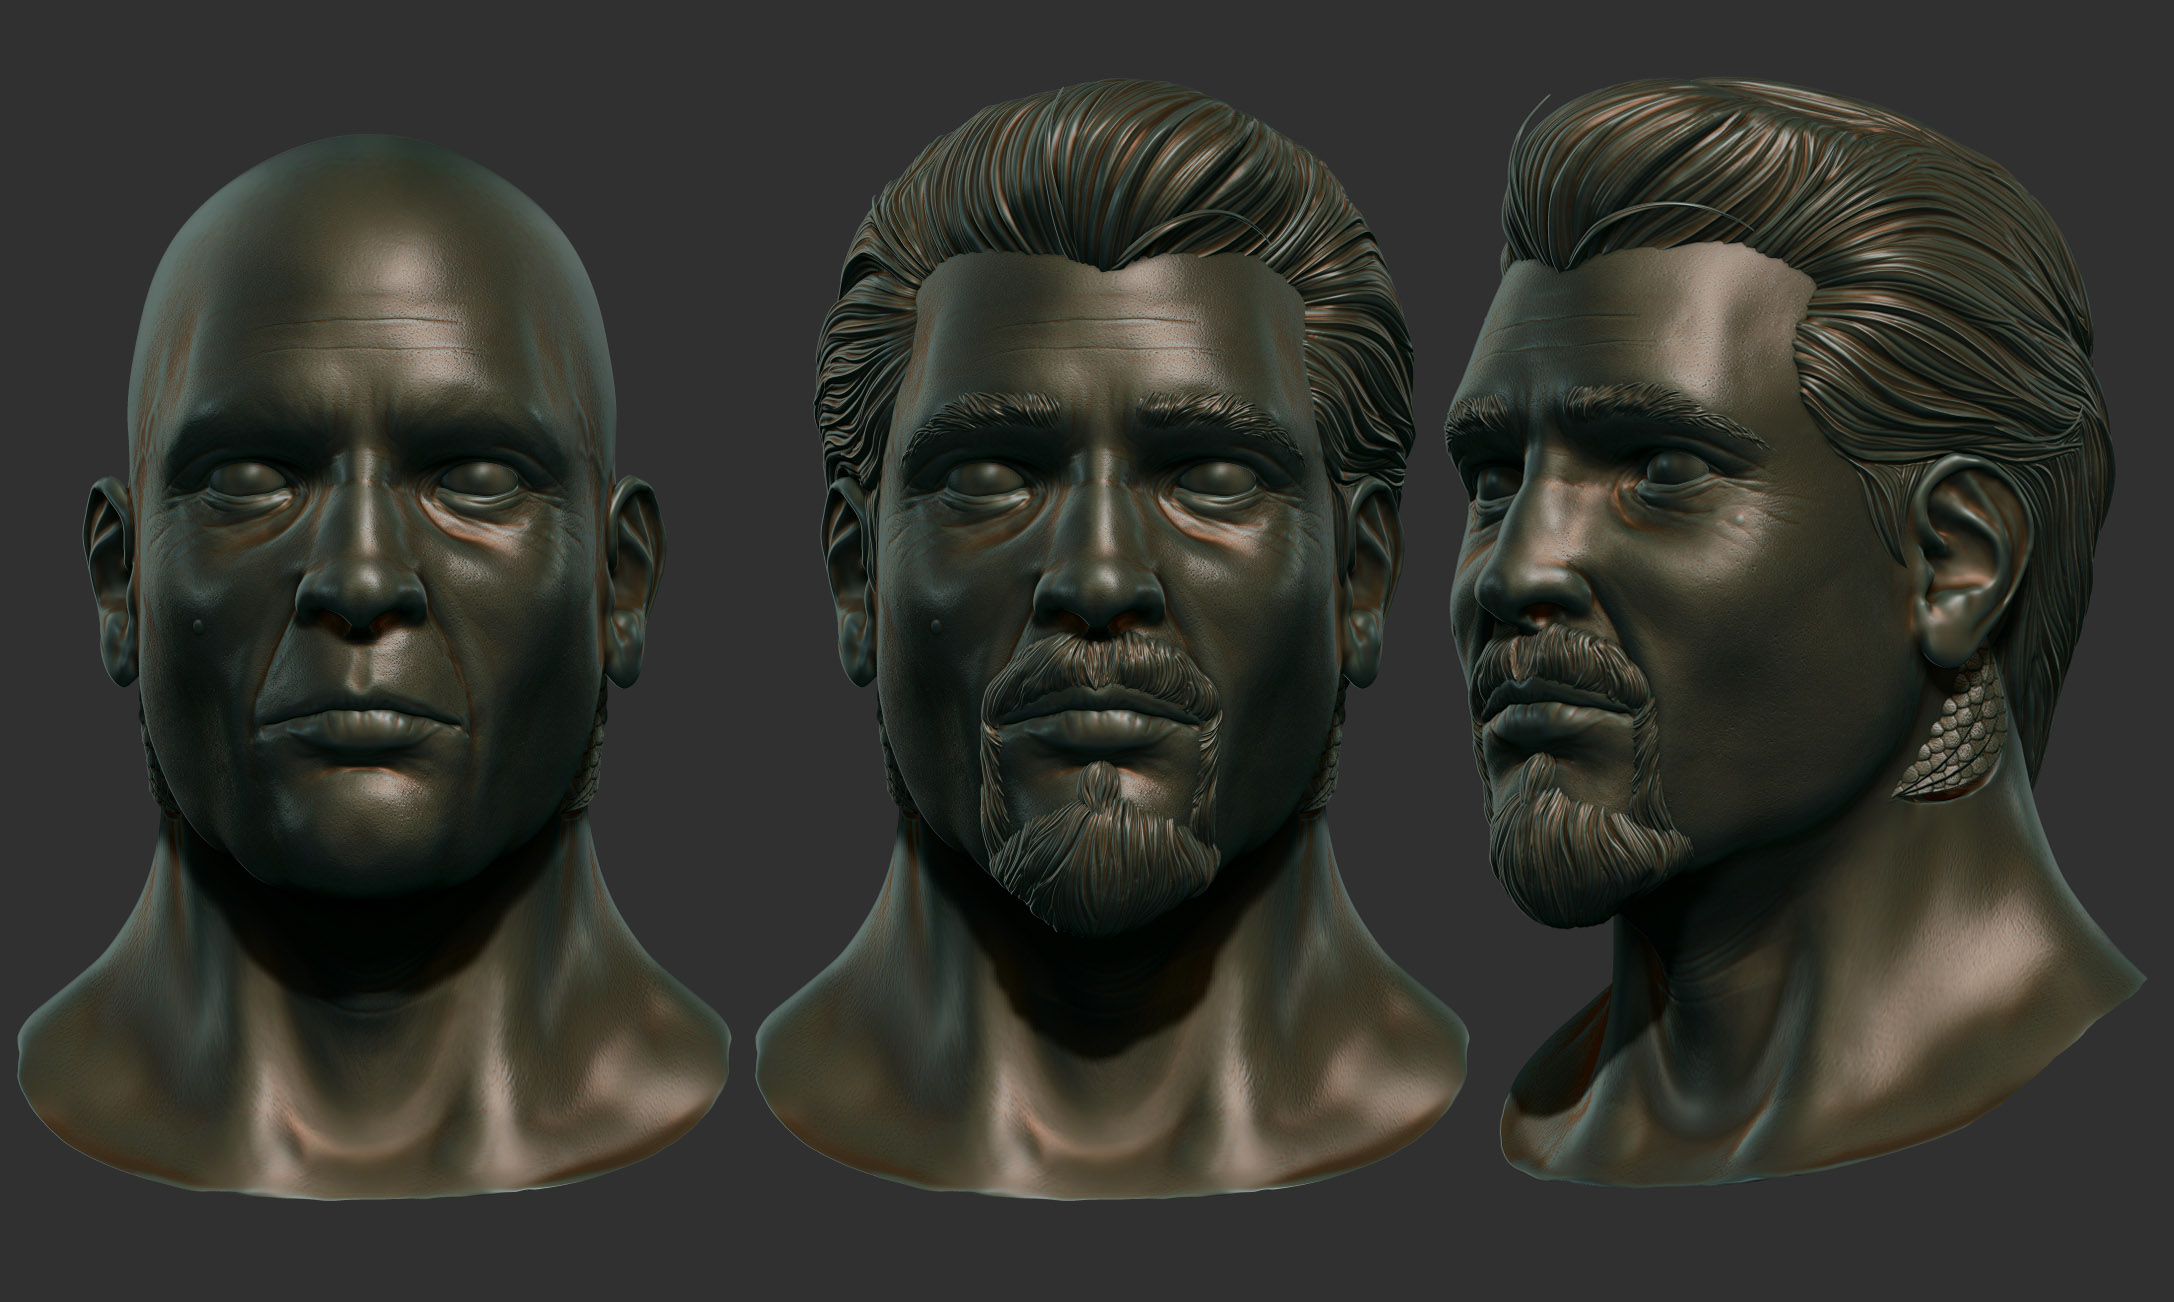
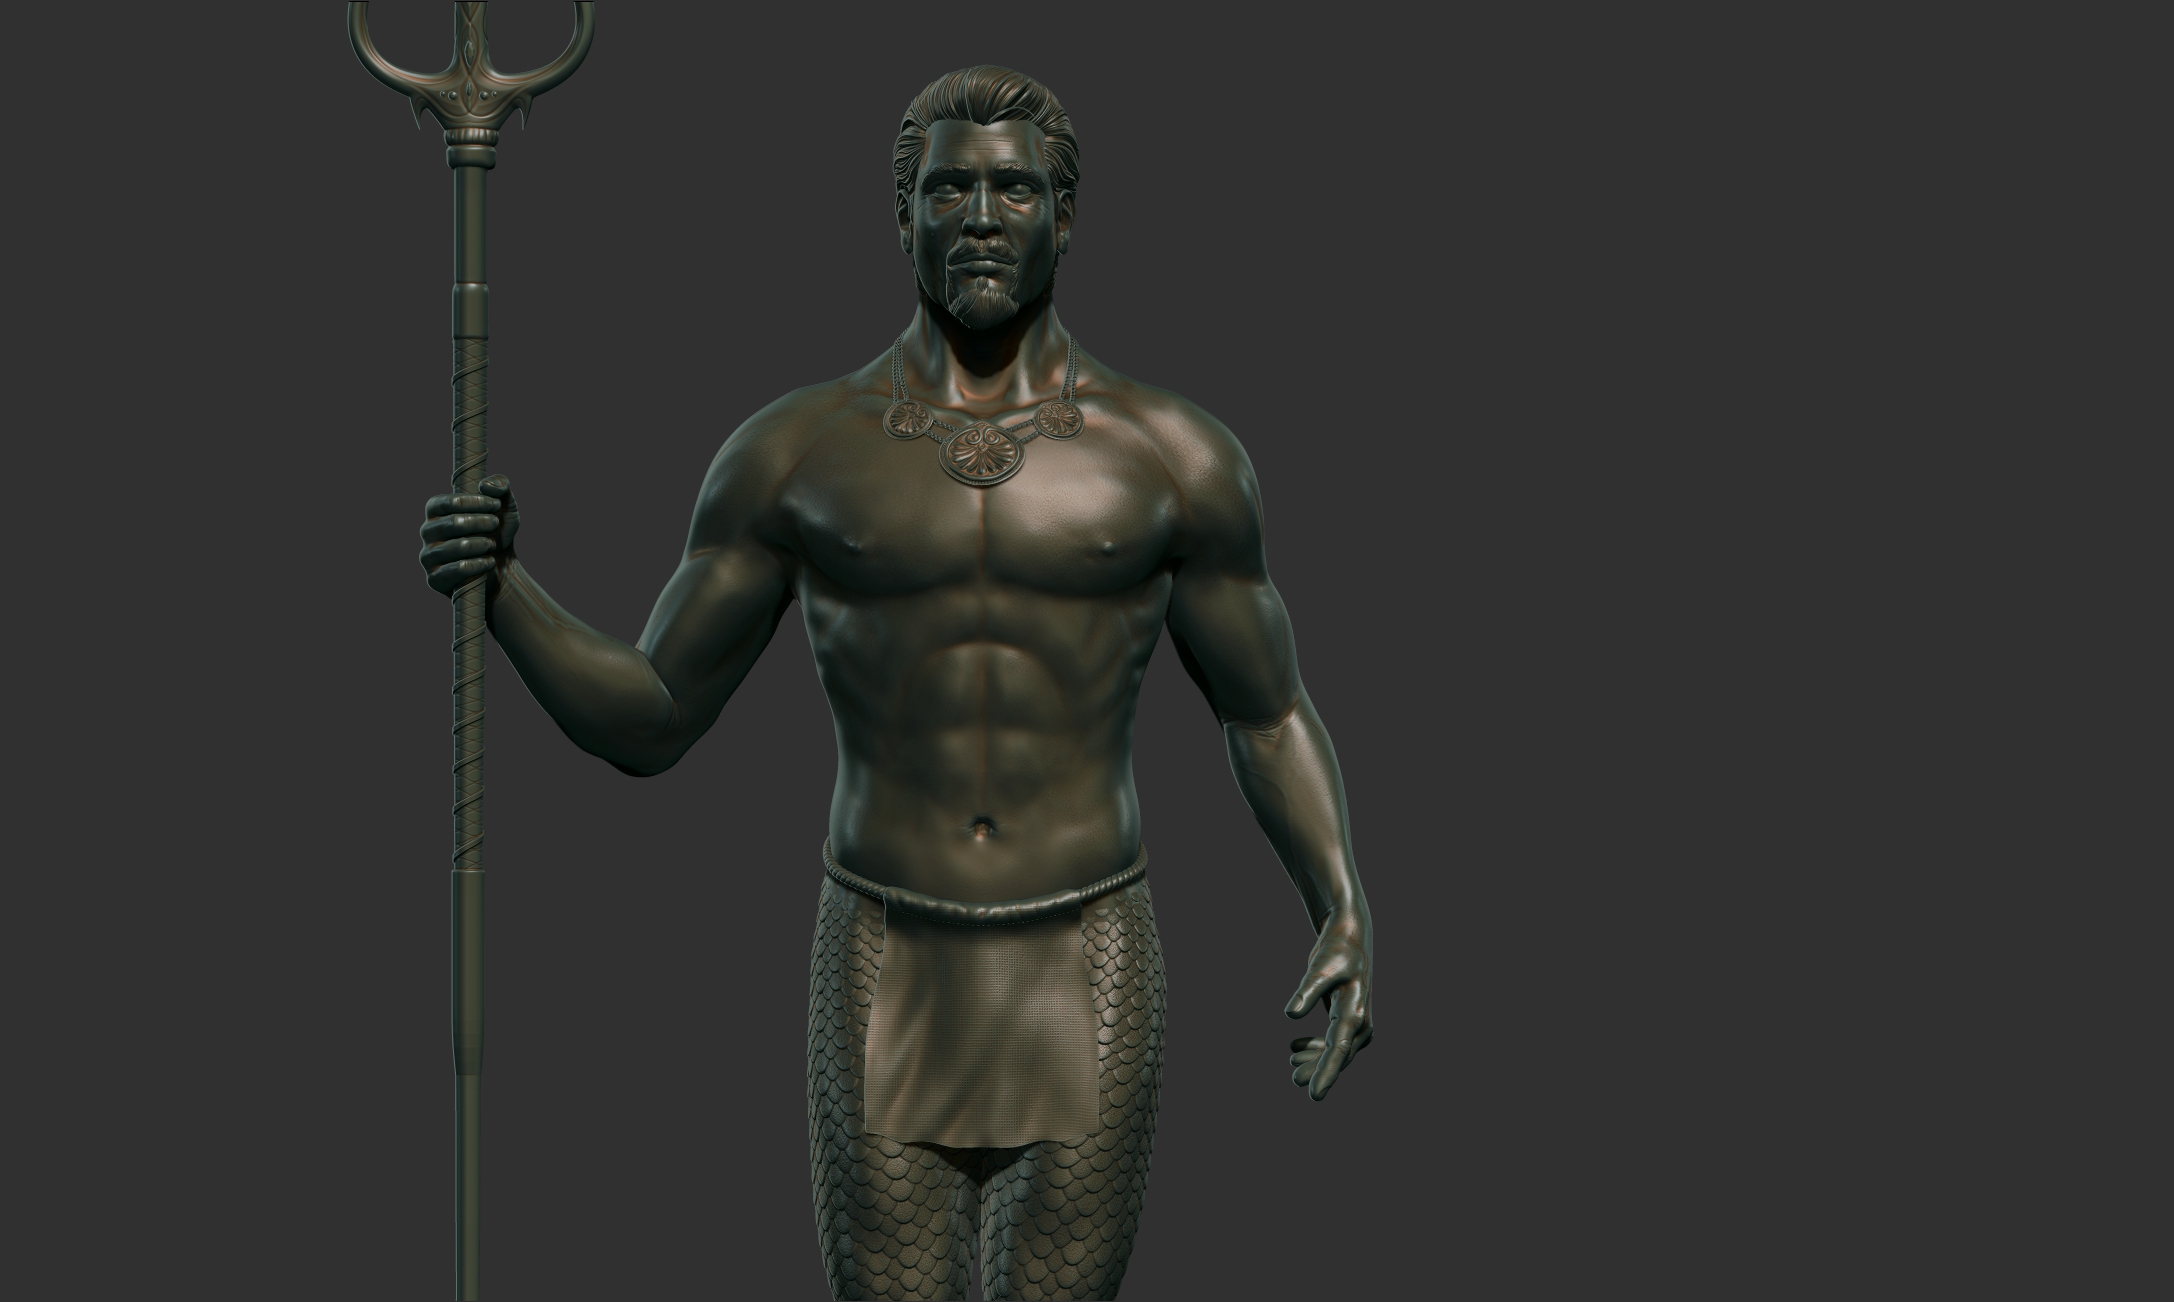
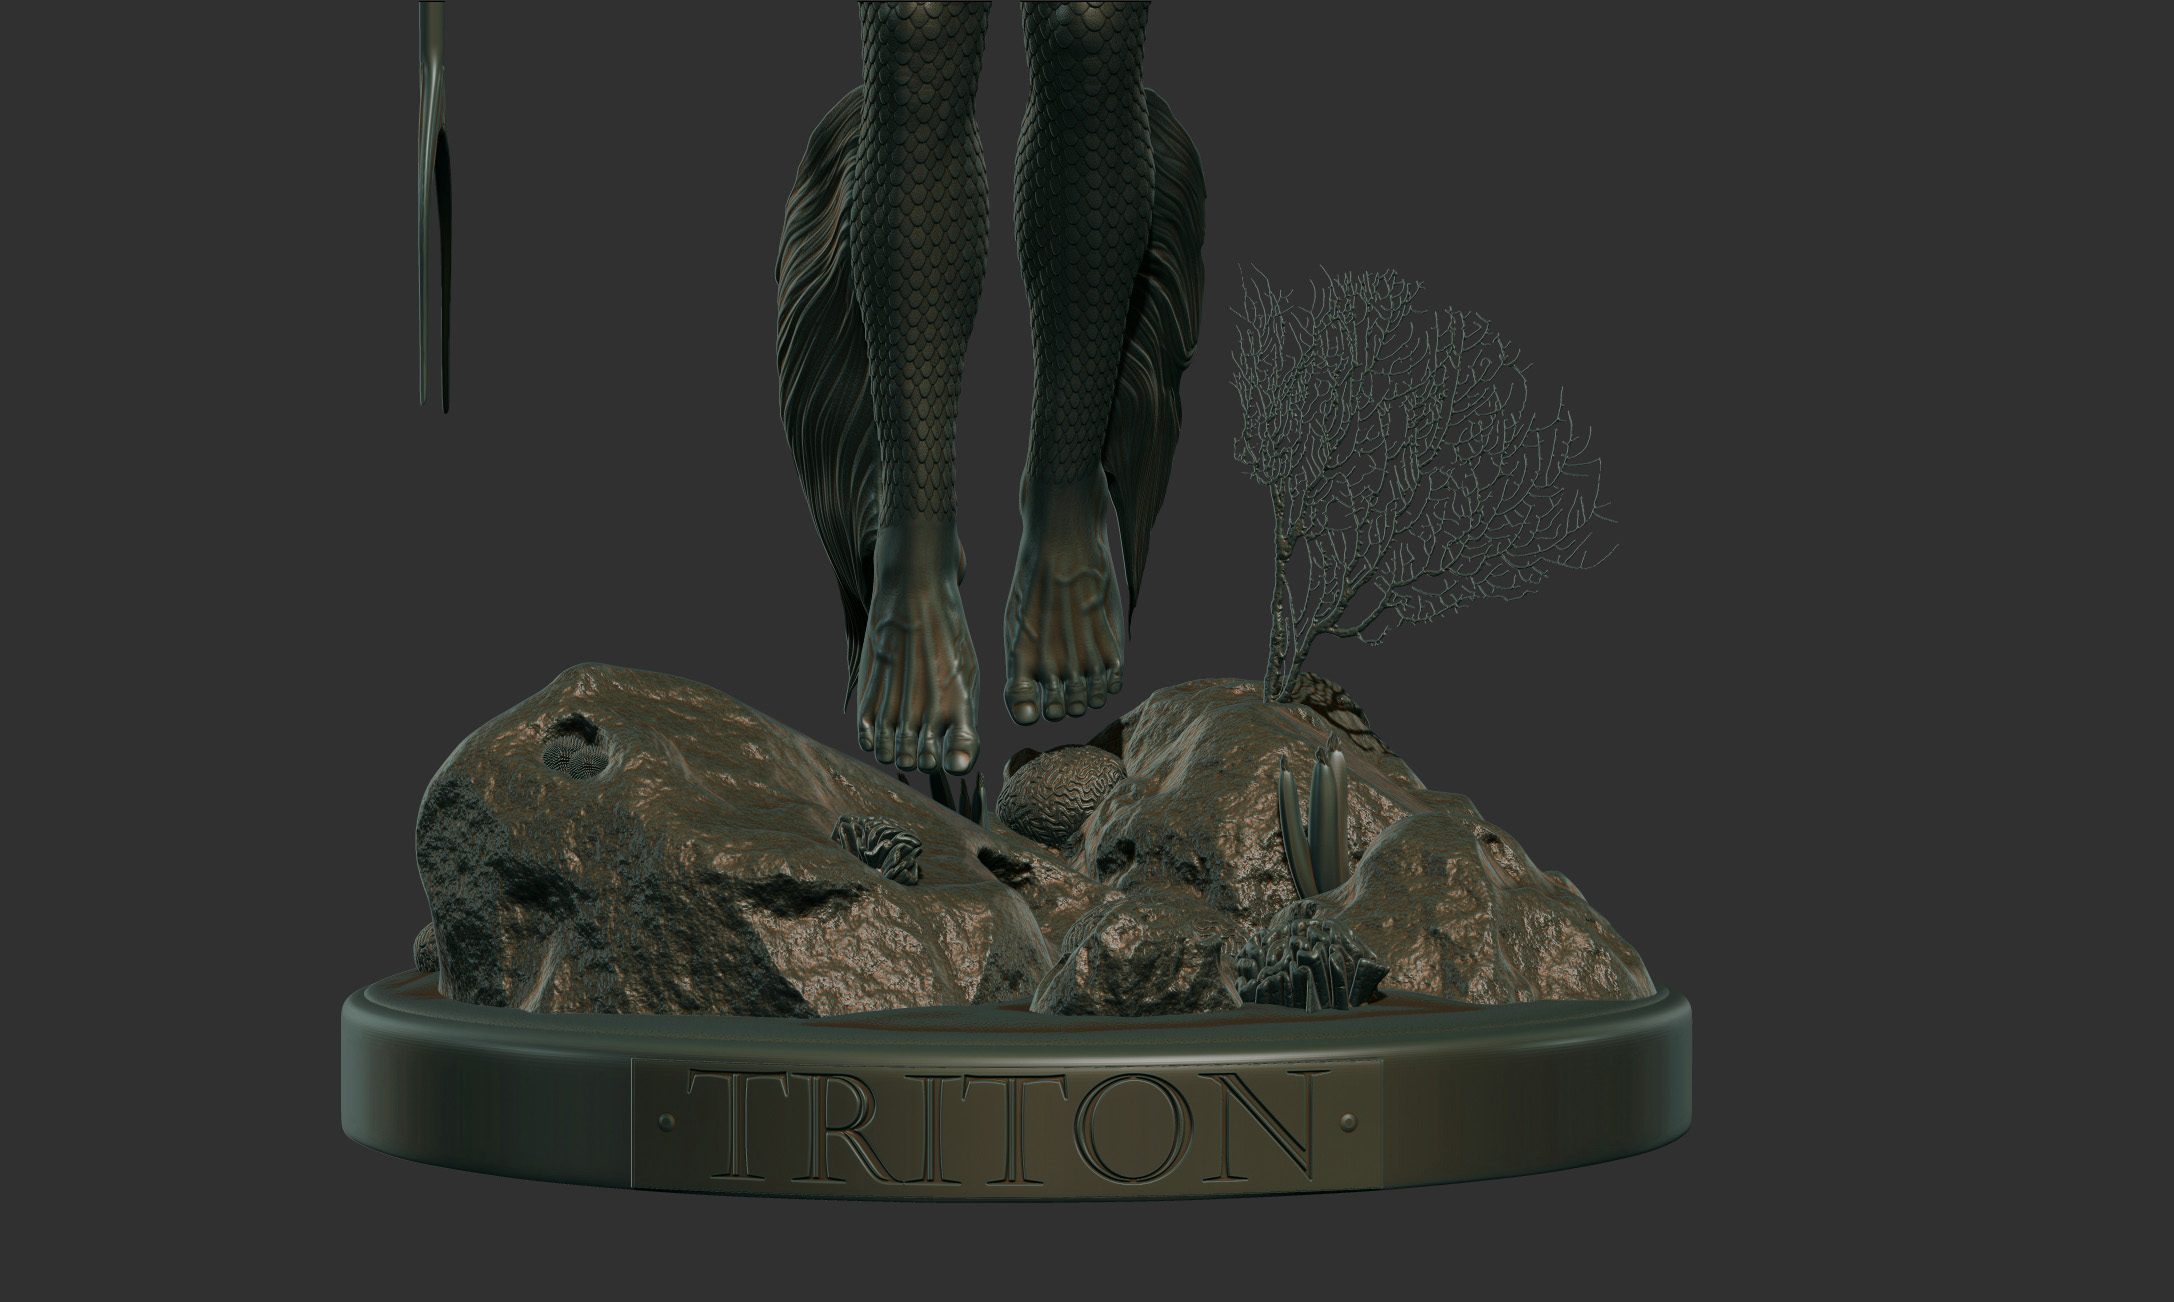
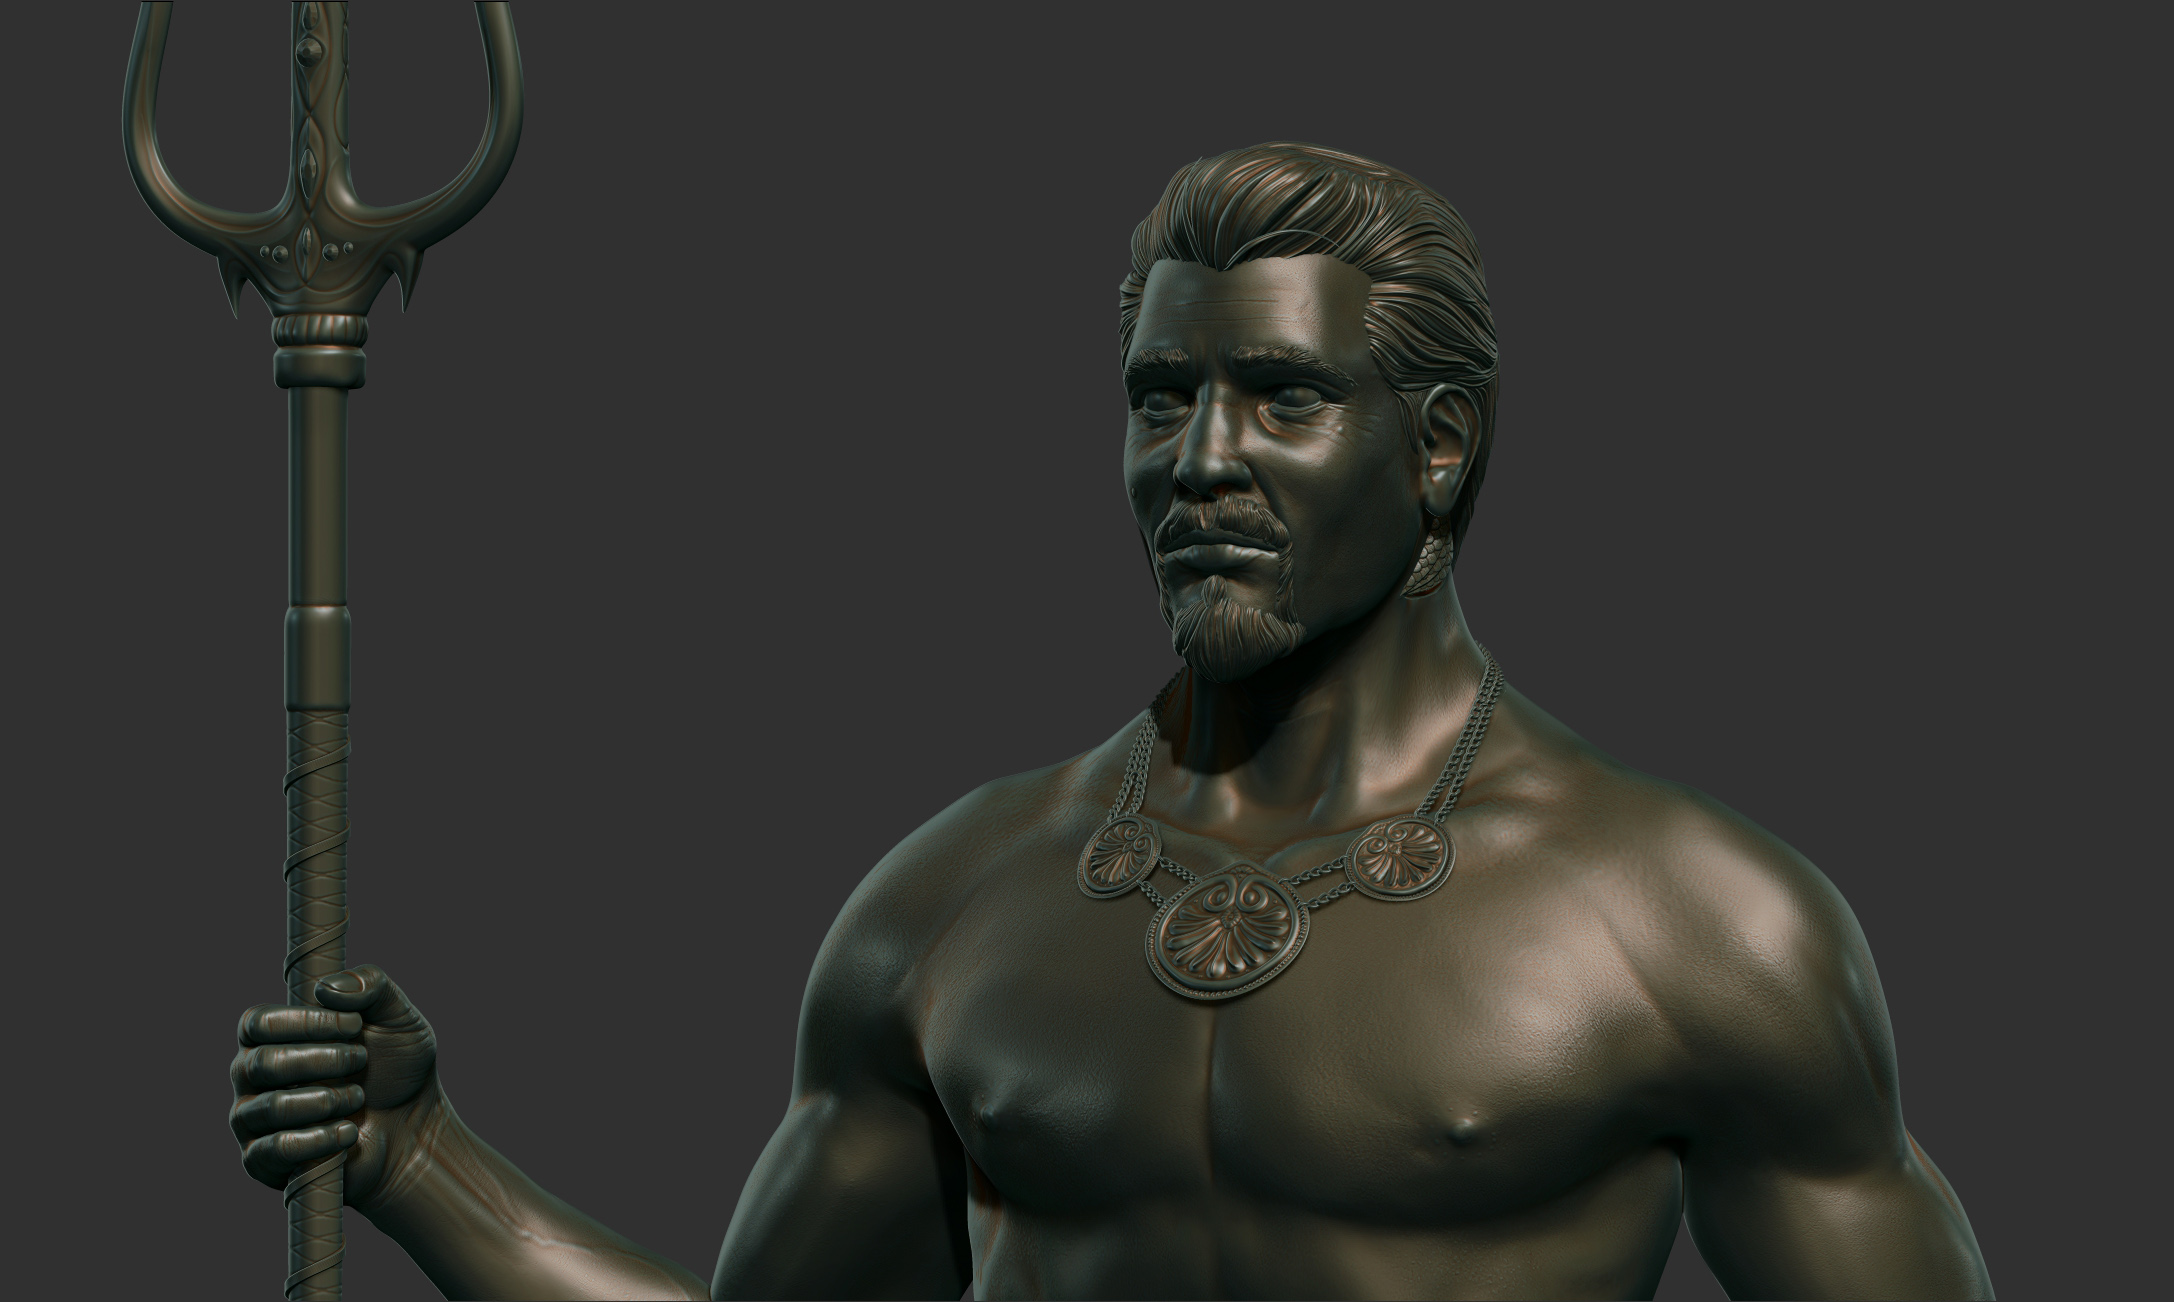
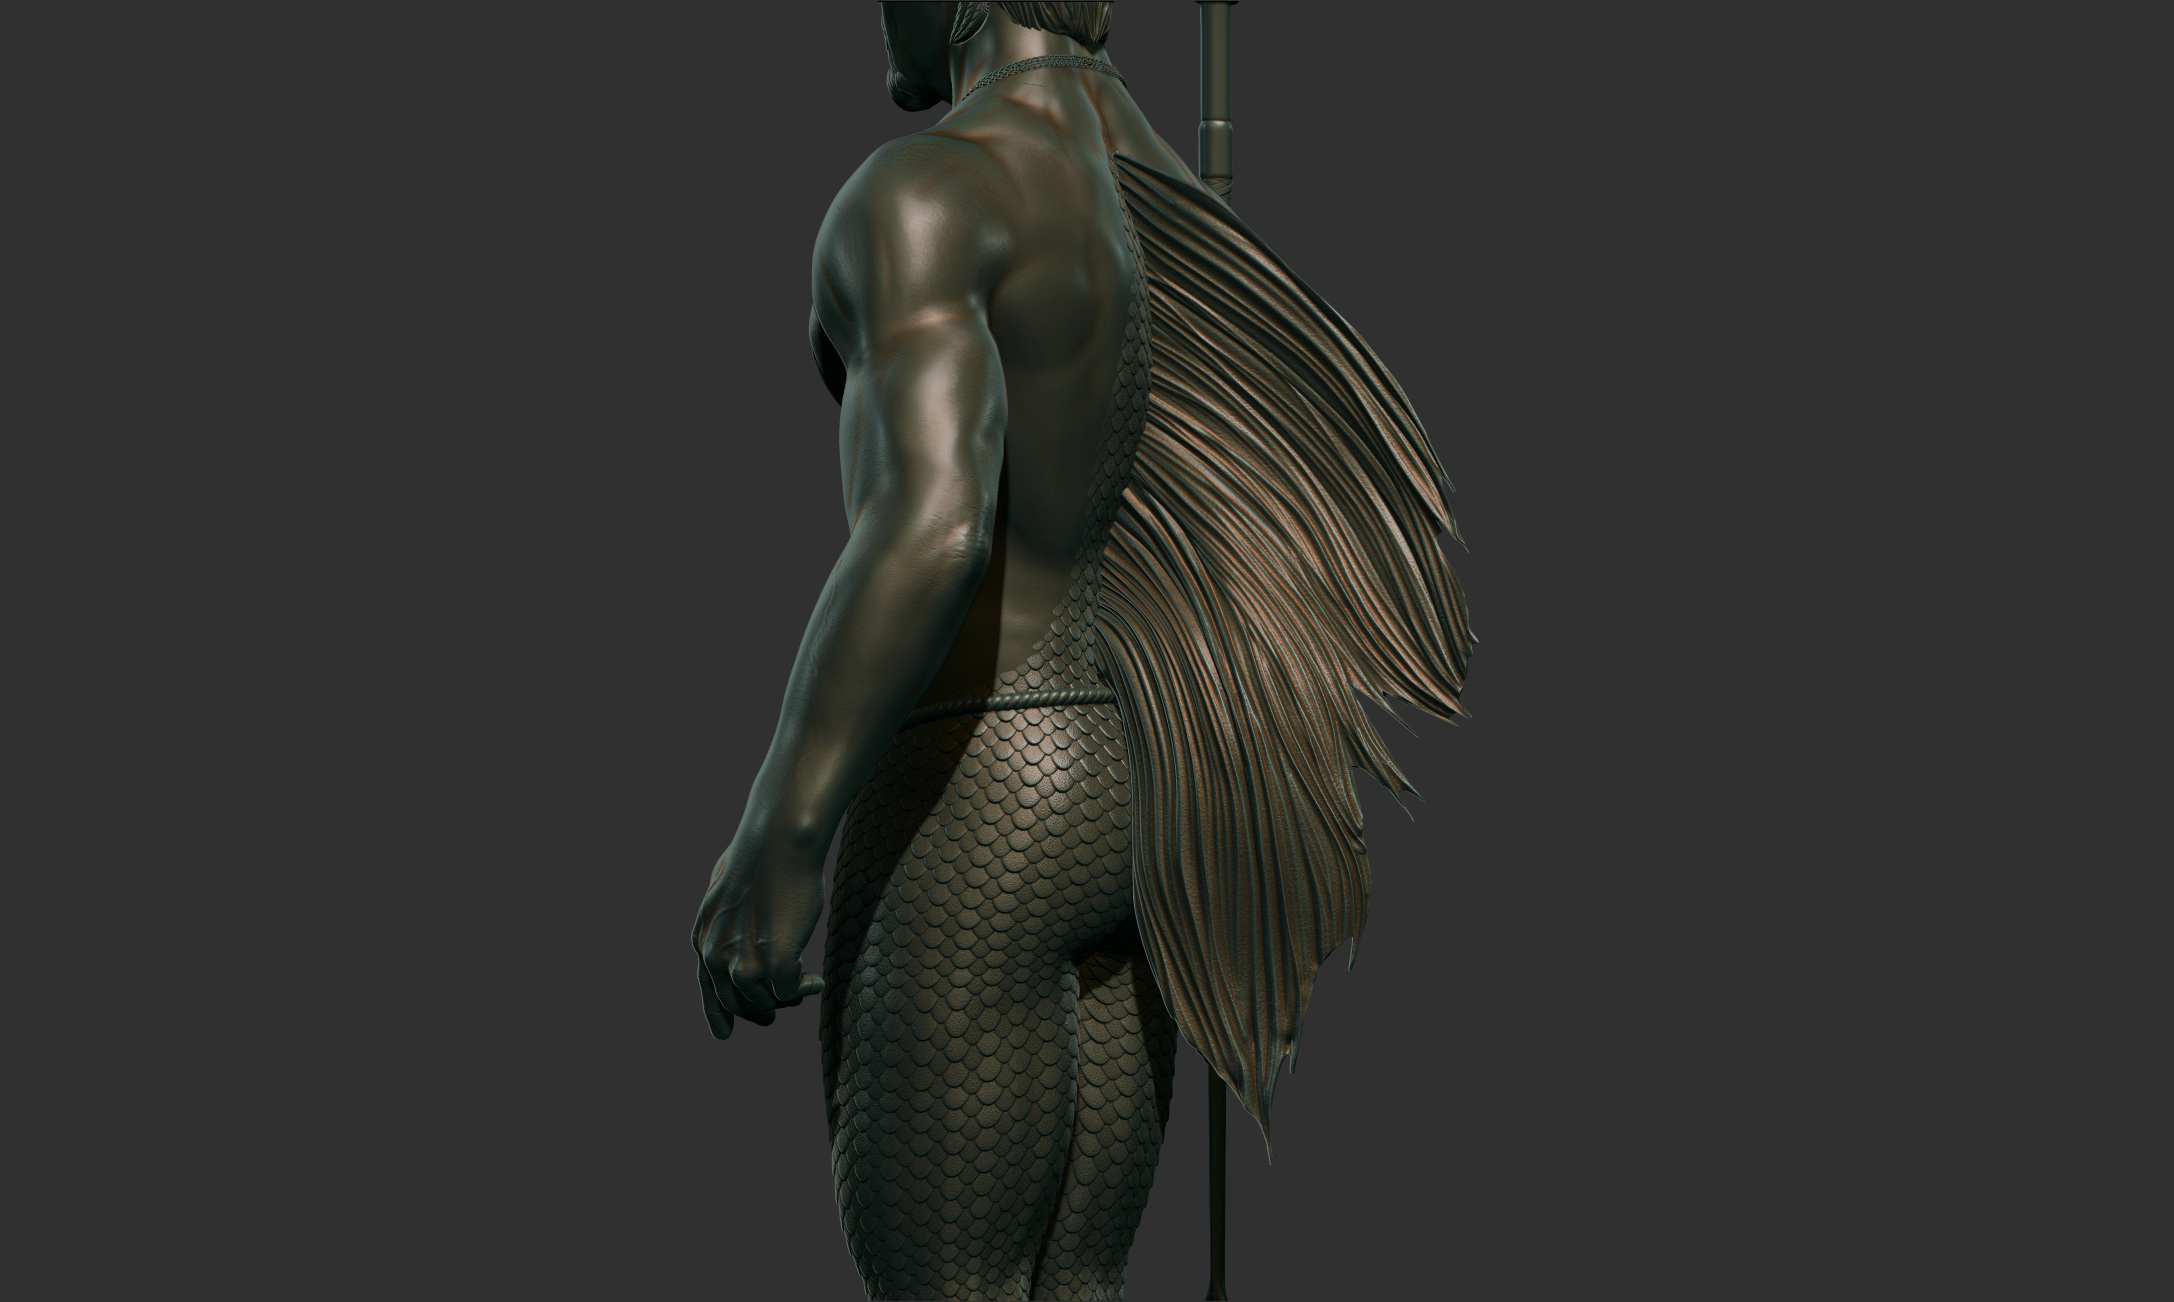
This first post is of my vision of Triton the son of Poseidon.

Thanks,
David

Attachments

Triton_1.jpg

Triton_2.jpg

Triton_3.jpg

Triton_4.jpg

Triton_5.jpg

Triton_6.jpg

Hello David,

I’m really impressed by how clean the hair sculpt looks. Could you explain your workflow on this specific part please ?

Thanks, I have spent a lot of time on sculpting hair for work. It’s helped me develop my workflow.

I usually start with a polysphere on SDlvl 2 and use the move tool to get a rough idea of the placement of my hair. I then begin to add and subtract with the clay buildup brush to help flesh out the form. Once I have a rough idea of the direction I’m going in, I smooth the surface to have nice clean curves and divide the polysphere to SDlvl 4 or 5. This is where I switch to using mostly the Damien Standard brush with lazy mouse. Over the entire mesh I place about a hundred of short and interweaving subtractive strokes. This gives me the general flow of my hair. From there I begin to switch between additive and subtractive strokes still with the dam standard brush placing each successive stroke between my originally placed subtractive strokes. Then I keep working each stroke in between the lines. Midway through I might remesh and re-project the details if I find I’m getting too much banding from the original stretched mesh. Then I keep dividing and adding more strokes. It’s very tedious but I feel it provides a pleasing look. For this particular sculpt I added additional strands of hair from zspheres and blended them into the hair also using the dam standard stroke to add finer details.

I hope that helps.
D

Removed Corrupt Images From Post

Thanks a lot David. One day, if you get to record it, I’m sure it would be very interesting to watch.

I wanted to share my latest piece. I’ve been working on it on and off over the past month whenever I had the time. It’s all Zbrush except for a few uv adjustments done in maya and the final comp in photoshop.
This started from a polysphere and I used dynamesh and Zremesher a lot. Now I can’t think of working without using them. The little accessories were created from custom curve brushes.

Nice concept with the flute player, and great job done on it also…:+1:small_orange_diamond:)

:)Glenn

Thanks, I usually have trouble coming up with decent concepts on my own and normally work based on designs from others. This was a fun challenge.

Being a science fiction person I find this last piece irresistible. I like the feeling the scene gives me. Thanks for posting.

It is inspiring!!! :+1:small_orange_diamond:+1:small_orange_diamond:+1:

Thanks a lot. I’m really glad it had any impact at all.

Thank you, I get inspired all the time from all the great work on this site. It’s nice to know this piece had the same effect. Btw, your work is fantastic. I really enjoy your pieces.

Here are the last of shots giving a better view into some of the detail. Hope you like.

Triton looks great love the scaling on him!

That forest child is awesome almost hear the strange music he produces!<object type=“cosymantecnisbfw” cotype=“cs” id=“SILOBFWOBJECTID” style=“width: 0px; height: 0px; display: block;”></object>

great stuff! any tips on how you created the scales on Triton?

Thanks, the scales were a fun challenge to get just the right look I wanted.

With the forest child I like that each person can come up with their own idea of what the sounds are.
I had a tune in mind when I made this but if I say what it was I feel it would take away the fun of it.

Thanks, for scales I usually create my own custom height maps that are tileable. I use that map as my alpha. I then go to the masking dropdown and I choose mask by alpha. I then go to deformations and perform an inflate operation. I find it the quickest way to get a large amount of scales done in the least amount of time.
Just note that your model needs to have proper uv’s for this to work.

Hi ZBC,

I can finally share this sculpt I did for a diesel watch campaign. It started out looking like a completely different person and this was the final design they settled upon. It was a quick project but fun since I only had to do sculpting :).
Currently there is a rendered still version up on their website.

Also, thanks pixologic for providing such a great tool to make my work fun.

So I’ve been trying to finally finish various personal projects over the past few days. Here is a cavern that I sculpted in zbrush. It started out as a production piece for a shot that was cut. I was then given permission to re-purpose it for personal use. I wanted to share my final version. I hope you enjoy.

I used Zbrush, Mari and sometimes Photoshop during the texturing phase. Everything else was done in maya and rendered in mental ray. water was done using the houdini ocean toolkit for maya. The comp was done in after effects with some extra detailing done to the still version in photoshop.

Below is an animated version of the scene.

Here’s a tiny update of the forest child close up. The previous sculpt was not designed to be viewed upclose so detail was very pixelated.

Hey ZBC, it’s been a while since posting anything new.
This is a piece based on the artwork of the same title by Noah Bradley.
The modeling and sculpting was all done in zbrush, but the layout and adjustments were done in maya. It’s still just a work in progress and just a quick 3 second shot revealing the port city.

<iframe src=“https://player.vimeo.com/video/150905038” width=“500” height=“281” frameborder=“0” webkitallowfullscreen="" mozallowfullscreen="" allowfullscreen=""></iframe>

awsum dude. must have taken ages to build.Is the city made with instances? whats the scale of the scene in maya?