Ok so here is my first go at Cyclops from the x men. He is a wip but this is what I have thus far using mainly the rake toll with alpha 1 carving in and out as well as masking for the eye wear. Hope you like. Give me any pointers and critiques as well. I have a lot more to do on him.
i recomend modeling the head first and then makeing his visor later as a subtool. there’s a tutorial on how to do that with zspheres.
but good first try though. since your new try making something less detailed and complicated. I started out with just a human body.
Hey man, try using the flatten to brush to make his eyewear a more hard-edged look. Also, the neck needs some defining. Good job man and keep going at it…get as many references as you can and take your time to really look at the shapes and form.
Thx for replying and the tips. By the way I am using a mouse. I did another hour with him and heres an update. I still have a lot more to do but here it is.
I have spent a few more hours with him adding detail. I want to polypaint him next and then finish detailing. What do you guyz think?[attach=134799]Capture.JPG[/attach] [ATn]=134800]Capture2.JPG[/attach] [attach=134801]Capture3.JPG[/attach]
Attachments
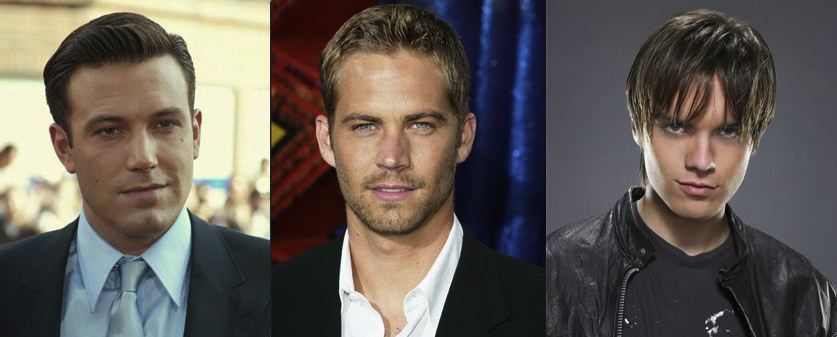
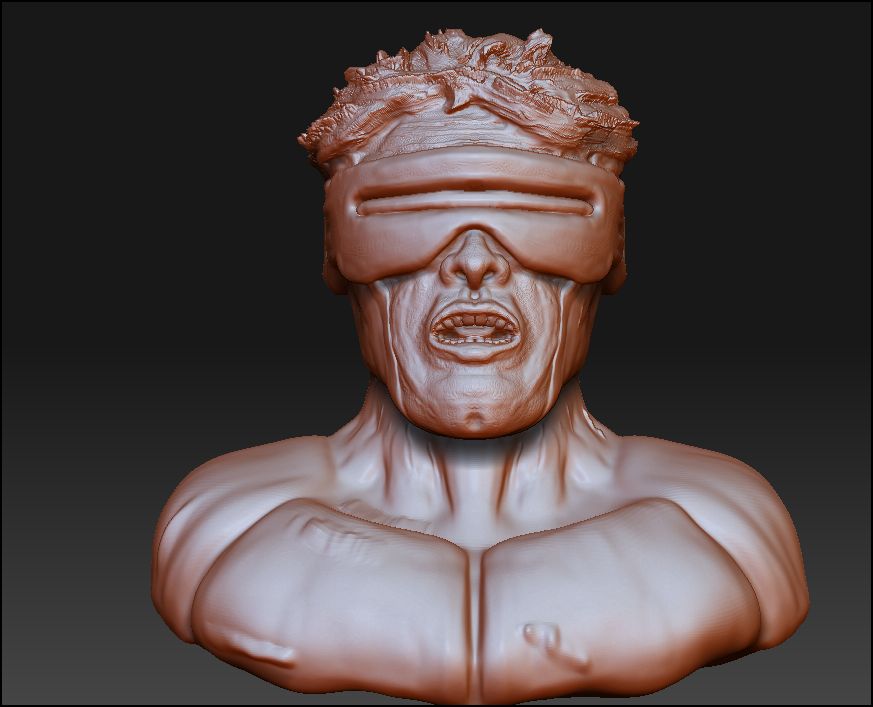
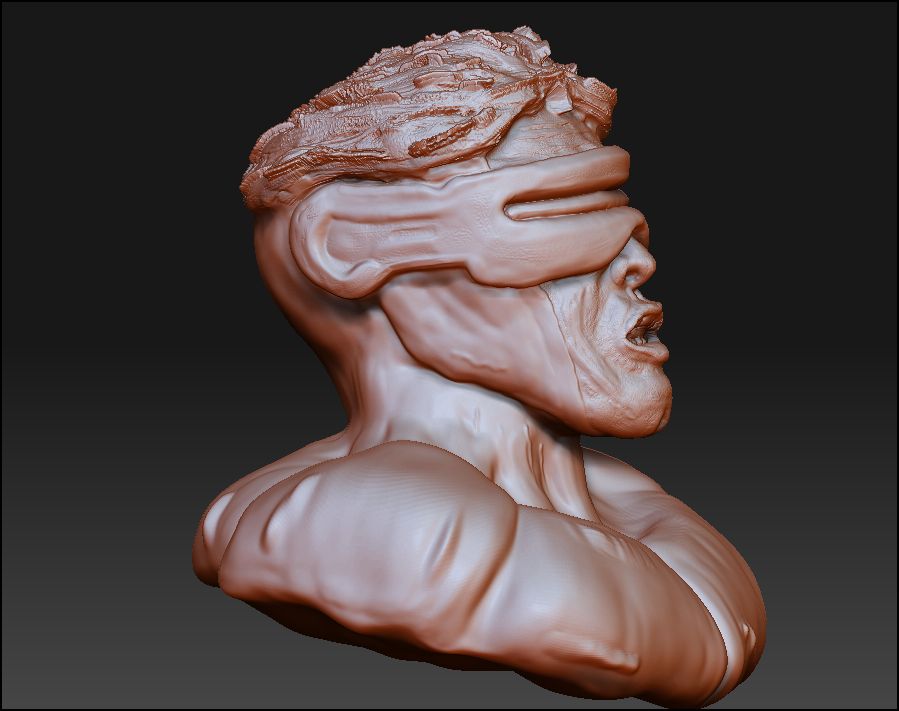
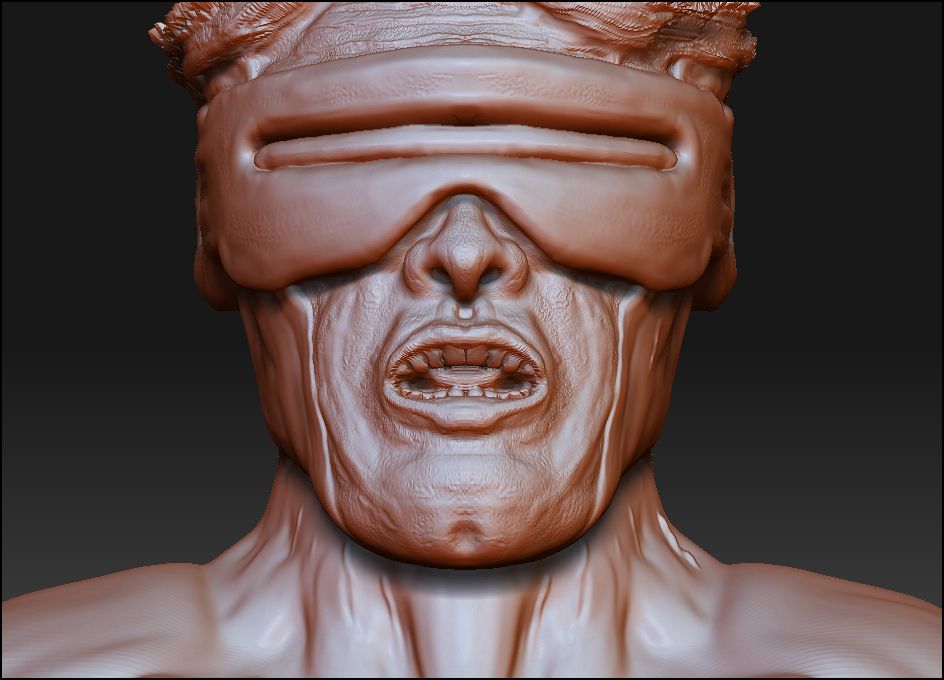
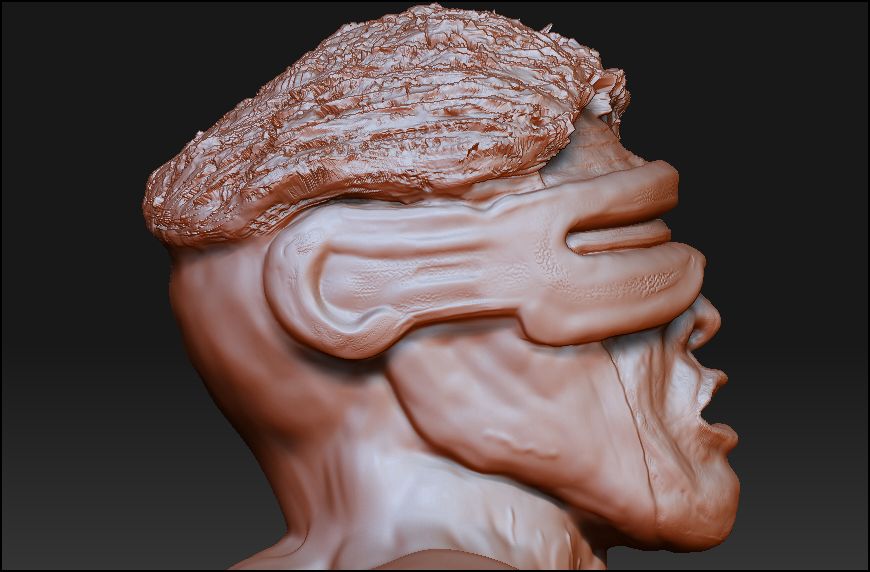
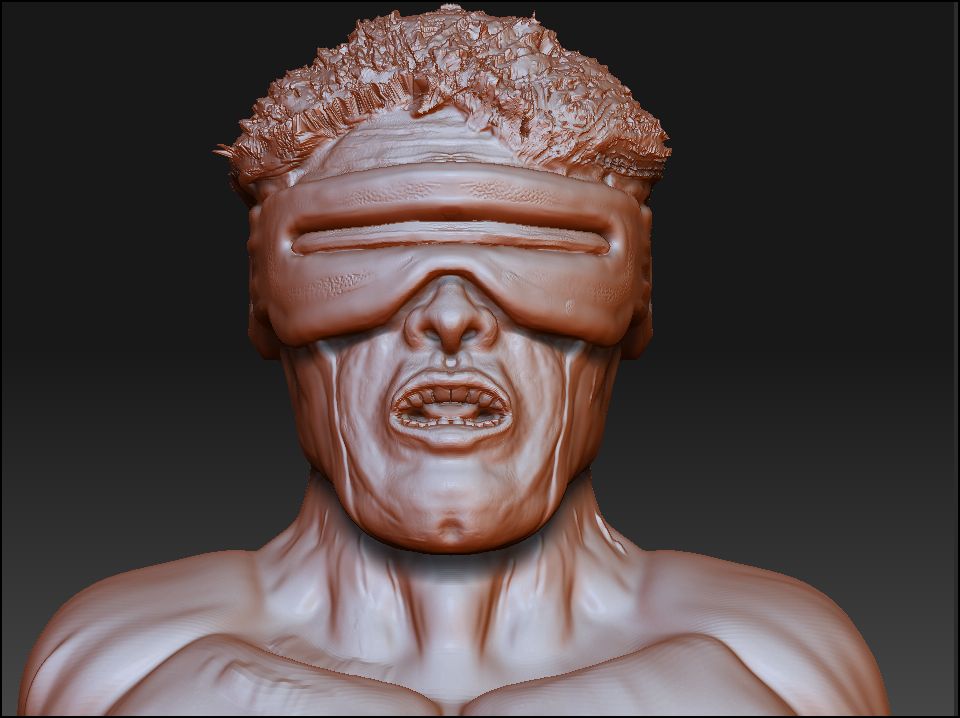
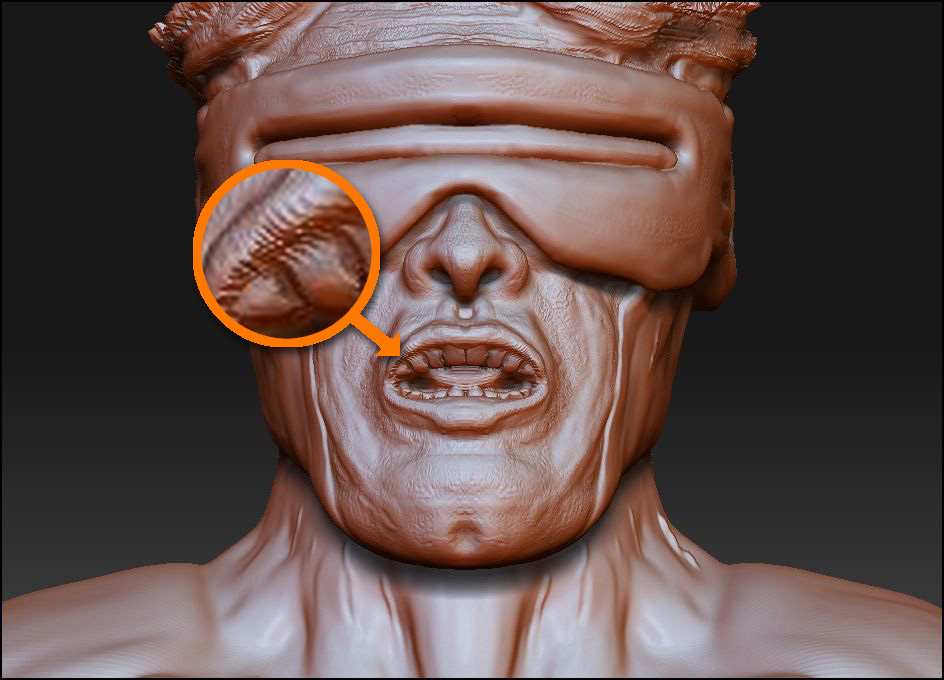
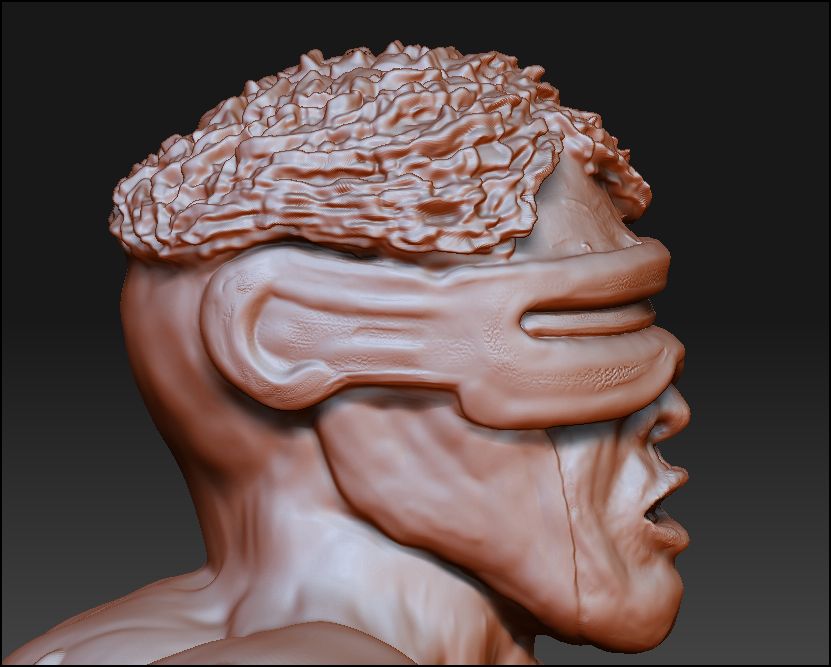
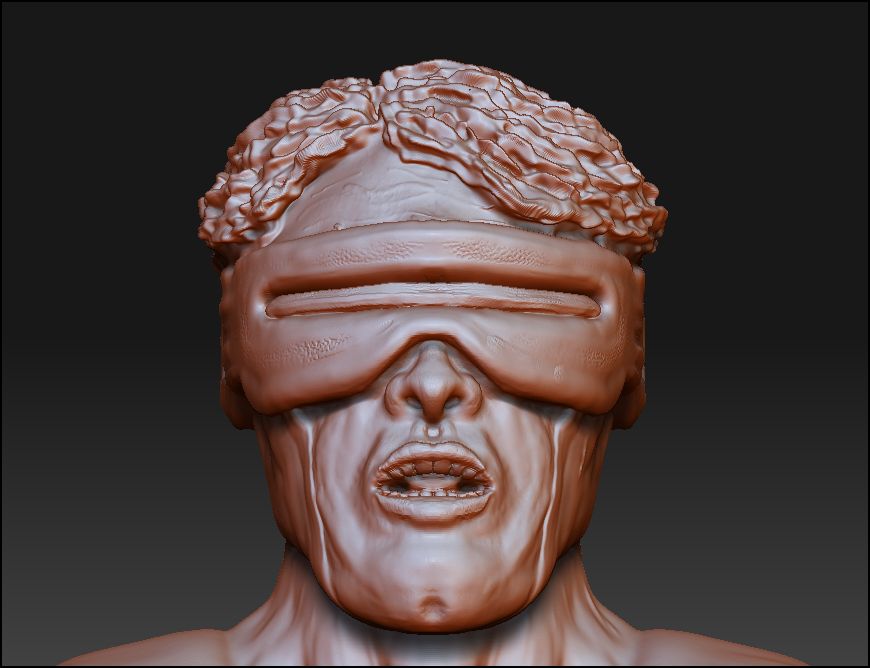
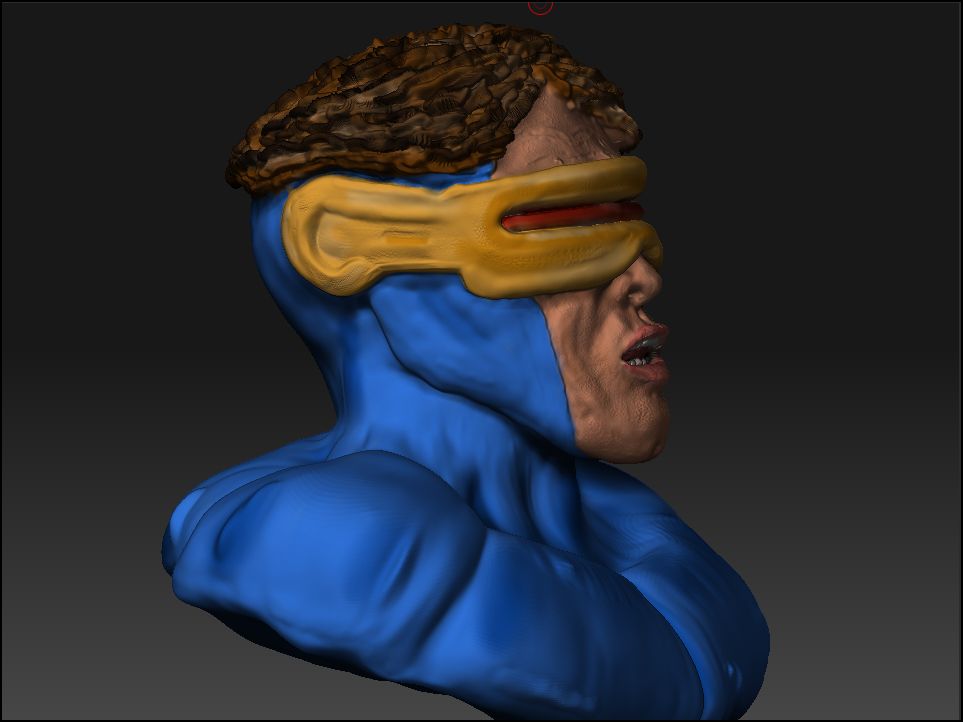
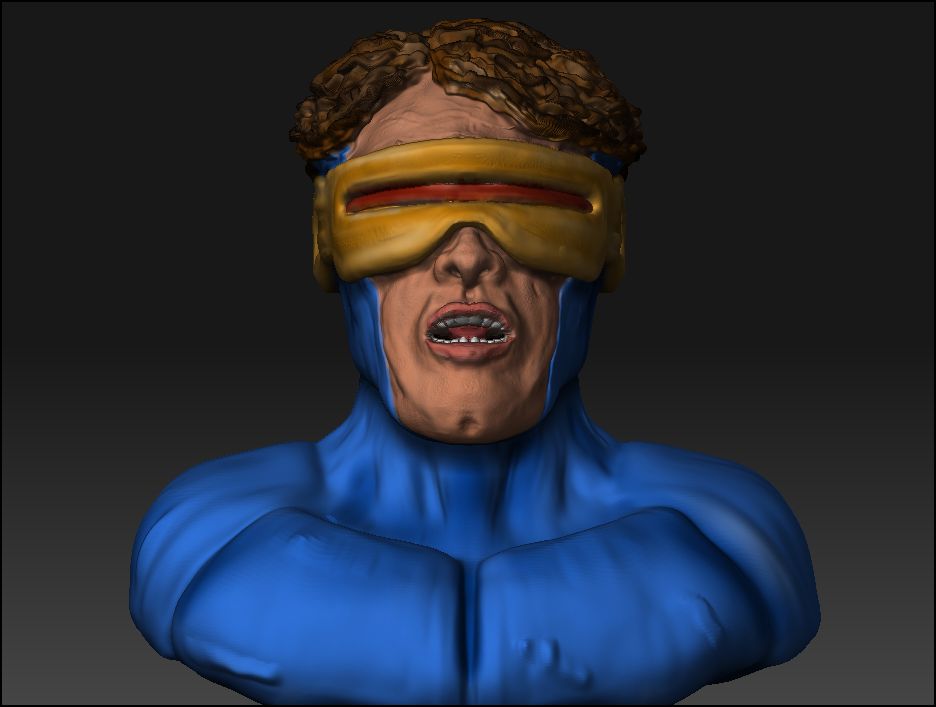
I have to give you some credit; Zbrushing with a mouse is difficult. Some crits: On the hair. There should be more of a smooth flow of groups of hairs creating forms coming from the scalp with some sense of direction and gravity. The way the hair is now, roughly plastered on the head in all kinds of directions, it looks a bit like the top of a lemon meringue pie. Also, be careful on the face. The skin, and wrinkles look too rough. If you’re trying to convey a youthful, or heroic face, you need to be more subtle with the details to give the suggestion of tight, supple skin, and the underlying muscles/bone underneath, with only fine lines, or wrinkles, if any on the skin. It just takes lots of observance, practice, and time. Below is some examples of good hair topping handsome faces. Keep at it. I’ll be sure to check back for updates.
Great. I appreciate your comments and will work on that. The hair has been getting to me so I will be sure to fix that first. I will tone down the wrinkles and post an update.
Well I toned down the wrinkles a bit and attempted to fix the hair, creating more strands and breaking the hair up. Tell me if this is any better?[ATn]=134852]Capture2.JPG[/attach] [attach=134853]Capture.JPG[/attach]
Attachments
Also do I need to retoplogize? WHat is that lol?
you only need to retopologize if you want to animate this, or if you arent getting good distribution of poly in places you need them. a few suggestions:
- GET A TABLET. you can get a wacom bamboo for like $80, its a worthy investment
its hard critiquing this because you used a mouse. i think you need to work on your over all proportions and forms. how the nose/eyes/mouth related to one another, the length vs. width of the head.
Okay, the skin looks a little smoother. The hair is still much too choppy, not smooth and flowing. What are those little wigglies on the neck? Veins? I’d get rid of them. I agree with mdale13: A tablet would make things easier for you.
Here are some samples of ZBrush hair for you to check out:
http://www.pixologic.com/docs/index.php/SubTool_Hair_Sculpting_Tutorial
http://www.youtube.com/watch?v=Nhl_lBu6r08&feature=related
http://www.youtube.com/watch?v=xfDJCfZJfGA&feature=related
http://www.youtube.com/watch?v=tMOuOFq7H8M&feature=related
http://www.youtube.com/watch?v=vcNnCCpNaco&feature=related
http://www.youtube.com/watch?v=p0JopXe-ZNQ
I will look into the tablet possibly. I only have 7 days left of the trial version so I have to see if I can shell out money for the full program. Again this is my first attempt at any 3d software which I know you understand. I think I have an idea for the hair so I will post an update later.
Oh, if you are strapped for cash for the full program, and your trial version is just about done, I guess a tablet wouldn’t really be first on your list of priorities.
Nice job so far, I am new to this stuff myself and I am running in to a problem that I see that you have on your sculpt around the lip area where it gets that spiky look and is very difficult to smooth.
Does any body know how to fix this type of distortion any info would help?
Thanks Brian
[attach=134863]zCapture.jpg[/attach]
Attachments
Question may be off topic but will my sculpt be saved once my trial runs out? I spent a lot of time on him
I tried a new approach to the hair, first creating a part in the middle with masking, adding strands and so on. Here it is. Give me other suggestions plz. Thanks.
Attachments
I have finished the sculpt to the best of my ability and polypainted it. This is what I have. I have read a lot of tutorials but am still confused on how to make a texture map? Do I need one? I want to show a shiney skin and his visor metallic like. Any ideas how I do this? I have just been blending colors and not getting the details and effects of human skin I want. Thx.
Attachments
Hey man, good job on the polypainting.
If you want to paint a metallic visor, you should see and M icon over the rgb slider.Click on it with the material you want to paint.
To answer brian’s question, I think it’s because you don’t have enough polys for the tlip region, but you can try the flatten brush.
its not bad, looks cool, the hair is a little crazy though