ZBrushCentral

Creating A Transparency/Alpha Mask

So I have this object that I created in Zbrush…but of course.

And of course it has a poly count of 7 million…

I am trying to get this low resolution for games. The biggest problem I will have, or should I say, I am Having, is getting not only the detail in the tears, but the holes as well.

I figured I could bake a alpha map for the low poly version, but that does not seem to work. Oh, I am using 3DS Max 2012.

SO, what tips and tricks do you fine artists have to be able to get all the detail into the game?
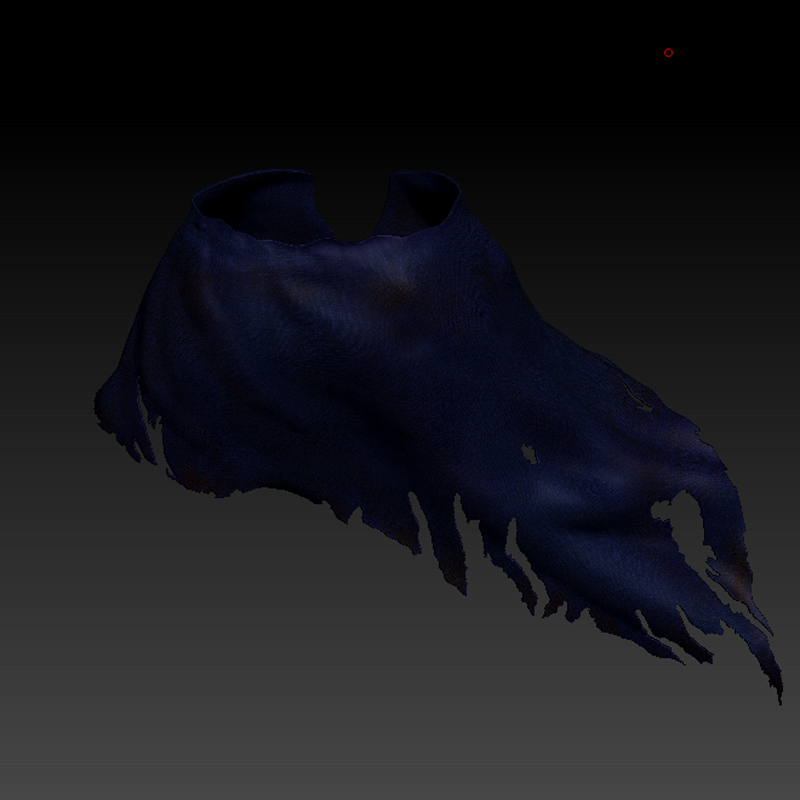
Attachments

KiltQuestion.jpg

Hard to believe no one has any ideas on how to make this work…

Create a new polypaint for it. Just a solid flat color (black or white), and transfer it to the texture/model like you would a normal diffuse texture (externally baking would work best, max/maya/xsi/xnormal/etc).

So, let me see if I can break this down…

Use the high poly model to bake out the diffuse(in this case the color texture), normals and lighting map to the low poly model.

Then, in ZBrush, make a new texture of all white or black, export that out as texture for max, then bake out a alpha map in Max, from the high poly with the all white texture placed on it?

Also, instead of retopolgizing the model, could I just Make a plane, wrap it around my character, give it cloth simulation, and then use the alpha and texture map?

Sounds correct. You’d be able to copy and paste the resulting black and white map directly into the diffuse’s alpha channel if you needed them on the same image.

I am still having a hard time with this. What is really throwing me off is the Ray Miss Check. It does a fantastic job miss checking MOST of the kilt. I get a great amount of detail in the little tears, and even the holes…but there are some spots it does not even miss check, just gives me a solid blue or black color.

If it miss checked everything, I would have a pre made opacity map right there, and would just need to swap the colors.

Why is it miss checking most everything, but leaving some spots blank?

Ok, so after a lot of time tweaking the geometry, and the Projection cage, I finally got the prpoper maps, including alpha.

BUT, even though I baked the alpha with a padding of 0 and my diffuse with a padding of 2, I still get a white outline around my entire object when rendering.

What is that all about?

Crank the padding up higher than 2 on the diffuse; I don’t think that is high enough to do anything once the mipmapping kicks in. I usually set it to the maximum value.

Otherwise, the end result might depend on the shader you’re using to preview the results in, the type of transparency it is using, etc.

I am using just the standard shader. In the View Port there is not outline at all. But as we already mentioned…there is in the render. And I cranked the padding up.