ZBrushCentral

Creating a normal map for a game character

Hey guys ,

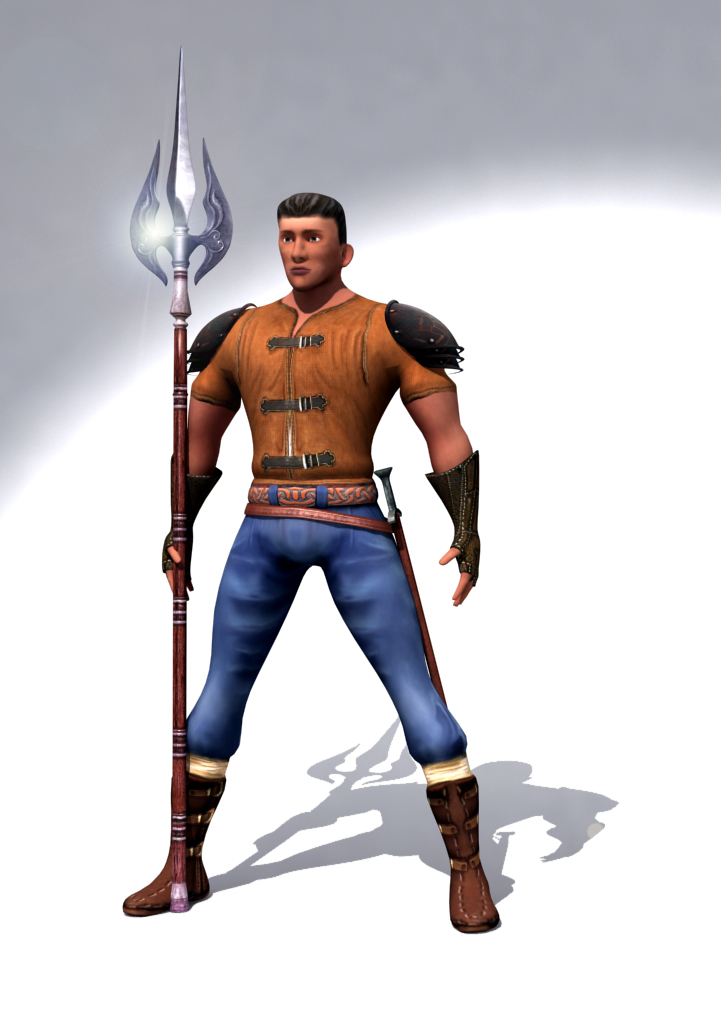
I am desperate for some help, I have created a basic character in 3d studio Max, and then imported it into ZBrush 3.5 for some extra detailing.

gameCharacter.jpg
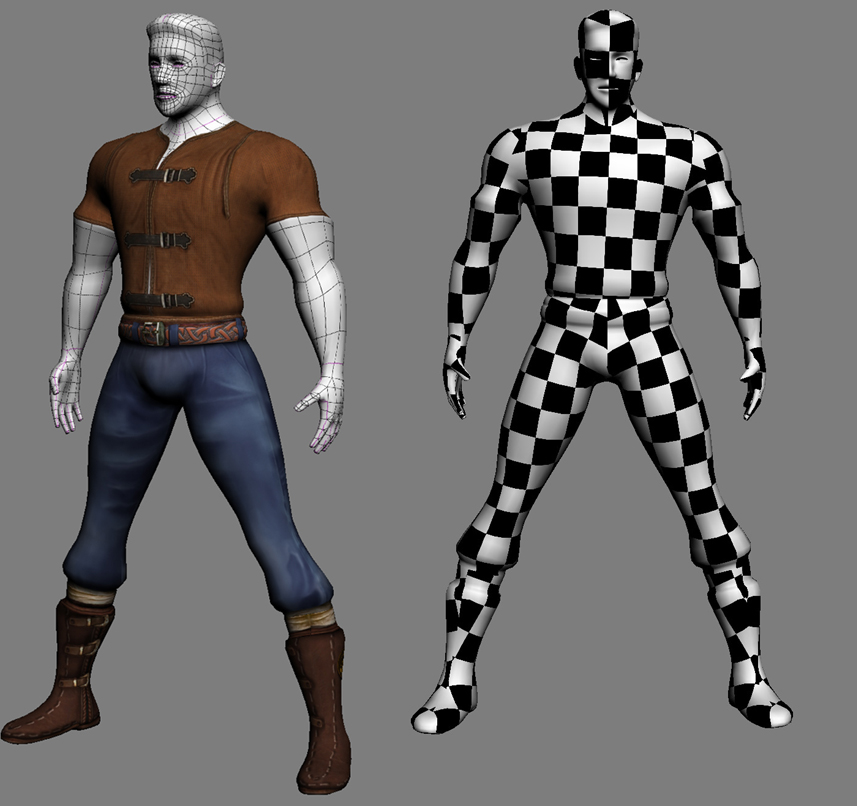
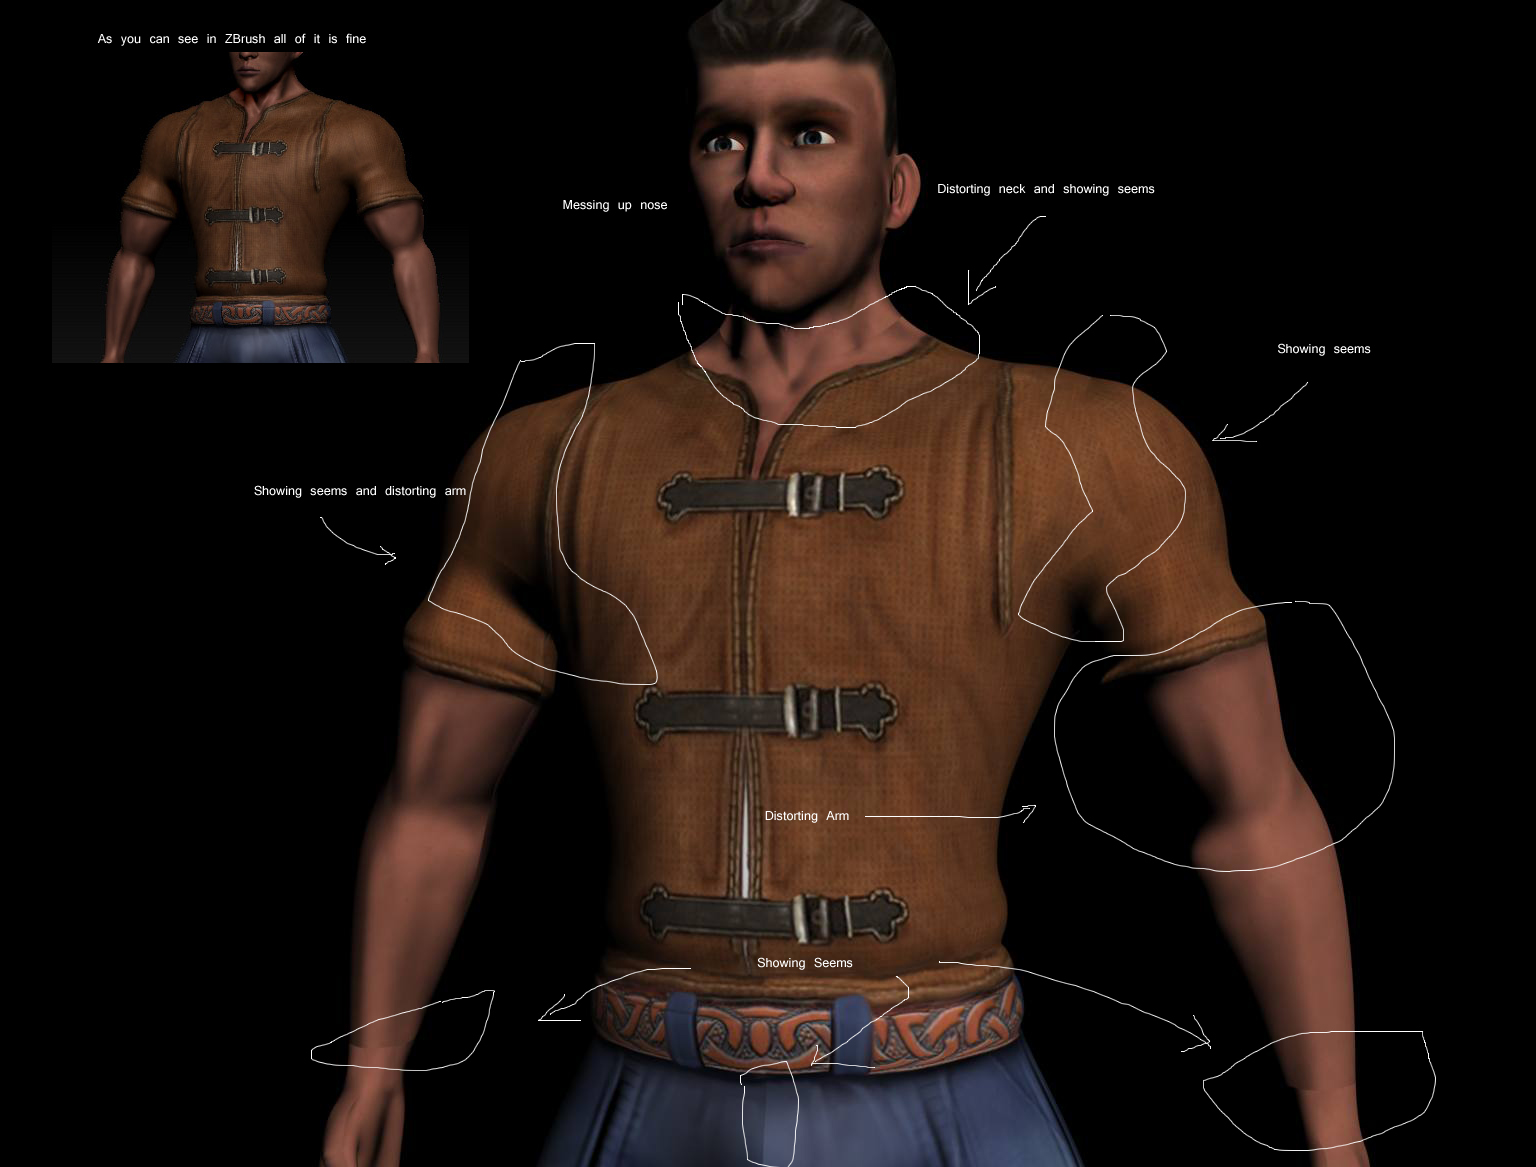
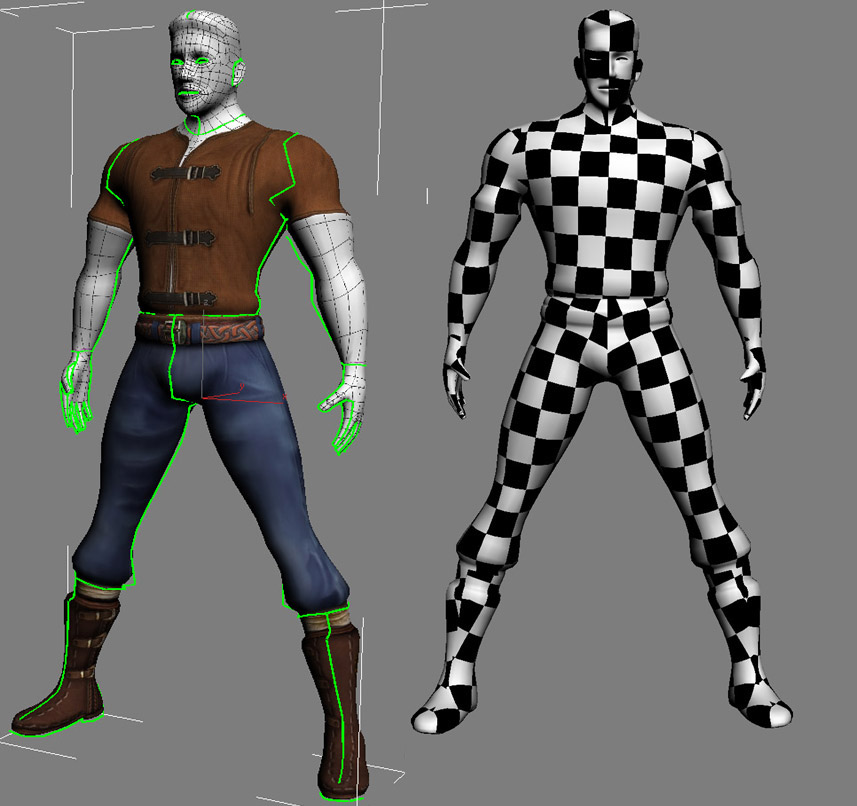
I am now trying to generate normal / displacement maps … that I can use back in 3dmax

I ve been trying to do this for last couple of weeks, spent hours searching for answers on websites but no luck I tried every tutorial I could find but nothing seemed to work for me …every time I imported generated maps into Max …. It all went wrong, I am now feeling really frustrated and suicidal , I just don’t understand what is going wrong nor why is it not working … the worst thing is that I don’t even know where to start looking for mistakes , cause now I am not even sure is it something wrong with maps I create in ZBrush or am I doing something wrong in Max …

Please help me if you do know tutorial that works with 3.5

Also if anyone knows a tutorial on how to bake matcaps on textures in 3.5 ….

Thanks in advance …

I am very gratefull for any feedback and help

Hi there… im not really sure about your problem… aren’t you able to create the normals maps… or are they simply not working in max… ?

Well i’ll try to explain how to create a normal map in zbrush… first of all you have to make sure your character have uv’s otherwise this will be hard… To create a normal map simply lower your model, to the lowest sub-d. Then chose this rollout under your tool menu.

Normal Map - > Create Normal Map -> Clone NM

Then go to the texture rollout in the menu bar, at the top, and press export.

please let me know if this helped you, or if you are in doubt about anything

thank you very much for your reply,as you can see i do have uv mapping done in UVlayout.

Rand-checker_textured.jpg

Can you tell me ?if is there a some setting that i should know about, when I am to generate normal map in Zbrush … because there are quite few thing that could be changed there… such as Tangent on/off etc…

Whilst normal map does not come right, with Displacement map I dont seem to get any result at all …

Thank you in advance

Attachments

displacementpic.jpg

Ok it was a almost a week, and I have not received any help so far.

I have tried everything, checked any post I could find, on line tutorials , even went back to redo my UVs, in case inverted faces were the problem …

I have no clue or any inkling what is wrong ,nor I have luck of projecting correctly neither normal nor displacement map from Zbrush back in Max…

It always looks very ugly …

Is this new Normal map/Displacement map in 3.5 working properly for it seem to create always some ugly black artefacts?

Should I just uninstall whole thing and go back to 3.1 and use ZMapper?

Please if you know how to do all this procedure from exporting maps from Zbrush and setting them back in 3D max please help .

p.s also is it possible to open your work from 3.5 in 3.1?Mat.jpg

Thanks in advance

Hi… I had the same problem too… ^^
I create the UV maps with UVMASTER… because this I havn’t seams like yours.

Sorry I am bad in english ^^

Anyway… Try to create a better UV map with hidden seams

regards;

Dennis

Normal mapping is calculated in a different way in every 3d app, so, the method that works to avoid seams in one 3d app may not work in another one.

There will ALWAYS be seams in the normal maps

Hide them in the natural creases or junctures of your model (Clothing, Armour, Muscles)

I can also see that there is something inverting the normals in your mesh… so, your uv layout might be a little messy… there is nothing like good ol’ school uv unwrapping, some automated softwares do a good job but not a perfect one as I can see in your model…

[font=Calibri]Hey guys Thank you very much everyone for your replies and inputs …

After weeks of research and trying to get displacement and Normal map work in 3D max …
I finally learned where was the problem…it was me believing that Normal map once rendered in Zbrush are supposed to look good strait away once imported back in Max …

The answer was that in fact there was never really problem with my UV Maps
Rand-seems2.jpg

he he he and dont be too harsh this is the very first model finished by a total noob :slight_smile:

Thanks all

Attachments

daylight render.jpg

starting model FromSuperhero to Hero.jpg