Hi Evereyone
Is it possible to convert a sculpting/shape layer to a polypaint layer?
I would like to convert a particular layer of detail that was sculpted and turn it into a bump map and colour maps without losing any resolution.
Thanks
Hi Evereyone
Is it possible to convert a sculpting/shape layer to a polypaint layer?
I would like to convert a particular layer of detail that was sculpted and turn it into a bump map and colour maps without losing any resolution.
Thanks
I’m not sure what you mean by convert the layer. You can generate maps with the layer turned on, and if you want to polypaint detail with the layer on, you can either create a new layer, or polypaint on the original.
Thanks for replying Marcus
I want to use a layer, that has skin pores sculpted onto it, as a bump map. Currently is a ‘shape’ layer.
The nature of displacement maps means that this detail isnt apparent if I was to just export it out on its own and wouldnt be much use as a bump map.
I was just wondering; if I converted that layer into a polypaint layer and then export that as a bump map would the detail get converted across appropriatey at the same time and have better definition?
I accept that I may have the wrong approach here but hopefully you’ll see where I am trying to get to.
OK, thanks, now I understand. You can’t turn sculpting into polypaint like that but what you can do is generate a bump map from the sculpting. All you need to do is:
This works because bump maps and displacement maps are essentially height maps, where the higher parts of the mesh are lighter shades of gray in the image.
Great, thanks for running through that for me Marcus.
I’ll give that a try.
Hi Marcus
I exported a bump map via your method (I assume I had to turn the other layers off that did not contain the skin pores that I referred too).
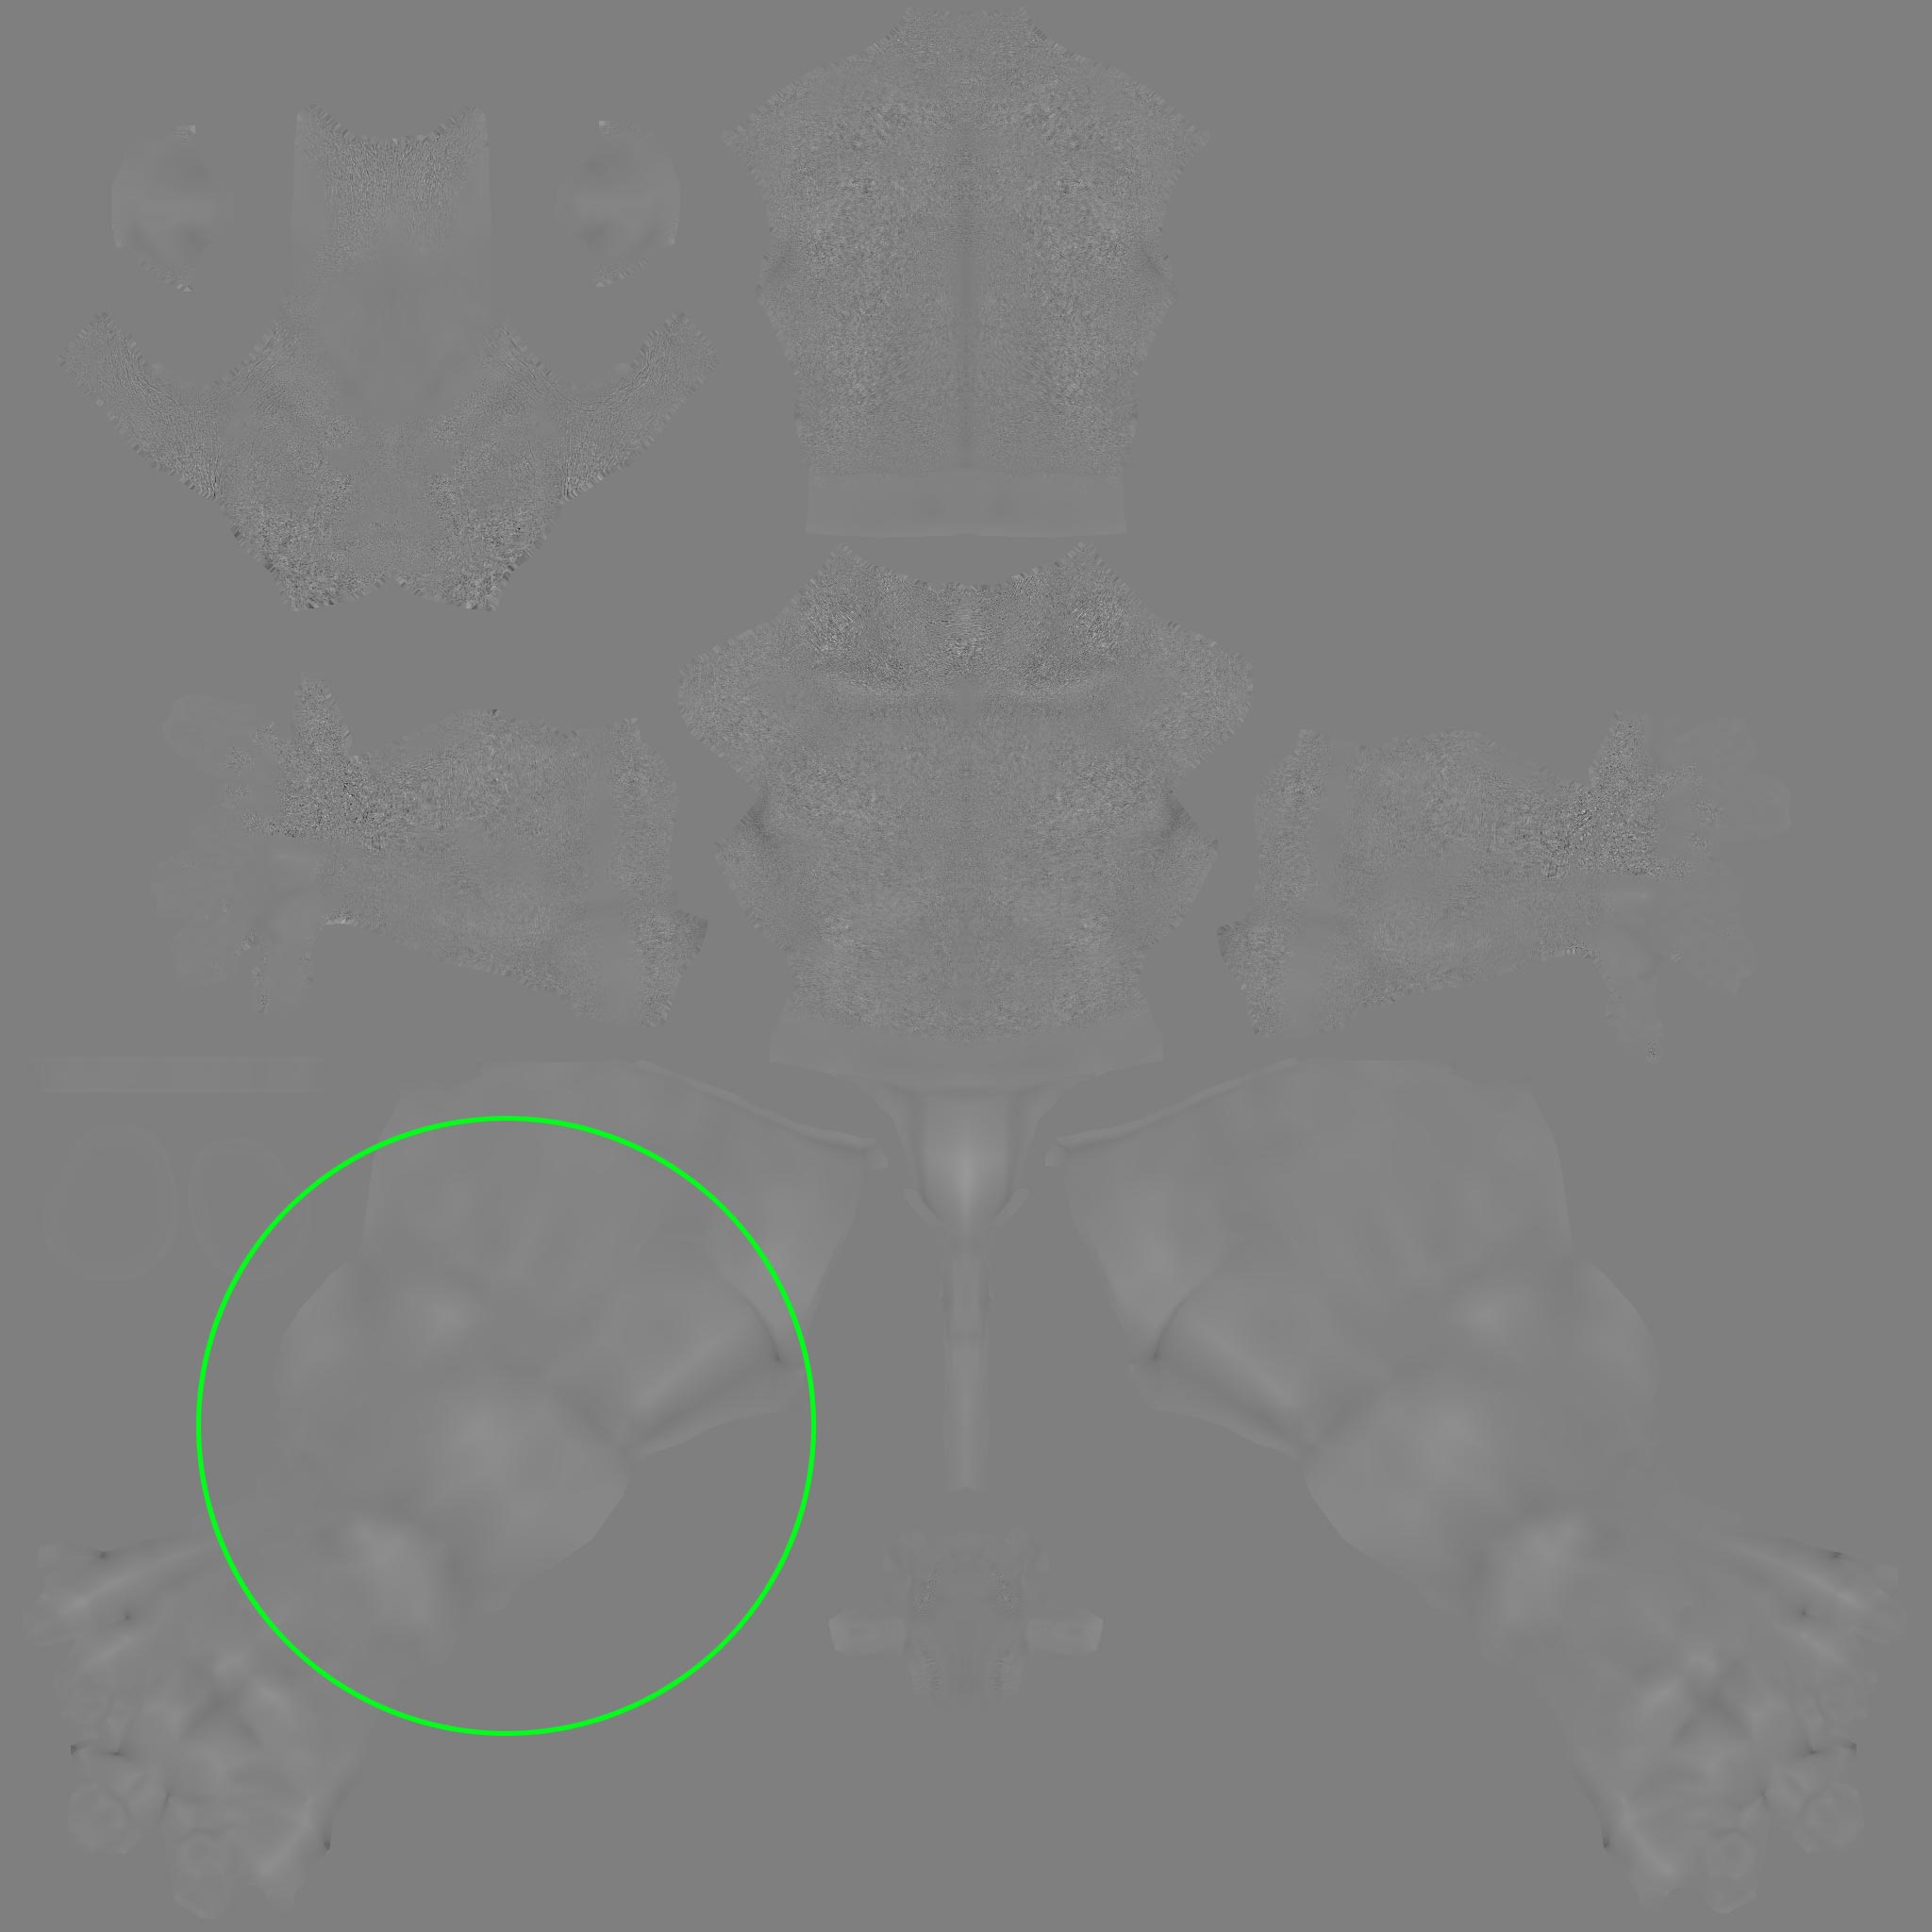
This resultant map is shown in the attach.
It looks like the map has somehow embedded detail or the contours from the base mesh (example shown in within the green circle). There was no detail sculpted in this area.
I only want the pore detail and obviously this additional detail pulled from the base geometry will adversely effect the map.
Is this unavoidable or have I missed something? I should say that a morph target was stored at the start of the project, before I started to divide the OBJ. Maybe this has some bearing.
This can happen sometimes. What you could try is:
It’s a good idea to work on a copy and reload the project is because the subdivision levels may have been affected by switching the morph target and moving up and down. Normally you would generate the displacement map from the lowest level and switch the morph target back before switching levels.
If that doesn’t work then the simplest method is probably to edit the map in Photoshop or a similar image editor.
Cheers Marcus, Ill try that.