Thanks Marcus_civis for the alternative way.
I tried it, and while obtaining interesting results, I still have some problems.
After point 3., I assume I have to choose the texture I saved from the sculpted (and painted) 2.5 canvas, right?
At present it seems that I still have problem with the relative dimensions of the original canvas respect to that of the new polymesh, and I have weird spikes when I apply the Disp Map.
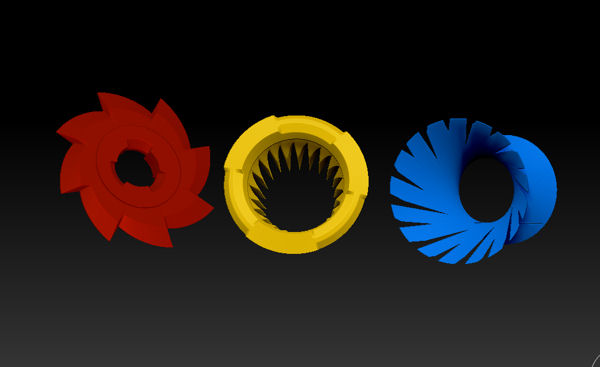
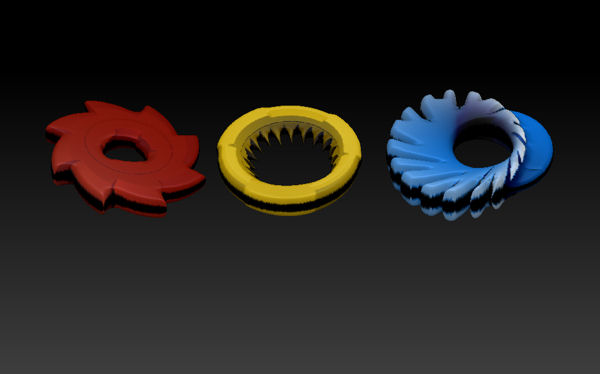
To clarify, this is the original sculpted and painted 2.5 canvas:
[attach=210791]2_5 Canvas sculpted.jpg[/attach]
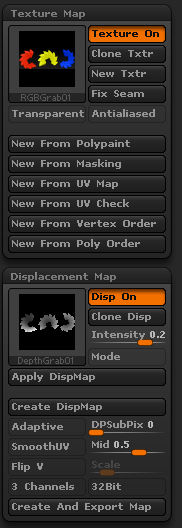
These are the setting for Texture and Disp BEFORE pressing the button “Apply Displacement”:
[[attach=210792]Text and Disp settings.jpg[/attach]](http://javascript<b></b>:zb_insimg(‘210792’,‘Text and Disp settings.jpg’,1,0))
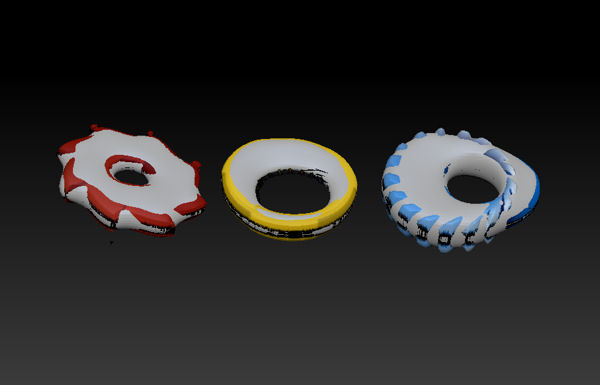
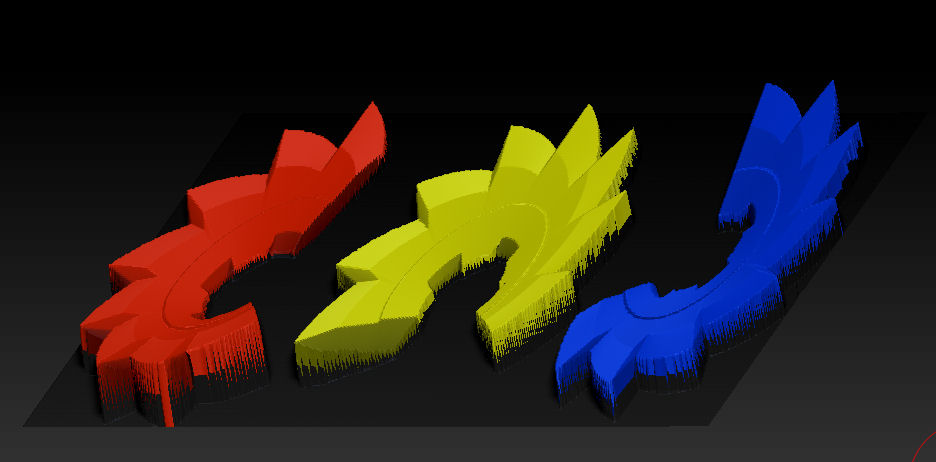
This is the resulting polymesh AFTER applying the Disp Map, with the weird spikes:
[attach=210794]Resulting polymesh.jpg[/attach]
I also tried to adjust Tool>Deformation>Size slider with just the ‘z’ axis active, but the spikes remain quite visible.
Do you have any advice?
Grazie, ciao
Attachments


 )
)