ZBrushCentral

Breno Guinart's Gallery

Hi, My name is Breno Guinart I am a modeler , texture artist and
designer for the entertainment industry. My main focus is
character/creature work , occasionally working in all stages of
character production from concept to fully textured model.

This is part of my 2015 reel , check the video bellow for the breakdown. Please visit brenoguinart.com for more content. I will be posting more images soon…

<iframe src=“https://player.vimeo.com/video/174464442” webkitallowfullscreen="" mozallowfullscreen="" allowfullscreen="" frameborder=“0” height=“405” width=“720”></iframe>
Breno Guinart 2015 Reel from Breno Guinart on Vimeo.

PROJECT TOOLS:

  • Zbrush
  • Maya
  • Mari
  • Arnold
  • Nuke
  • Photoshop

Hope you enjoy the work and feel free to get in touch!

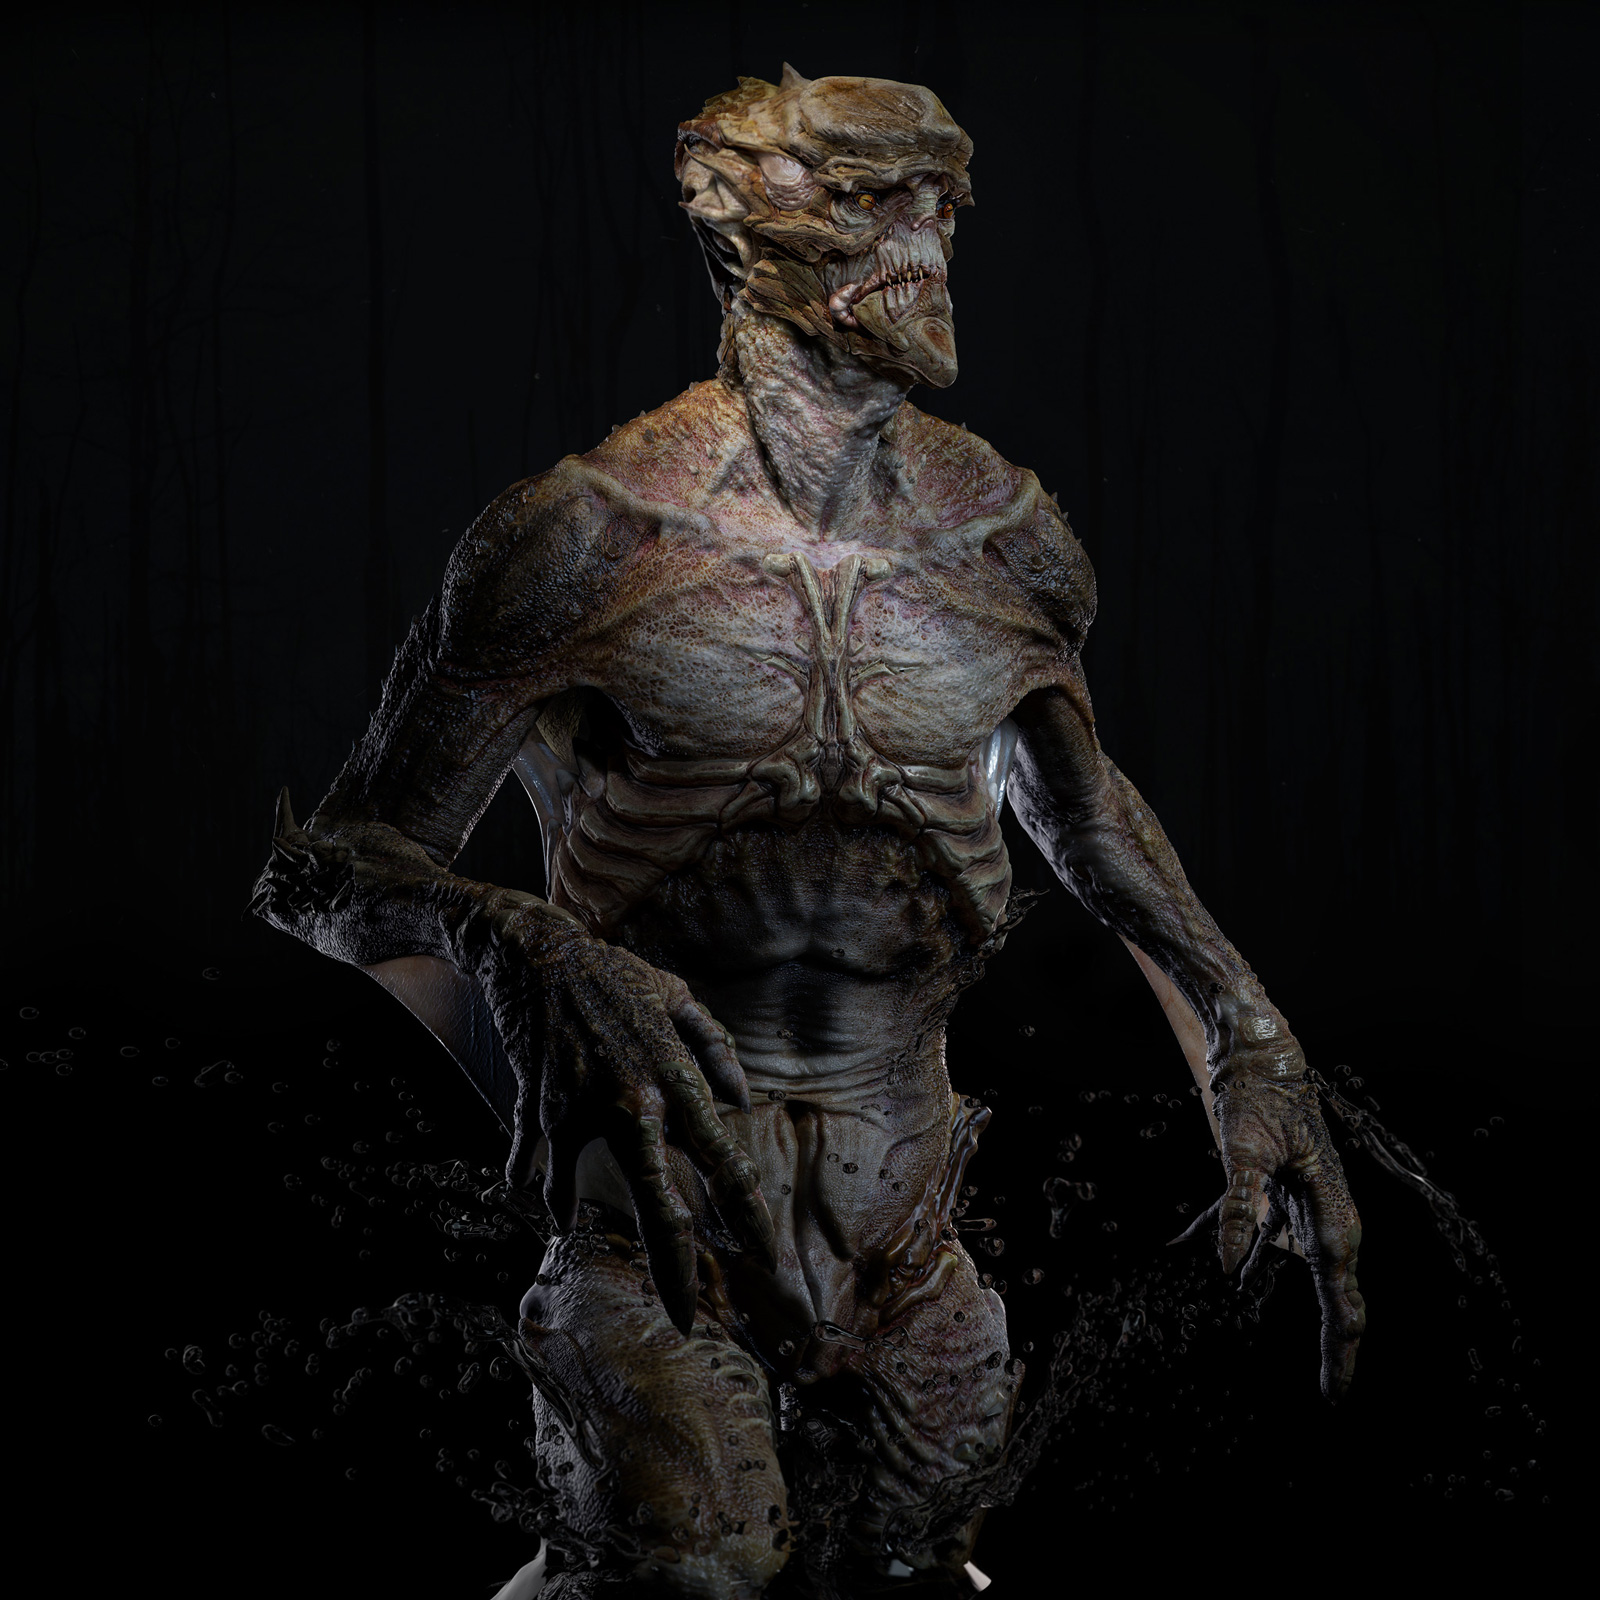
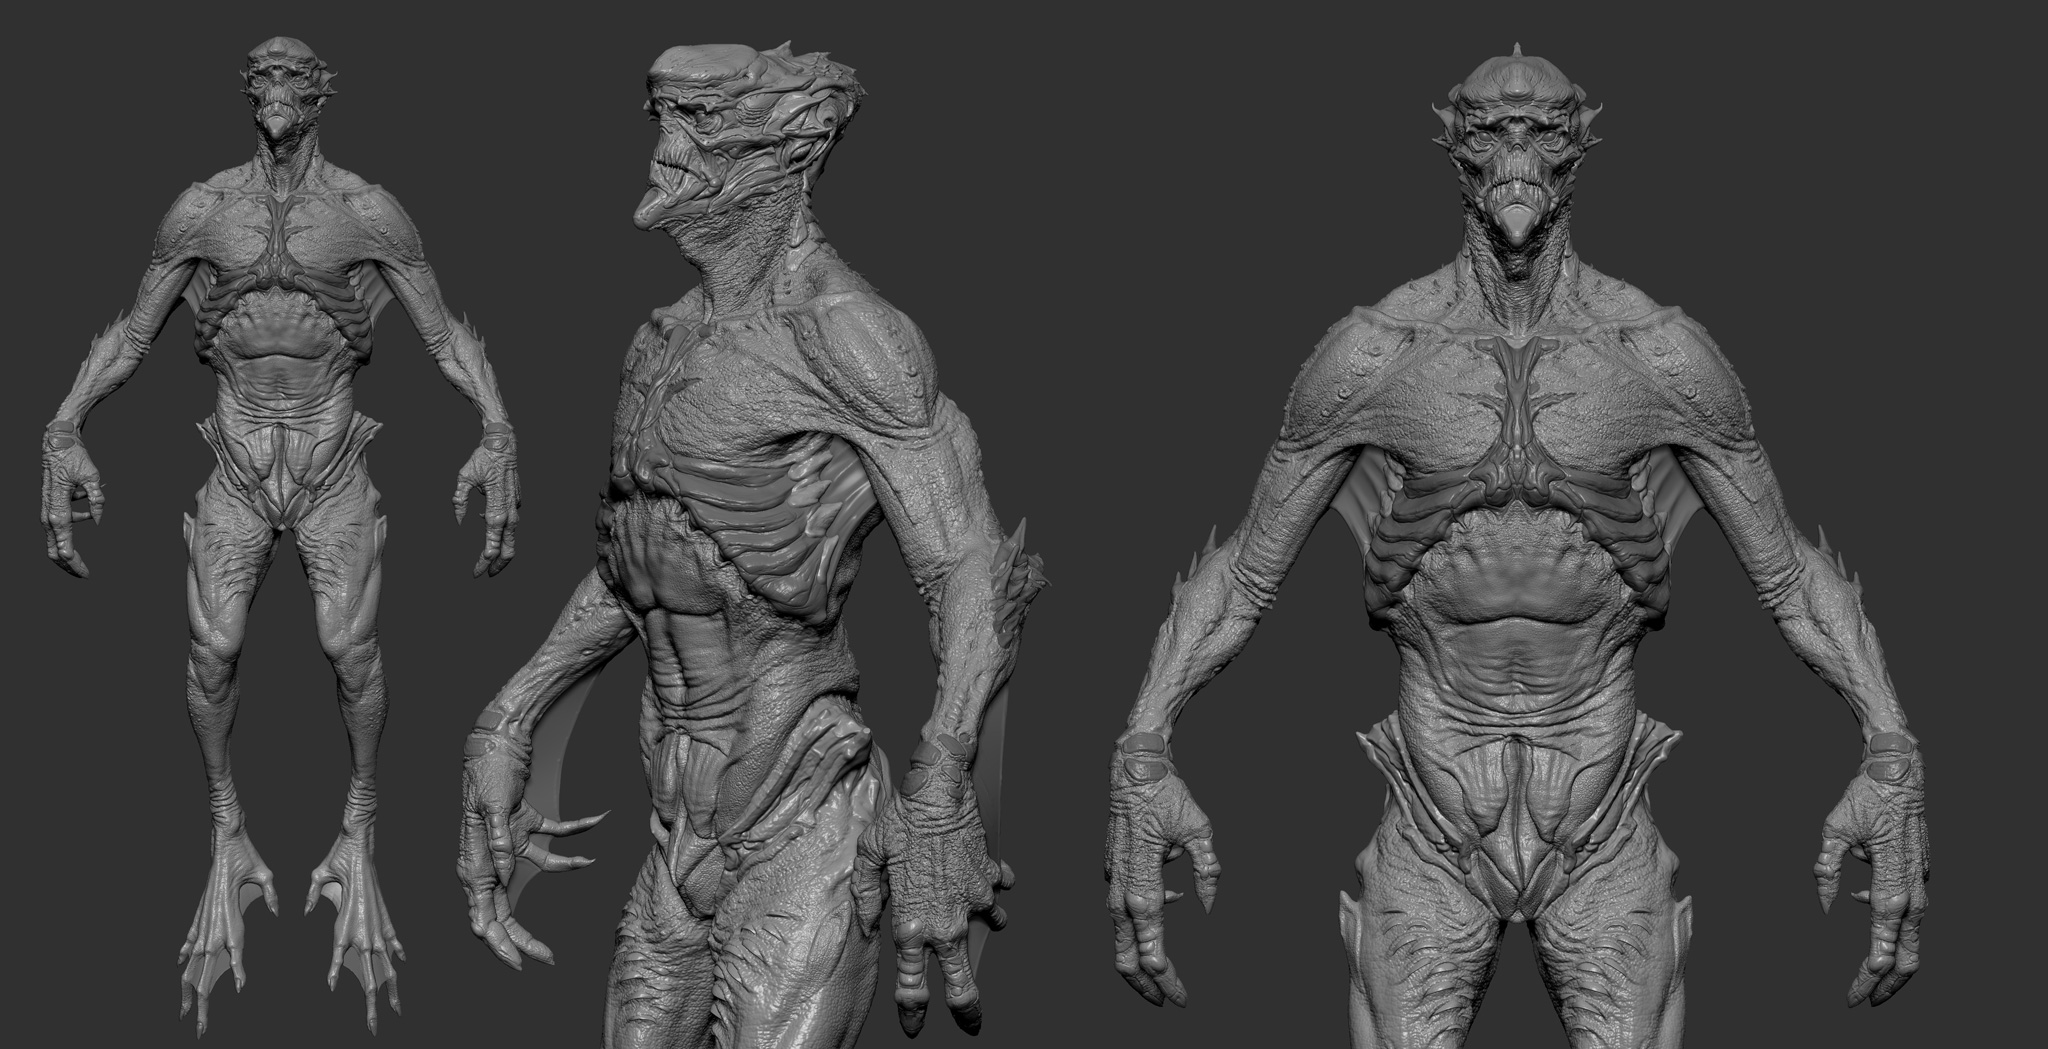
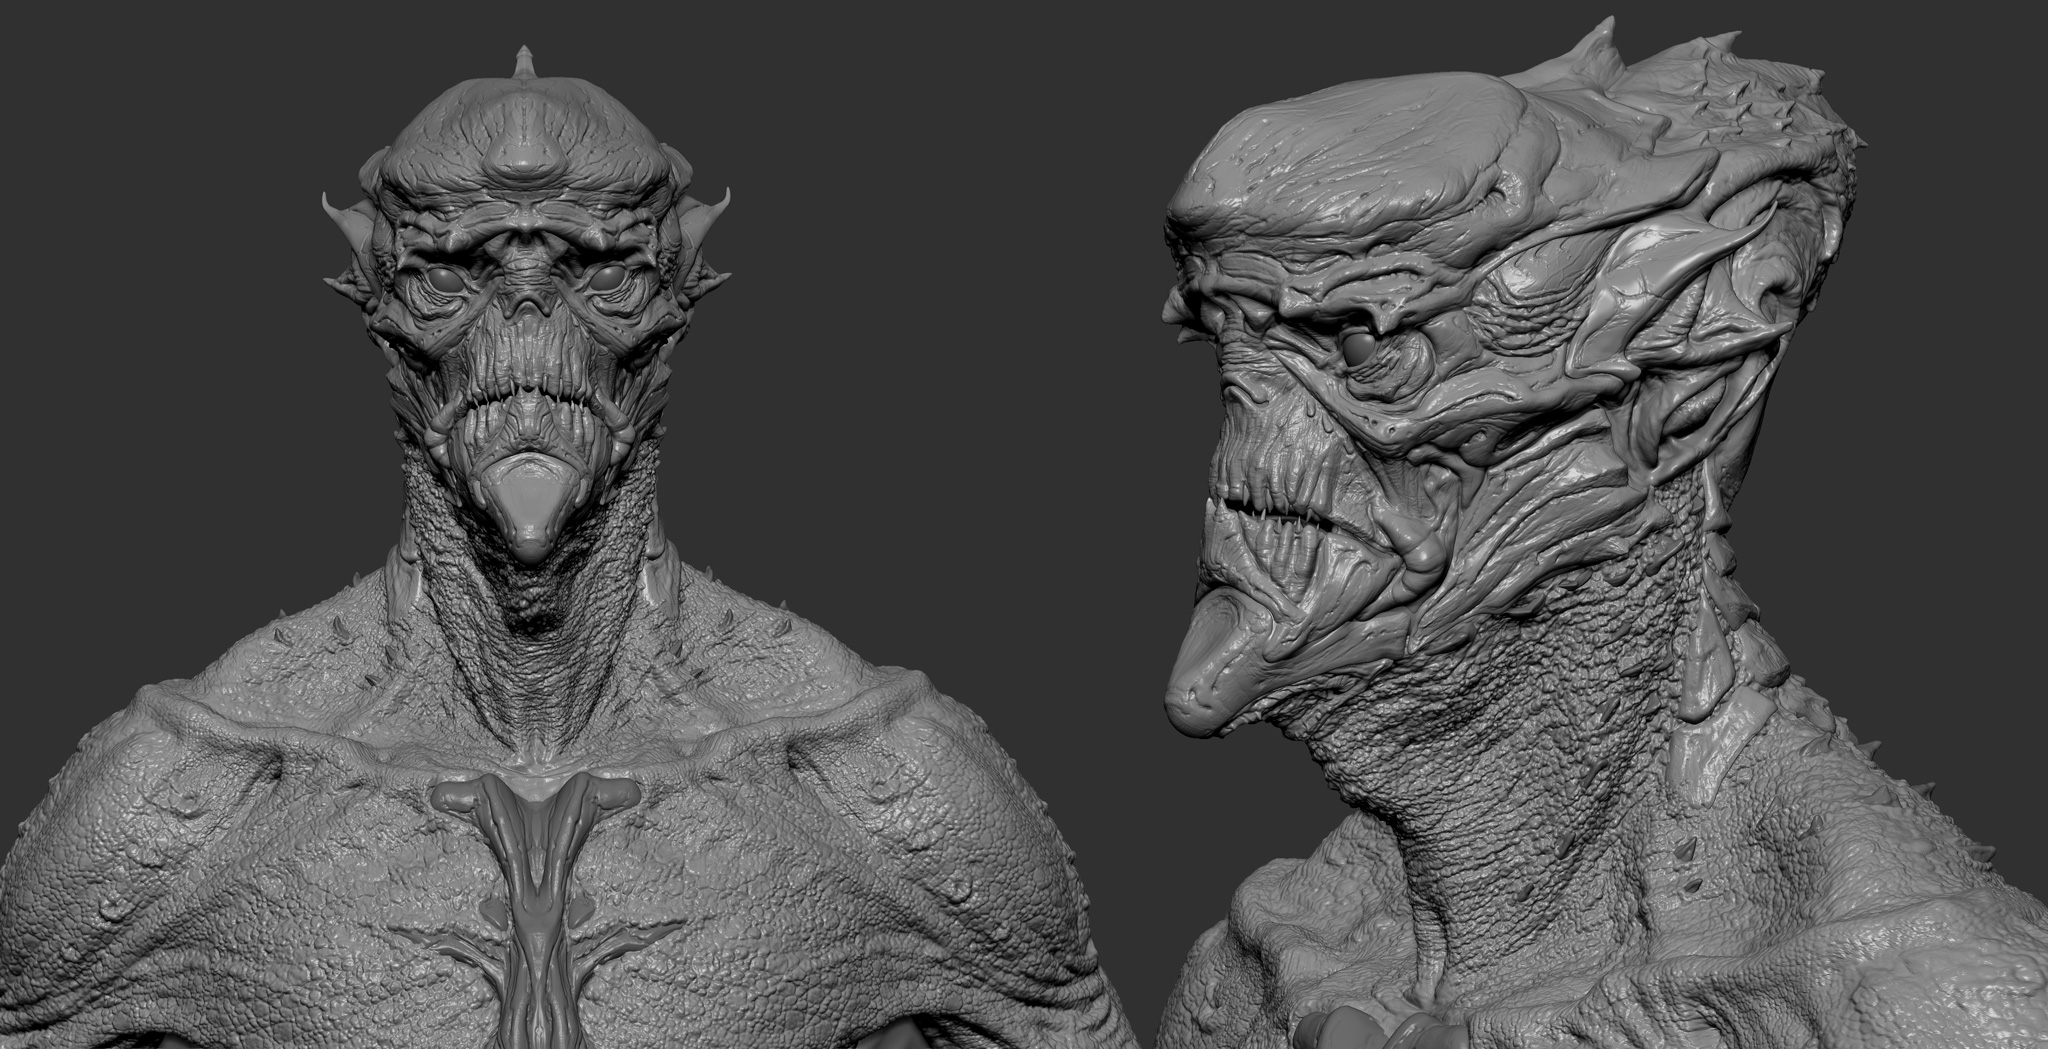
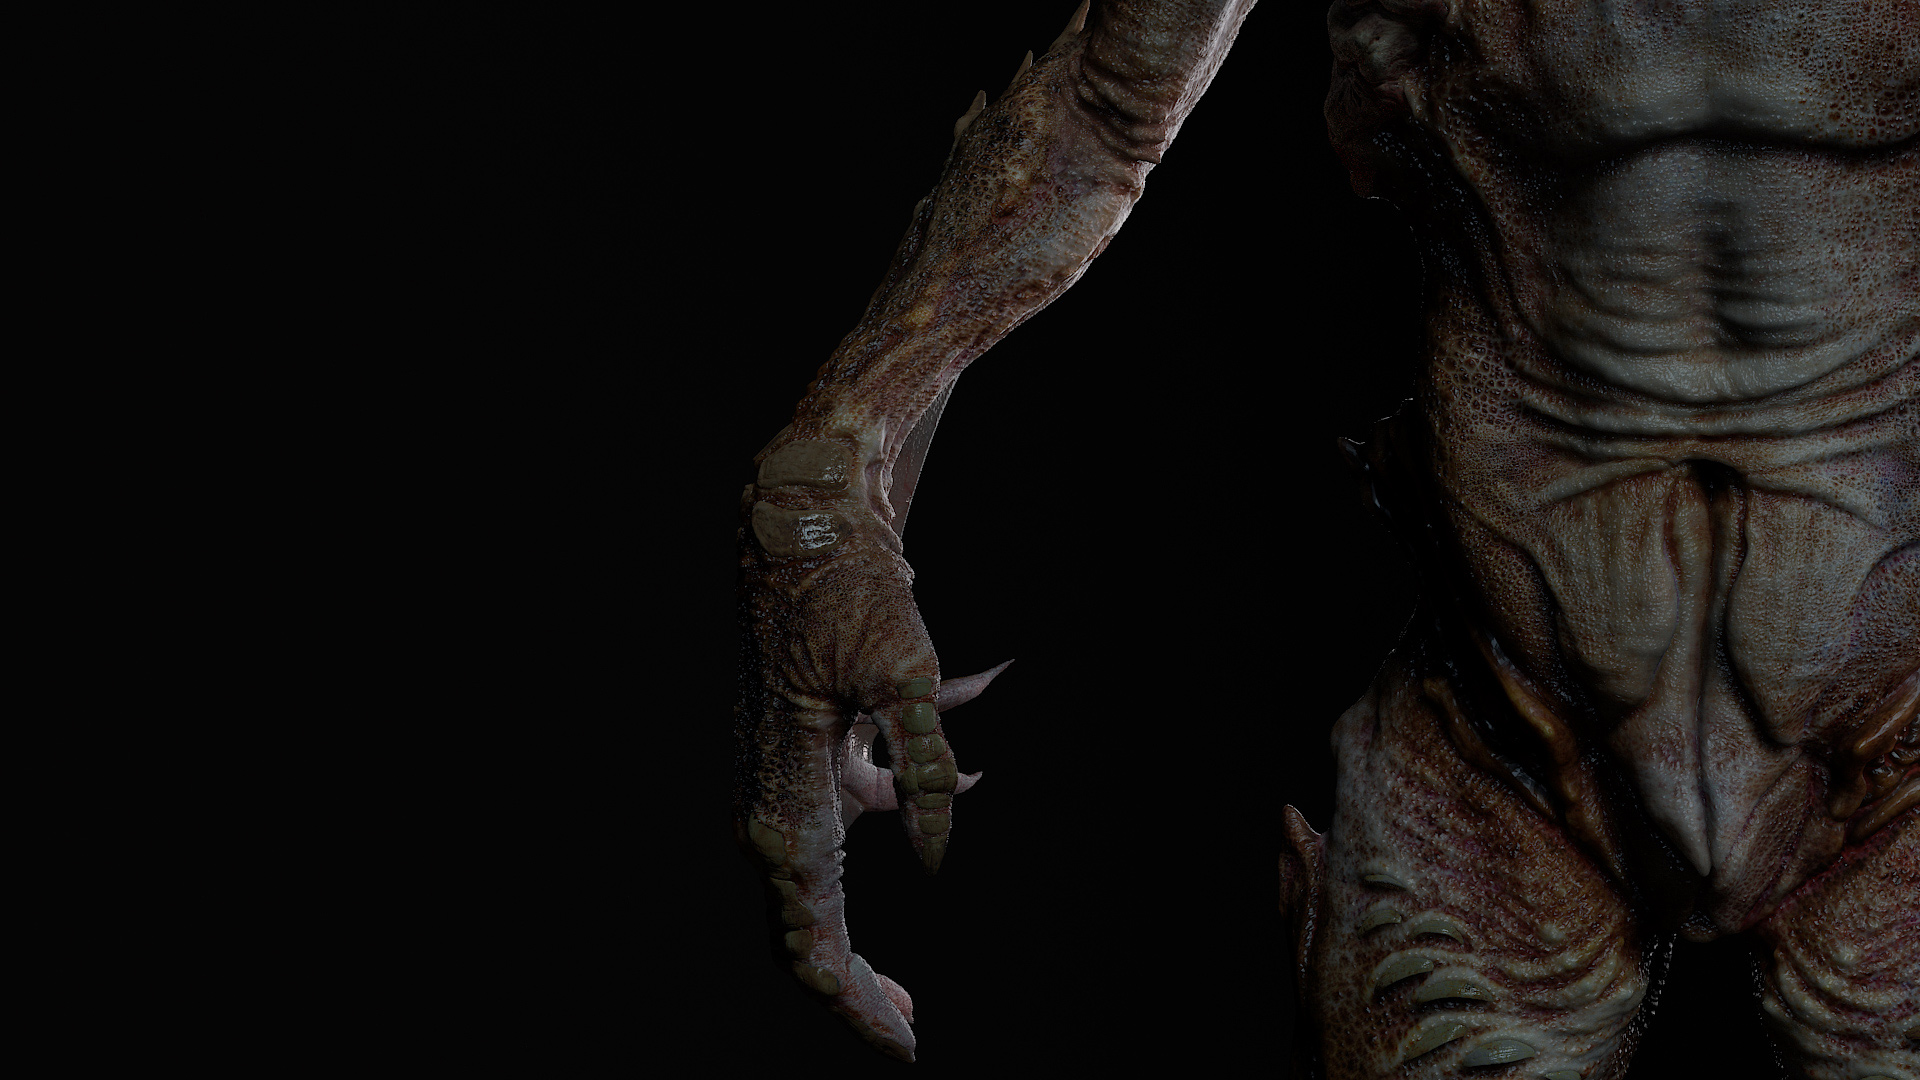
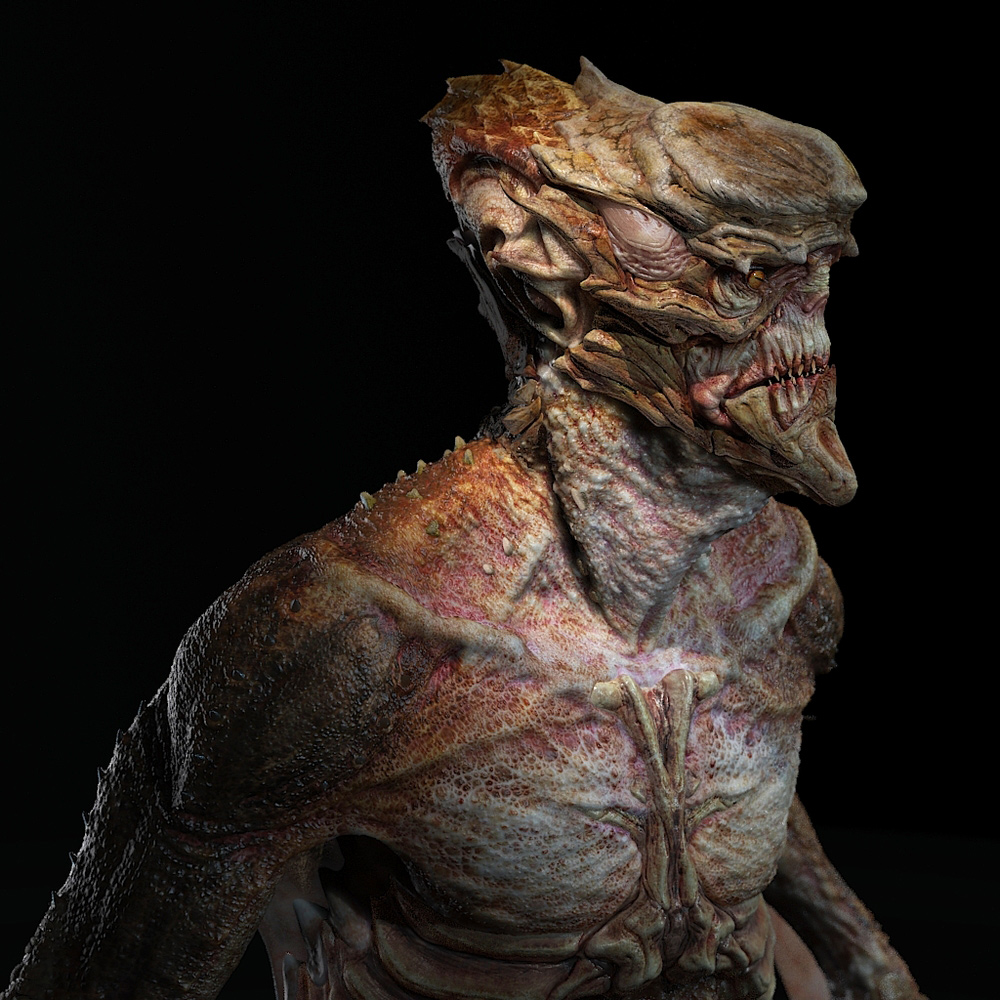
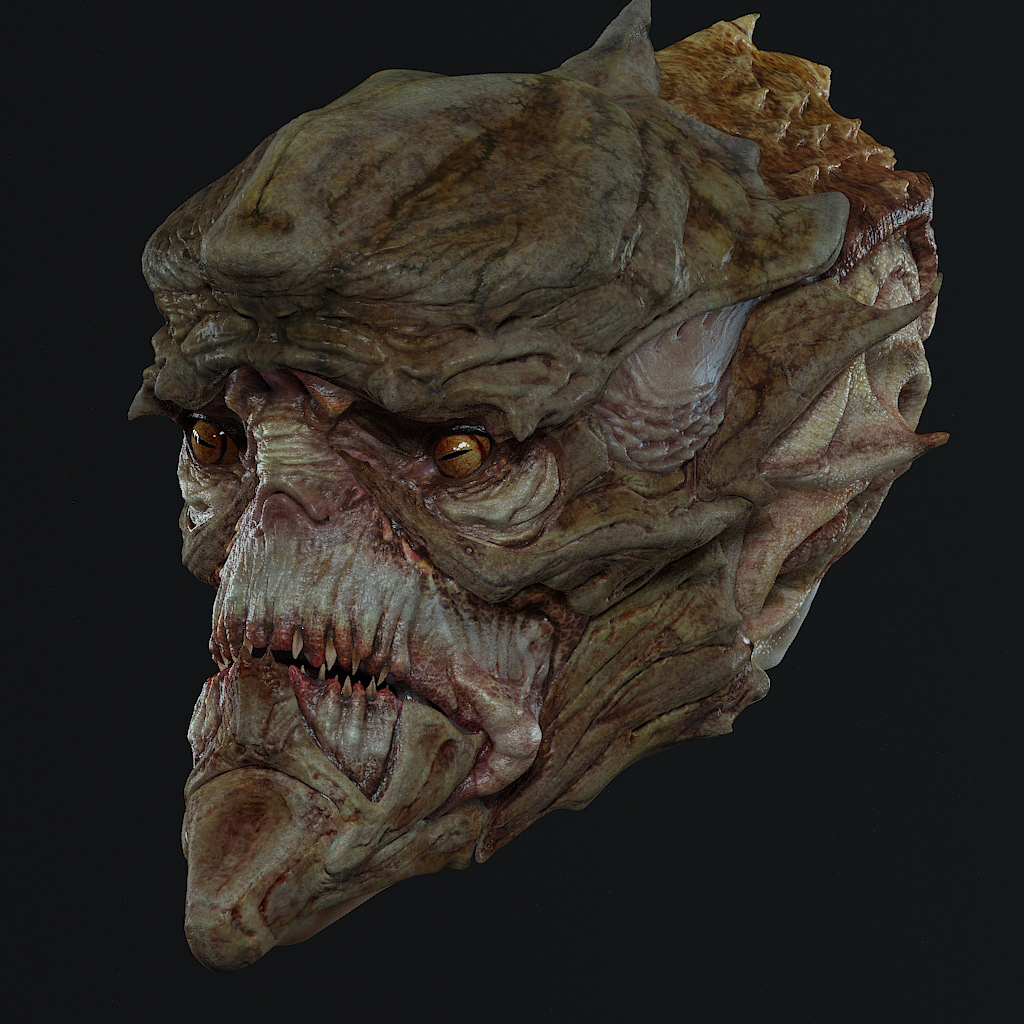
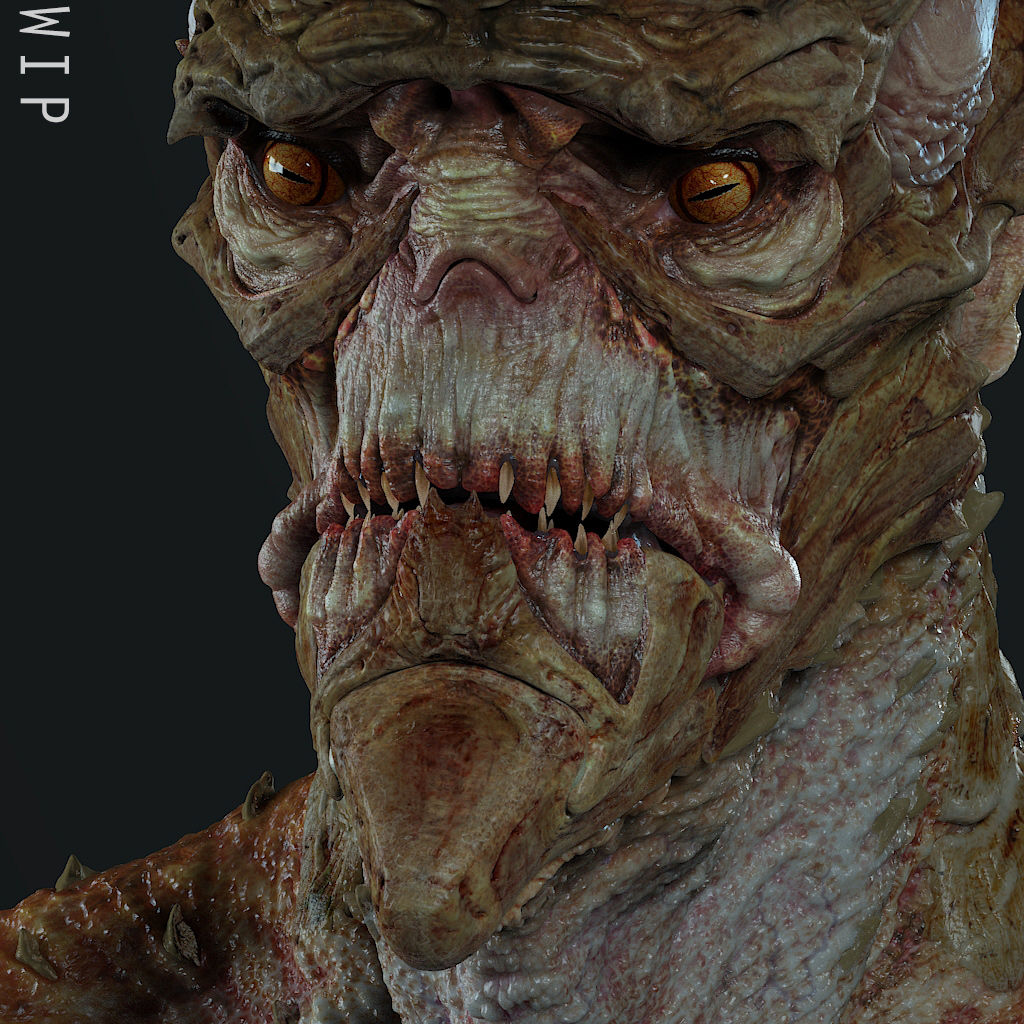
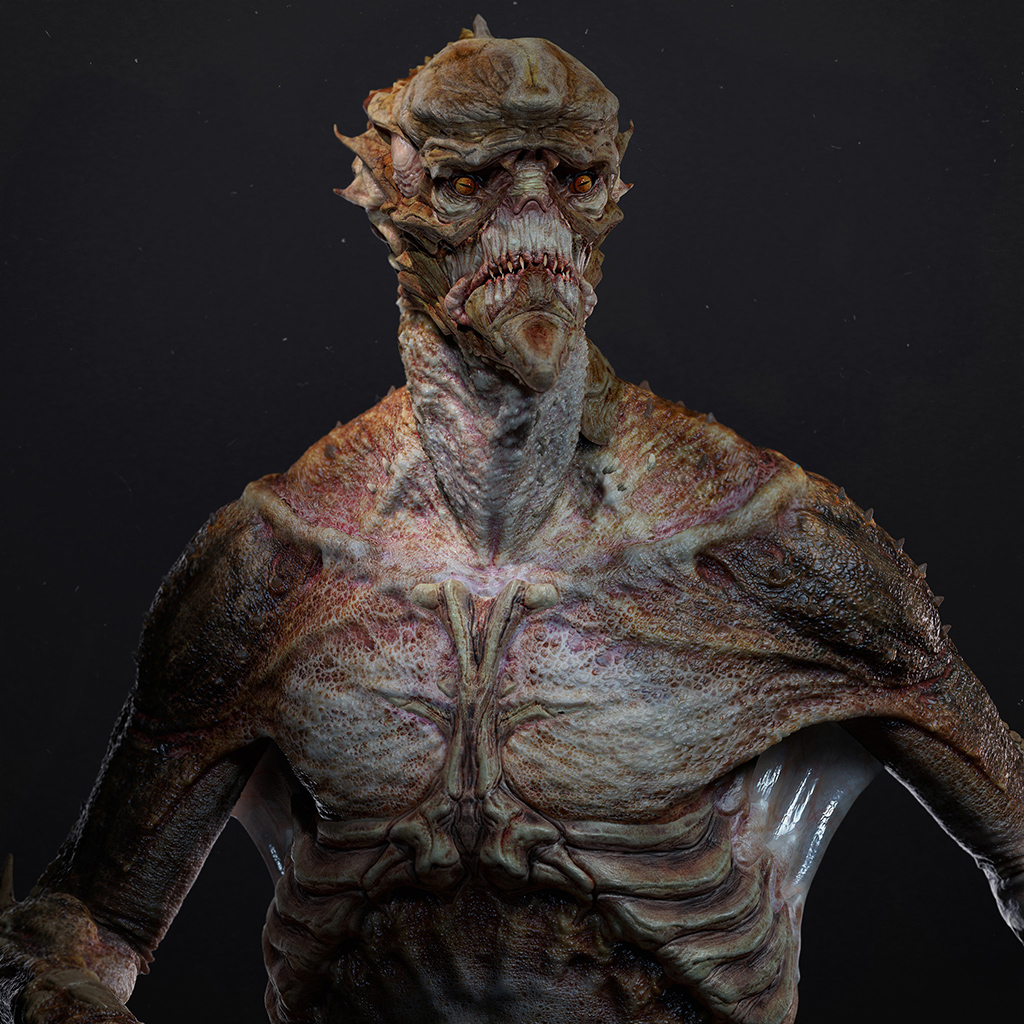
WATER FOLK:
" After the flooding of the world evolution took care of humans so they
could live in the brackish waters where they once built cities "

<iframe src=“https://player.vimeo.com/video/174464442” webkitallowfullscreen="" mozallowfullscreen="" allowfullscreen="" frameborder=“0” height=“405” width=“720”></iframe>
Breno Guinart 2015 Reel from Breno Guinart on Vimeo.

As any monster fan I always wanted to create an aquatic creature ( blame HP Lovecraft I guess ) .The concept was inspired bythe work of Steve Wang and his amazing practical FX pieces. The skin, shell aspect and color scheme were based on Mata Turtles and Snapping turtles.
Project done at Think Tank Training Center in Vancouver, BC under the Mentorship of Chris Nichols . Thanks Chris !

Attachments
CREATURE_1_1024_ZBC.jpg

CREATURE_2_ZBC.jpg

sculpt_web.jpg

sculpt_3_web.jpg

ARM_WEB_ZBC.jpg

120_ZBC.jpg

91_ZBC.jpg

85_ZBC.jpg

Wonderful creature, Breno, and another excellently textured creature out of Think Tank.

Would you tell us a little about your texturing process?

Did you take your displacement/bump painted in Mari back into ZBrush to apply it to the sculpture? How did you go about doing this, dealing with UDIMs and seams and other considerations?

Great work!

Thanks cdizzle!

There are 3 ways to do that actually, probably more but that’s what come to my mind now:

1 - You bring your UDIM displacements from MARI separately and add to the parts thru the displacement palette. For that you should split your subtools using polygroups generated from the UVtiles.

2- If you are planning to use displacements and bump you can use a 16bits bump painted in MARI , create a mesh with a single tile ( 8k minimum ) , and transfer the textures in mari to the mesh with the single tile UVS. Bring the mesh with the single UV, copy paste the UVS to a duplicate of your original, displace using the palette, and project the new details into the original. You won’t get as much resoltion but your displacement will be supported by the bump with the same information on top of it wich migh work well depending on the case. I now it’s a lot, I am planning to do a tutorial soon…

3- Once you are done in Zbrush , Bring your highest subdiv into MUdbox, rebuild the subdivs, rename your udim maps to Mudbox convention, use “sculpt with maps” . displacement, tweak for the settings desired result, it creates a sculpt layer you can dial up and down or delete.

Hope it helps!

Breno

Thanks for the quick and detailed response, Breno.

With method #1 (splitting each UDIM into separate subtools), do you ever encounter seams or other issues? How do you get around this?

I would love to see your tutorial for method #2. I personally try to avoid projection as much as possible, as there always seems to be a loss of quality and a good deal of clean-up, but I am very interested in your workflow here.

I hate to say it, especially here of all places, but applying UDIM-based displacement maps to a model in Mudbox seems like the most straightforward method. Can’t wait until ZBrush has the ability to read in UDIM maps.

Thanks, again, for your insight. Looking forward to that tutorial, and to seeing further work from you. Cheers!

Hey cdizzle,

“With method #1 (splitting each UDIM into separate subtools), do you ever encounter seams or other issues? How do you get around this?”

  • Yeah, you might get some seams, you can use some polygroup control and keep all UVs Linear when baking the maps and in your render engine (instead of smoothing). Might take some fixing in Mari too…

" I would love to see your tutorial for method #2. I personally try to avoid projection as much as possible, as there always seems to be a loss of quality and a good deal of clean-up, but I am very interested in your workflow here."

  • With method 2 , recaping , you are going to have the bump information right on top of displacement as it comes from MARI might compensate fro the loss of detail. It works in some cases having little noticeable difference.

" I hate to say it, especially here of all places, but applying UDIM-based displacement maps to a model in Mudbox seems like the most straightforward method. Can’t wait until ZBrush has the ability to read in UDIM maps."

  • I have to agree with you on that. Really hoping they get it implemented into ZBrush 5.

CHeers!

Interesting creature. Looking forward to seeing the tutorial :slight_smile:

Thanks again for the responses, Breno, I appreciate it. Really like the look of this guy, and hope to see more from you soon. Cheers!

Thanks Guys,

I am planning to do the tutorial for sure, trying to make sometime to come up with something applicable to most creature cases…

Cheers!

Breno

“CURSED”

Piece inspired by the original “Wolf Man” (1941). My take on the werewolf was to take back the “curse” theme of a physically painful full moon night transformation ( American Werewolf In London style ) with even more disturbing consequences revealed when the morning comes.
PROJECT TOOLS:

  • Maya
  • Mari
  • Zbrush
  • Mudbox
  • Arnold
  • Nuke
  • Photoshop


Detailed breakdown on the video bellow:

<iframe src=“https://player.vimeo.com/video/174464442” width=“720” height=“405” frameborder=“0” webkitallowfullscreen mozallowfullscreen allowfullscreen></iframe>
<p><a href=“https://vimeo.com/174464442”>Breno Guinart 2015 Reel</a> from <a href=“https://vimeo.com/user54319393”>Breno Guinart</a> on <a href=“https://vimeo.com”>Vimeo</a>.</p>

Amazing work Breno!Top row for me!:+1:small_orange_diamond:+1:small_orange_diamond:+1:

great creature work here.
i’m sure you won’t have a hard time once you are out of school.

-r

Thanks, guys! Appreciate it…