Heya Folks. First replys then I’ll post lights, Materials and what i do in Photoshop to add a wee bit of OOMPH to my renders.
Mike: Glad you like the look. Now stay off the floor so you can read this post, as it’s mostly for you, Bro…
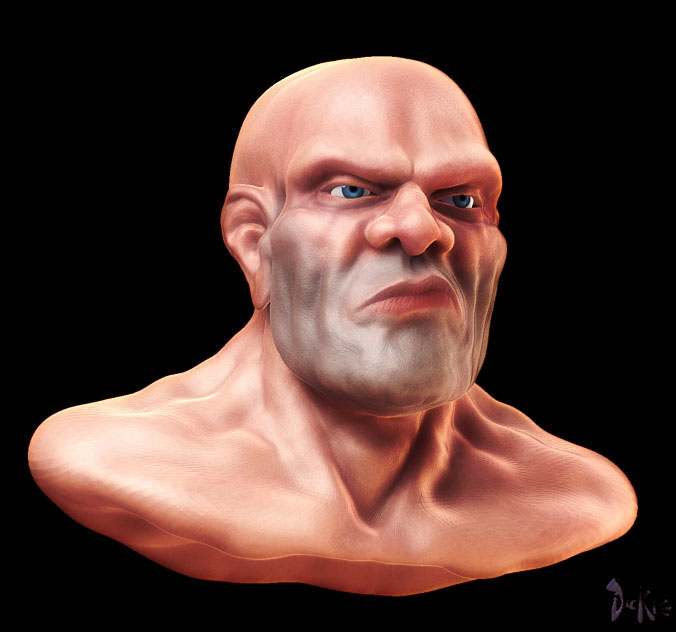
Sebcesoir: Indeed he is quite pink. This is actually the look I’m going for, as a lot of my other work is less saturated. I got tired of that and am playing with making my work a lil more colorful. I’m not going for photoreal, just an illustrative kind of look. The first version of this character I made the other night was less saturated and looked more real but I like this look better for now. Thanks for the input…
Tom: the cigar is coming soon.
ilusiondigital: Thanks!
Rich: Indeed he does. I’m going to be refining him this weekend. I can’t wait…
And now for the materials I used and the 3 light rig I use a lot now.
The material is a modified Sokar Skin shader that I’m always futzing with. It’s similar to the one I used on my orc but I play with the Blend setting on the S1 channel to allow the underpainting to show through more or less according to taste. It simulates how “thick” the skin is in a way. The more
of the underlying painting that shows through the "thinner"the skin is. Lower
values make the skin “Thinner”.
As for my 3 point lighting rig, it’s kind of standard. 1 Neutral sun type light
in the upper left, 1 warm sun in the lower right and a neutral sun with radial turned on for the rim light. Shadows are turned on for the first two lights and z-mode and Uni turned on for the first.
I render with shadows then export the image as a PSD. I then bring it into photoshop and duplicate the layer. This new layer I then lighten up and add a gaussian blur set to 7. I then switch the blurred layer to overly mode.
This tends to blow out the highlights in a nice soft fashion and adds some saturation to the image. Depending on the look I want, I then adjust the hue and saturation to taste.
This latest image I duplicated the layer twice. One I set to overly mode and the other I set to Screen mode which really blows out the highlights and lightened up the image overall.
Here are the light and material files for anyone interested.