ZBrushCentral

Binding 2 meshes

Hi, below I have 2 images to explain my question. I have 2 OBJ files, one of a dogs body and one of the head and I am looking for a way to join them in ZBrush so that I can work on the dog as a whole.
I have tried Union and also Grouping the 2 meshes in 3D Studio Max but then when I import it says the polys are not the same, so it will not allow me to import them in that way.
I am just looking for a way to bind/weld these 2 meshes together to make them one mesh.

Any advice would be greatly appreciated.

body.jpg

Attachments

head.jpg

Are you talking about how to group the two separate meshes into a single tool where they can both be edited simultaneously, but are still separate objects…

…or are you talking about being able to merge the two objects into one continuous, unibody, seamless object?

In the case of the latter, there is no magic button approach, it will require a bit of work on your part.

Hi, thanks for your reply. Yes, I am talking about the latter. I have not even be able to bring them into the same window in a way that I can edit them both, because I bought the head in as a tool. So I am very new to ZBrush, if you could give me pointers how to bring them both in as objects and link them so that I can work on it as a continuous object.
Or maybe you know how to export from 3Ds Max with even poly count when I union in 3ds max, because when I try that, Zbrush tells me I have uneven no of polys?
Thanks!

Hi,
Thanks for your reply.

Yes, the latter. I am not scared of putting hard work into it. I am looking for step by step on how to do this, I am fairly new to ZBrush.
So far I have only been able to bring them in together by bringing one is as an obj importing it, and one as a zbrush tool which meant I had to switch the edit off so I cannot work on them. I need to find a way to make both the meshes editable and then link them so they are one, continuous mesh.

Or maybe you know of a way how to export them, as a grouped or unioned object from 3ds max in a way that there is an even poly count, as when I try it that way, zbrush is unable to import as it says it is an uneven no of polys.

Thanks!!

Well, ok, there are a number of ways to go about doing what you want, but they will all take a bit of effort. There is no magic button for what you want to do. They will all require you to manually edit the geometry, inside or outside of Zbrush, which you should probably do anyways, because the geometry doesnt look quite as clean as it could be. Either way though, you will be creating a new tool with different geometry, so no, it wont import into your present tool, with it’s current layers of subdivision.

Planning a model out in advance so you dont run into situations like this is a skill you’ll develop as you become more experienced. Luckily, you don’t seem so far ahead in detailing that much will be lost, and you’ll benefit by constructing some cleaner geometry.

IN Zbrush, you can make the objects parts of the same tool, by appending the head as a subtool to the body, then using Subtool Master to merge the objects into the same tool. Read up on Subtools and subtool master in the Zbrush Wiki documentation. Also read up on the “Insert Mesh” function, as it would be an alternate way to do this.

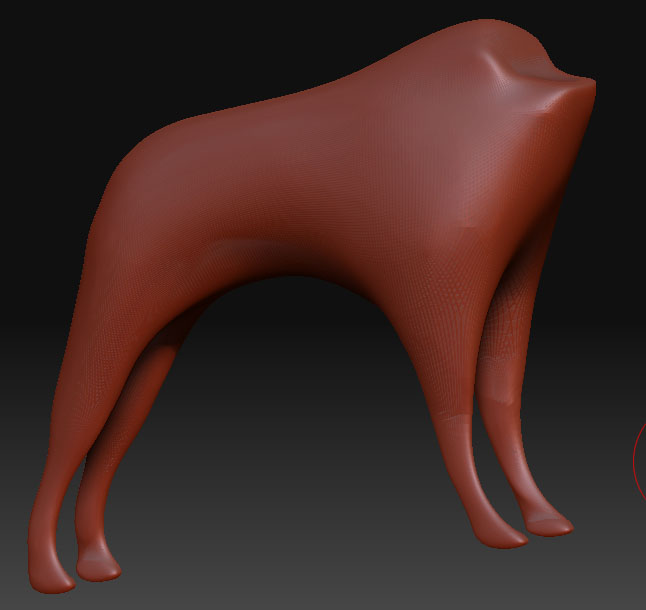
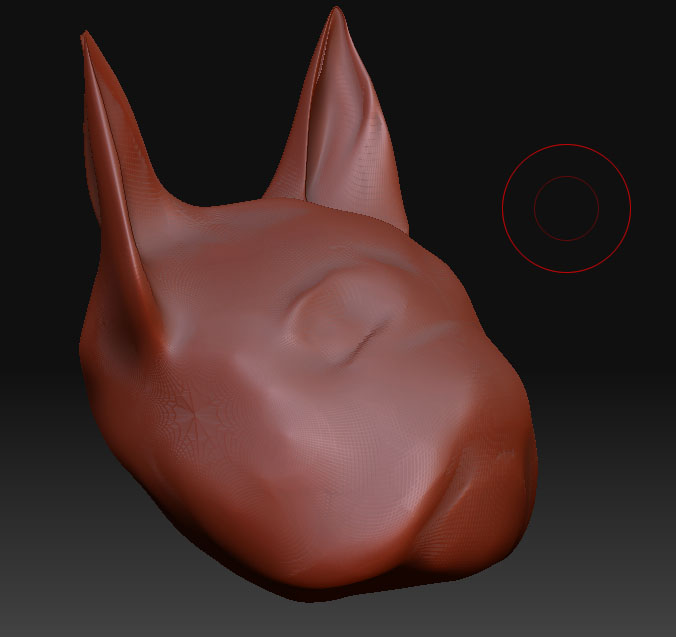
Once you have the two objects grouped together in the same tool (as subtools or otherwise, you’ll, use Zbrush’s Topology drawing tools to draw a new seamless low poly cage over top of the two meshes, and make a new skin, resulting in a seamless logical mesh with which you can start detailing. It looks like these objects were sculpted from primitives, or something else that resulted in them having some ugly geometry, so you can take this opportunity to clean that up a bit, and draw the lines out in more logical, evenly distributed fashion, without the poles from the sphere poking up in inconvenient places.

Alternately, outside of Zbrush, you could use a Boolean operation, like Union, to “merge” the two meshes, but this will create a lot of Ngons, and generally poor geometry that you are going to have to manually clean up and “stitch together”, vertice by vertice, into all quads, to import back into Zbrush. If you do this, I would recommend exporting both tools at the lowest level of SubD, to reduce the amount of cleanup work, not to mention just making them easier to manage in outside applications. Regardless, the end result will not be as clean, as if you had simply redrawn all the geometry in Zbrush.

It’s a lot to learn, I know, and I’m sorry it’s too much information for me to just spoonfeed you here…you’ll need to learn it for yourself… but it will pay great dividends later on when you become comfortable with Zbrush’s topology tools.

Hi,

Thanks for your guidance. I managed use the subtool master to bring the 2 meshes together, but it seems to throw the head of the body slightly off center. This mean when I sculpt with symmetry it is uneven. Is there a way to manually move the head, because it seems fixed at the moment. I would like to maybe align it manually so it can be position a bit better?
Thanks again for your help!

Also regarding the caging, my subdivision level is already at 6 so dividing it even more leaves me with a massive amount of polys over the 1.4 million polys. Is there any other way I can smooth it?

Well, if the head was its own subtool, you could move it using any of the normal means …the offset slider in the deformation menu, or the transpose move tools (the “move” button next to the edit button on the taskbar.).

Read up on the Transpose tools, action lines, and the Deformation menu.

If the two objects are part of the the same tool, you must first become comfortable with the ways Zbrush can isolate specific live elements, so that changes only affect those elements…namely, hiding and masking. Essentially you want to hide or mask what you dont want to move, then use one of the above methods to move the remainder.

The easiest way to do this is to make sure the head and the body are separate polygroups (if they are not already so, go to Polygroups>AutoGroup), and then you should be able to hide the body with a click.

Read up on Hiding, Masking, and Polygroups.

Well, the decimation master plugin reduces polycounts. But this is not what you want to do.

What you want to do, as I said before, is learn how to use Zbrush’s retopologising functions to draw a new, cleaner, low poly mesh over top of those existing parts, and start detailing that. It is not a one-button solution, and will require effort on your part to learn, but it is the best solution for where you are now, and will pay the greatest dividends for you in your work down the road.