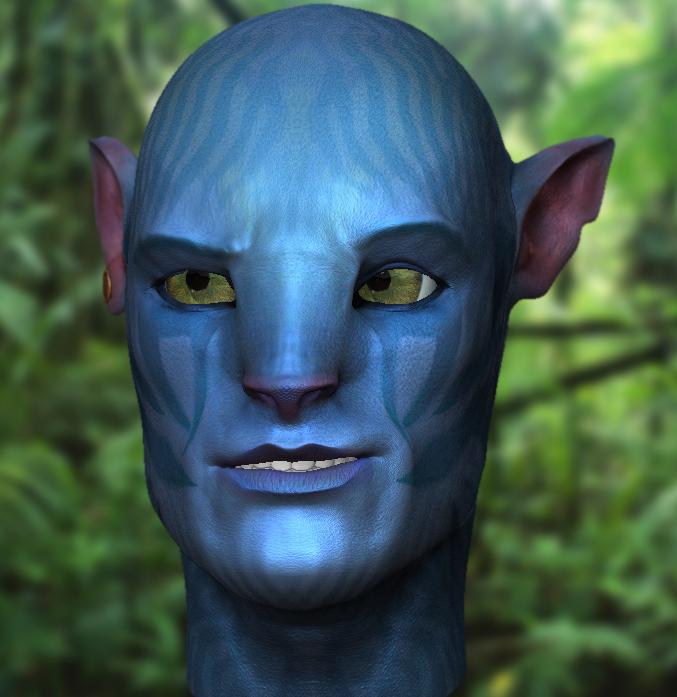
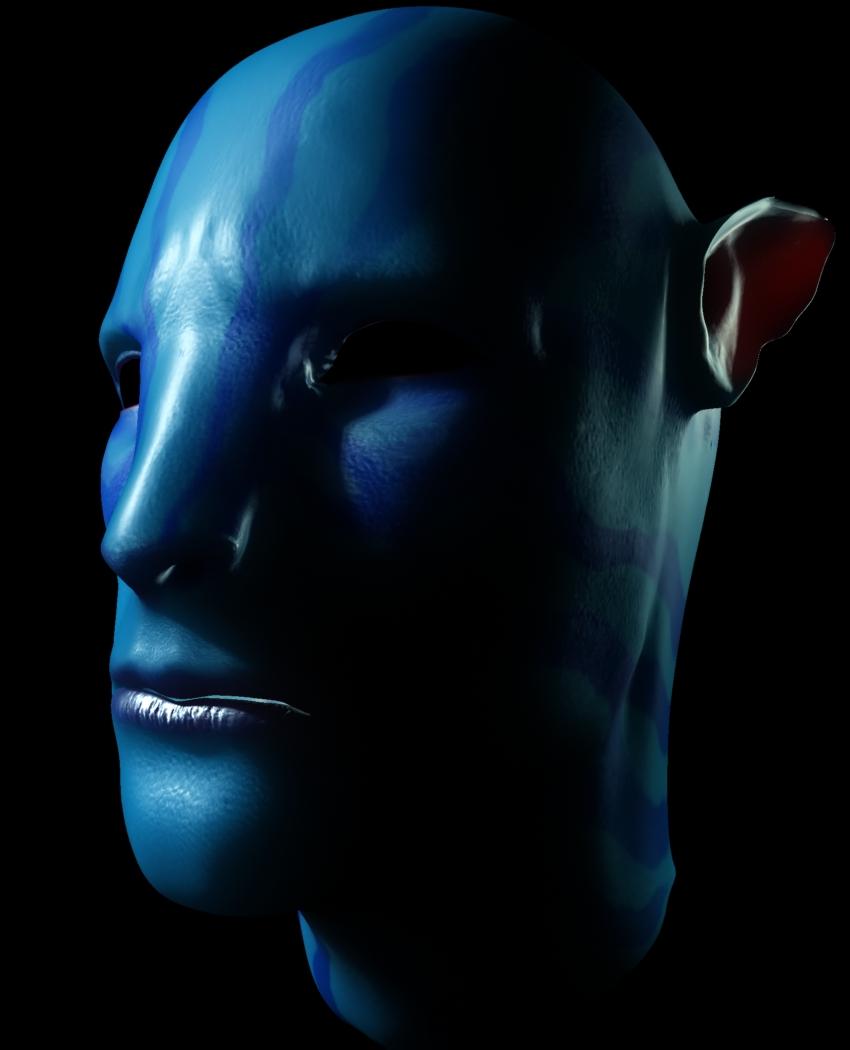
I made teeth and fixed the nose and stuff but I still need to know how to make the platted female hair!
[ ](javascript:zb_insimg(‘173361’,‘Rachels%20Avatar%20bald.JPG’,1,0))
I am noob Hewp meee!!!
Attachments
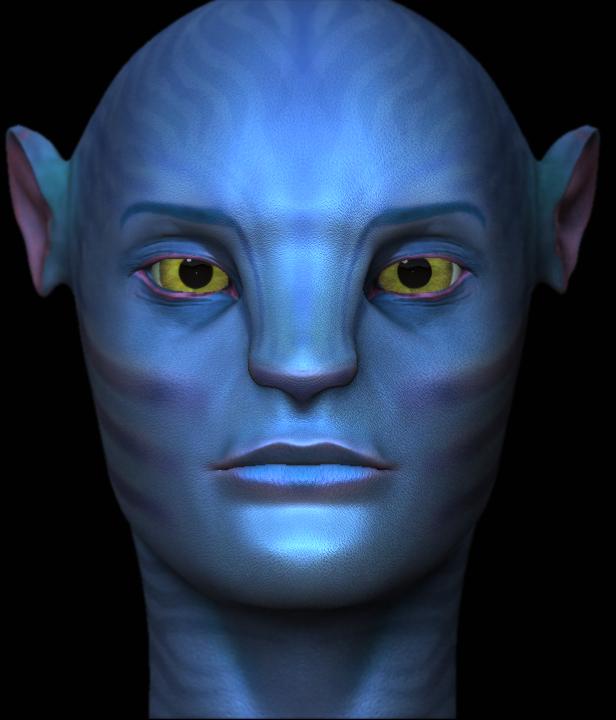
I made teeth and fixed the nose and stuff but I still need to know how to make the platted female hair!
[](javascript:zb_insimg(‘173361’,‘Rachels%20Avatar%20bald.JPG’,1,0))
I am noob Hewp meee!!!
For the hair, you can just use zspheres to create one long tube. you can either sculpt the surface in to a braid pattern of use a photo as an alpha. when you have something you like, duplicate it and scale it. if you start to get too many polys, decimate them.
You can then draw a mask on the area of the head that you want covered with hair and extract it, you should be able to use and alpha with a standard brush to sculpt a hairline by pushing the extracted geo back into the head so that it look like its growing out of the head.
Once you get all the braids posed on the head , use the clay brush to blend the brads and the extracted hair together.
hope this helps.
Patton
Very interesting thread, I liked what you’ve done so far.
I think every artist was inspired to do the same after watching the spectacle that was Avatar!
Keep up the good work.
u r works is wonderful
Check out my Youtube turntable.
He’s still bald, but a full 3D preview is a lot better than one frontal pic.
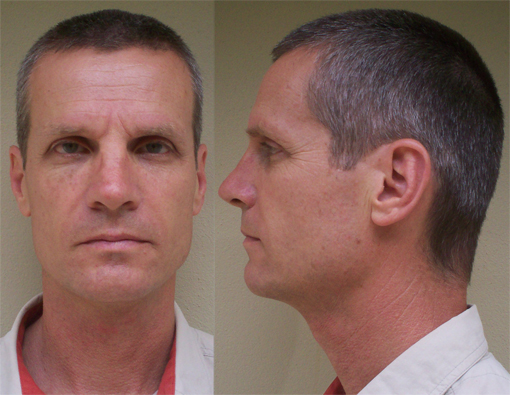
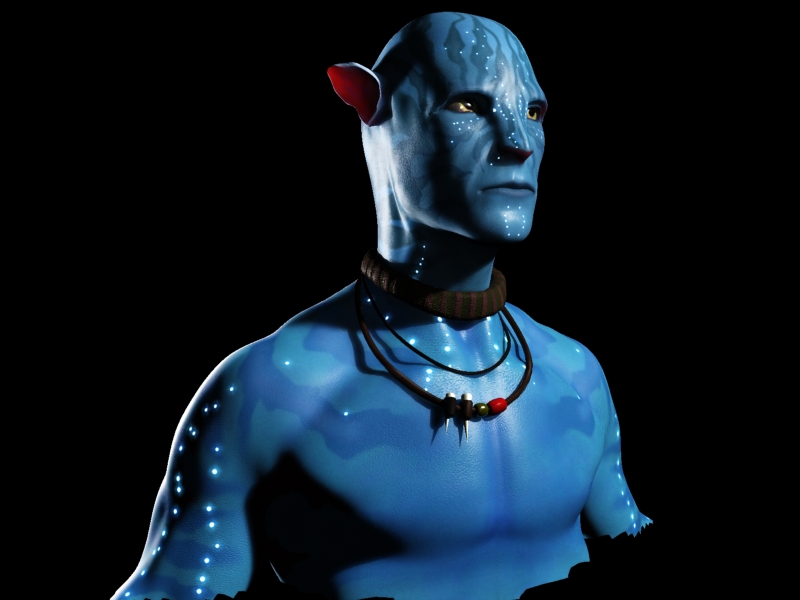
I sorta left the avatar thing for a while but now I’m back into it to finish the job. Im learning to render skin in 3DS Max 9 so If there is any tips on how I’m going that would be great.
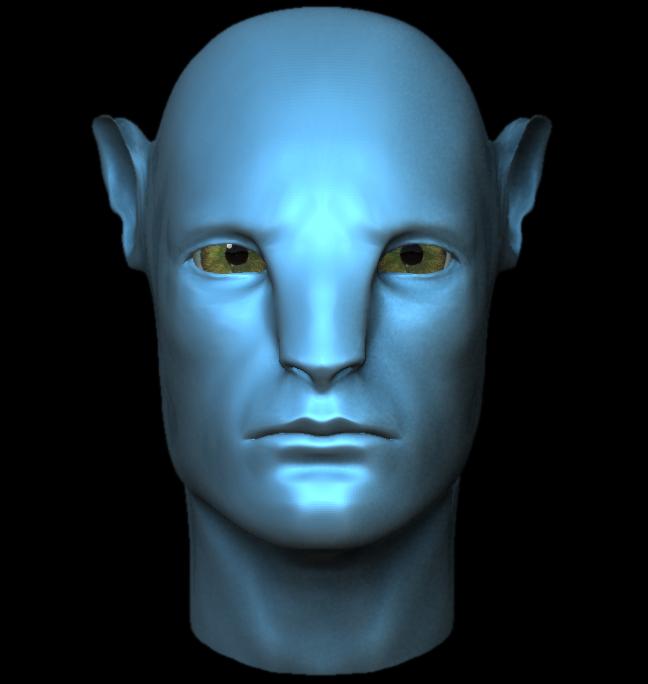
[ ](javascript:zb_insimg(‘177152’,‘Render%20test.JPG’,1,0))
Its a portrait of my Dad so he can hang it on his wall in his office for people to marvel at 
The Detailing is nowhere near finished, I’m just learning to render first.
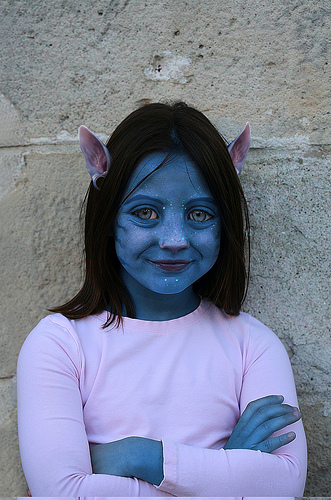
Cool, but you probably could have done it right in Photoshop, using a photo of your Dad. Here’s one I made of my daughter.
Created the eyes and bump map.
[ ](javascript:zb_insimg(‘177270’,‘Reder%20test%20Eyes2.jpg’,1,0))
Currently learning how to do hair.
Another Update on my Dad:
[ ](javascript:zb_insimg(‘178581’,‘Kevin_showcase.jpg’,1,0))
Things to do:
Im back at school so things will go a bit slower from here on
these avatar character design is boring und blue :rolleyes:… don´t understand the hype. but never the less, good work
Little friend don’t worry about the things you read with each other model you’ll get better and better you remind me to my self and i’m shure that not only you remind me there are and others here as well who are and ware like you i was 12 when i started with 3d now i’m 21 so imagine it  and i never studied or something you can achive alot of things on your own just study hard and learn hard and you’ll be one of the best one day trust me
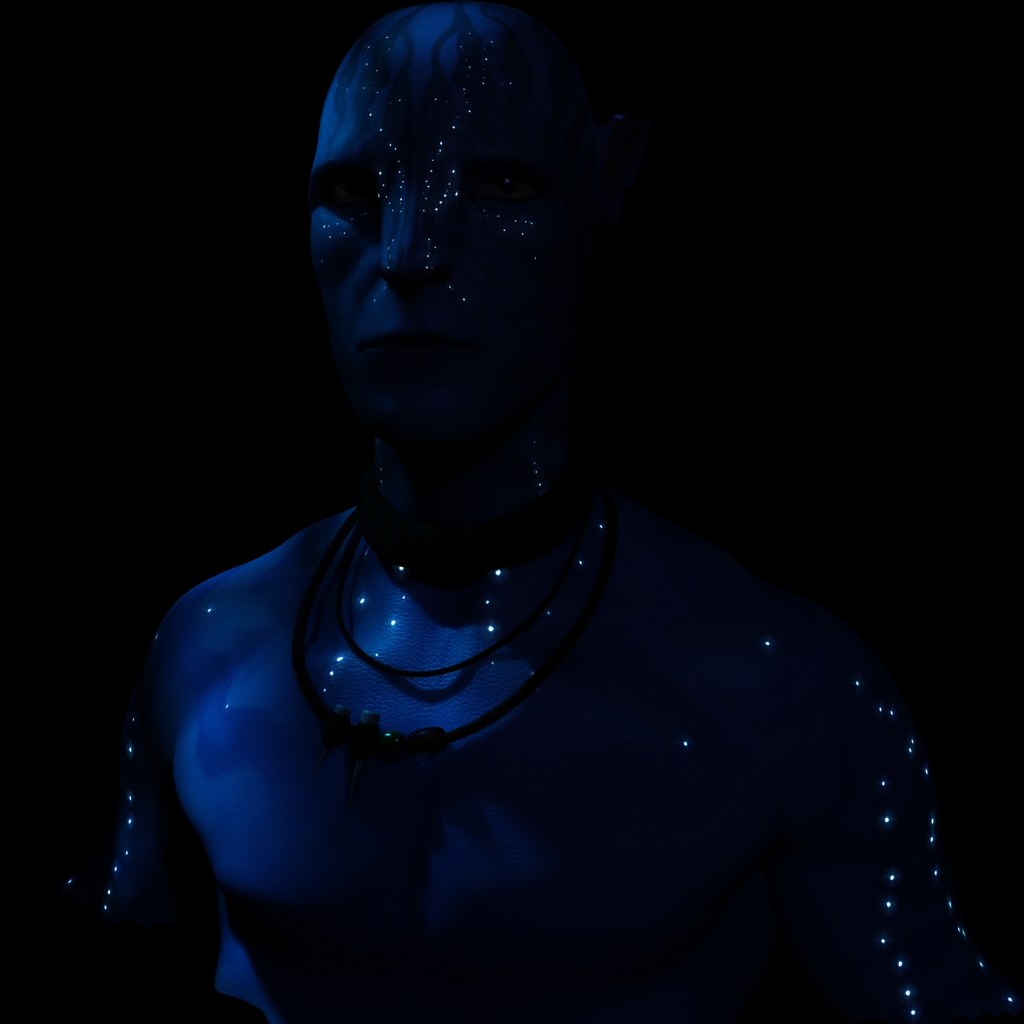
Well, I did some Mental Ray SSS Skin shader configuring (had to learn it on my own as there are no good tutorials i found) and got an alright setting.
I also created the Subdermal, backsurface and emmissive as you can see in the following images.
[ ](javascript:zb_insimg(‘179207’,‘4th%20Feb%20night2.jpg’,1,0))
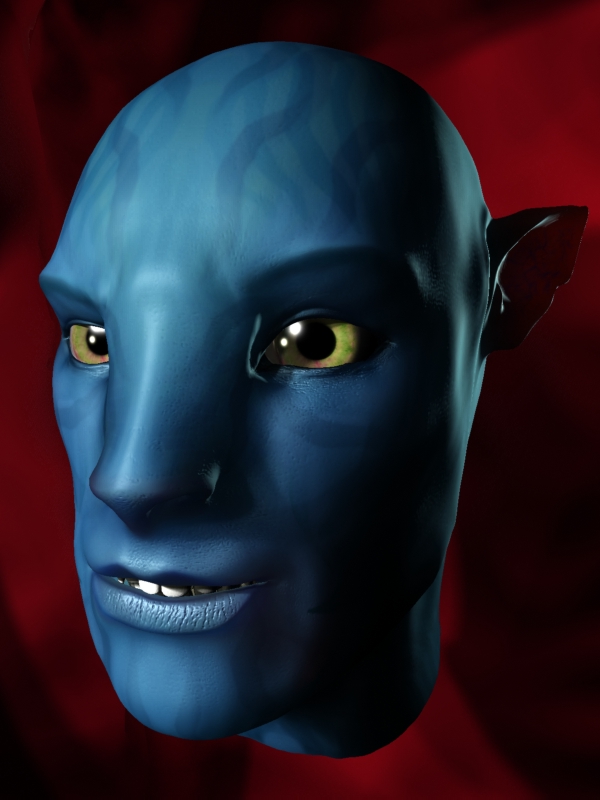
Done an avatar myself, but yours is much more accurate. How did you get the emmisive?? a setting under SSS Fast skin? Love the character’s eyes too, only notice that the look dull, probably cos the specular map for the cornea doesnt hasve a high enough value, or the scene is not properly lit. If all these are proper, then u could use a point light to finish it off.Was your base mesh made in Max, the sculpted in zbrush? Nice model overall
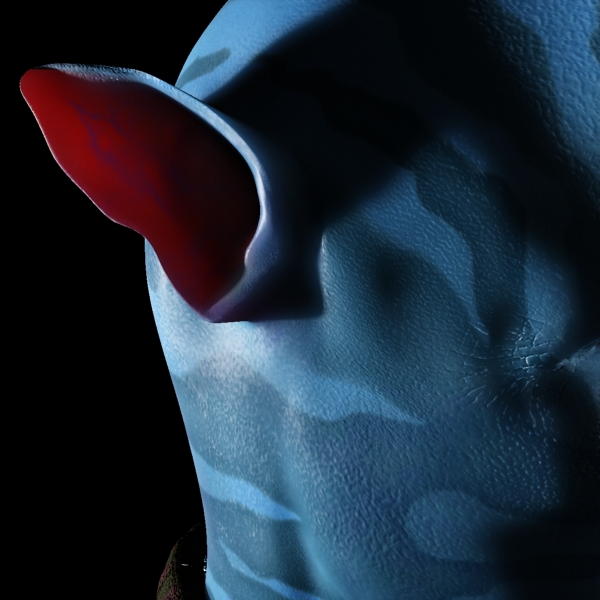
Nice work! Pretty close resemblance to the references! Only thing I see that still needs a lot of work is the ear. Try to find good animal reference, like the ear of a dog, cat, horse to create a more believable morphology. You could also use the movie, or other reference from the movie.
Hey! you are working amazingly right now…
For your Dad’s sculpt i would pull the Navi’s jaw a little outer, so it resembles him more.
SSS materials
For the skin setup (mental ray for maya user, max should be almost the same) you should use something like this:
Overall/Diffuse Color - Plug a Arch&design (mia_material)
You should give this material a little reflectivity so it actually reflects some of the environment, and some glossiness.
This layer should be white, with additional color for the white glows over the skin.
This layer is the one who has bump/normal map.
Epidermal layer - Texture
Here the blue stripes should be plugged, this way the SSS shader blurs them a little, and makes them react correctly to the lighting
Subdermal layer - Texture
A blue blobby texture.
Back scatter layer - The default red works fine

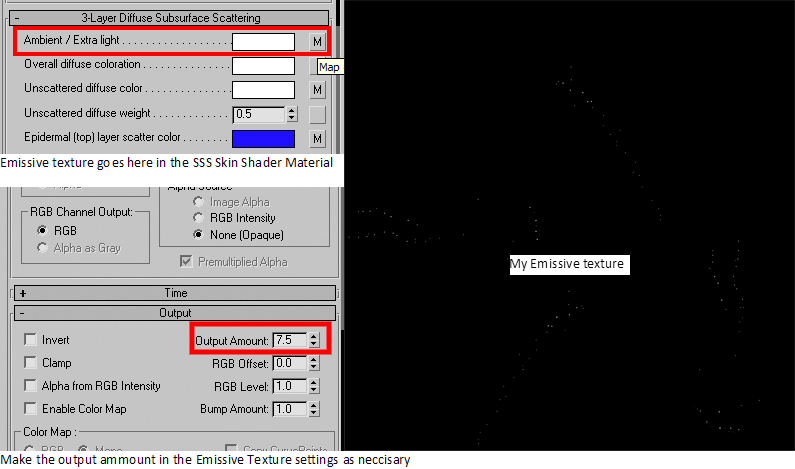
Yeah the emissive is under the SSS Fast Skin Shader. I made an image to explain how to do it.
[ ]
]
I used the basic head model from the zbrush downloads centre, and used the demosoldier’s base mesh for the body. I exported both to render in 3ds max 9.
You should put your own avatar on a thread so you can improve it.
Thankyou so much for that tip. 3DS Max is quite a bit different to Maya, so I’m just having a bit trouble figuring out how to do what you showed me.
I get the theory of it but i’m still learning the program. Either way, yougave me a great reference image. I’de like to see your avatar!
And a question, I have Maya but I haven’t learned a single bit of it yet. Would you recommend using Maya it for this model, or should I stay to 3DS Max?
As a maya user… i would recommend maya
But it’s all up to you wich software to use, the greatness comes from the artist¡'s talent, not the tools.
I’ve got no “Na’vi self portrait” but feels like a good idea to do one…
Ok well today I finally got bothered to finalise my model, so here is the turntable.
It took 3 hours to render on my 3.4ghz quad core so I don’t think i’ll bother doing any more renders to fix minute errors. - unless I do hair later on
 ]
]