you ran out of UV space also
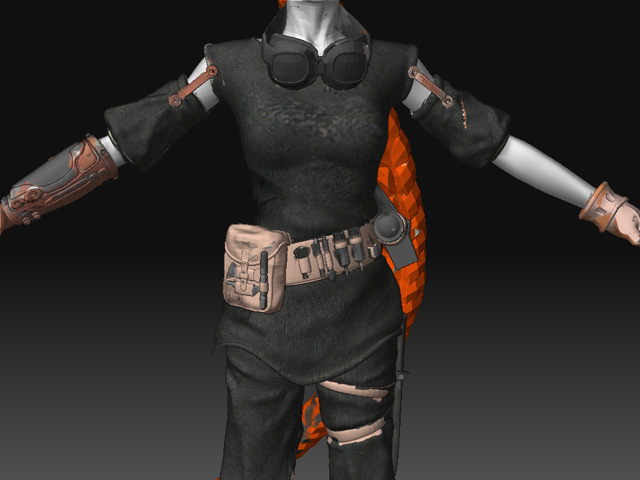
When I look at your model and the AUVs that you have assigned it in picture 1 with the hand your AUV is too packed.
Especially since your trying to pull off a 512 map (at 512 you have to be very sneaky on using your UV space and still get any real detail)
Break up your model a little
Subtool your model so that
The girl
The clothing
The tools
are all on seperate subtool layers (3 in total)
Then AUV them as seperate maps
The reason is AUV sucks to begin and when you pack so many things on one map using AUV tiles the Texture resolution goes down the tubes.
Look into UVW mapping in blender for game quality UV layouts.
(UVS that unfolded to match a flat surface making it easyier to paint on the model using both photoshop and zbrush)
Its a little work to learn but worth it, and its a free program.

 ](javascript:zb_insimg(‘141390’,‘Steam%20Engineer.jpg’,1,0))
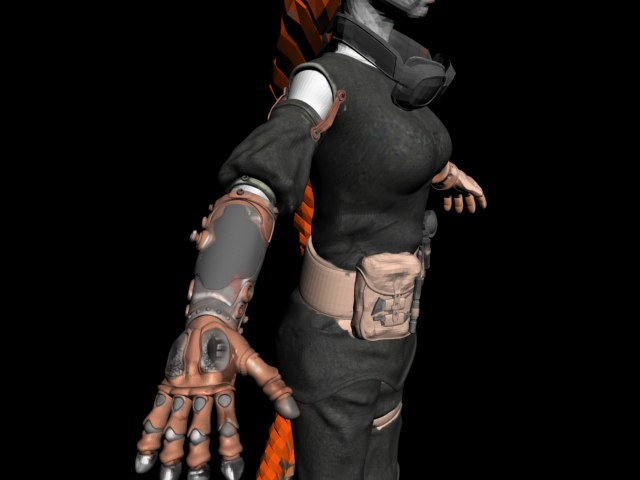 ]
]
 ]
]
 ](javascript:zb_insimg(‘141524’,‘ZBrush%20Document.jpg’,1,0))