The model was created using zspeheres and is about 6K. The problem I’m havin is during texturing artifact start to sho up and in latter portions which are shown in the 2nd image it really starts to get bad. I tried GUV but that was only after I had alreay started to texture the mesh, so would I have to start with a new texture and set GUV right from the get go? The resolution for the texture is 4096x4096 and a majority of it was done using projection master.
It appears that much of your trouble is from having Fade turned off. This causes very harsh edges that don’t blend together very well.
As for UV mapping, it must be calculated before you begin texturing. Also, changing the size of your texture after you’ve assigned AUVTiles or GUVTiles is not a viable option. A blank texture of the desired size should be assigned to the model prior to assigning the mapping. This ensures that the mapping is calculated for optimal performance at that size. These mapping methods are extremely precise, and changing the texture size after you have assigned the mapping can cause problems.
speaking of that, where do you turn on/off fade?? ive seen that before and now i cant find it again??? :rolleyes:
When you hit “G” and it bring up the information for projection master. Theres a box you click on for fade. And thanks for the help aurick, I’ll remember to do GUV before I ever start wprkin on the texture.
I preformed the GUV and fade is still turned on but the problem is still happening, I was hiding geometry to help speed the preformance while doing the texturing and noticed that some of the artifacts where outling the area I had just worked on, the fade effect was stopping there. So it seem that any hidden geometry isn’t affected at all. From there the artifact get worse the more I work. The funny thing is that My brush never touches the area near the edge of the geometry so unless the fade option is taking the effects all the way to the edge I dont see why the edges are being outlined. Hopefully that makes sense to anyone who reads this.
yeah i had that same problem, not really sure how to fix it:rolleyes:
I was just about to post the same problem. If anyone has any suggestions, please let us know :X
I have the same problem. My objects aren’t really high in polys but they do have a lot of protrusions. When I paint over stuff I get those hard breaks in the texture even with fade on. Even when I’m smoothing if I don’t stay inside of the boundaries of a protrusion I will see light breaks in the texture from runoff. As careful as I am the problem is a nightmare to eliminate entirelly. After I’ve smoothed a gazillion artifacts. The lushness of the texture is lost to sharp and blury colors and I’m might as well start all over again…
Guys, when your tuexturing, when you JUST start… Say the first few times you pickup the work in your projection master… If your having the same problem as me, it seems the fade affect is either going all the way to the edge of the canvas (Which is then noticed once you pick up the colors and move the geometry youll see the outline of where the edge was.) OR where you had your hidden geometry . . . Is this holding true for the rest of you???
I just now had the exact same problems, I don’t think it has anything to do with the fade effect, I think it’s a bug.
Then all of a sudden I picked it up and one large piece was much much darker than the rest. I didn’t change materials or anything. So it is very strange.
Yeah. That is very similar to the problem. Except it also happens with anything that protrudes from the object being painted…
Best way I can describe this problem is by comparing it to a tan line that occurs when parts of the body are covered from the sun while other parts are exposed to uv rays…Ears sort of protrude from the head. The shady area behind a persons ear will have an outline where the uv rays could not touch it.
Fade is NOT related to the canvas. It’s related to the angle of the pixols relative to the camera. The more a pixol angles away from the camera, the less color will be applied. So if your model is a sphere, then the pixols most directly facing the camera will get 100% of the texture, but the pixols around the edge of the sphere will get none. It works the same no matter how much of the canvas is filled with color.
As for when you hide parts of the mesh, Projection Master (and ZBrush in general) completely ignores the hidden areas. Don’t paint to the edges of a partially hidden mesh! This applies to painting mesh displacements, as well.
Guess there isn’t a sollution to this issue. We just need to do it the old fashioned way. Photoshop… You could try one of those other 3dpaint apps but photoshop is a proven method… Although not any fun at all.
There is NO reason why you can’t use ZBrush to get high quality results. As a general rule it’s much easier to be able to paint what you want to see and let ZBrush handle compensating for seams and distortions.
Check out Caroline Delen’s workflow here, and you’ll see just what kind of quality you can get from ZBrush!
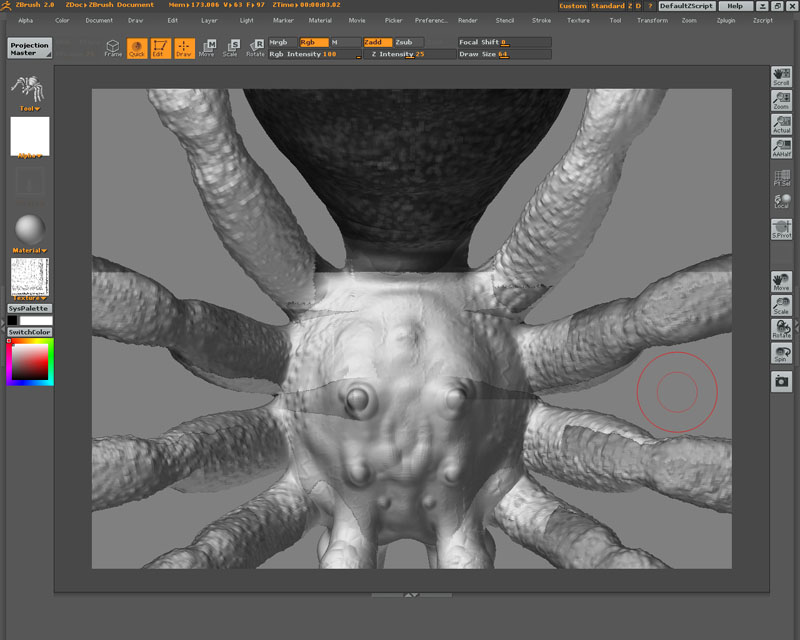
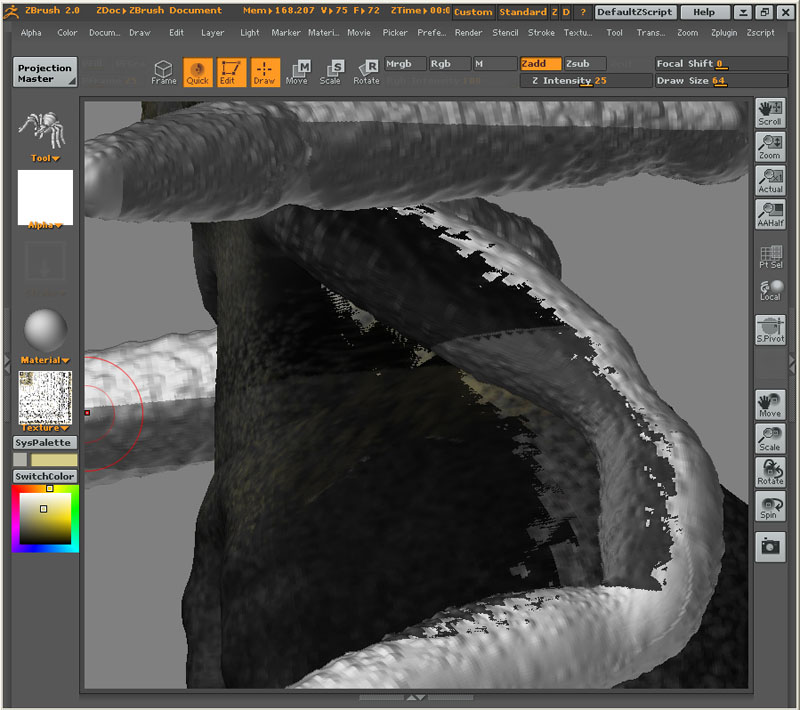
A common mistake that people make when texturing in ZBrush is to try and paint all details before picking up the model and rotating to a new angle. It’s a far better workflow to build your texture up in layers. Paint the entire model with the base layer of color and detail through a series of drops and pickups. Then go over the enitre model again while building up more details. Keep working this way and you’ll soon build up a very detailed, high quality texture without artifacts.
Also, keep in mind that for quality texturing you need to maintain a 1-to-1 ratio between the pixols that you’re painting on the canvas and the pixels that will be transferred to the texture. I cover that subject in my precision texturing tutorial.
Near the end of Carolines video you can see a bit of distortion in the texture but it seems easily fixed. Unlike what I’ve done so far where it shows up a ton. But anothr thing I noticed was when Caroline has dropped the geometry and it painting the brush size is A.) Small B.) Stays near the center. Which allows fade to work smoothly where as I was working so close to the edges although fade was turned on and working, I was too close to either the edge of the canvas or hidden geometry and would cause the “Tan lines” (Nice analogy by the way) So what I gather from all this is be more patient then what I was and build up the texture slower… Trying to get to much done in too large of and area at one time…