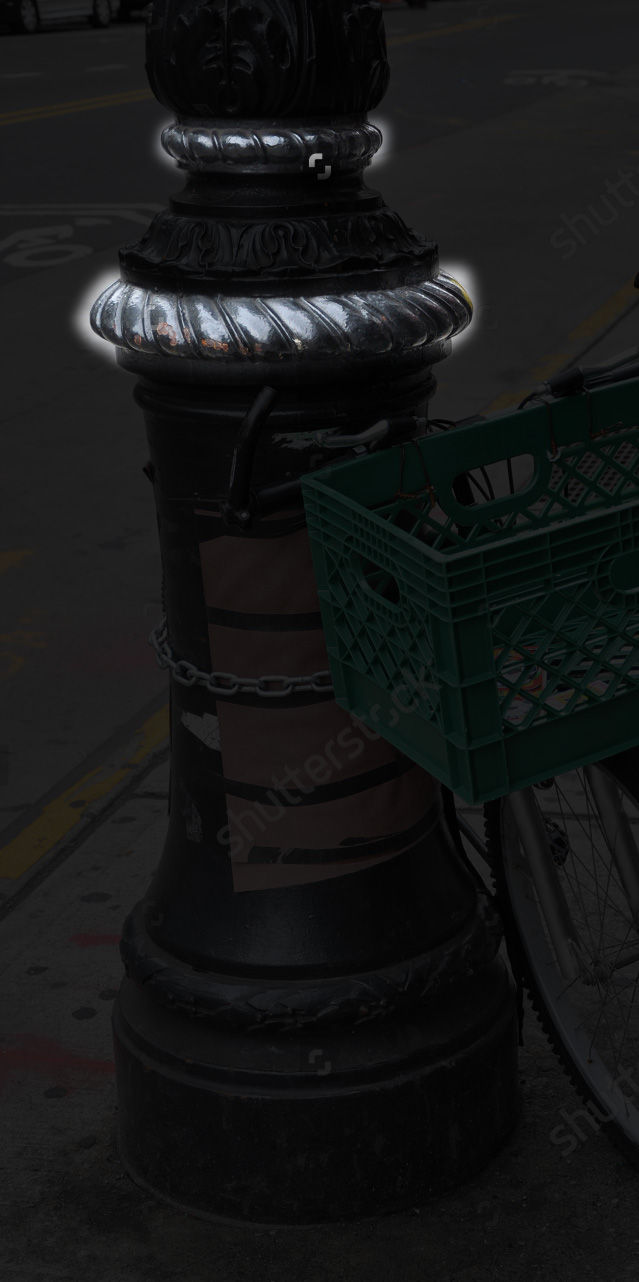
I am trying to recreate a detail from a NYC lamp post that has a spiral-like affect:
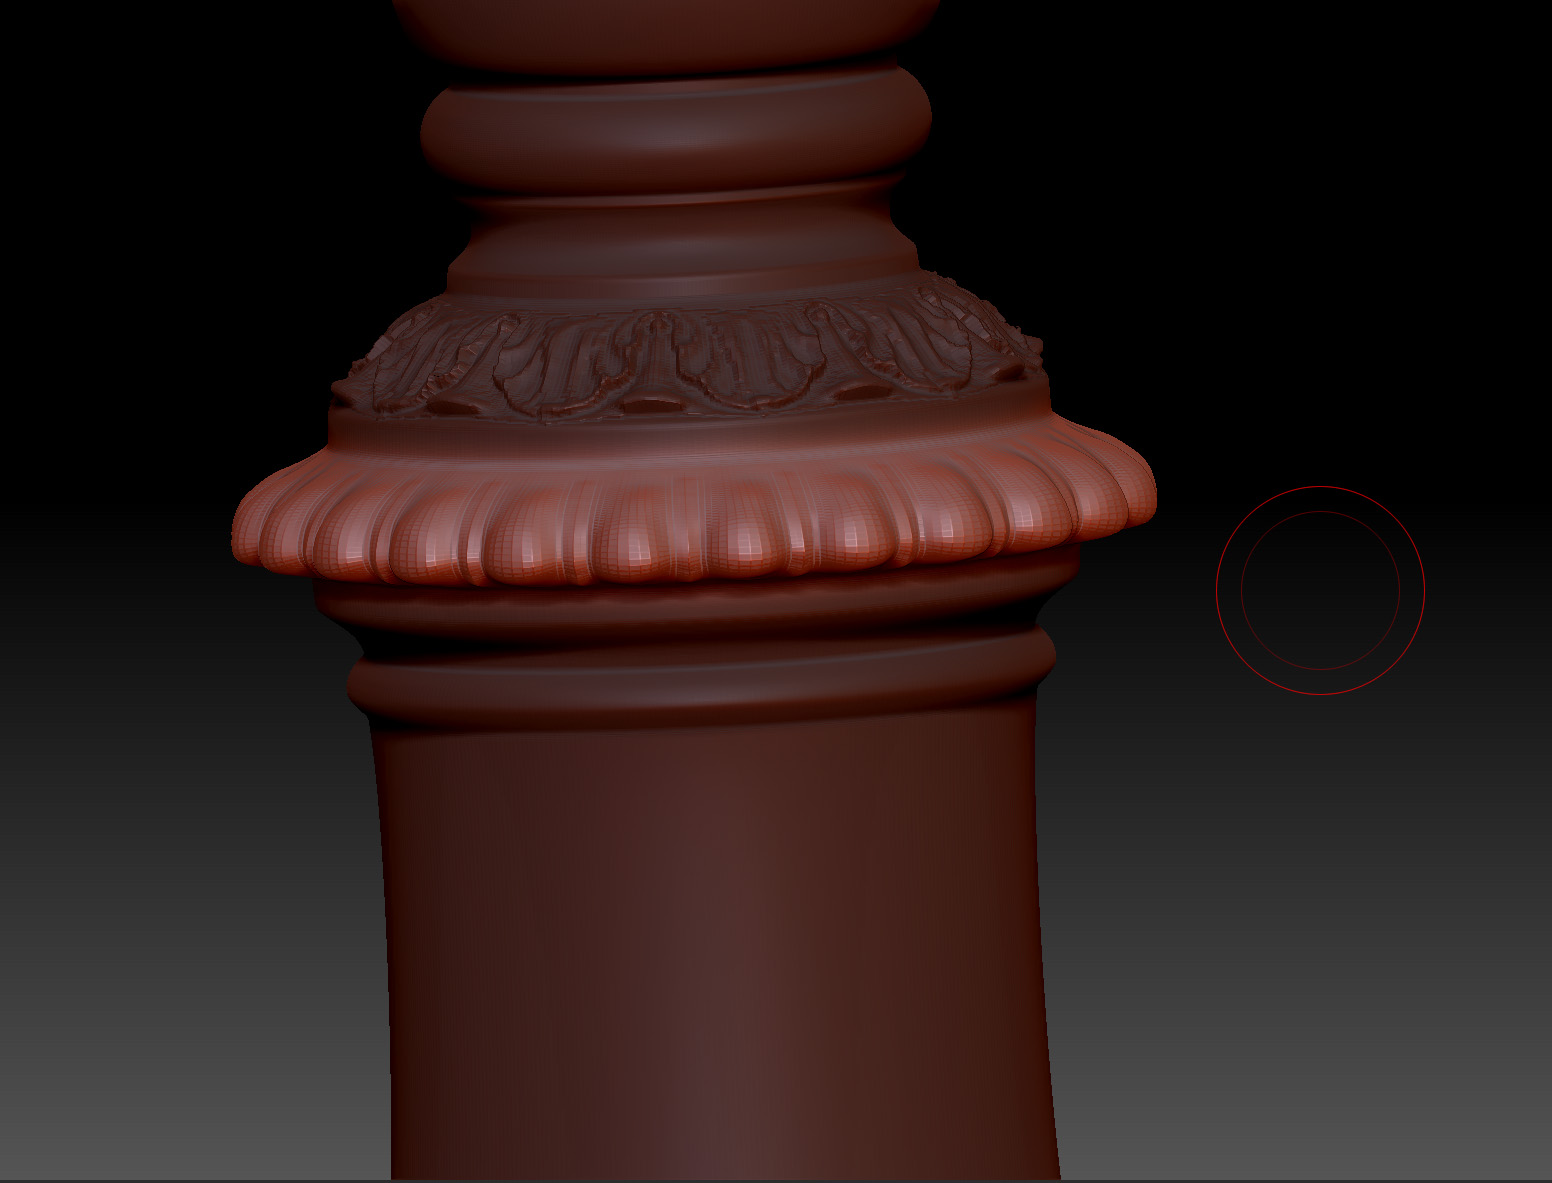
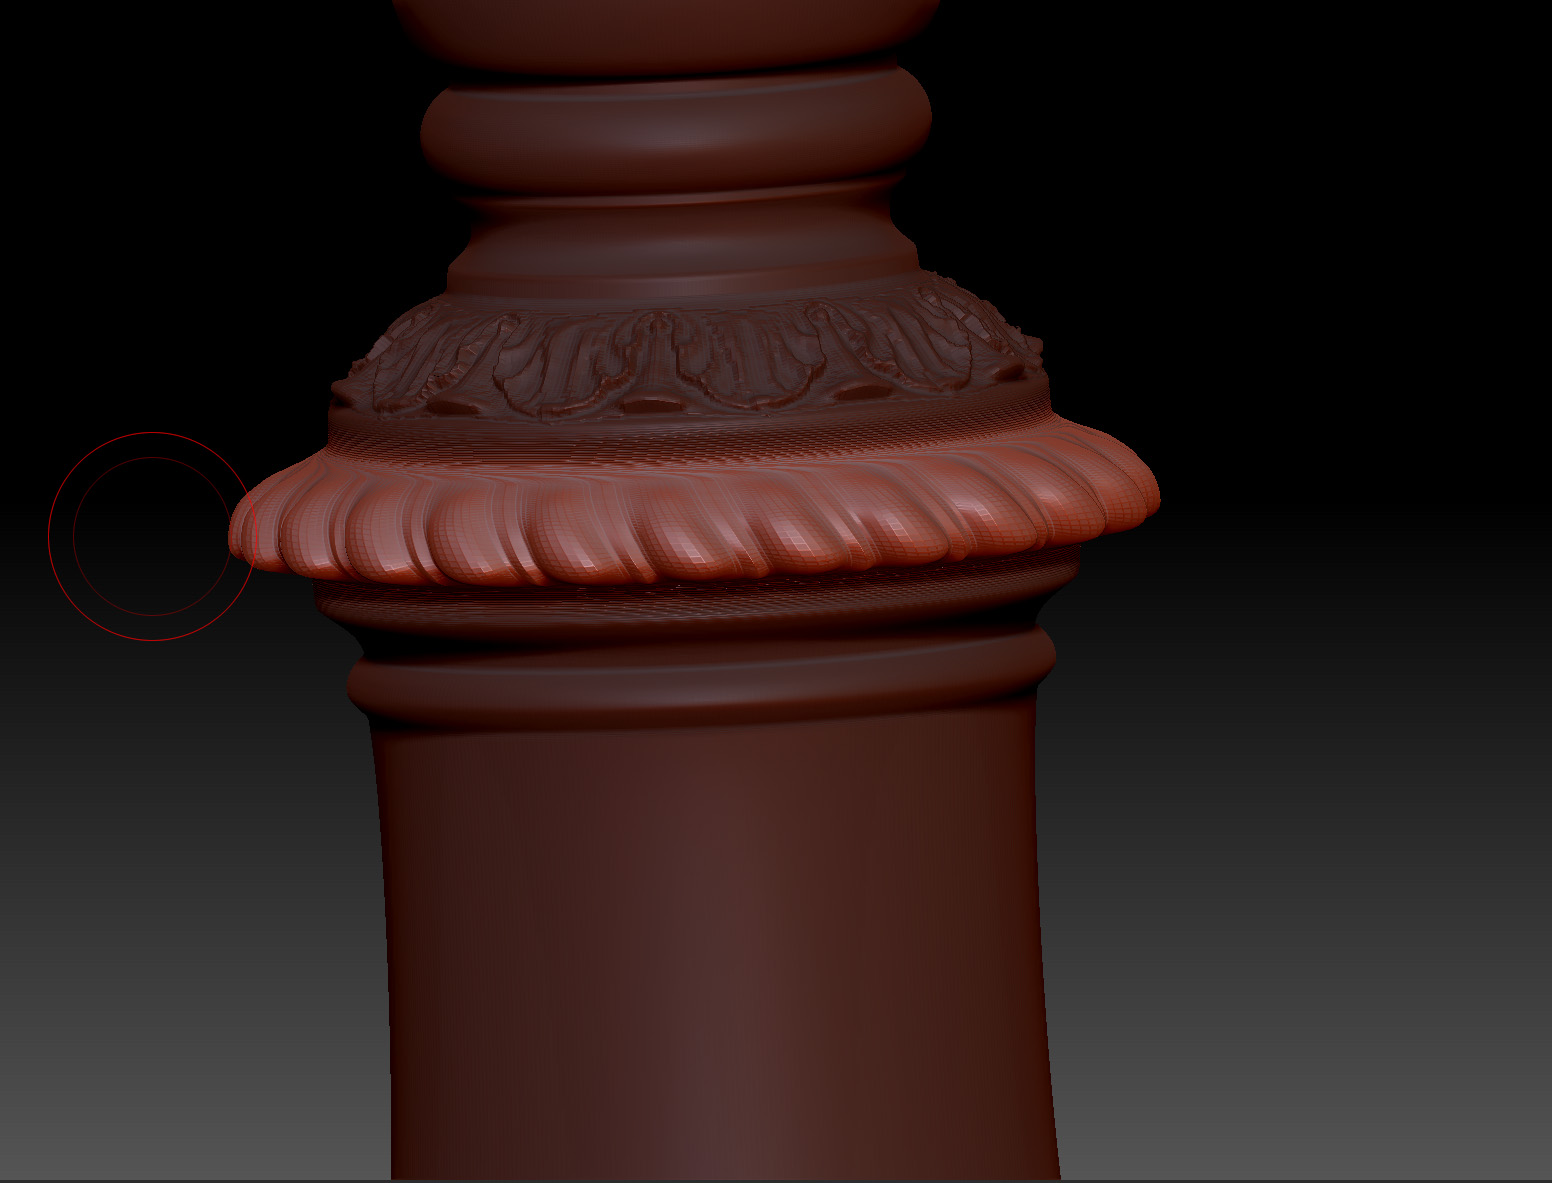
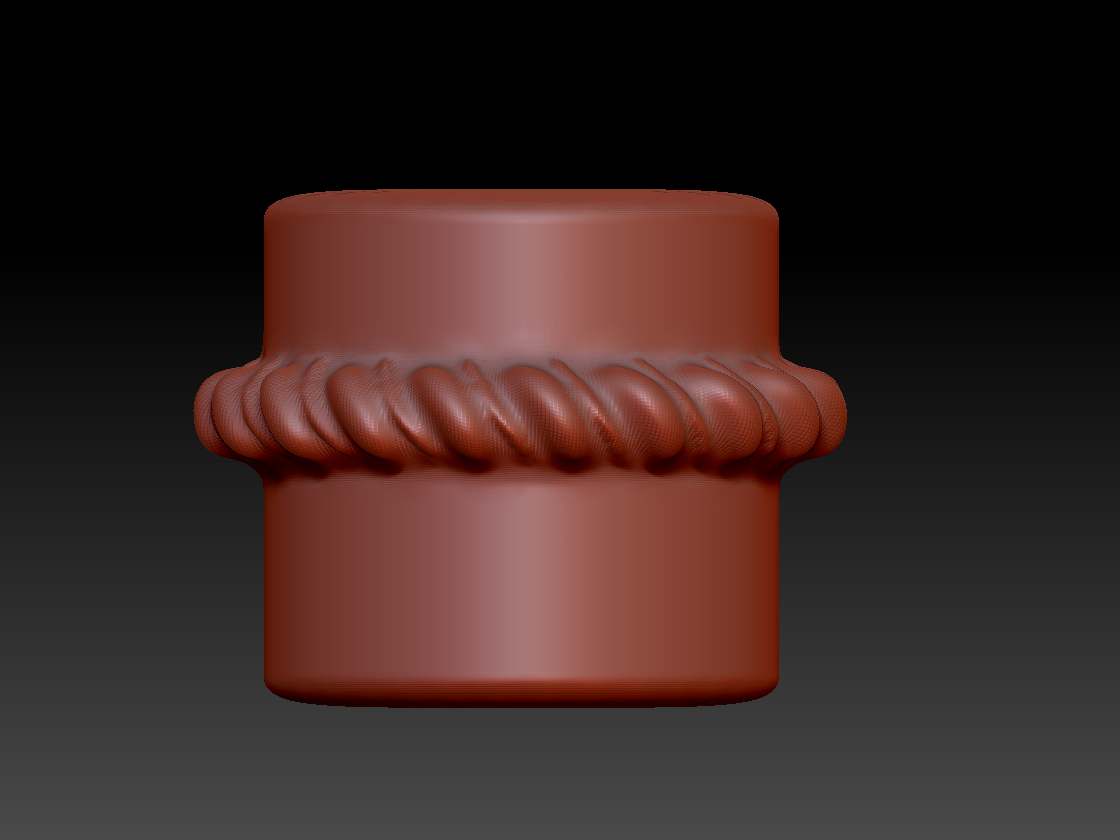
I have a base mesh modeled out at a relatively low poly from Max (7k), which I imported to Zbrush and subdivided a few times before adding detail. Using a mask, I added the details vertically hoping to twist deform them after, to get clean lines.
Maybe this isn’t the most efficient way of creating this sort of detail, so any advice on it is welcome.
The problem is the stretched polys at the edge of the mask. What can I do to avoid that? I tried splitting them into subtools but that seems to create seams in between them and I’m not sure how to merge subtools without losing my subdivision history.
I’ve been a Zbrush user for 3-4 years now, but mainly for creating rocks or wood. Never used it for hard surface scultping.
Any help is appreciated!
Attachments