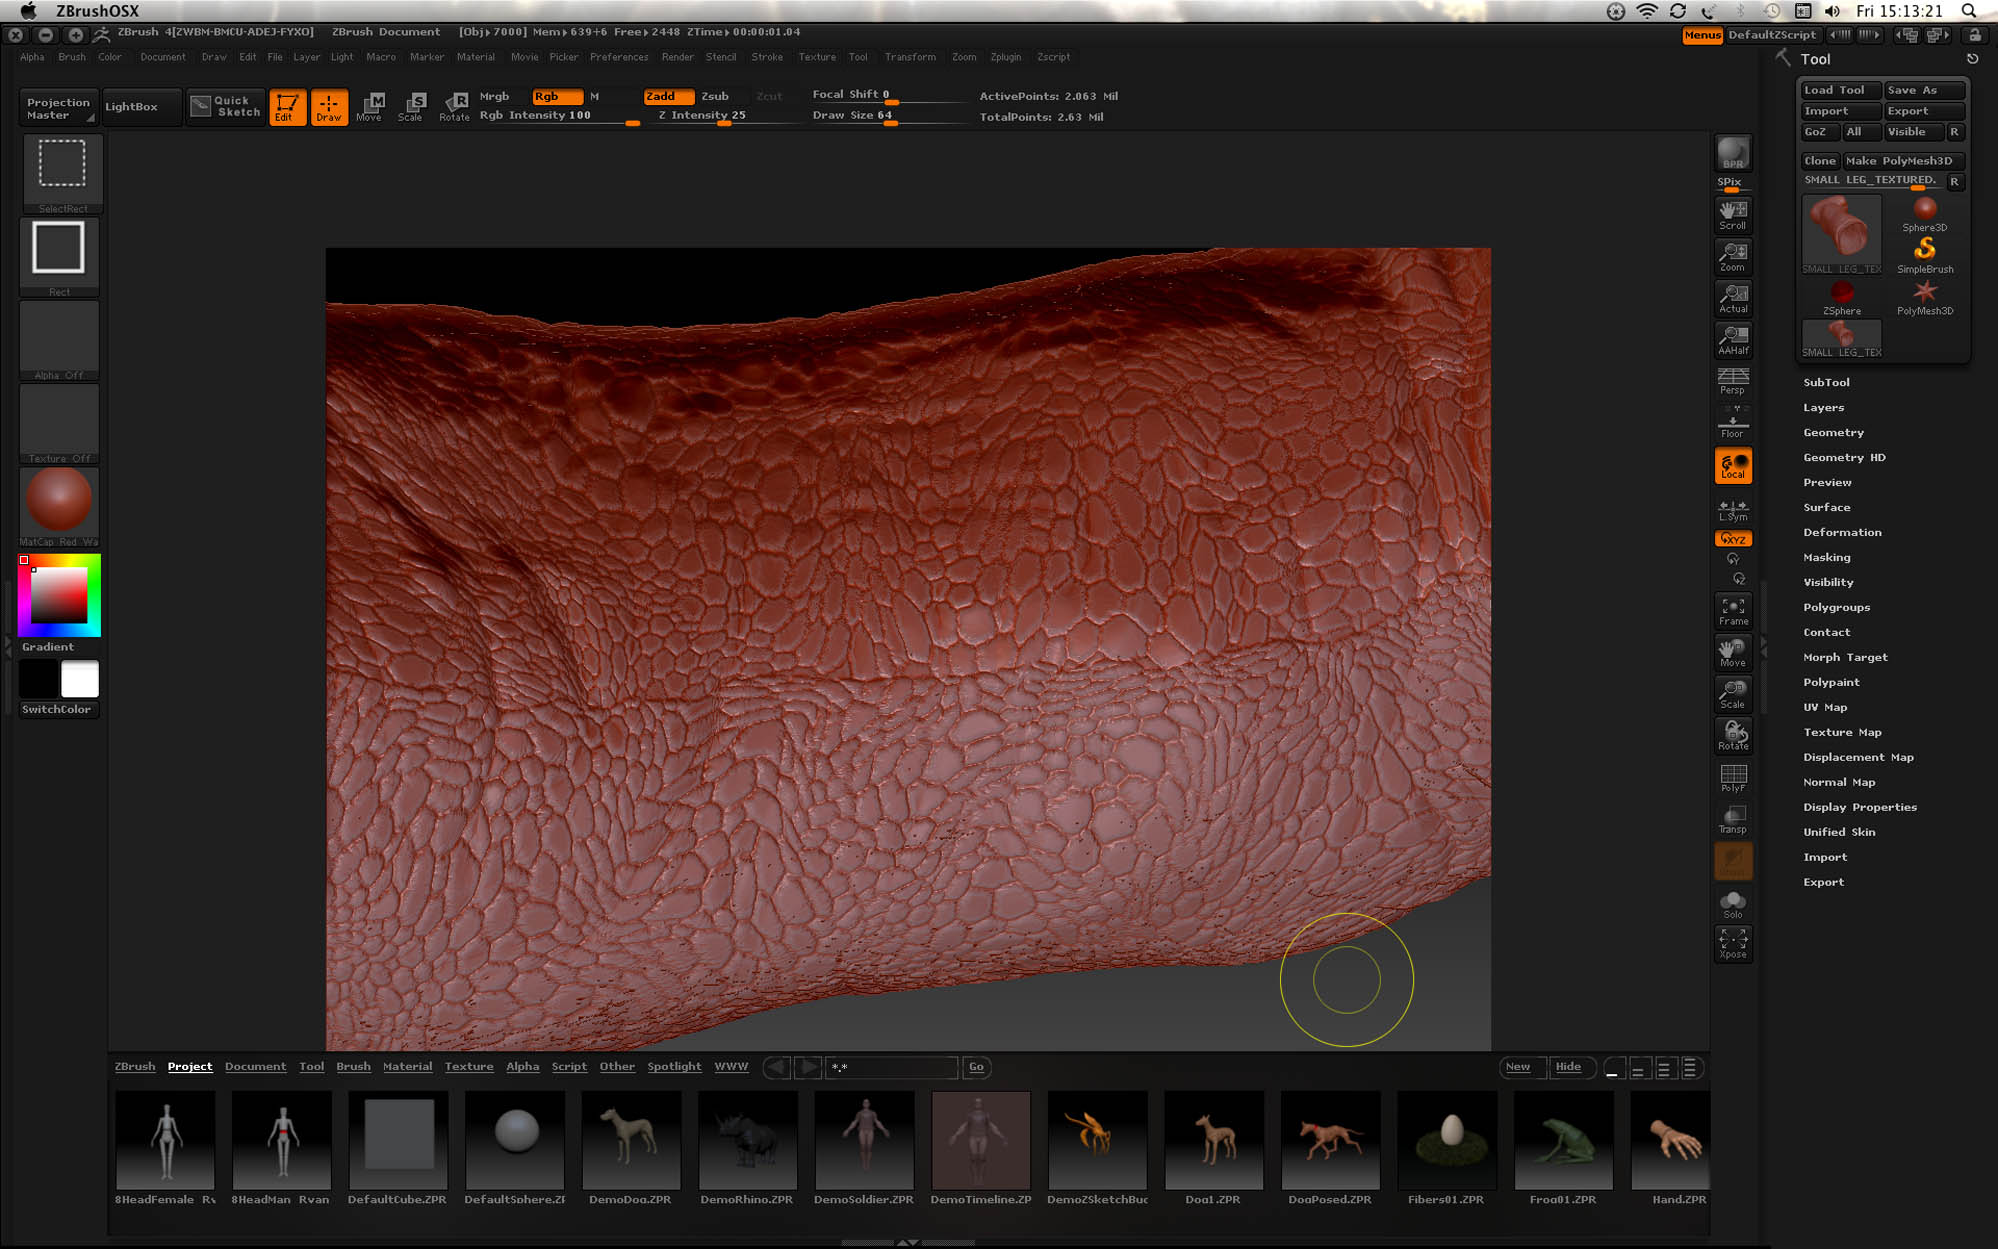
Marcus u da man, great stuff! thanks this works excellent…
By the way - Is there a way to reverse the texture when applying to the model so that the peaks are the valleys and vice versa?
Thanks for all your help
Marcus u da man, great stuff! thanks this works excellent…
By the way - Is there a way to reverse the texture when applying to the model so that the peaks are the valleys and vice versa?
Thanks for all your help
You can invert the texture in the Texture palette before you apply it to the model. Also, bear in mind that you can set the Tool>Deformation>Inflat Balloon slider to a positive value.
Hi again Marcus / anybody
everythings working nicely on the project so far.
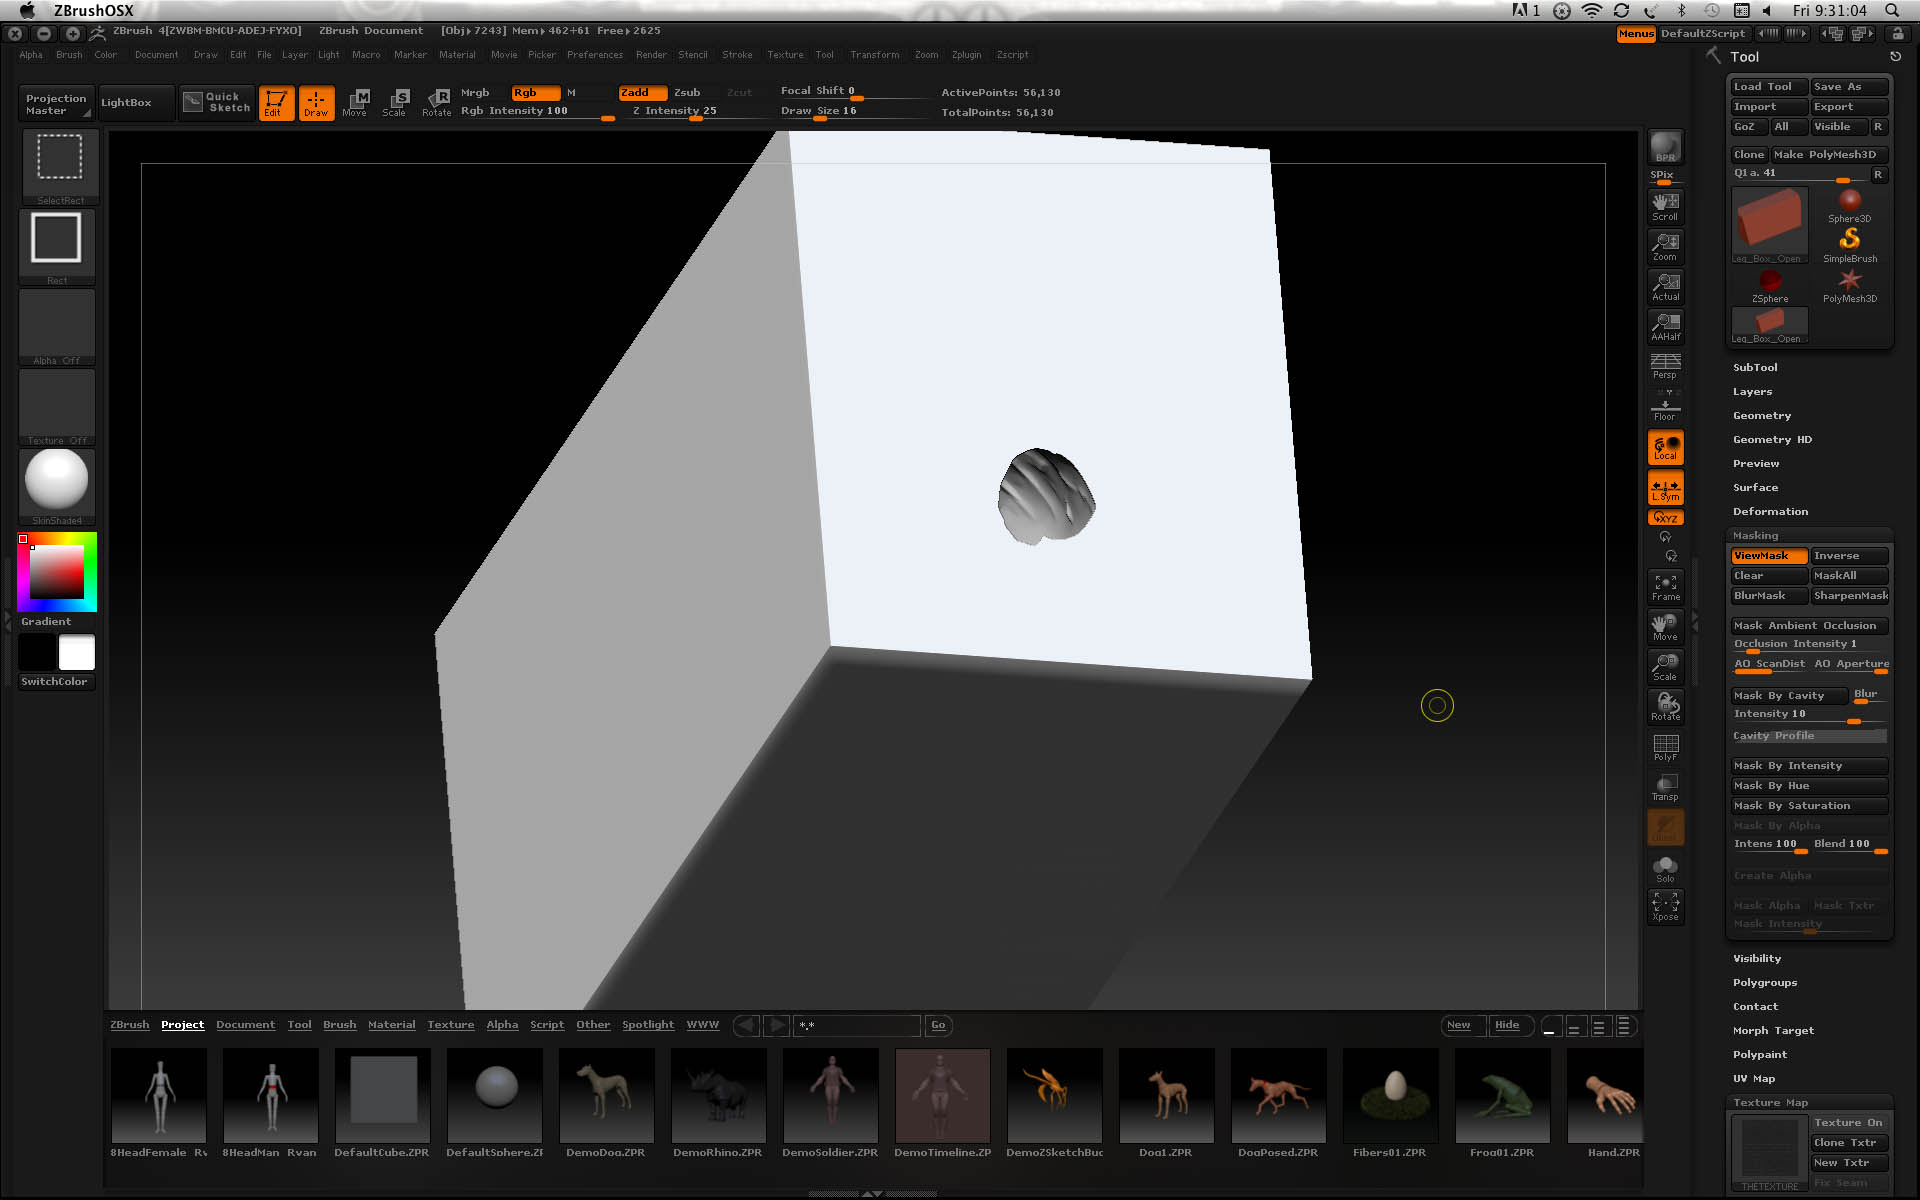
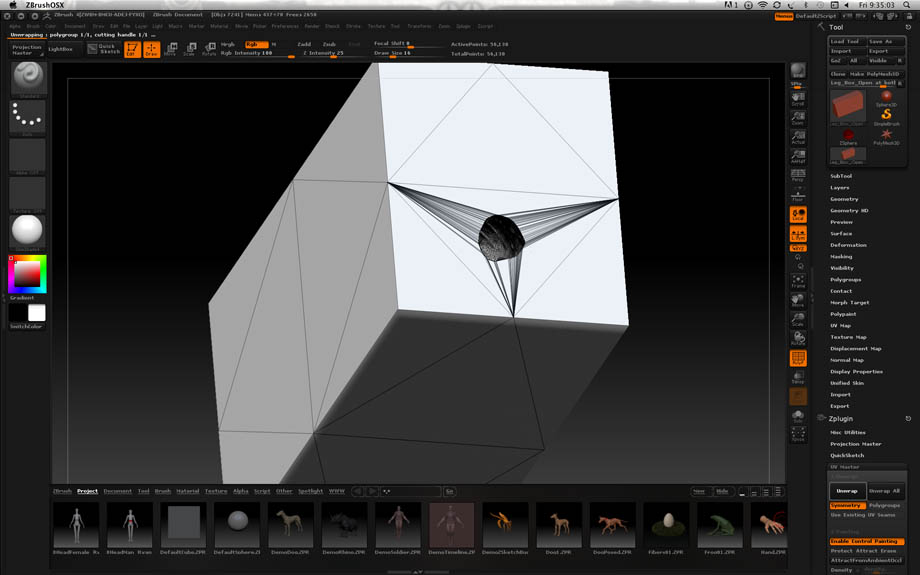
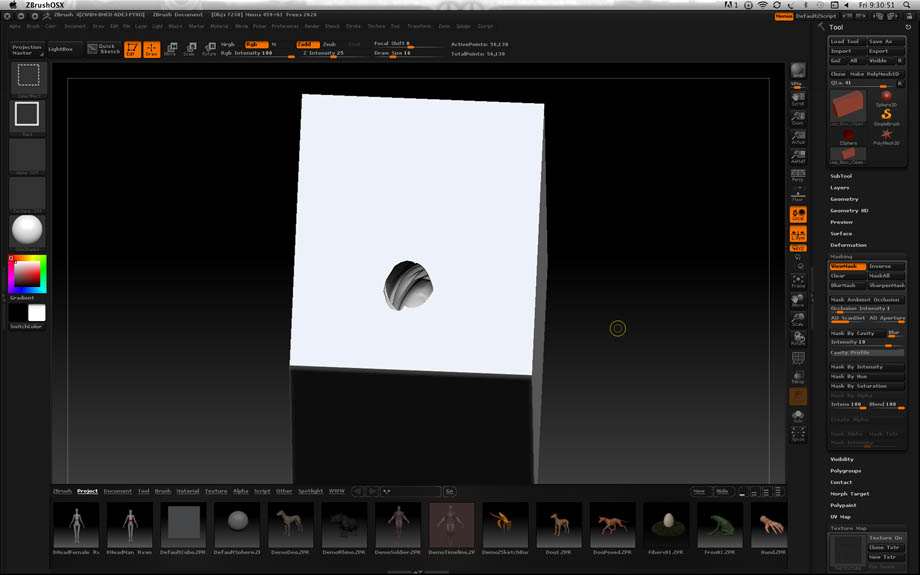
I recieved this .OBJ of the leg we were working on, as you can see it’s “boxed” with a CAD program like Rhino or something,
…now the cavity is the negative of the leg, I tried to texture this whole thing but it does not seems to work, when I try to unwrap that whole box, I see the progress top left- “unwrapping polygroup 1/1, cutting handle 1/1…” but it stays there for hours and I eventually force quit…
Is there any way I can texture just the inside cavity of the box?
Thank you very much
Anybody There?
I’m sorry, I would guess that this isn’t a problem anybody knows how to solve. I’ve little knowledge of 3D printing techniques but I’d guess that the normal workflow is to create the box etc. after the sculpting is done.
Hi Marcus
Thanks for confirming! that’s EXACTLY what I said to them…Sculpt first, then box it.
Hi marcus
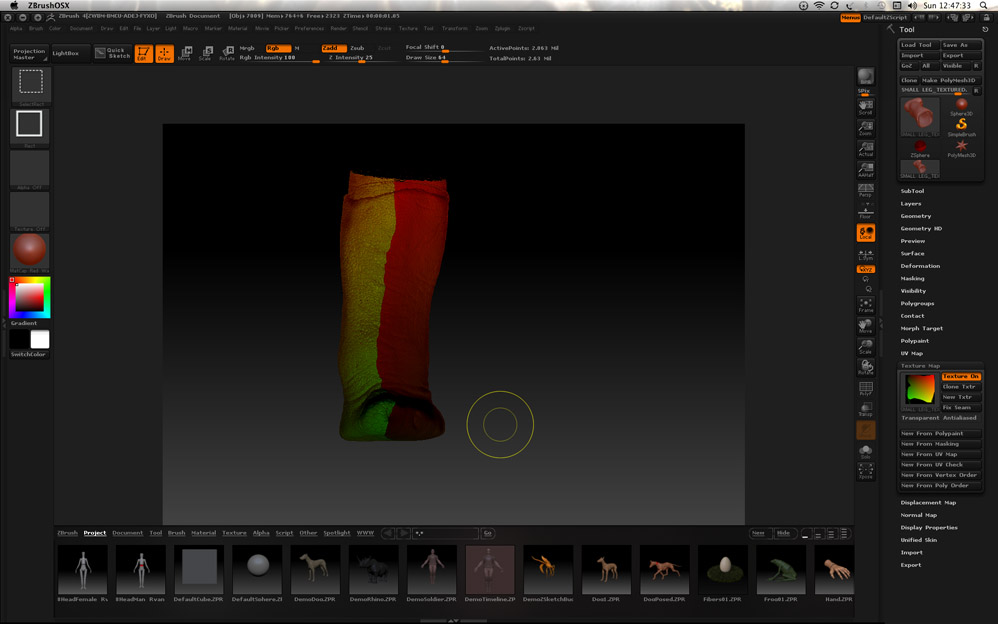
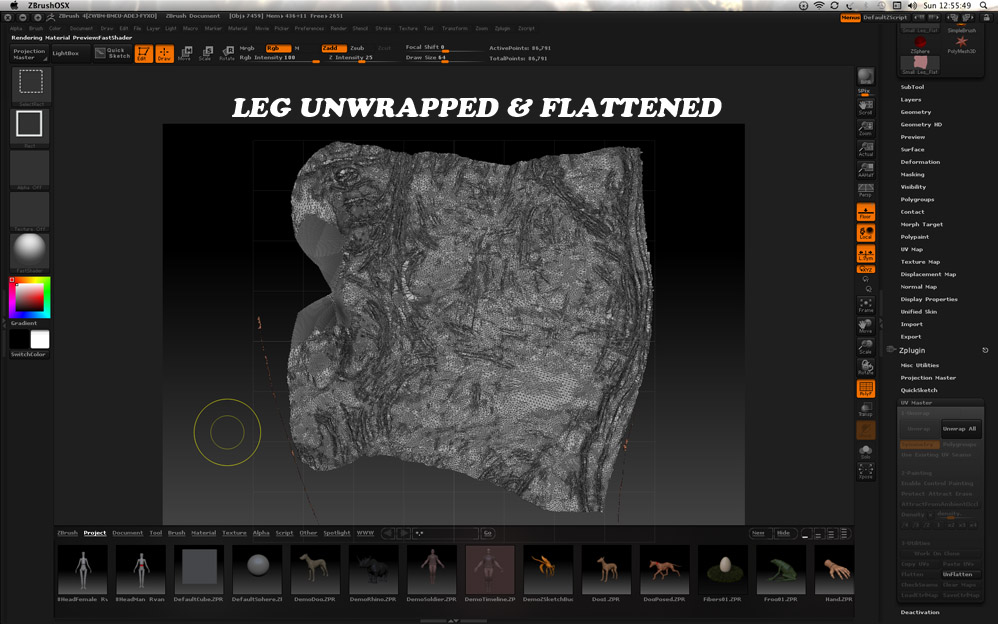
This might be a very stupid question, but can you give me a few suggestions as to how to make the seam on my attached image disappear (or less obvious)? When I did the control painting with UV master plugin I assigned the seam to be underfoot, but that caused the flattened UVMap to look very, very strange and difficult to work with in photoshop when assigning my texture…
Any help would be greatly appreciated
Thank you so much