Hi!
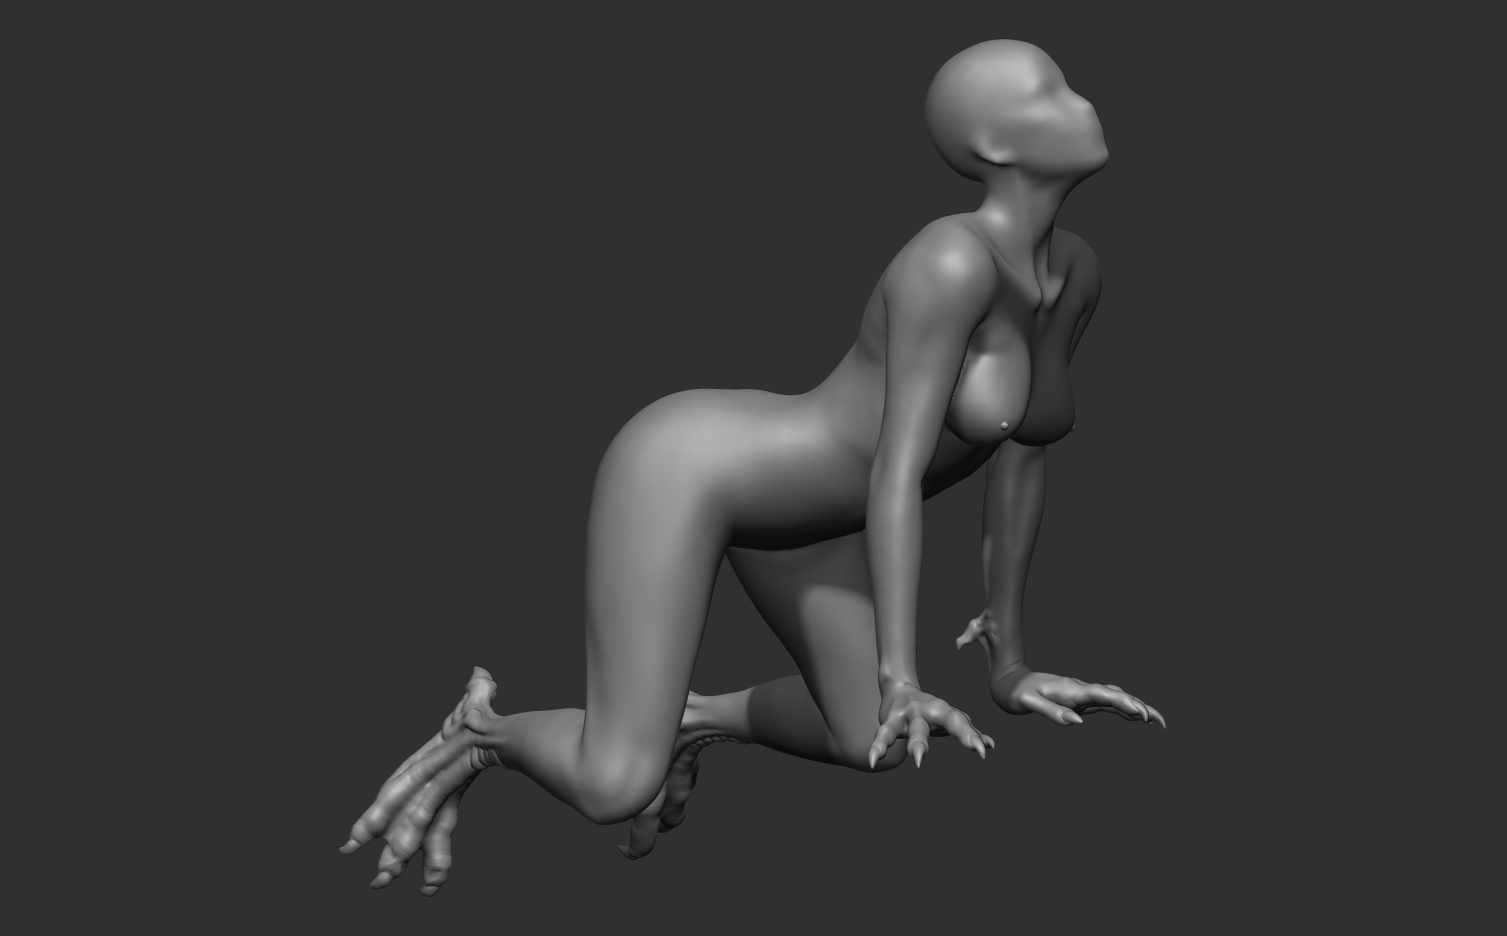
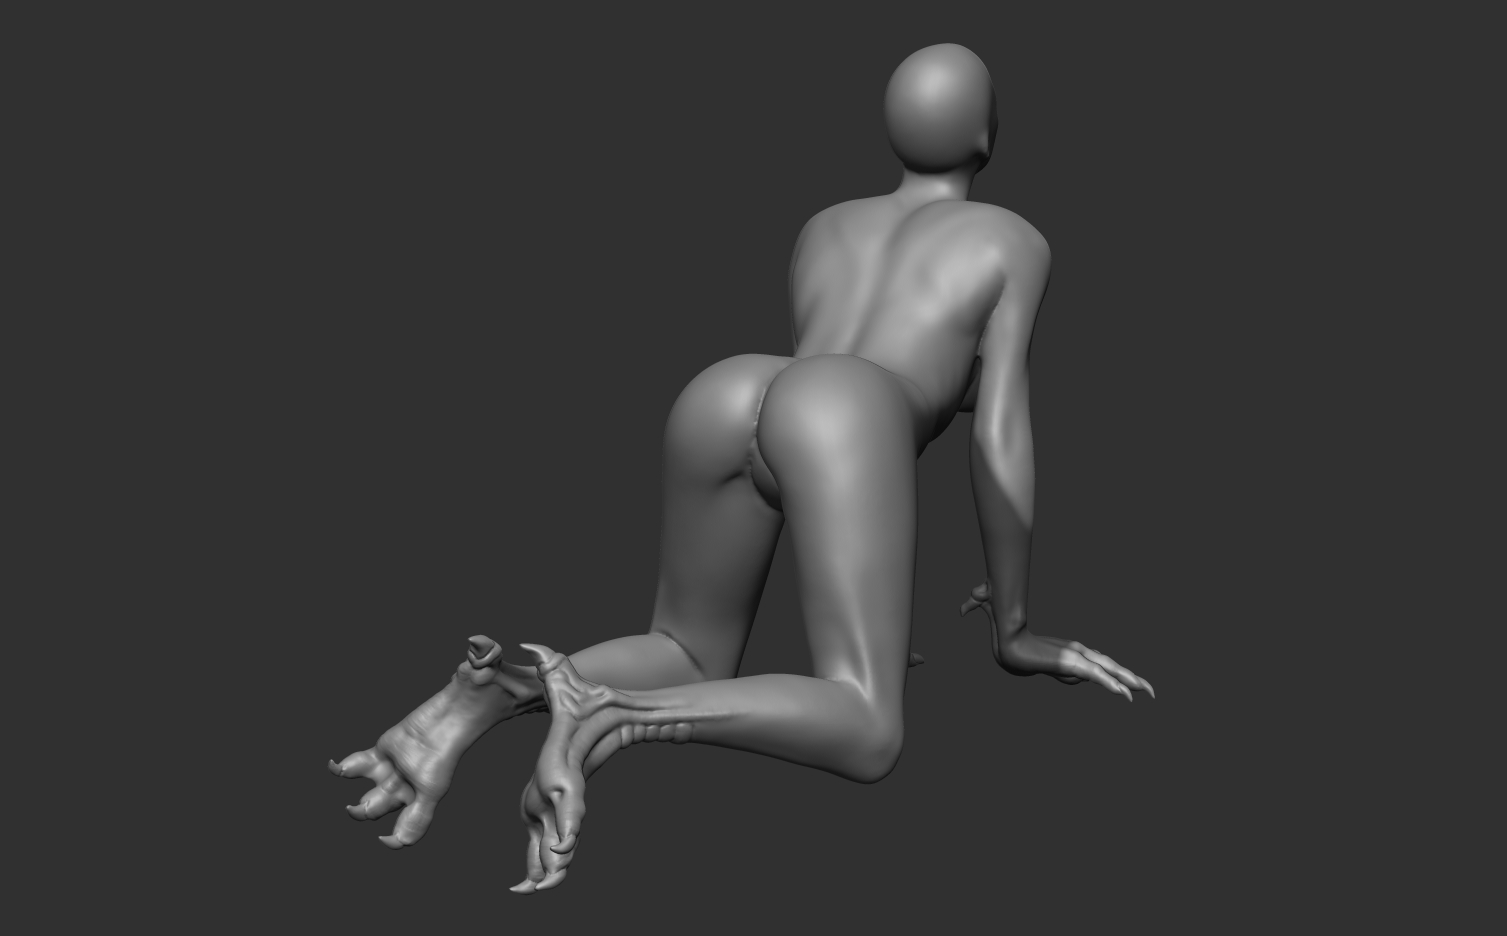
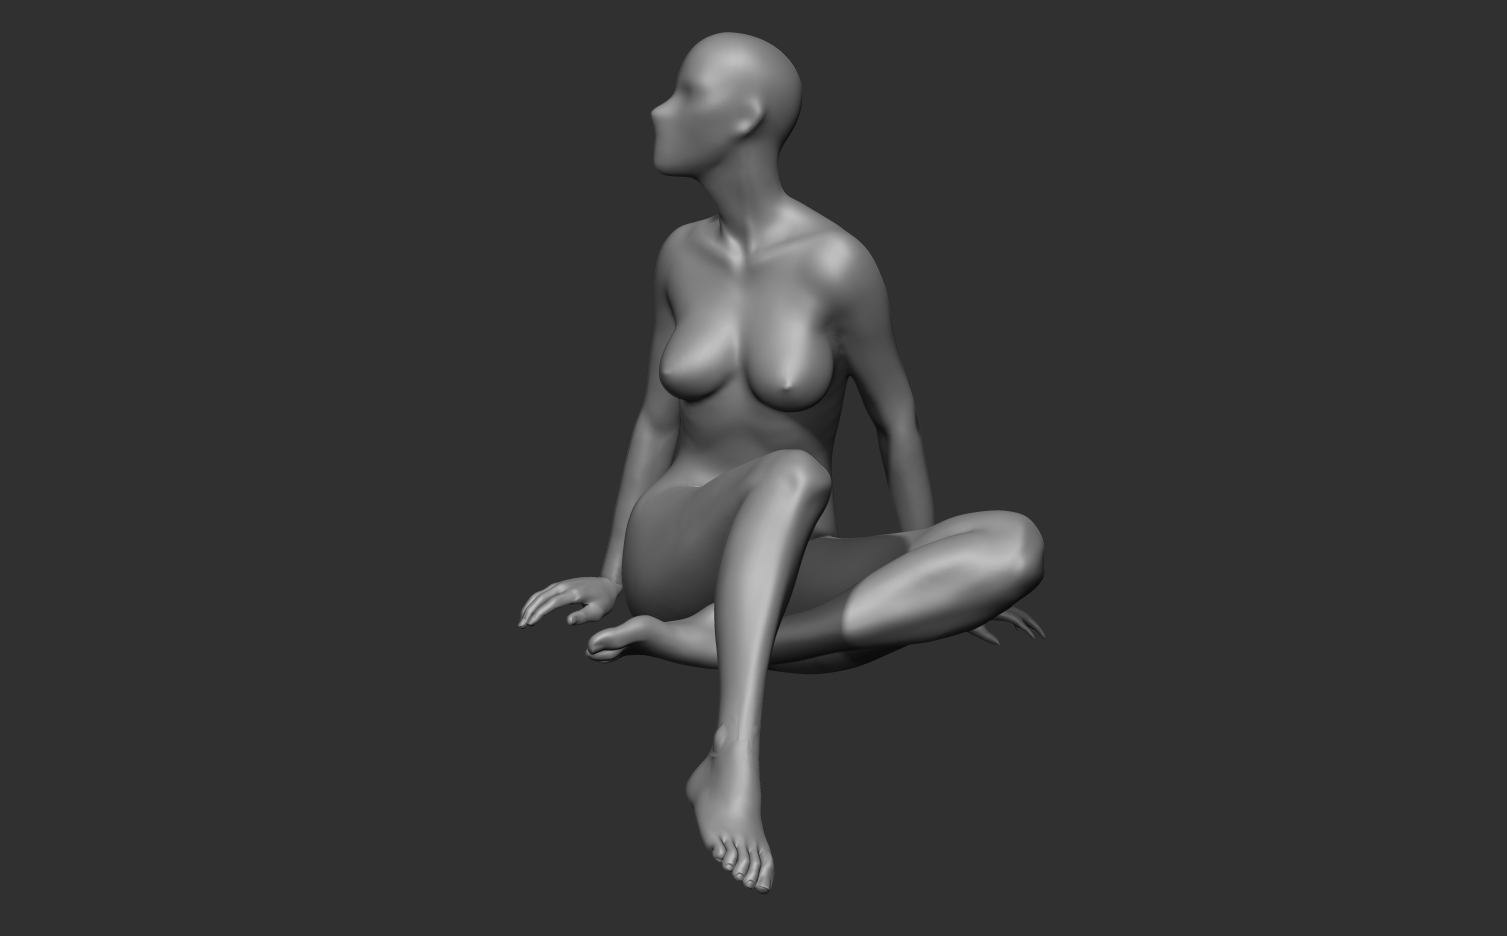
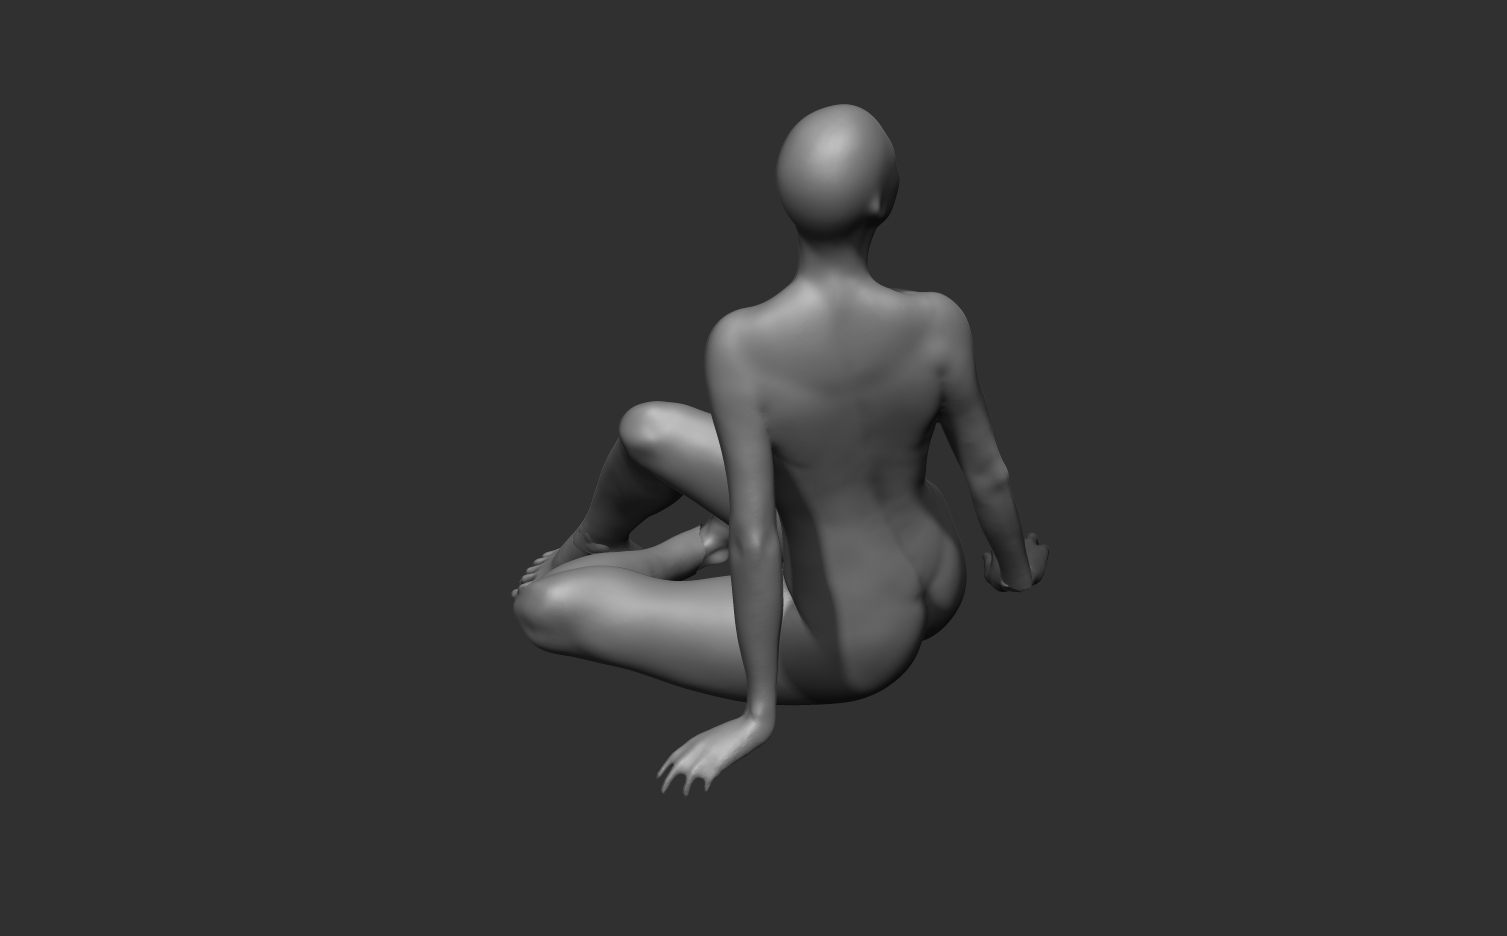
It is a bit hard to judge about your whole working process just by several images and description. Usually the Dynamesh stage ends up at the moment when you are no more experimenting with model and happy with shapes. At this stage you create organized topology via Zremeshing or creating it manually and continue working with subdivision levels. This will ensure that all your details will stay alive and Zbrush will not screw your mesh by fusing fingers etc.
Subdividing just a portion of dynameshed model might be an option, but keep in mind that after re-dynameshing it will destroy mouth corner again unless you crank up the resolusion for the whole subtool.
So in your case I would make the next. Create all unfinished parts which are making a character first (tail, wing fingers etc). You can experiment with Curve brushes (like curve tubes) or indeed make a tail with Zspheres. Both ways have cons and pros. Then fuse (dynamesh) all parts that can merge without big issues like body + tail + wings to minimize the amount of subtools. For better fusing use high enough resolution. Duplicate all body parts for later reprojection. Then Zremesh all the pieces with relatively the same polygon-density. For example, if after Zremeshing a head your border edge at the neck has ~40 points, then body after Zremeshing should have close enough points at he neck. OK, the next step is quite simple if you use external program but also can be done in Zbrush. You basically combine all Zremeshed parts into one subtool. Remember you also did a duplication of all parts? Now merge them into one subtool but without dynameshing. So you end up with two subtools: high and low resolution. Then you use Zsphere retopo tools (just google Zsphere retopology videos), pick your detailed mesh as a source but instead of creating new topology from scratch you press “Select mesh” button and chose your low poly. The problem is that instead of one solid mesh you have several parts for torso, legs and head. Using Zsphere topology tools you just fill the gaps with polygons and merge body parts into one. Now you have two options: a) play with adaptive skin and get reprojection straight in Zsphere mode or b) generate low-poly mesh and reproject details with step-by-step method described earlier. Now this is quite old-school but still effective method. There should be tools in recent versions of Zbrush that are able to bridge parts quicker, but I honestly don’t know since never use them since for me it is easier to export it to Blender and do it here.
PS Do you mean my character Nastya? A girl in dress? For now she is ~3 million of polygons. At the final stages I usually go higher to 12-14 millions for fine details.
PPS Forgot to mention. When you Dynamesh it makes a water-tight mesh and closes all holes. But before Zremeshing it is better to chop off “stamps”. For example when you split a head and redynameshed it the neck hole was filled with polygons. Trim this polygons before Zremeshing to get the open border edge. This will simplify your life later when bridging body parts so you will not be forced deleting unwanted internal polygons.


