Folks, you’re not understanding the differences in UV mapping types. That’s the source of your trouble. There’s nothing wrong with the maps that you’re seeing. You’re just not understanding what they mean.
UV mapping, in simplest terms, maps each polygon of the model to a portion of a texture map. Different mapping types accomplish this in different ways.
It’s like peeling an orange and flatting the skin out on a table. The bigger the pieces and the more connected they are, the more trouble you’ll encounter. In CG terms, this means stretching, which makes it hard to get good textures.
So a spherical unwrap will have no seams except at the very edge of the map. But the entire texture is going to have a lot of distortion; especially at the poles.
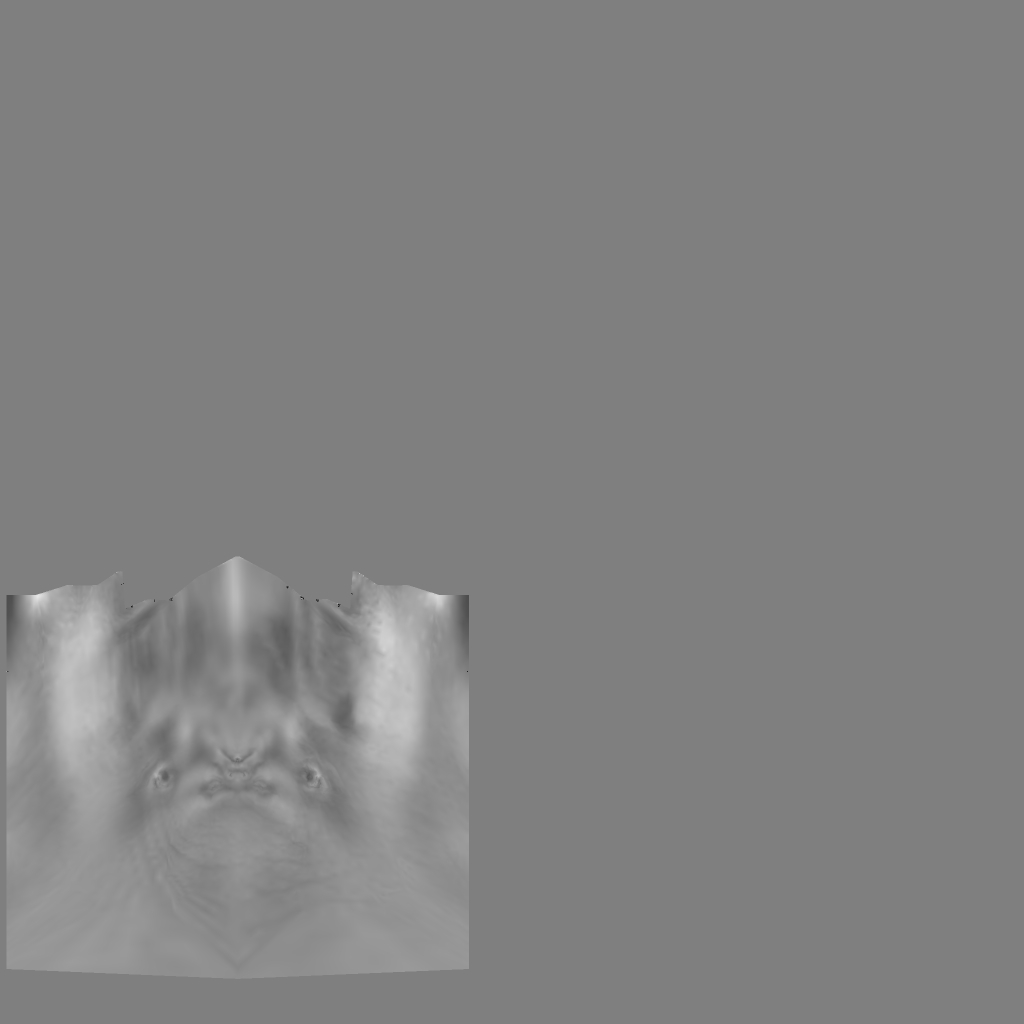
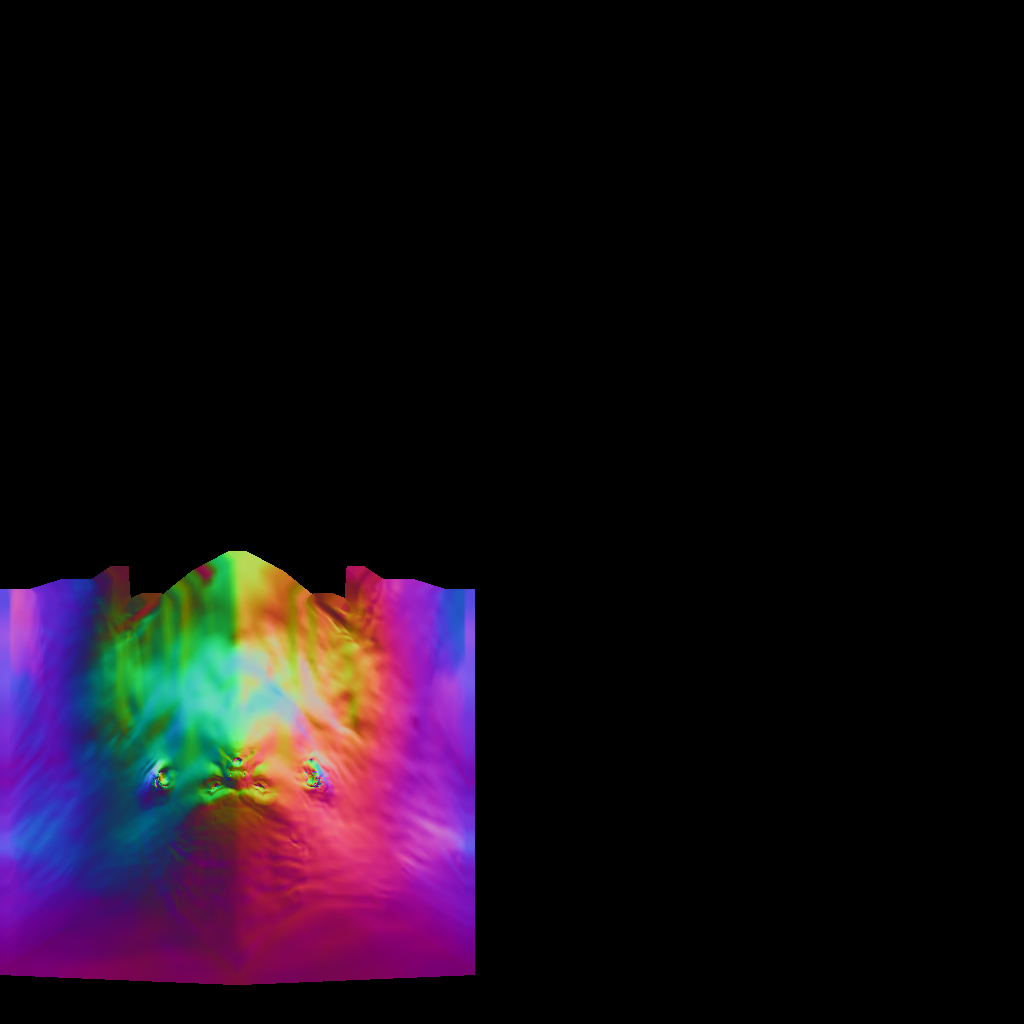
The “traditional” pelt mapping that the troll enforcer uses is broken into smaller pieces. That means less texture distortion, but there’s still a fair amount of it in certain places. There’s also a lot of wasted space on the texture in the form of unused pixels. Finally, this mapping type needs to be laid out manually for best results. It’s tedious and time consuming to get a really good unwrap.
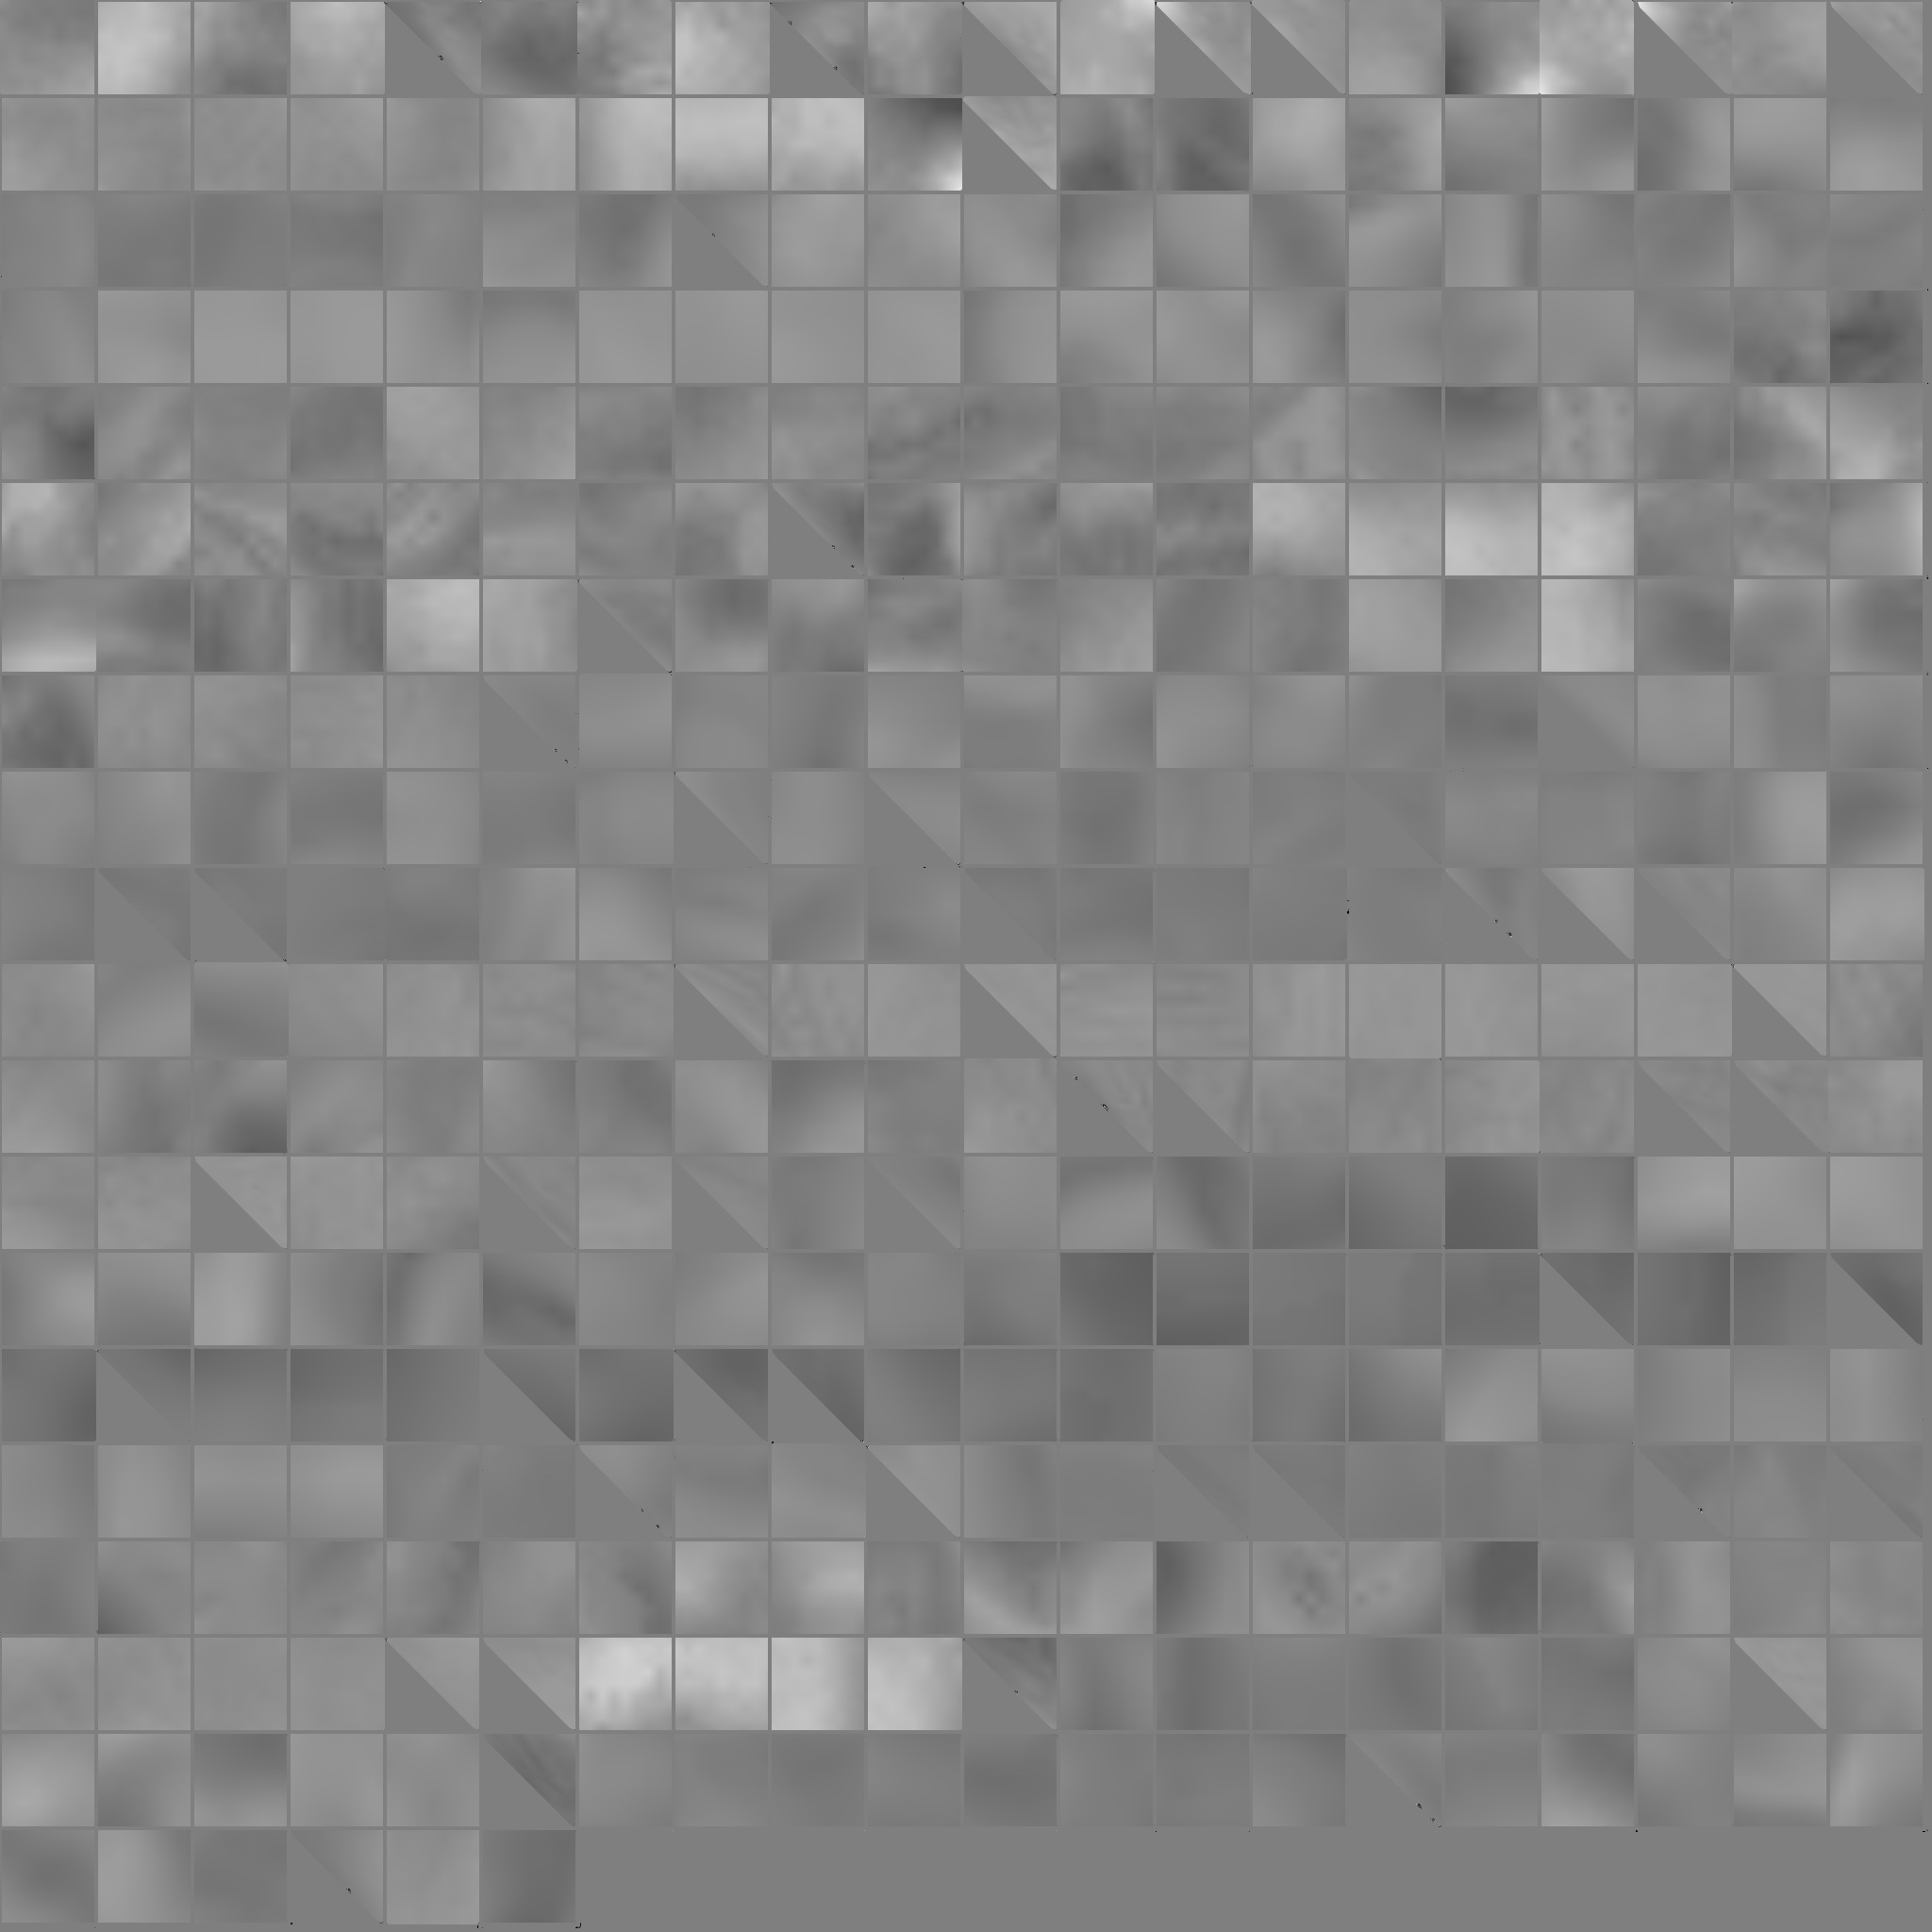
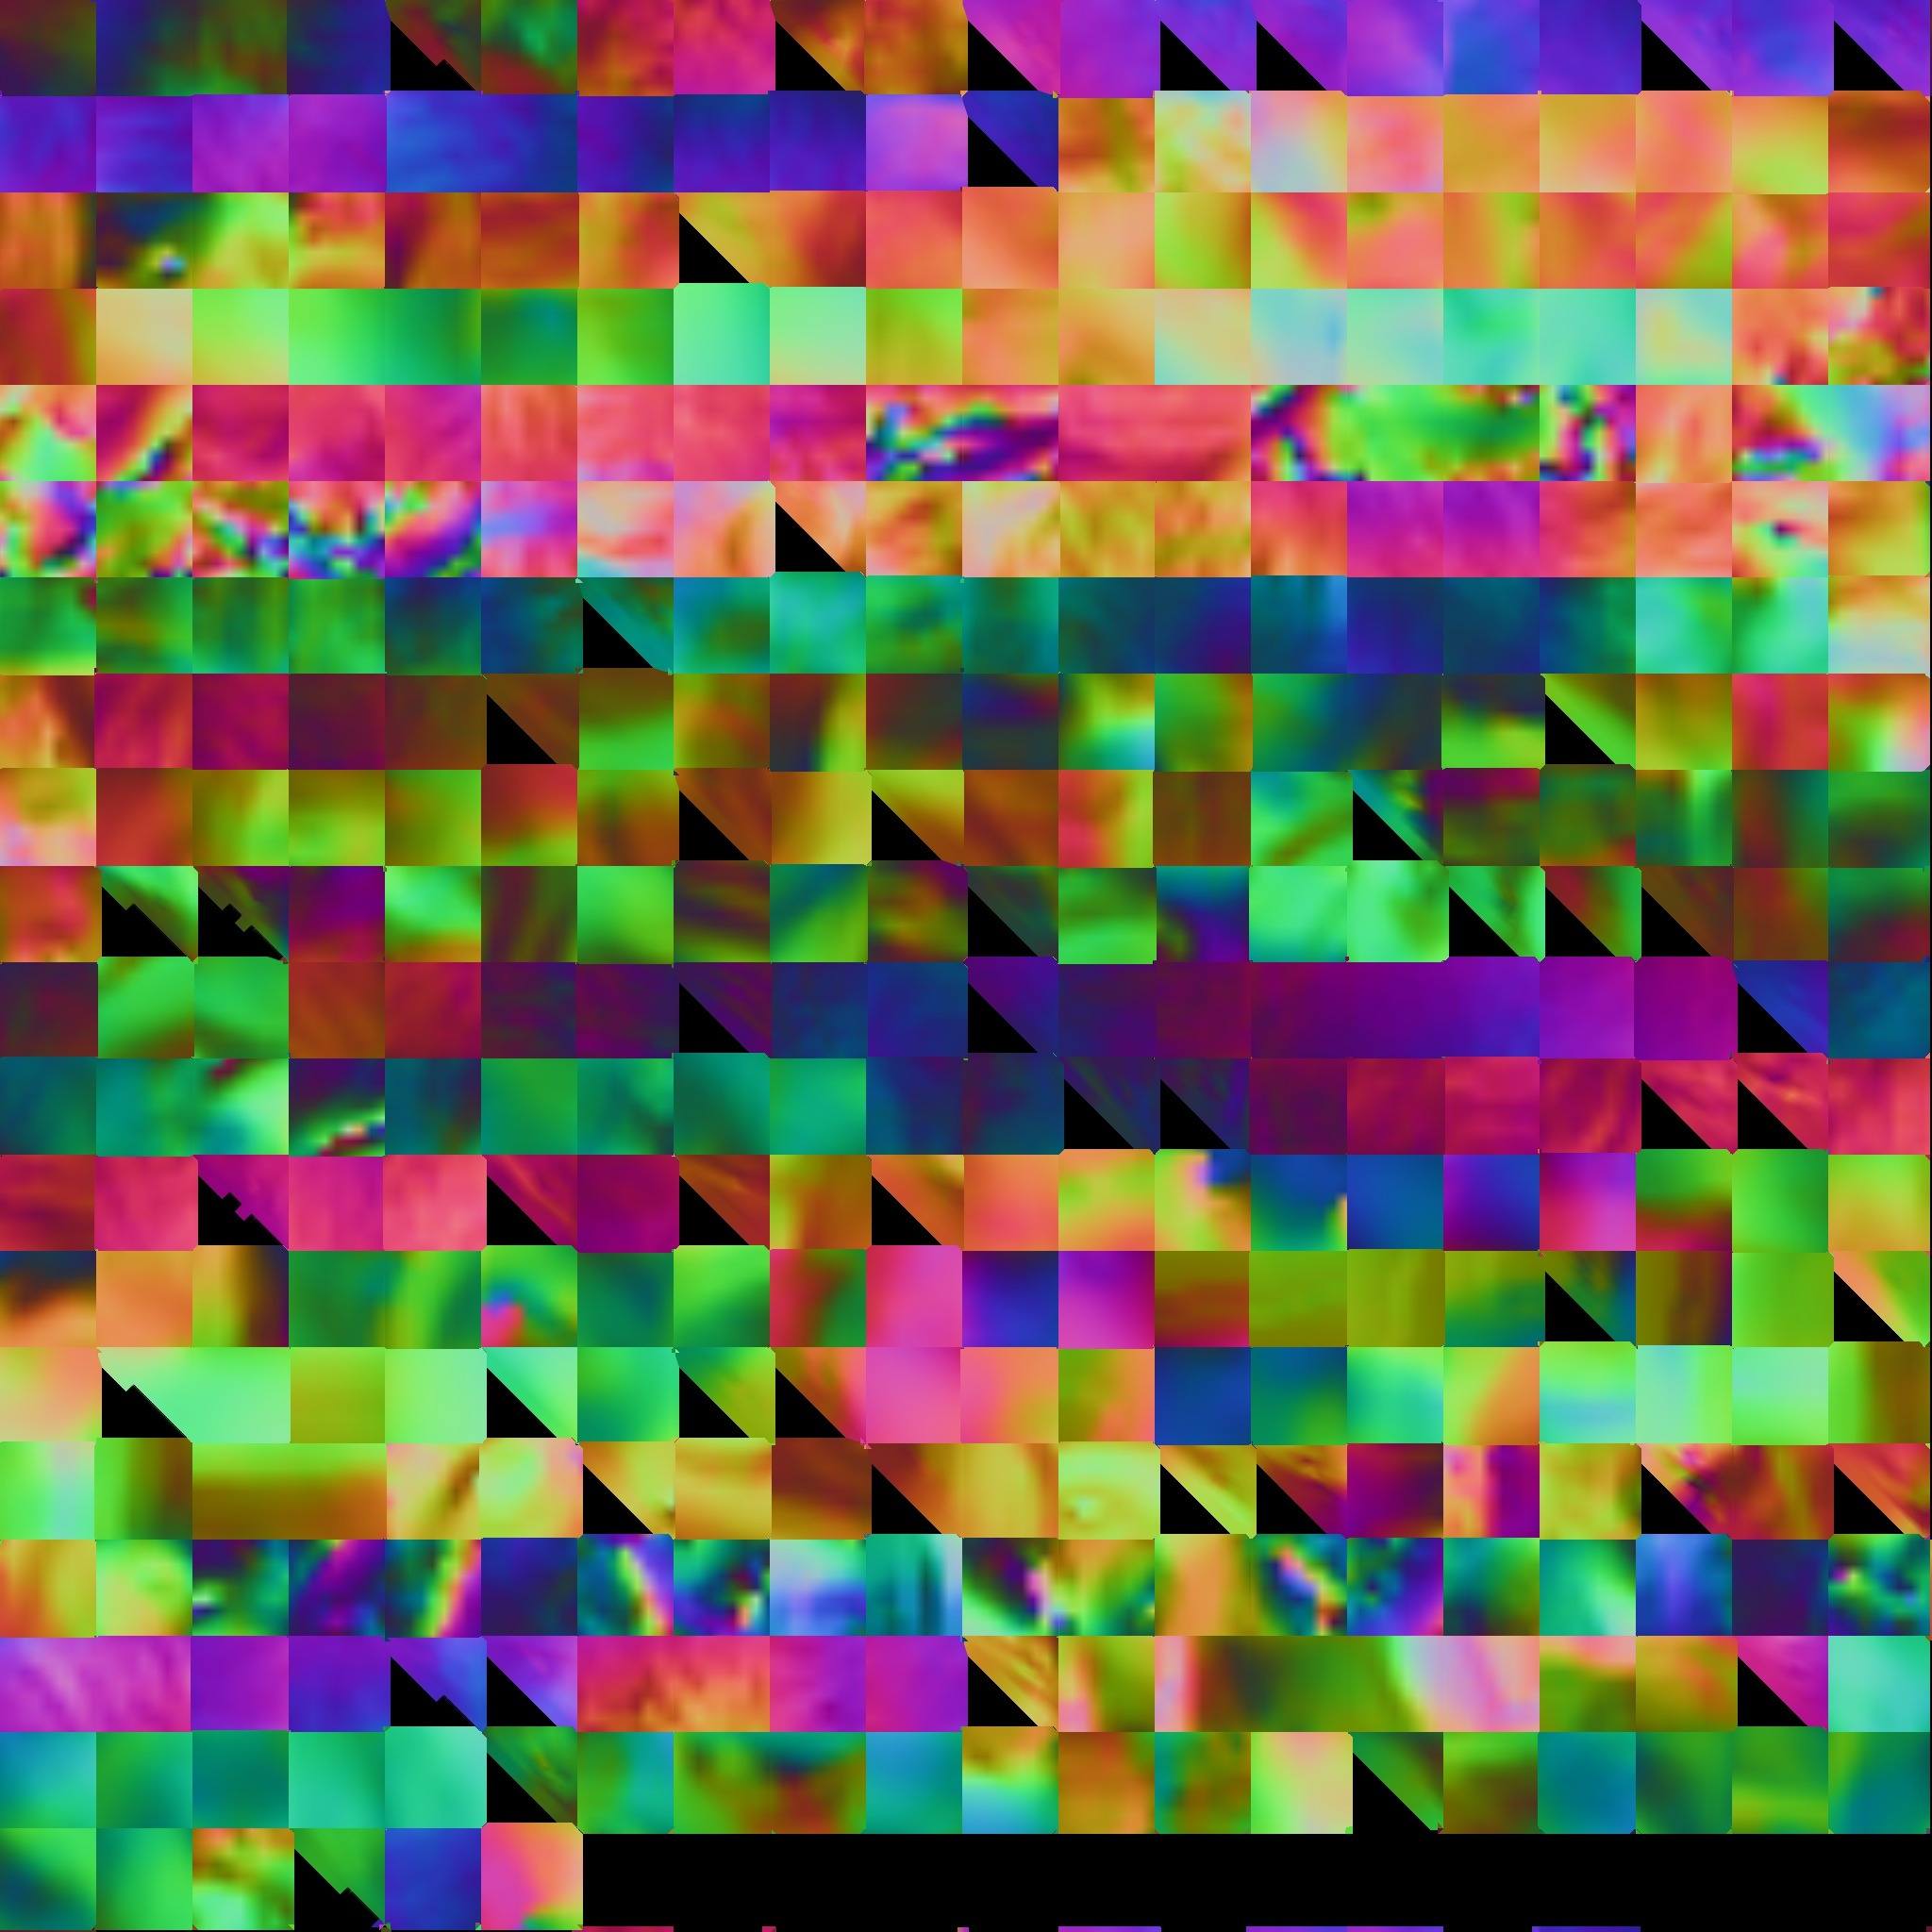
AUVTiles unwraps every polygon to its own square on the texture map. This is a zero distortion mapping method. The resulting map doesn’t make any sense to the naked eye, but it’s still perfectly understandable by the computer. So even though you can’t make heads or tails of your map, when the map is applied to the model by your renderer it will look just fine. AUVTiles gives you zero distortion mapping with a single mouse click. It’s fast and easy, and works very well if you’re using Projection Master, ZAppLink, and/or PolyPaint.
GUVTiles is similar to AUVTiles except that it tries to keep the polys grouped together as much as possible, only breaking them apart if not doing so would result in distortion. This gives a very clean unwrap that makes a little more sense to the naked eye and has about the same overall use of texture space as a “traditional” UV mapping. Again, it takes a single click to create this mapping.
ZBrush 3.12 introduces the new PUVTiles (Packed UV Tiles). This mapping method is sort of a hybrid between AUVTiles and GUVTiles. It keeps the groups as large as possible, but it packs the mapping as densely as possible onto the texture map. In fact, most times it results in between 90 and 95% utilization of the texture space. That is far more than even the most talented UV artist can accomplish through manual mapping, while still avoiding texture distortion. This is a really cool thing because it means that you can get higher texture resolution in the same texture size, or you can even use a smaller texture to get the same resolution. Either way, it’s the most efficient UV mapping to be found.
The correct way to apply any of the three Tiles mapping methods is to first set the texture size that you’ll be exporting and then click the button for the mapping type that you want to use. That calculates the map for the most efficient use of the selected texture size.
Once again, Tiles mapping doesn’t make much sense to the naked eye. But that doesn’t matter with ZBrush 3 because PolyPaint allows you to paint on the model. Why mess with compensating for seams and texture distortions when you can just paint what you want to see and let the computer handle that compensation stuff in the background?
If you really want to use more traditional UV mapping, you certainly can. Don’t expect it to be fast or easy, though. Here’s a tutorial to get you started: http://www.zbrushcentral.com/zbc/showthread.php?t=8558