anaglyph
1: moving or still pictures in contrasting colors that appear three-dimensional when superimposed 2: anything carved in low relief
laboratory
3: A place for practice, observation, or testing.
Attachments

anaglyph
1: moving or still pictures in contrasting colors that appear three-dimensional when superimposed 2: anything carved in low relief
laboratory
3: A place for practice, observation, or testing.
Here is my smashed robot tribute to the letter “Z.” The messge made possible through a grant from the number “4.”
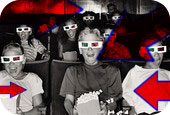
Nice! My red/green glasses started to collect dust. Your updates are always apreciated!
Lemo
…and the Exploding Robots whispered into my ears thrice nightly. They talk funny.
Then the everliving mechana-squirt burst onto the scene.
Visionary!  I’m going to look for a pair of R/B glasses
Wow that last one really pops way out of my monitor!
 small_orange_diamondsmall_orange_diamond
LemonNado
You can order these on the internet. Grow your own castle kits. Just add water.
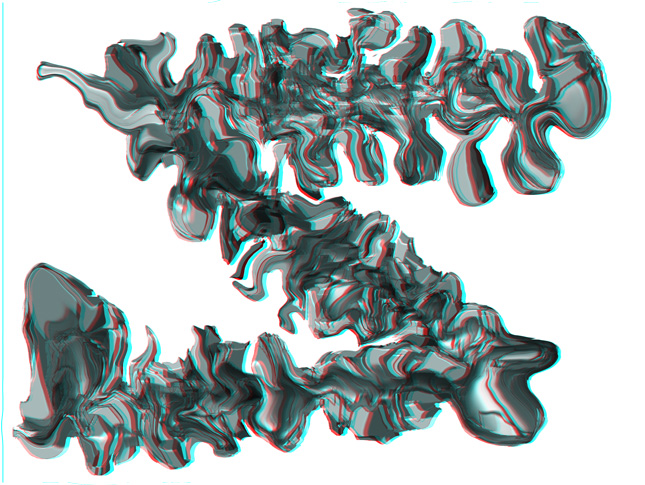
Here’s one that quickly whipped up. Eventually I’d like to find a nice set of steps to get some images that dip into the screen instead of popping out, but this is all great fun.
There are two layered anaglyphs in this one. It might be hard to look at because the depth is so ambiguious.
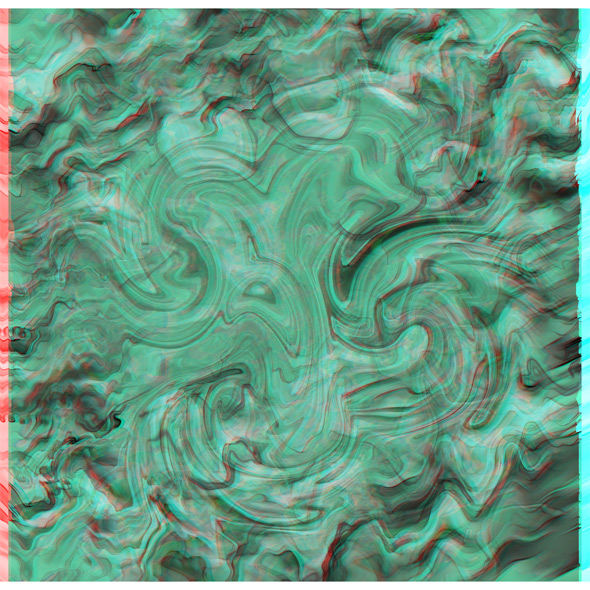
Yeah, th last one doesn’t do much for me… All blurry. The one before that with the cubes and the smudge is reall nice again.
small_orange_diamondsmall_orange_diamond
Lemo
Here a color. There an anaglyph.
Wow man! With your amazing & incredible experiments, you really show that ZBrush and anagymph images are a veeery cool mix! Especially with that cool abstract shapes!
I’m glad I have 3D glasses right here! :lol:
Good luck! Its really interesting to follow this!
-Gijs
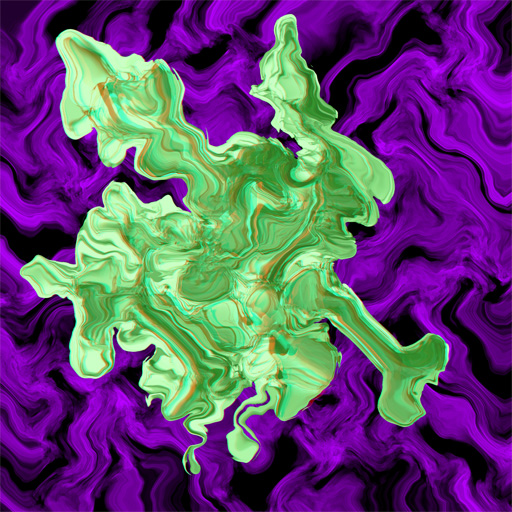
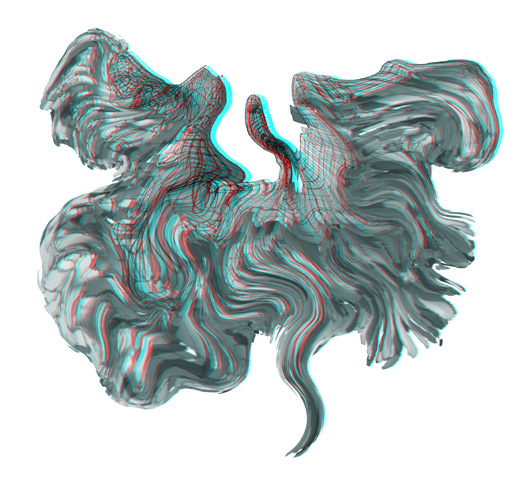
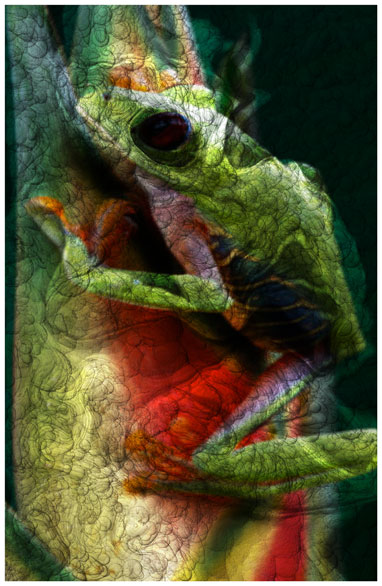
This one is an anaglyph, but i think it looks niceeven without the glasses.
Nice one! I agree it looks pretty slick with and without glasses.
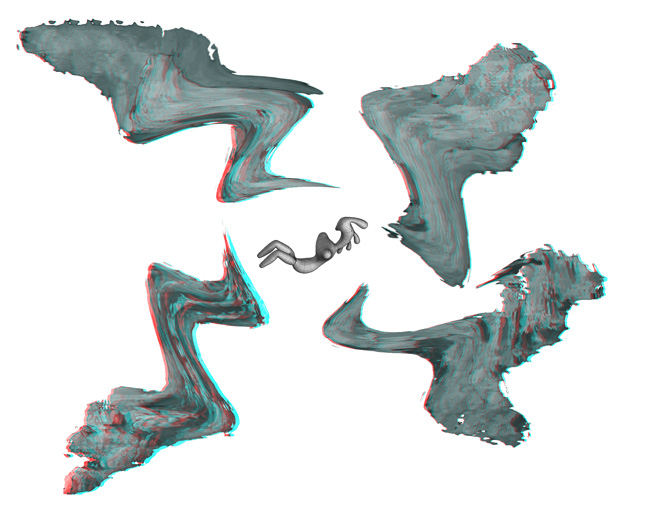
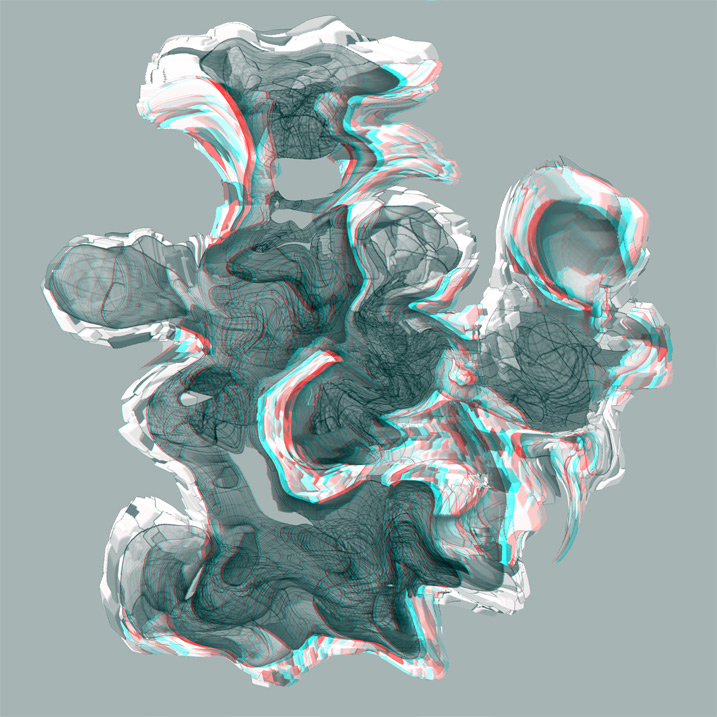
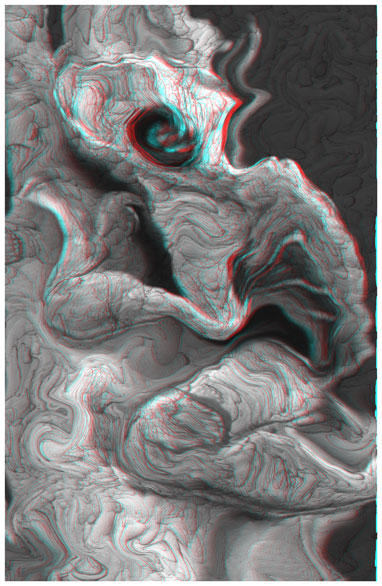
Well, because I can’t resist the shear “cool factor” of anaglyph images, I made one of my latest pic. (red=left, cyan=right) 

Excellent work safe05! You did a good job on the anaglyph as well. I see this is not your first time working with them.
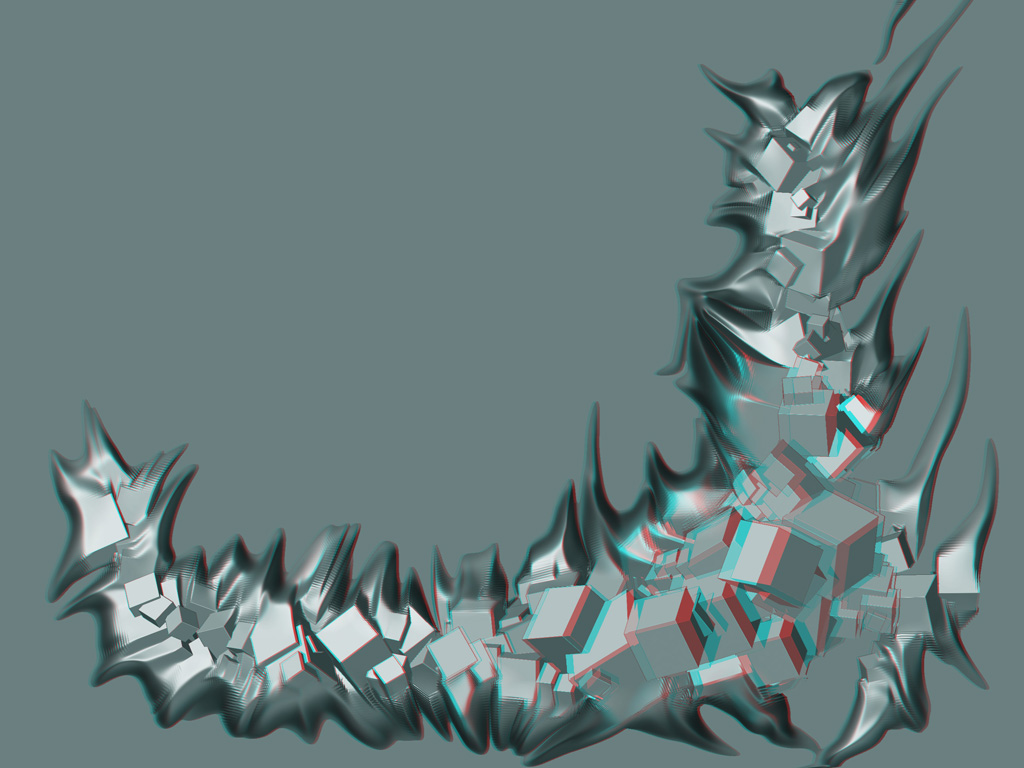
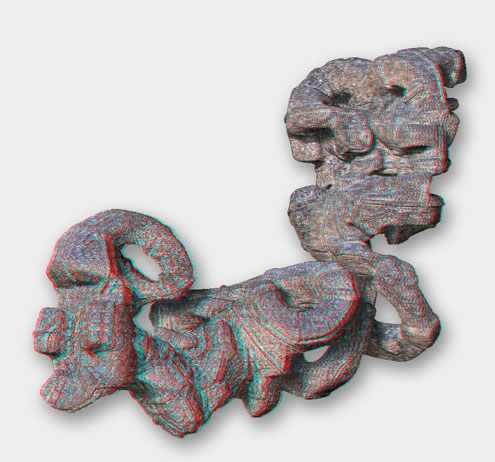
This looks awesome. I think this out would render a little better at the left and right edges if you added a white boarder all the way around the image and your image depth map.
Set the pixol size of your boarder to be equal to whatever +/- DisplaceNumber you plan to use (borderSize = 8px).
Then, Displace the image with the (8px) image border merged to your artwork. This basically acts as a displacement margin, or ‘Distortion Gutter’ as we refer to it back on Regulon 4.
Awesome content BTW.

Thanks for the tip! When I add a border to my image prior to calculating the offsets I get a noticeable bar on each side as if the “displace” filter gets confused. You can see a little of this on the pen as well. Any idea why this happens?

I’m not sure exactly what phenonmen you are describing. It think what you have noticed has to do with the fact that this image isn’t exactly true 3D. I think you you notice is that along the edges where there is signifigant depth contrast (i.e. pixols high in eleveation right next to pixols with low elevation). The PhotoShop “Displace” filter is actually distorting the image to kind of fake 2 camera angles. The blurry edges come from the filter trying to fill the added distortion pixels to blend out those edges.
I hope that was help ful but it was probably confusing, because I certainly am confused right now. “Look out for the cliffs,” that’s all i’m trying to say.
That sounds about right since the effect happens around large changes in depth value. Thanks.