ZBrushCentral

Alpha problems while adding detial

Hello everyone.

I am having some issues here.

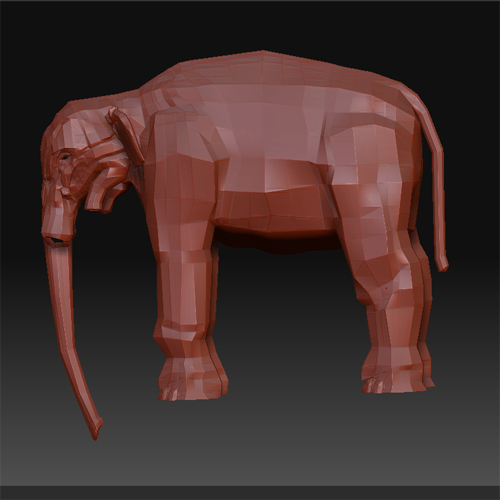
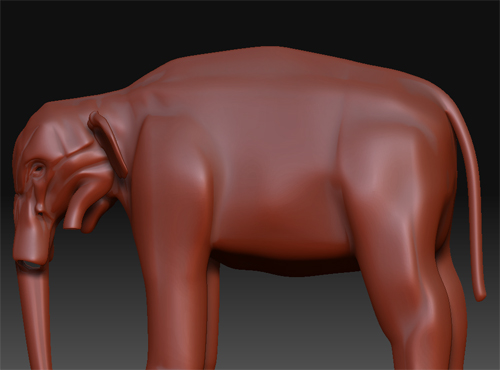
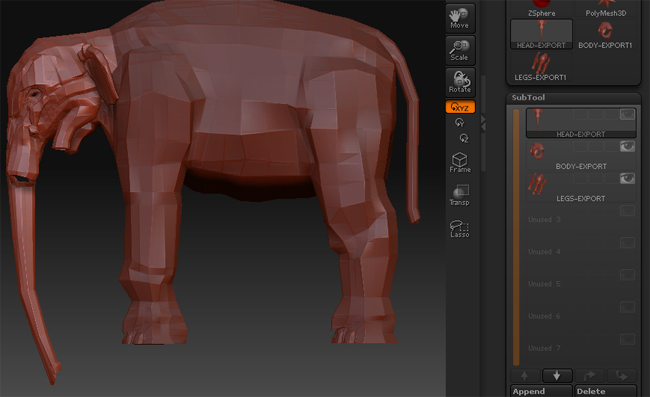
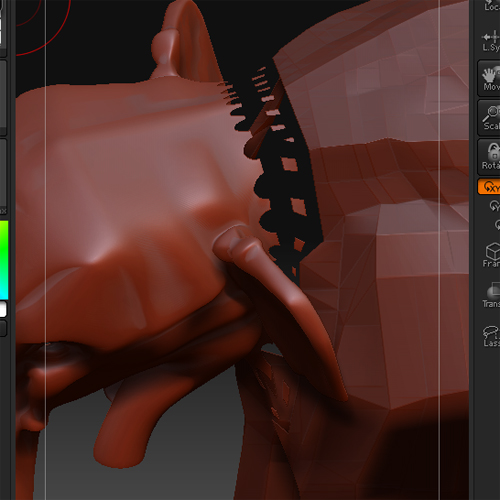
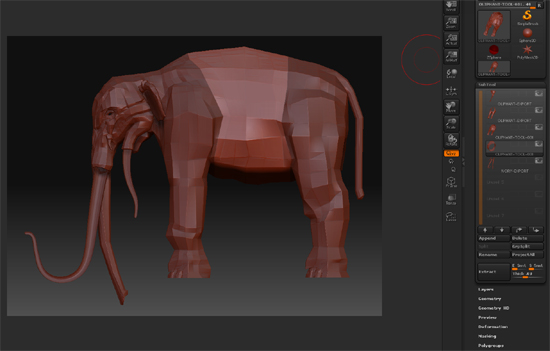
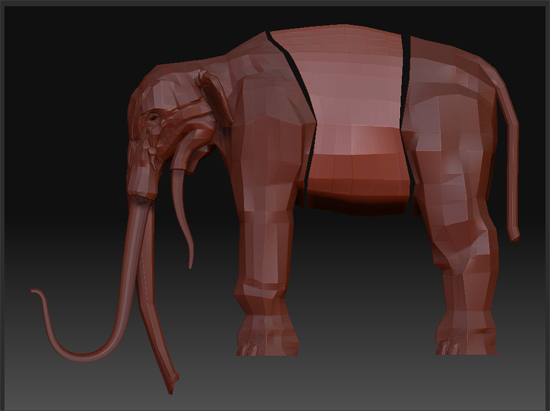
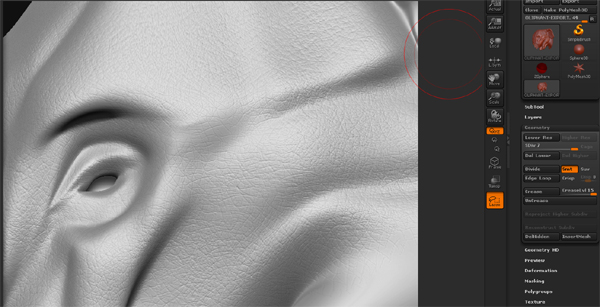
I have created a fairly good model in Maya and now want to add some detail and eventually a texture in ZBrush but have run into a problem.

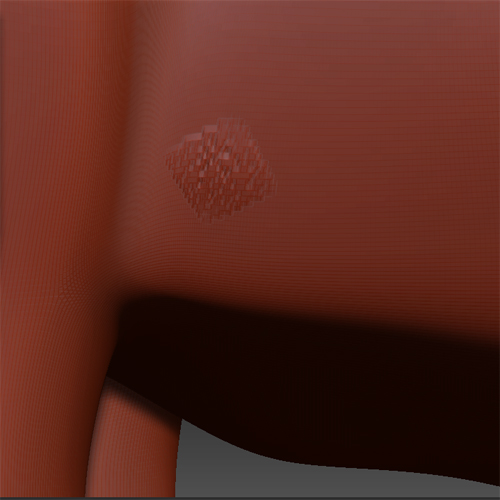
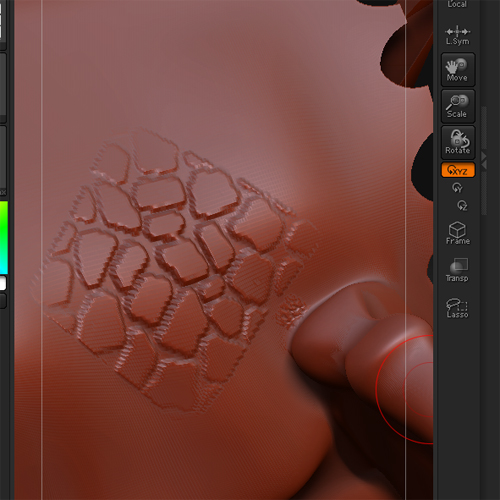
The reason why I chose ZBrush is mainly because of the Alpha’s. Where you can layer on the other and create a high level of detail to be made into a normal map for Maya to render.

However I have imported my model and divided it to the max of 6 times but the Alphas still come up blockie and completely without detail.

Also, while I have your attention. Is there a separate section of the forum for n00b questions. I am use to visiting www.simplymaya.com and that’s the sort of setup thy have there. Just didn’t want to be cluttering up this forum if there was another place I should be posting.

Cheers in advance for the help.

i am not sure what problem you’re coming across. from the sounds of it you just don’t have enough polys for what you’re trying to do. if you built the model in one piece then it probably needs to be broken using poly groups, then splitting those groups into individual subtools.

If you post up some images of the problem you’re having it would make it much easier for us to help though.

Well firstly thanks for getting back to me. It can get a bit lonely out here with no help.

I think you may be right thinking about it. Here are some pictures to let you know what’s going on

The first is imported mesh.

The second is the max smoothed version

The third is what happens when I try to do some alpha modelling on it.

So if I understand you. I must go into Maya and cut up my mesh into smaller chunks. Import them into ZBrush, divide them, do the detail work, export the normal map and then apply that to my low poly Maya model and things should look sweat as a nut?

Thanks once again.

Yours

Attachments

pic-01.jpg

pic-02.jpg

pic-03.jpg

It is simply your poly counts. You can actually split up your model right in Zbrush.

Look into how to use polygroups.
you’ll then split those polygroups using “grpsplit” in the subtool panel
Then look up how to use subtools if you don’t know.

This will create clear gaps in your geometry though. and may or may not mess up your normal mapping. working on a solid mesh, slash creature gets tricky as your polycount becomes an issue. and breaking the mesh to allow for more polys creates seams. It is a give and take that you have to learn to work with.

But i recommend giving this a try and seeing if you can find a good work around.

You can always use mesh insert to get your model back to one “seamless” mesh, but that again requires high polygon counts.

good luck.

Thanks mate.

I have gone into Maya and cut the model up into separate pieces.

The head, the body and the legs are all separate pieces of geometry.

What sort of issues do you think I will encounter with my normal map?

Obviously when it was all one mesh I made a UV map which fitted together quite well but im not sure how it will all work now that I have cut it to pieces.

Cheers

Right, I have tried again but I have run into some other issues.

Firstly, I managed to get all the pieces together in ZBrush but then when I smoothed the head but the seam has gone a bit weird.

The main problem is still that the level of detial is still not sufficent.

Should I cut up the mesh a bit more? Maybe smooth it in Maya before taking it into ZBrush? Im not sure what to do about the seam.

Cheers

Attachments

pic-01.jpg

pic-02.jpg

pic-03.jpg

Well I thought I was going to be clever and go into the preferences and changed the max amount of subdivisions.

However the system told me off when I got to about 8. Clearly that wasn’t the answer.

Next I tried Geometry HD and while I did get the results I wanted to work flow was a bit slow. I didn’t want to work on a tiny bit and then move onto another tiny bit then find out that I couldn’t export the work to Maya for rendering.

The last thing I tried was to have the model smoothed in Maya but all that did was mean I couldn’t smooth it much when I got to ZBrush. Should have seen that coming to be honest.

Ok mate, I have been away on a couple of other jobs but have had time to experiment.

I went into the preferences of Zbrush and increased the number of divisions it would allow but that just killed my computer beyond 8 divisions

I then took the undivided model into Zbrush and cut it up and turned it into sub tools like you suggested. The first image shows that I have the Head, front legs, body and back legs all divided into separate tools.

I managed to get it to divide to level 9 and that gives me the quality I need but it makes the work-flow so slow I know there has to be a better way.

The second issue is that I divide my model up and then when I take it back down it doesn’t match the original as you can see from the second picture. I don’t know if this is going to be a problem in the future considering I am just going to be taking it back into Maya for rending. I don’t want to do hours worth of work to find out that it is if you know what I mean.

I read something about morph tools.

Thanks for your continued help.

Attachments

Untitled-2 copy.jpg

Untitled-4 copy.jpg

You can see from the image where I am trying to go with this.

This was made from a simple Alpha with just the head (not even the trunk) turned into a separate subtool divided to 7 so it wasn’t exactly fluid modelling.

My dream is to get images of key parts of the Elephant (eyes, knees, ears etc) then project them and use them as a stencil and use that Alpha you can see to fill in the gaps with a few other modelling tricks.

It’s just the problem of getting started …

Attachments

Untitled-2 copy.jpg

Before you divide the model (or a subtool), press Tool>Morph Target>Store MT. This is because multi-res subdivision editing means that any changes made to one level are translated to all other levels. Well, when you divide a model, the smoothing process causes it to contract. This then results in shrinkage when you return to level 1.

After returning to level 1, press Tool>Morph Target>Switch to get your original base back. Be sure to switch again before returning to the higher levels, or the base mesh restoration will translate back up the line!

Another thing you can do is to press Tool>Geometry>Crease before dividing. This will prevent the edges from contracting, although the rest of the mesh will still do so.

Hey Aurick

Thanks for your response. I think that has solved one of my problems. My main aim is to make a normal map to take into Maya and render from there so I trust that either of the two methods you outlined would get me to this goal.

Goast666 is helping me with the other problem (in between Fable II) so together we should get this model finished.

excited clapping

Cheers again.

So I was thinking of conducting a test.

I went to the digital tutors site and had a sample look at some of their tutorials

http://www.digitaltutors.com/store/product.php?productid=3385

I had a look at lesson 13 and followed along as the Rhino is a demo model that you get with the program. I chose the same brush and intensity and divided the model to the max and low and behold I wasn’t getting the same detail level as the guy in the tutorial.

:frowning:

I don’t want people to think that I am needlessly bumping this thread up for the sake of it but I just feel that the titile I orignally gave it doesn’t fully convey the type of problem that I am having.

It would be usefull if I could change it or start a new thread with a better titile and just repeat the posts that have been posted here.

I just feel that poeple out there must know the solution but are probably not looking at this thread beacuse of the shoddy title I have given it.

Just my thoughts anyway. I will give a day or two and see what I shall do.

Cheers.:cry: