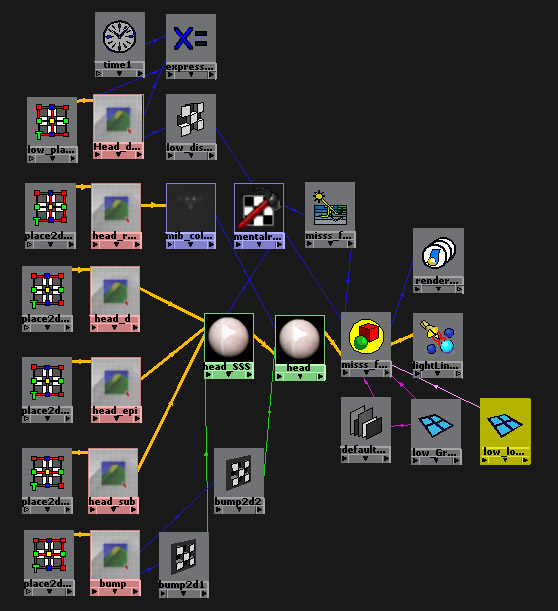
Alright, so here some screens from various stages in the modelling/render process. Not necessarily in the order it was made. I’m not gonna go into detail into exactly what is what and what is connected to which and then if what is connected to which will which connect to who bla bla bla…
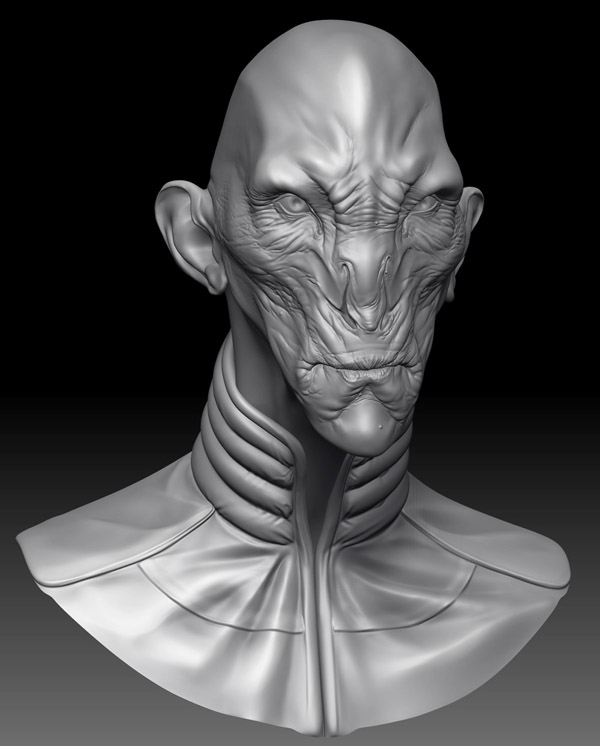
This is just a BPR from Zbrush. You can se the wrinkles more clearly with this shader than on the final render in Maya. This is something people often forget or don’t think about. It’s always cool to sculpt with a cool looking shader in the beginning. This is fine if that’s all you want to do. But if you’re planning on continuing with your model outside of Zbrush in for example Maya, you might want to think about what MatCaps your’re using when sculpting. There are alot of MatCaps with “cavity enhancers” if you wanna call it that. The red default one is one of them. It mostly gives the illusion that your model has deeper wrinkles than it really has, which you will pay for in the long run. I use MatCap Gray or any of the older Basic Materials.
Oki doki, that’s a bit more than I planned on writing. Of course I could continue on the light setup and so on, but there are a lot really great tutorials out there explaining how to do it to you in exchange for cash. Rightfully so! It takes some time to learn and understand everything that’s happening in the process. Just kidding… Not about people wanting cash but… Well you know. Anywho, it’s getting late. I might have rambled on and on quite a bit. So if you do have any questions, please post them here and I’ll try to help if I can. I won’t charge you though… Yes I will… No, just kidding… Like I said, it’s late. I’m tired… Zzzz…
Attachments