Hello! I have a little question about Zbrush texturing - is it possible to use a pre-textured UV-mapped model (textured previously in another software) in Zapplink or Spotlight to add some texture elements (like embroidery or seams, for instance)? As an example - I have these UV-mapped pants which have main texture applied according to UVs in Photoshop. And I want to add embroidery elements in RGB and MRGB channels at the same time (as it was shown in some videos about Spotlight workflow) to make diffuse and displacement maps. That is I want to rub this embroidery into MRGB channel to get good displacement along with diffuse.
When I load the OBJ of pants into Zbrush, it is loaded untextured as always. How can I apply the ready main blue texture to this OBJ (or tool) and then add texture elements like embroidery via Spotlight over this ready texture? And if an item has overlapping UVs, how to separate them to polygroups to texture each polygroup separately? I found one such advice in the web one day, but lost the link.
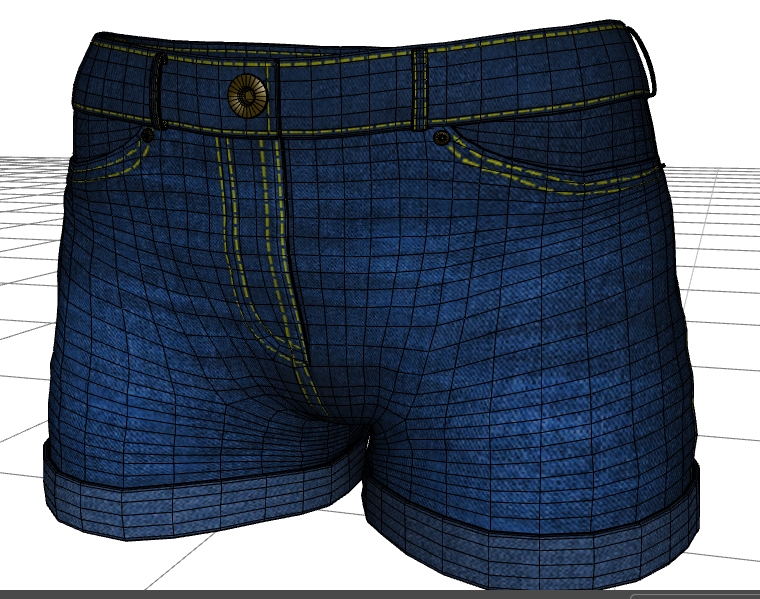
And the second question - how to add stitched lines using stitch brushes and curves in Zbrush precisely along specific contours? I’ve never worked with curves and stitches in Zbrush, so confused with all this workflow. If I want to add beveled stitched seams along the yellow lines as in the picture of pants above, how to draw precise contours within Zbrush and how to use IMM brushes of stitches to make stitches follow those contours? Can I extract these contours (or curves) from an edge loop and how to do it? In short - how professionals make it in Zbrush step by step?
Attachments