ZBrushCentral

3D virgin questions

I am totally new to the world of 3D modeling. I am a traditional sculptor and I had heard that this program was more intuitive than Maya, Max etc. which I have found to be 50% true. I can sculpt and paint very easily but I can’t figure out the interface!

I have taken a class at Gnomon taught by an excellent instructor, I have bought books, I comb through any forums, check out any and all instructional videos and have bought all sorts of DVD’s to try to understand all of this. I have run across a major issue. I have Zbrush version 3.12b for Mac and most of the instructional information I have is for different versions other than mine.
For some strange reason the interface and the names of functions keep changing making it impossible to follow a tutorial! I usually get stuck on the first or second step of a process. When I asked my instructor (whose name i have forgotten) why some processes don’t work for me he would tell me that the way it was done had changed or that function was no longer in my version of Zbrush… Also, I don’t have the lingo down yet, even if I think i found my question on the forums, i can’t even understand the answer!!!

It’s not like i’m not trying to figure things out for myself but I feel like String theory is easier to understand at this point!

Ok, the issues i’m having now are these:

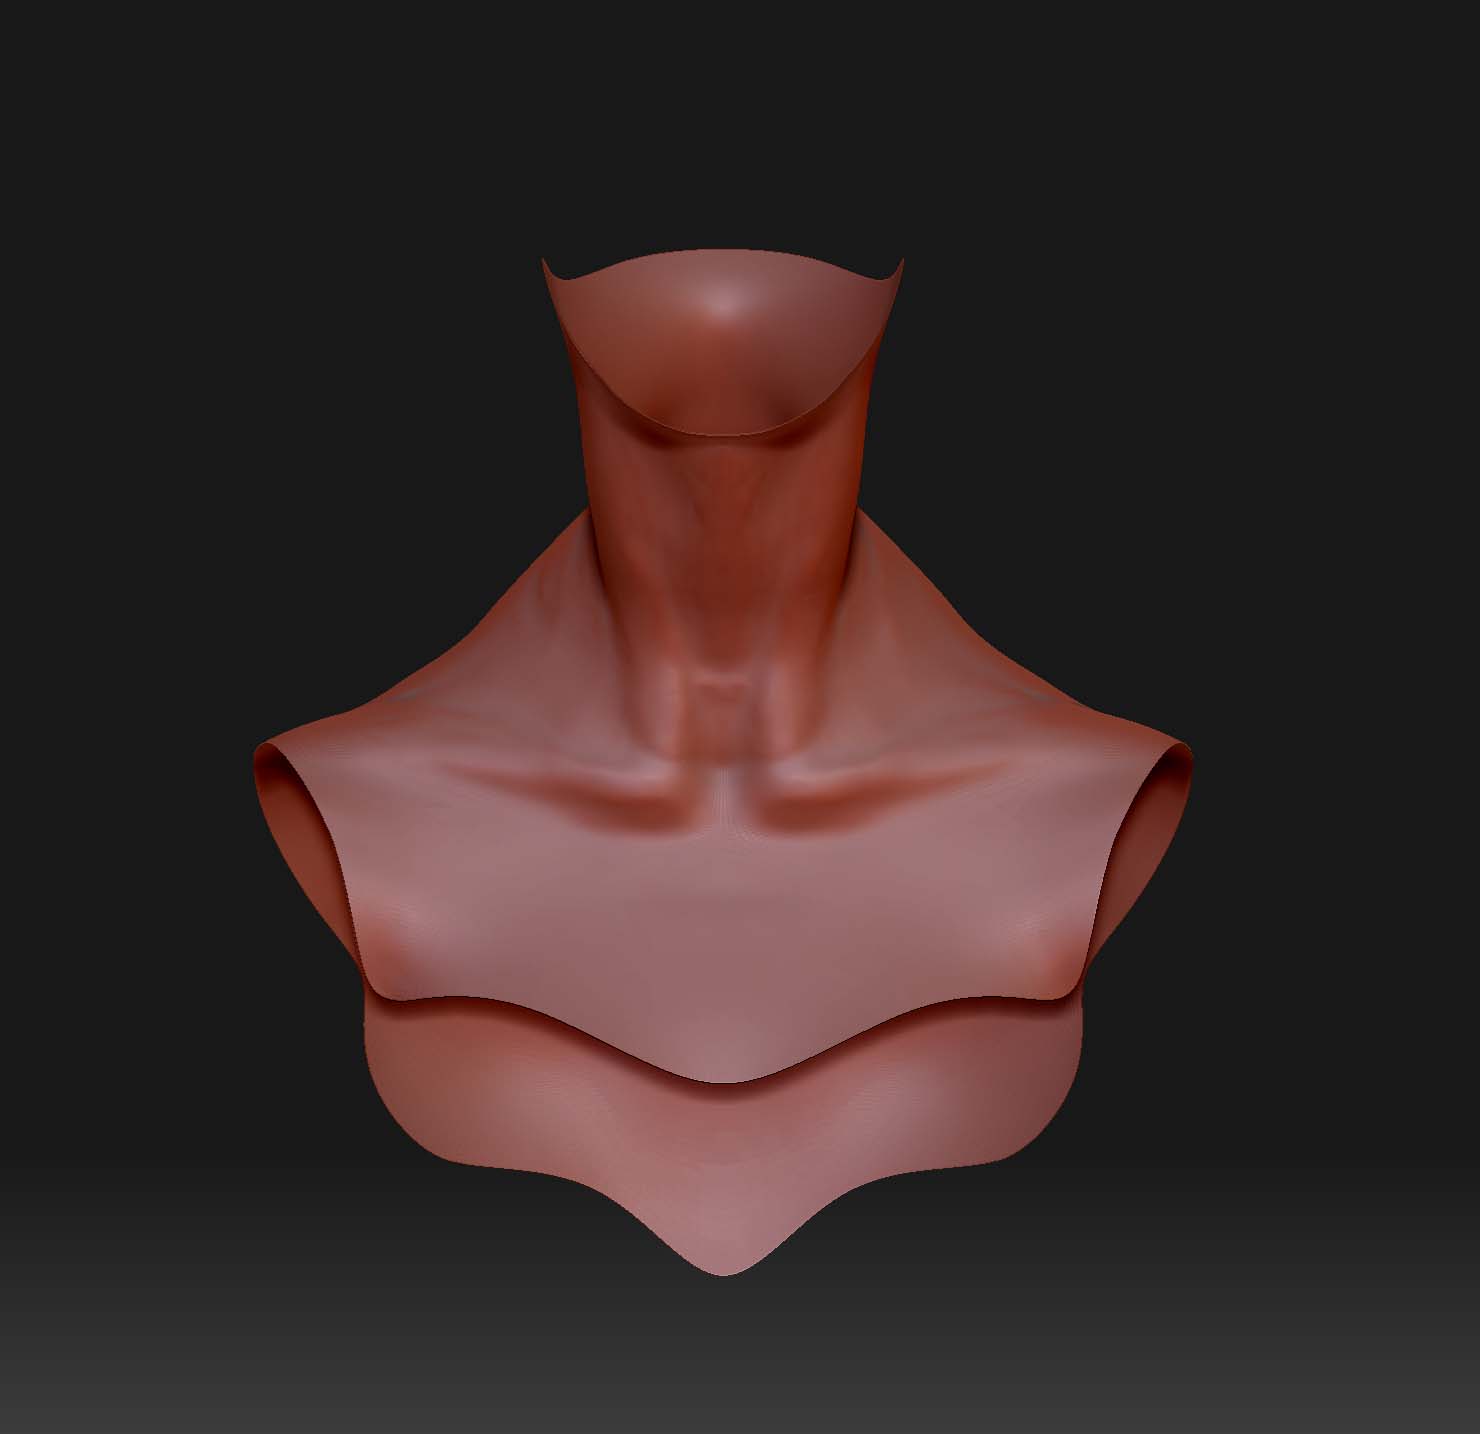
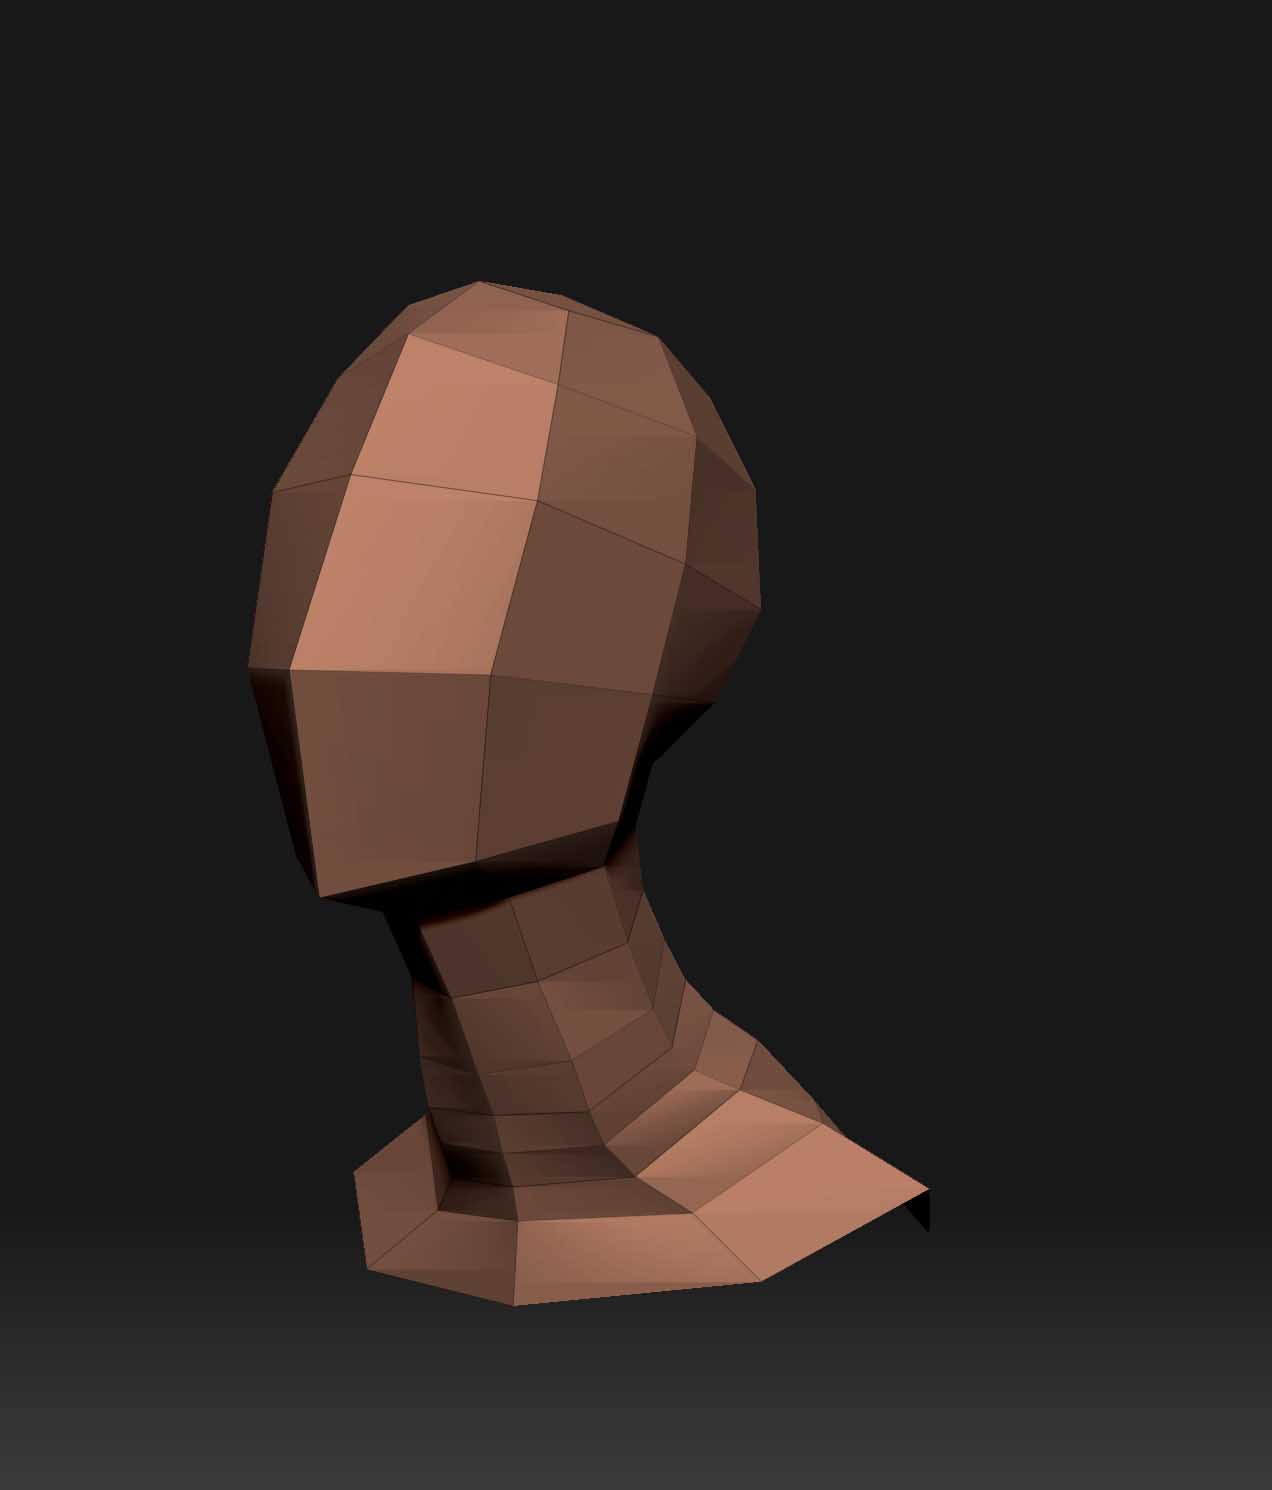
  1. I am having issues with my polygons in my sculpt. They are causing my sculpt to look warped in a certain area. I figured i should try to re-topologize to fix the mesh. I tried to follow the instructions by drawing an initial mesh as a blueprint but found that I don’t have a colorize button in my Texture sub pallet. What is the equivalent in the Mac 3.12b version?

  2. Is there a basic user’s manual? I received a “What’s new” file but EVERYTHING IS NEW to me since I’ve never used the program before.

  3. How do I save an image of my model for posting online?

  4. I can’t seem to customize my work top/environment or whatever it’s called. I just want to save my settings so i don’t have to keep adjusting every time I re-open. I follow the instructions in this book: Zbrush Character Creation- Advanced Digital Sculpting but it doesn’t seem to work. How do i save my settings?

  5. When i am sculpting finer details i isolate the areas that require a higher polygon count and increase in that area but there is a clear delineation between the higher count and lower count areas. How do i fix this?

I would GREATLY appreciate any help at all. As I said i tried to solve these issues on my own but it’s been WEEKS. I didn’t want to post my questions here since I am barely able to articulate the questions and I’m not even sure I will understand any answers, if anyone even responds to this post.

Even a nod in the right direction or a book/DVD recommendation would be welcome.

Thank you,

J.

  1. You need to learn how to control the flow of your polygons.
    This is called having a good topology.

  2. There is a button up above here @ZbrushCentral that will guide
    you through tons of information. “ZCLASSROOM”

  3. To save an image, simply go to Document/Export.

  4. Go to Preferences/Custom UI/Enable Customize. This may be
    different in your version but browse through the menus till you find it.

  5. By creating a higher res geometry only in certain areas will create
    triangle polygons which will always give you problems.It is better to
    learn how to control your polygon flow and build a mesh with a good
    topology.

As far as learning the interface, every program has a learning curve
that the user must take the time to learn. Zbrush doesn’t have a steep
learning curve in my opinion because there is no hidden menus. Everything
you can do in Zbrush “almost” can be found in the menus at the top of
Zbrush’s interface.

Hope this helps get you started… Now get to Zbrushin…!

Thanks for the advise Xsmoke. In response to good topology, when i created the model i made sure my topology was acceptable. However i wanted to add more detail to the head without increasing the polygon count for the whole body but when i increased for just the bust area i created a delineation between the two. Now the polygons are messed up and it’s causing problems in my sculpt. I tried to isolate the problem area and retopologized it but i can’t merge it onto the existing model so i can smooth it together.
Any suggestion on how to fix this?

image of screwed up polygons.jpg

Thanks,
J

As far as i know, the only thing you could do is re-topologize your
mesh but i may be wrong. Also it really depends on what your final
goal will be for this model.

Will you be importing this model into a 3d app to animate or are you
just creating still images?

Either way, you are still going to have problems where these 2 meshes
connect. If you want to animate this mesh, you will be forced to fix these
areas but if you want still images i suggest covering the area with a
necklace, or other type object.

On your next model, instead of sub-dividing certain areas, i suggest
cutting the model up in different pieces such as,
Head,Torso,Arms,Hands,Legs,Feet and using each piece as a different
Sub-Tool.

Don’t let this be frustrating to you, we have all made this mistake and
avoid it now. Look at this like, awesome i just learned i should never
do this again.:wink:

Thanks Xsmoke. I am aiming to be a concept designer, so I won’t be animating the model.

I didn’t want to topologized the whole model so I separated the collar area and retopologized that one area, merged it with the existing problem area but i couldn’t get the whole model to show up. I have seen a tutorial where the modeler performed this action but he didn’t explain the exact method.
I would just look it up but I don’t know how to phrase my question.

Any thoughts?

I apologize for continuing to bug you but I pour over my books and i watch TONS of tutorials but can’t find the information i need. I have NEVER touched any 3D programs before and I’m getting a crash course, so I’m a lot slow. I appreciate your patience, time and answers.

Joyce

I wish i could help you better with this problem but the solution
is not coming to me…

Have you played with the rigging and projection…
You can load your mesh, then select the zsphere.
Then you can go to Tool/Rigging and select your mesh.
Retopologize your mesh, then go to Tool/Topology and turn on Projection.
This will project the hi-res details onto the low-res topology mesh.

I know this is not the answer you wanted or even asked about but i
thought i would mention it to you. It’s the best i can come up
with at the moment…Maybe someone else here with a better understanding
than me can give some input as well.

I’ll try to come up with a better solution for you also…

I tried what you suggested before posting the model but it didn’t work.

Thanks for all your help Xsmoke. I really appreciate it!

Might hlep to be able to see the mesh before you subdivide, and where you mask.

Blight, I can show you the model (at the lowest subdivision) before I seperated the head from the body to make the different increase the polygon count. I also retopologized the neck but i didn’t do it for the entire model. I would like to know if I can merge the retopo section with my existing model so i don’t have to do the whole thing over.
Thank you for any help.

Attachments

retopologized neck portion.jpg

retopologized neck portion.jpg

Cant see the first pic. And could i see them with wireframe mode on?

here you go Blight, I didn’t include my retopologized neck portion because i just noticed that the polygons were even more out of control than the first one. Like i said earlier, i don’t want to animate my models I only care about the sculpture. Thank you for your time.

Those 2 images arent working for me.

[ATT=180860]original neck before subdividing-lowest sd-frame on front.jpg[/ATT] original neck before subdividing-lowest sd-frame on-3q.jpg

Blight, none of my after pics are posting for whatever reason but i have the image at the beginning of the post.

I found a tutorial on the Zclassroom site that merged two parts together. So i thought if i retopologized just the neck portion i could then merge that with the existing model to correct the flawed topology.

The tutorial was: SCULPTING IN ZBRUSH FOR 3D PRINTING, By JEFF FELIGNO, in Chapt 2.

I couldn’t follow what he did exactly though and i don’t know if i can apply to this situation.

Thanks!

When you mask an area to subdivide, make sure you have a straight border around the neck, at least thats what i would try. Could there be some vertices that arent properly welded in your base mesh?

Also your neck is quite dense in terms of polygons. This wont cause the problems youre having, but really the neck should have the same polygon density as the head, in fact preferably the head should have more.

I wanted to give the head a higher polygon count than the rest of the body so could sculpt in finer detail but i just lassoed the head/neck area away from the rest of the head and caused this problem area to develop.

Any ideas on how to fix the polygons in the neck without retopologizing the entire model?

Thanks

Im not really sure what more help i can give. Just try to have a clean selection around the thin part of the neck before you subdivide, make sure you havent accidentally masked some areas or something.

Also it looks like you have a slightly lighter blue polygroup on the front of the neck. I doubt it would cause problems, but might be wiser not to.

You could also try asking on the zbrush specific section on cgtalk.

Thanks Blight I appreciate your help.

I’m doing a bust of young girl and I’m just finished the armature, but don’t how to get in wireframe / mesh mode like it does in the tutorial. Also i wanted to make elf ears instead of regular human ears on this bust. Anyone got any ideas. This is one of my first sculpts using z-brush so i’m still learning. Thanks in advance.

grimdc13, you may want to post in the main forum. No one is going to see your question in my thread.