ZBrushCentral

Zspheres, Lowpolys & renderman

wow, thank s for the replies and support.

khalavi - Thansk dude

Tomala - Hi buddy, I hope share more and specially, to learn more with you all

MIGUEL GRANADOS - Hi Miguel, thanks mate, hope to see you again here

alexleia - hey master, glad you’ve like it mate

BARON_3D - Thanks buddy

mradamw - Thnaks friend

P^T - thanks for the kinds of words

M_F_G - Valeu bicho!

Eidan - Thanks dude, I’ll be posting the video soon.

piz - Thnaks for the continuous support dude

mestela - The feature retopology is great dude. About the Pitt’s model I spent about 2 hours to retopoly it. Try a bit more and you’ll find the better way. Thanks!

Benjw703 - Thanks man!

DHARMAESTUDIO - Thanks mate, you’ve great works too.

SolidSnakexxx - hey buddy, really thanks mate

skulll_monster - Hey buddy, thansk for the comment, You’ve been made great stuffs too buddy.

MINI TUTORIAL______

I’d work on the textures and thought if was possible to use some map from zbrush to get a volume for the models.

Exist two kinds of normal map that we can to generate on zbrush, (if exist another, please let me know:p ) the first is the “tangent space normal” and the other is " world - space". The last one " W-S" is the guy.

After to generate that map, you just open on the PS and see the 'channel palette" you’ll see 3 channel, of course, RGB:D .

Get the green channel and use it as volume, You just need to change the color blend to multiply or overlay as well.

If you adjust the contrast and brigthness maybe you’ll be able to get a “fake Ambient Occlusion”:roll_eyes:

Please see it and let me know waht you all think

Hmm, any reason why its the green channel? I usually just convert the normal map to greyscale and I get a nice result. But with this, it looks more like shadows, so I guess its good for low-poly stuff

Joopson - Hi buddy!

So, I’d like you said, please check this tutorial that I’ve made at 3dtotal.com link. But I think that the green channel is better, look this pi c and tell me what you think.

About the shadows with some adjustments with curves and levels you can get a good result.

Green channel gives up to down shadows to your color map. In my opinion there’s always better to have no directional shadow information baked into texture and that’s because i prefer to use ambient occlusion to tune up colour map. Unfortunetly there’s no possibility to bake ao in zmapper so i often use free xNormal(it’s photoshop filter) to generate cavity map from normal. There’s a few method and some of them gives you results similar to ao.

Simply awesome stuff… I really like the marine character and the expression you got on him, very nice studies… got a lot going on the face…

I love how the Pitt character turned out. Can you tell about the lighting setup you did for the character? Thanks.

Tomala- Hi Dude, I agree with you. I usually I work with occlusion together with this map, off course doing necessary adjustments like I said before. About the xnormal, it’s great software, I hope in the next version of Zbrush we have this feature. Thx dude.

Smooth_Criminal - Hey dude, how are you? ABout the light setup, I just made a quick render with final gather and two spots on 3dsmax. Thanks for your comment dude.

i already said it for you man! awesome ! :stuck_out_tongue:

your work really inspire me a lot! love the soldier model!

keep rocking man! cant wait to read your interview. :smiley:

Take care dude!

No. no. no… :smiley: you’ve been inspiring myself dude, you know that, with your talent than speed :stuck_out_tongue: my friend.

thanks mate, great see you here.

Some beautiful work here! The only thing that stood out to me was the Thing’s legs: They look too thin and spread apart compared to the rest of his body.
Thanks for sharing your zsphere/retopology images, and for the tutorial. :+1:

great stuffs man!

great see you on top row man!

Alex Oliver

You simply rock with all your high quality work.:smiley:

Continue this way. Congratulations!!!
All the best!!!

Amazing work, thanks Camara!!

holy moly that’s tremendous masterly done. Good stuff :+1:

Awesome work !!, the pitt model is really cool.

Very interesting model! very cool amazing beautiful work Cedric :+1: :+1:

Very nice to see such wonderful characters and derived from zsphere bases as well! I think they are are all cool, even if that’s not my favorite design of ‘The Thing’. :wink:

I do hope this encourages many more people to explore the capable tools in Zbrush…

Some great works here. Bravo!

Webhead - Yes, I agree. I agree, I’dn’t like the thing’s result too. Actually, I’ve made it as sketch and would be improve a lot “things” but i’d better to go for another model. Thanks mate

Sebcesoir - Great to see you here mate, thanks

alexleia - Thanks again my friend

fabmoraes - Thx mate

weirya - Thanks dude!

DDS - Thanks for the kind of words dude

combatmantra - Thanks dude, I really appreciate

Nattawat_OBBI - Thanks mate

Jason Belec _ Thanks Jason, you’ve been made great works with this feature, I hope that many artists can be to use this great feature. I’ve benn spend a lot time working with that in my workflow. Thanks mate, great to see you here

iskon - Thanks buddy

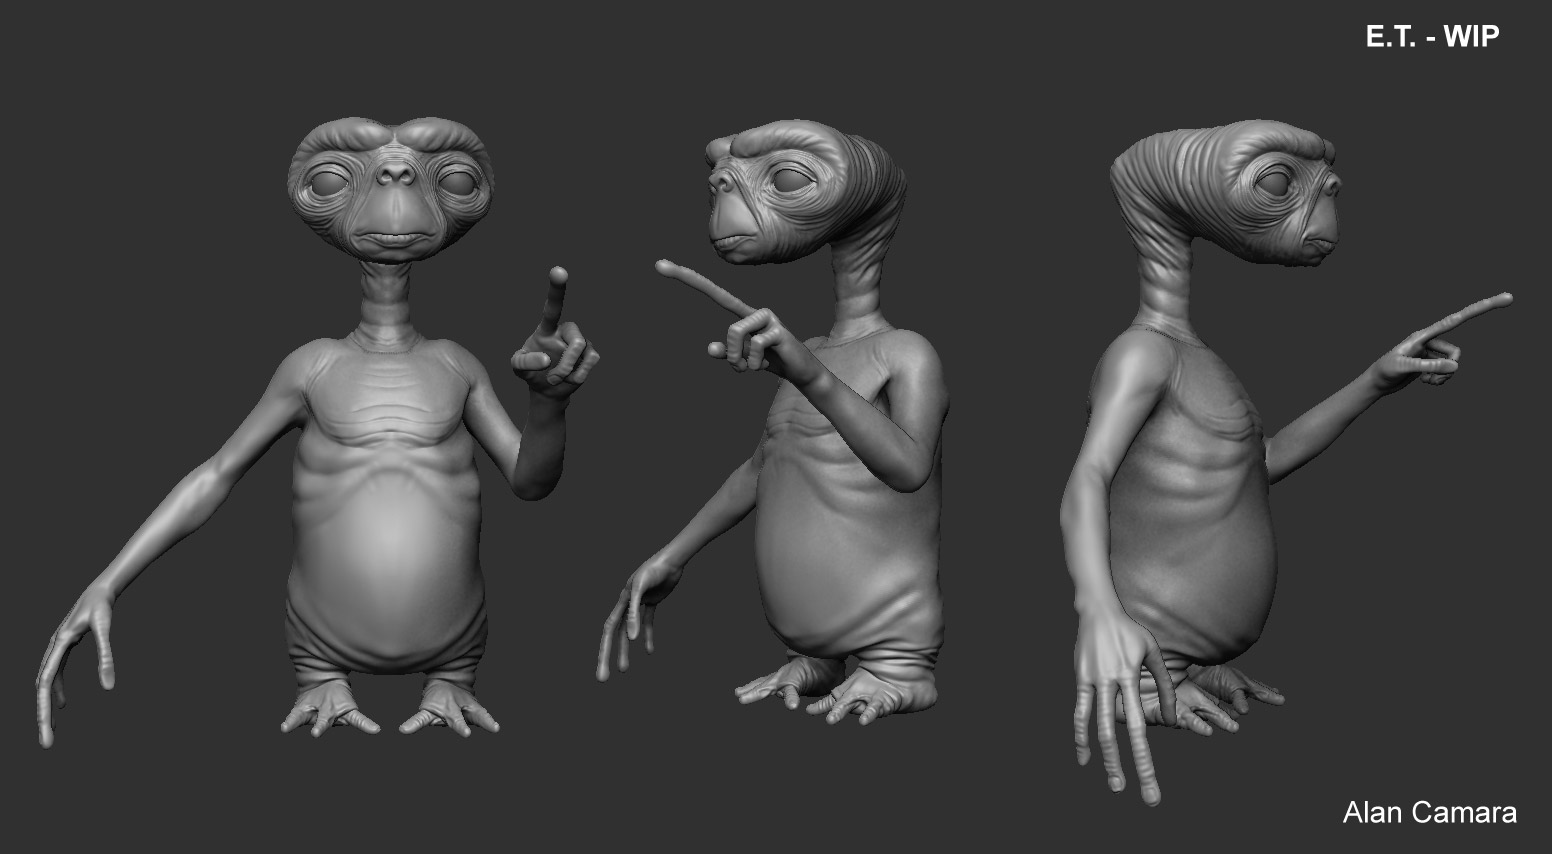
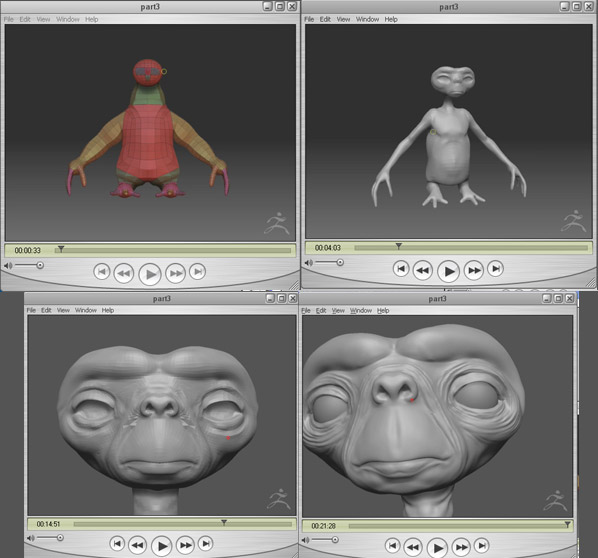
It’s my last job that I made in the last night with zsphere.

I spent about 4 hours until now. Today when I’ll go my home, I hope to finish the modelling and later to do a render with renderman. I’ve made a video with timelapse of this model and I’ll post here soon

[]

[]wip_et.jpg

[]wip_et_thumb.jpgwip_et_thumb.jpgwip_et_screen.jpgwip_et.jpg

Great Stuff, its amazing works !!! great tutorials!

congrats dude