thx 4 response lemmo, yes I ask that, but: I meant, that I saw nothing happen if I repeated your technique…
('coz I well know the difference, but only if I’m modeling/editing in zB… maybe am I blind? ha ha ha, that’s it)
Thanks alot Lemonnado! This is a really nice way to bring the element of hard edged surfaces into Zb that I have overlooked. Here is my quick test.  Thankyou again for the great video.
Did you choose the flat color shader? And don’t forget to MASK!. I switch off the texture immediately after the masking so I can see the masking effect. If there is no masking effect, then something else got stuck…
Lemo
Dear lemmo-dude, it works everything fine, thank you
I meant, that I can’t see the differences between MRGB and RGB in the result:D  both are same for my old eyes…
You know, my english is not the best and my question can be a bit “fuzzy”…
Cheers man
Hi Zbreeblers and more,
I have one last question: Oh to imitate the water refraction, and reflection in transparency ?
Lemo, Having a great time with this. Awesome tut
Hi all,
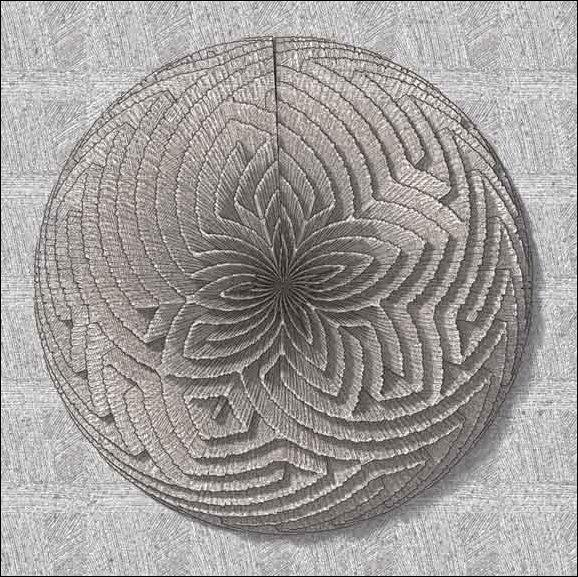
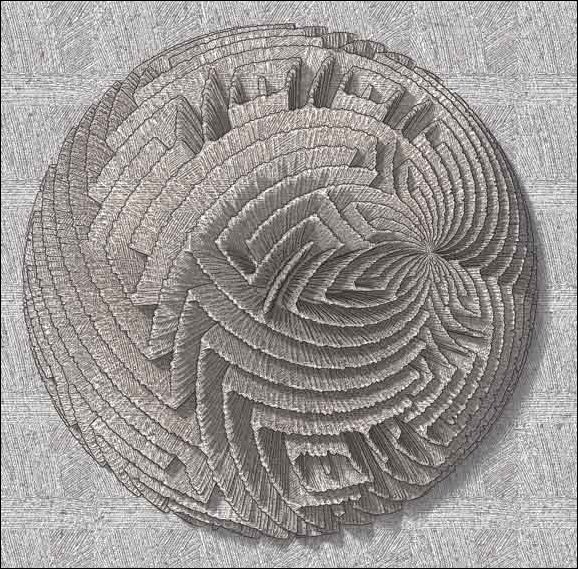
I’ve noticed that this technique gives different results if I use a custom cube primitive instead of the default one that is based on a sphere. Both Cubes in the illustration were done using the same texture with very different results. Many of you probably know how to make a cube primitive with the unified skin tool but for those who don’t -
- Select the cube primitive
- Go to Tool > Unified Skin
- Set the Resolution slider to 8 (all the way to the left) and the Smt (smooth) slider to 0 (all the way to the left) and click Make Unified Skin.
- Select the skin you just made and draw it on the canvas and go to edit mode.
- Then to keep nice sharp edges on the cube you need to use Control + Shift to hide all but one side of the cube (if you want rounded edges on the cube leave as is).
- Go to Tool > Geometry and click on Crease and repeat for each of the remaining five sides.
- Then click Divide as many times as you wish to accommodate the detail you want.
The cube on the left was done with a unified skin cube and the one on the right was done with the default cube primitive.
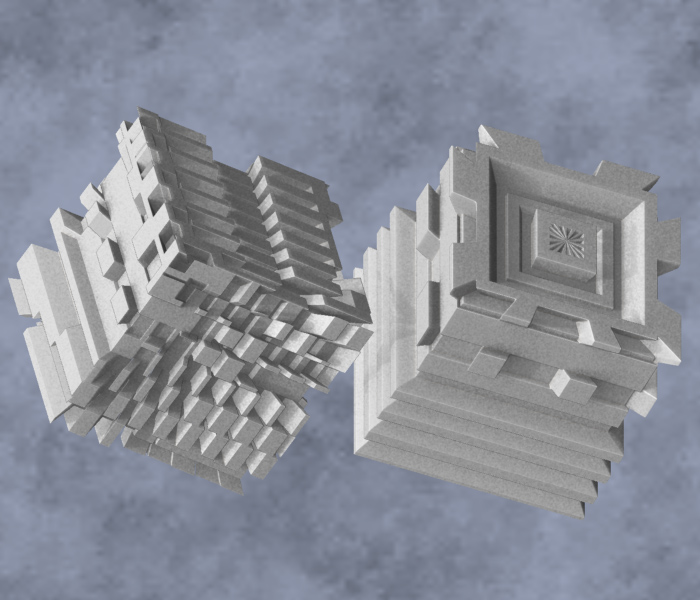
Cool Blaine! Yes, the cubes are different. But taking a closer look you will see that ZBrush is missing something… And that is the cubic texture projection. So mapping a texture onto a cube is a pita as you will have the ‘spherical’ pole’s. BUT here is a cube with cubic UV’s:
The Zeebologically correct cube! Click and load (20K)
Load and subdiv as required. BUT DON’T touch the UV’s. Or you’re back to step one. The UV’s are mapped with XSI. I might make a few (like a cross and so on.) right now the texture will be mapped to each surface. Cool for Zeebles…
Cheers
Lemo
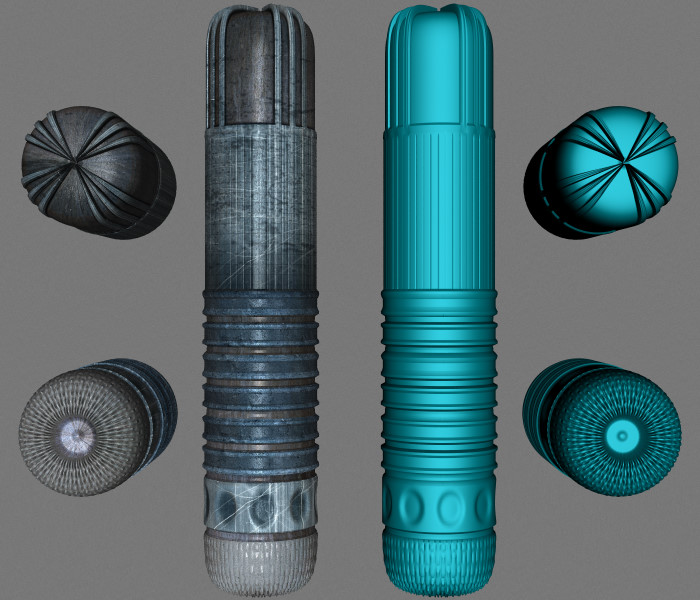
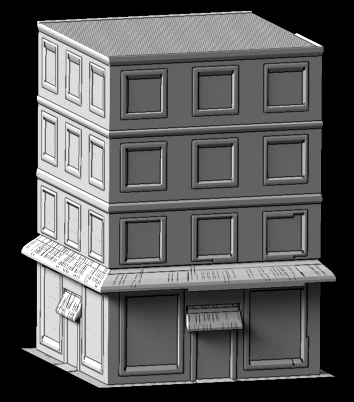
A sci-fi cylinder I created a few months ago using the same technique lemonnado has shown. Yup, it’s a fun way to create!
AS
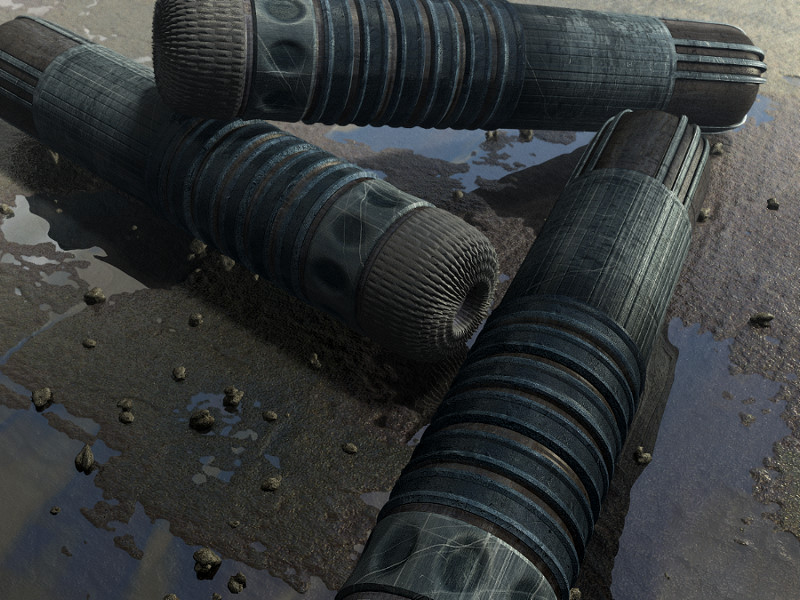
Original “sizing” map was created in Photoshop, as later was the image texture.
AS
Neo here to Agent smith:
Nice techniek and it looks good
keep it up 
But…didnt i finished you in our last movie? 
Lemo - Your the man I was just dealing with that. I found a sort of work around thanks to the Zapplink. I made each side of a cube into a seperate group so I could select them easily. I then assigned guv tiles to the cube and made a new texture. Then I can select one side only and paint on it in PS. Also by starting with a document the same dimensions as the side I’m working on the object fills the entire canvas making it easy to be accurate. That way I can control each side individualy. Seems to be working. I’ll post something if it works out.
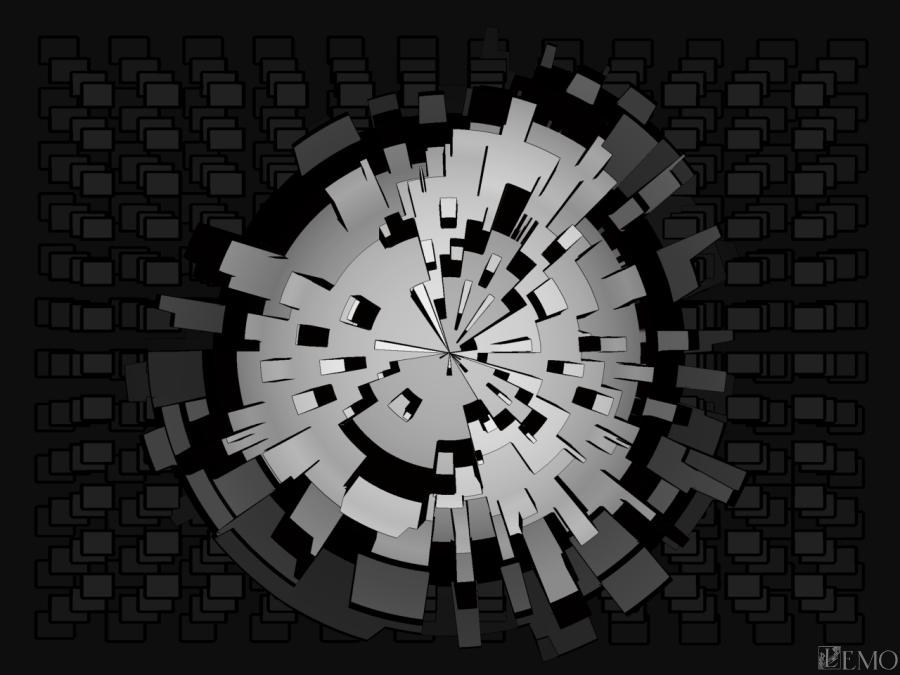
A little zb greeble love…as usual a day late…
[ ](javascript:zb_insimg(‘26933’,‘greeblelove.jpg’,1,0))
ugh hate compressing stuff.
LOL Aminuts! well done

This was inspired by lemonnado… I spent the better part of an afternoon into the wee hours trying to get something close to the version he did.
BTW, I wanted to say thanks to you lemonnado. In the span of two days, I have learned more about using zbrush through your tutorials than I have in the last year. I seriously feel I have overcome a huge hurdle with this incredible program. Your work and contributions are truly remarkable. My sincerest gratitude and thanks. -J
Looks great and I am very happy that you got something out of it!
I ‘found’ Auricks Ink Shader…
[ ]
]
cool lemonnado - do you have a link to it. zeebles for zeeble textures:D
I have started a post about shaders that helps to look like drawings
here http://www.zbrushcentral.com/zbc/showthread.php?t=31048
might be some cool ones there of zeebleing
Attachments

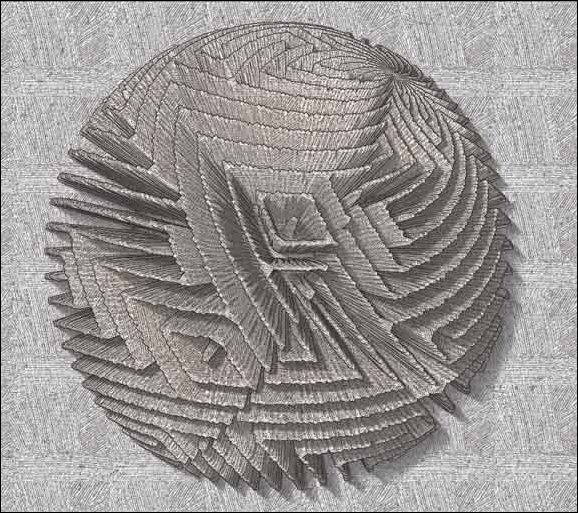
I tried something a little different with this method. It worked out OK I guess. No matter what I do I end up with imperfections. Even though all sides are the same I get different flaws on each side. The original texture shows no flaws until I apply it. Then if I export the texture it has many little flaws. Something is just not right in the interaction between ZBrush and PS?
Great idea Blaine! I guess you have a UV problem… It’s definitely not a problem with the picture format…
Lemo