Hey everyone, I have decided to take initiative and create a small tutorial on visualising specular values on a Zbrush mesh. Mudbox 2009 will have this but I want to demonstrate how to see different specular values that will look proper in a renderer like MR. Anyway, I want you all to meet Mr. Frogman who has kindly volunteered to help out, hoping he forgives me for cutting off his body.
The purpose of this tutorial is to help people who have asked on Zbrushcentral.com how to actually see the specular map in real time, well, the values anyway. And it is also part of my workflow…pre-zbrush, I had to paint it in Photoshop in a messy way, save, and look at the model in my program by rendering. But the way I’ll show you is a little trick that I learned using a custom material that I’ll be happy to share with you. You should be familiar with the Zbrush interface, so let’s get started.

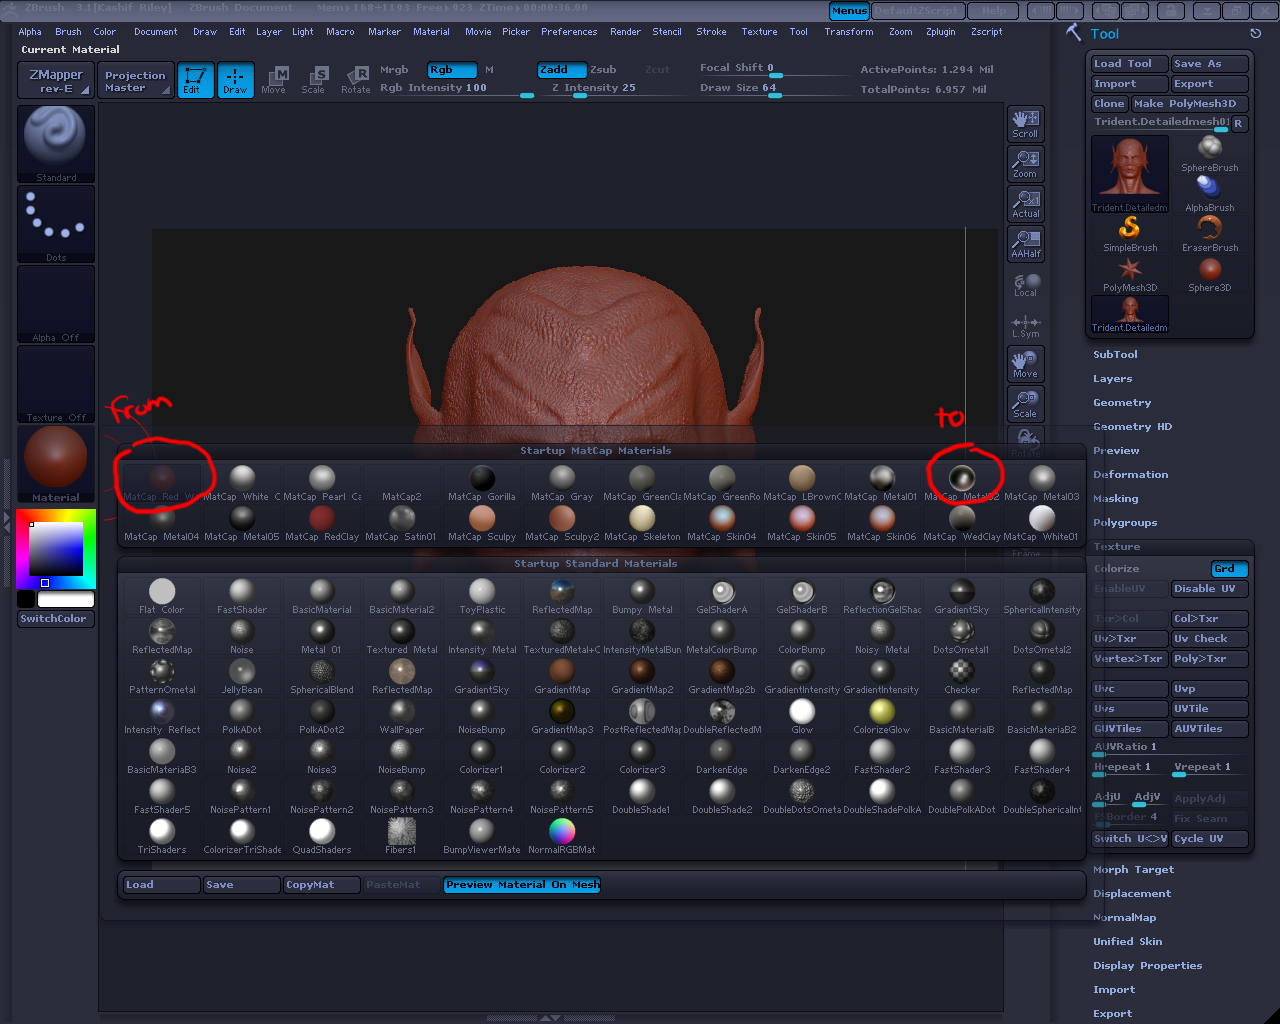
Then change the current material from the MatCap Red Wax to MatCap Metal02. (I used my own custom matcap for this, but the shader was not ready)
Then fill the object with a low gray color, in my case I chose the values of 64, 64, 64, which is 25% gray in Photoshop, a nice slippery gray suited for Mr. Frogman. (NOTE: You can also Mask by Cavity first and then fill, but I find it is better to do all of this from a Cavity Map and blend the image into the spec map)

You should see the model slightly in the viewport. Now just paint with a low RGB strength (I usually use values between 1-5 to get a neat gradual tone, and white) and you will see the model’s skin look as if he was specular in different spots. And DON’T FORGET to turn off Zadd before you do this.


Surely, the Metal MatCap does not necessarily show the shines but you will notice that dark areas will have no gloss when you rotate the model, similar to metal when it rusts. If you change the render view to flat, you will actually see how the spec map will look in Photoshop.
Now, export your specular map by creating a texture first from the color and apply that image to a model in your 3D package and voila. DON’T FORGET TO SET THE RGB STRENGTH BACK TO 100.

In my case, I am using XSI, where you can see the advantages of creating seamless specular maps with no fuss. You can add other details like the cavity map to the existing texture to enhance it. And it eliminates the guesswork of seeing how the map will look. Take that Mudbox!!! Just kidding. Thank You for reading and Happy Zbrushing.


 still trying to figure out how to do it