ZBrushCentral

Zbrush Symmetry on Y Axis trouble

Hey everyone, Dayton here again.

Thanks to Spyndel, I was able to quickly find resolution to my previous in context to smoothing out this mesh:
CAP_94
Now, while it isn’t smoothed currently, it will be once I’m done with the process of adding more details to it, however, I am finding myself stuck on Y Symmetry in Zbrush. It seems to be out-of-wack, and I’m not sure what I should do to resolve this. Example below:


I’ve tried Local Sym, but that doesn’t seem to make much of a difference. Best explanation I can offer for why I need Y Axis Sym is that I’m attempting to add thrusters to the craft, but need symmetry to work as to avoid misrepresentation of the concept art as show below:

If you any feedback on my geo, question, or really anything. It’s extremely appreciated!

Hi @DaytonTN,

Your mesh appears to not be symmetrical in the ZBrush worldspace.

Turn on the Floor Plane with all 3 axes enabled. Go to the draw palette and make sure the “Elevation” slider is set to zero. Turn off perspective mode. Make sure local symmetry (L.SYm) is Off.

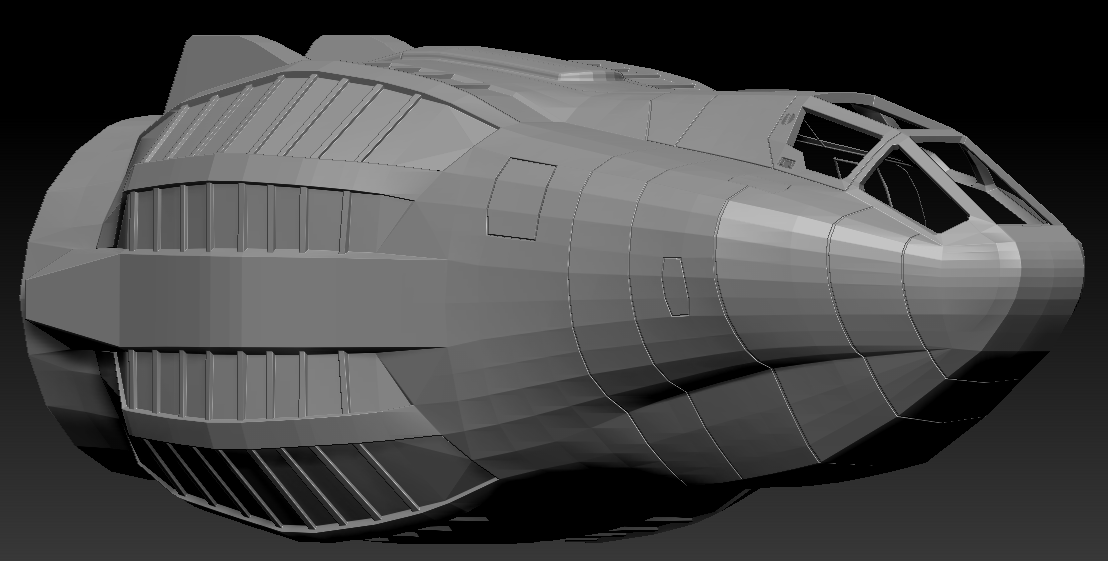
This will let you preview the symmetry planes. If your mesh is not the same on both sides of each of those axes, then your mesh is not globally symmetrical in the worldspace along those axes, and global symmetry operations won’t function correctly. The most common reason for this is a mesh that has become offset from the center for one reason or another.

Now, if you enable Local Symmetry (L.SYM), symmetry operations will use the mesh’s own center for symmetry. If it still isn’t working, it means your mesh’s bounding box is not the same on both sides, either from geometry that is not the same on both sides of the bounding box center, or maybe from a piece of geometry that is present on one side but not the other, pushing the bounding box out of whack on one side.


You can repair this by forcing your mesh back into symmetry. The Tool> Geometry> Modify Topology> Mirror and Weld function can be used to do this. It will force the mesh back into symmetry across the tool center (or across the local center of the subtool if L.Sym is enabled. You will first need to make sure that the intended center of the mesh is as close as possible to the center of the symmetry operation.

Keep in mind that Mirror and Weld only works in one direction, so in certain situations it may first be necessary to flip the geometry to the other side of the axis first with the Tool> Deformation> Mirror function along the relevant axis to make sure the correct side is mirrored.

Hey @Spyndel,

Thanks for the insight, I’ve moved the Elevation of the floor plane to 0, and it definitely seems off as far as worldspace goes. That said, I’m not sure how to actually move the mesh back to the appropriate point.

If you could advise my next move, that’d be much appreciated!

Cheers,
Dayton

If you’re lucky, you may be able to check the Tool> Geometry> position sliders, and re-zero the mesh at the desired axis. If the change was recent and local to ZBrush, the offset may be recorded here.

Otherwise you will have to manually position your mesh at the desired center with the Gizmo manipulator, and use the Mirror and Weld operation as described above. Check the resulting center line across the length of the entire mesh to look for points or edges that didn’t weld properly, possibly because they were just shy of the mirror plane, and now result in a seam. You may have to drag these points across the mirror plane and do another Mirror and Weld to clean them up.

Hey @Spyndel,

Thanks for the explanations. It looks like my mesh, for whatever reason, is offset on the Y Axis ever so slightly. By -0.01749 worldspace units to be exact.

Is there a way I can move it upwards via Geometry/Position/Y while bringing my other subtools that are in the scene with it? Tried this once, and none of them followed. Lost some progress, but reset and am back to where I was at the start.

Cheers, and thanks for being so responsive.

@DaytonTN One way, it’s Zbrush, there are others for sure :stuck_out_tongue:

Activate the subtool that is offset in Y, turn on the Gizmo and go to unmasked mesh center. Then make sure all your other subtools are visible and activate the “hamburger” icon so that Gizmo actions affect all visible subtools. Move the collection in Y to eliminate the offset. Check the position in Tool:Geometry:Position as mentioned previously. If you’re having trouble with precision, zoom in a lot. Then moves will be in smaller increments. Rinse and repeat the move until the Y position is 0. Note that you can’t simply type 0 in the Y position field because it will only change the selected subtool, not all of them.