ZBrushCentral

ZBrush 4R2 Beta Testing By: Maxence Fleuret

Thanks guys !!

for the alpha, i used the one shared by eugene fokin, and i don’t remember where i get the chainmail, but if someone get the name of the artist don’t hesitate to tel me

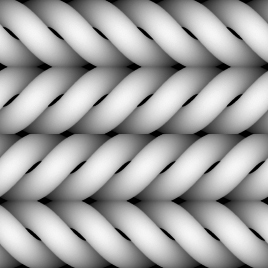
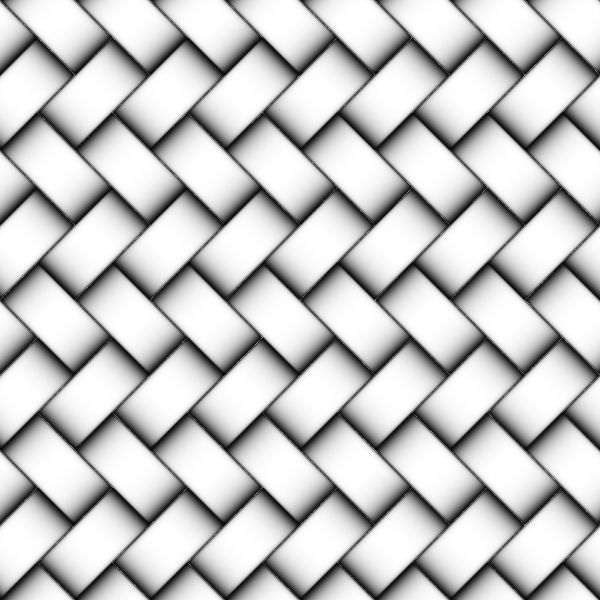
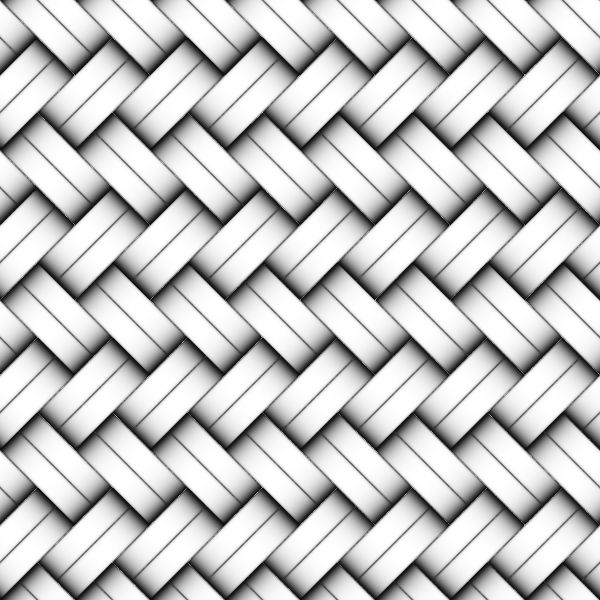
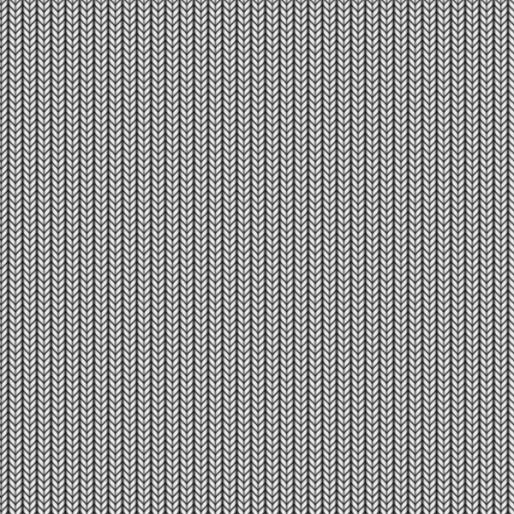
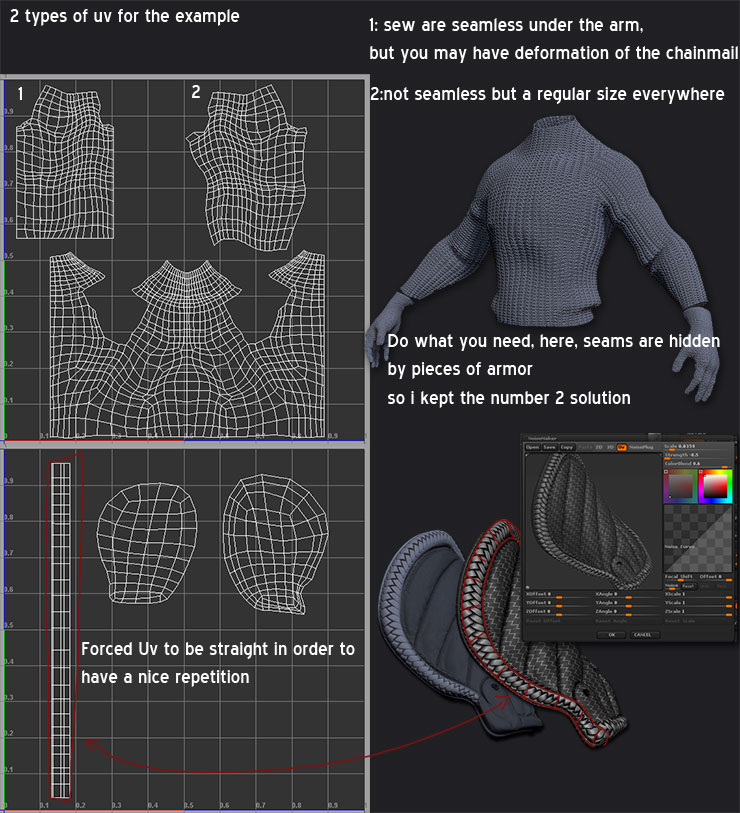
for the noise maker use, Uv’s are really important (and are done for every element where i used the NoiseMaker) even if it works without, you will have a way bigger control with them.

MFleuretZB8.jpg

@zeoyn: thanks man, yes you can bake that on a normal map or a displace as it’s not a texture trick, once applied it’s on the mesh exactly like if you sculpted it

++

Attachments

Texturing_003.jpg

weave01.jpg

weave02.jpg

weave03.jpg

origimage_1_440906.jpg

Sweet sculpt. Thanks for sharing your techniques.

Head render looks sweet! Well everything looks sweet but i am most curious about head render.
Any chance for more detail on skin/SSS render set-up? Are you using any of Z4R2 features for that?

attached on the first post is the shader that i used for the head, and after it’s only tweaking the new BPR filters and adjustment .

Thanks for the alpha and UV trick man!

This is one of the best renders of skin I have seen from zbrush. Excellent character too.

I was playing around with your material, but I can’t seem to get the lighting to work well with it. Any tricks to getting lighting to render like that?

Thanks MFleuret, worked great!
If you don’t mind me asking…
One thing i don’t understand is the wax preview modifier looks completely different while sculpting then when it’s rendered in BPR(most obviously evident if i crank wax preview settings like mad so that subsurface color bleeds out very sturated and evident but BPR is very toned down if visible at all). Is this wax modifier ment for preview only and i still gotta tweak regular SSS material to render in BPR or am i missing some settings somewhere? How can i achieve the same look at render time as during sculpting?

unfortynatly i have lost my bpr render settings, but i remember that i didn’t change the light that much, just the angle of the main one.

yes, the wax preview and the one rendered in bpr are pretty different, i didn’t used the preview one while sculpting the character as it has been released just after my sculpt. but i guess the real time one and the bpr one will not look exactly the same, sorry for not being able to help you more.

Hi max

Firstly ,awesome work and thanks for sharing your workflow .
I notice you have a style with your textures that I have seen only a few times before ,it has a rustic ,kind of noisy hint to it which I have been trying to get in my own work .slidelondon have the same style .could you tell us how you achieve this effect as it pushes your work from very good to absolutely awesome .

Great character. Great workflow :smiley:

Great stuff!, great details!, i’m a big fan of your art!:smiley:

wow! this guy looks amazing, especially the skin rendering, its hard to believe zbrush can render at this quality without processing a bunch of layers in photoshop. also the armor details are great. my only crit would be the width of the wrists seem a bit thin. otherwise, this is top row stuff. keep it up!

Oh my god…
I keep staring at this, trying to convince myself that this is Zbrush, and not a photograph of a real person.

Absolutely stunning Maxence!!! Truly an inspiration.

great work man! loved the workflow and thanx for sharing. Will give it a shot for sure and bug with questions.

Cheers
Shoaib

Wow. This is inspiring. I’m working on a character wearing leather and mail armor atm… and this really made me aim higher. :slight_smile:

I’d love to know how you detailed the leathery areas. Did you use noisemaker for them too?
I never quite figure out how to sculpt around the mesh, to make stitches that go around the armored part for example.

Superb sculpt, coloring and renders! Totally agree with you on Noisemaker as a gamechanger -> will probably use it on every single new piece I sculpt :+1:

thanks guys, sorry i was away for a while; just moved to CA, such a great adventure so far !
glad the sharing and tuts can help you.

thanks man, the leather area was done with standard tools,a lot of masking and slash brushes.
i only used noisemaker to do the “rope thing” in the leather area.

You’re welcome, it’s really great. :slight_smile:
And thanks for the answer.
What I meant was regarding 2 things which I really don’t understand.

In the picture below, middle part on the top, the belt. On the belt itself, how did you do the stitches? They seem so accurate, and along the edge evenly… is it some sort of alpha?

And the part to the right of that belt, the top right part - how did you add the decorations around it? The tiny strips of leather that go around the whole part, like hair. I just couldn’t get it.

Hope I’m not too nosy. Sorry if I am, it’s just curiosity. :slight_smile:

nope, that’s fine, i m glad to answer some questions !

stiches are done with a brush, i don’t have it on my computer right now but i guess you should be able to find that brush on the forum with a little search.

for the other part, deco was done with an alpha that you can find in the zbrush download center alpha library, witht the standard brush and some dragrec.
and the tiny strip of leather i can see what you are talking about was made playing with the noisemaker, nothing particular.