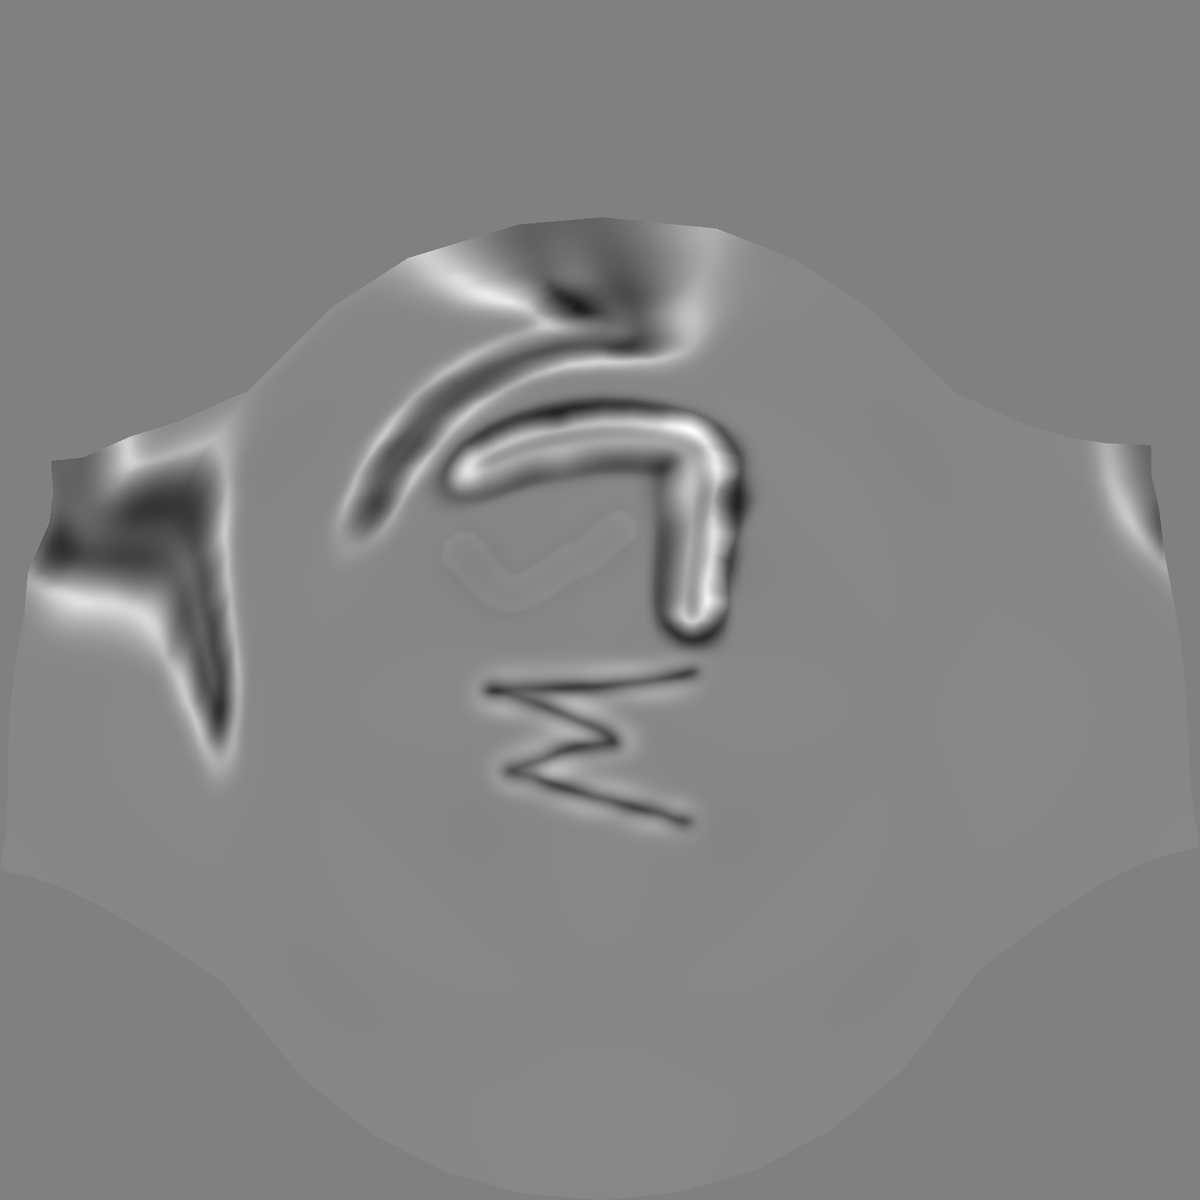
I’ve been trying to wrap my head around an issue that I’ve been having generating displacement maps in Zbrush 2018. I firstly created and UVd a sphere and subdivided 4 times and then did some sculpting on it. When I generate the displacement map with a mid point of 0.5 the areas where I haven’t sculpted have a grey value of 47% rather than 50%. Can anyone offer any insight into why this is the case? I would like to try and understand it a little more.
Hi @hug03018446!
Please upgrade to the most recent version of Zbrush. This is free for registered users, and we can’t troubleshoot effectively if we have to factor in potential issues with obsolete versions. Plus, you’re missing out on new features and fixes.
Displacement maps in Zbrush are generated for a mesh at a lower level of subdivision, based on the difference between it and a target mesh at a higher level of resolution. My guess is that the difference between the points of the base mesh and the target mesh account for some minimal displacement even in the absence of any sculpting.
Thanks for your reply. I’ll update to the latest version version to see if that elevates the issue I’m having.
The sphere I had made for this test was made in maya and given 4 levels of subdivision. Switching between the low res and high res in zbrush Ididn’t notice a change in silhouette which makes me think it can’t a difference in point position between the high and low, at least not enough to count for the difference.
Thanks.
Managed to solve this but creating a morph target prior to sculpting. Then switching this on just before generating the displacement map.
Just subdividing a mesh will alter its form slightly, at all levels of subdivision, which is why you have to store a Morph Target if generating a map for a piece of geometry that must match a piece of geometry in an external application exactly.
My own tests into your issue showed that a simple sphere with no sculpting will still generate a minimal amount of displacement in the way you describe.
