ZBrushCentral

WIP: Sculpting a fenestrated (perforated) plant in ZBrush — how would you improve this workflow?

Hi everybody, just joined the community.

I’m still relatively new to ZBrush; jumped into it for the first time last year.

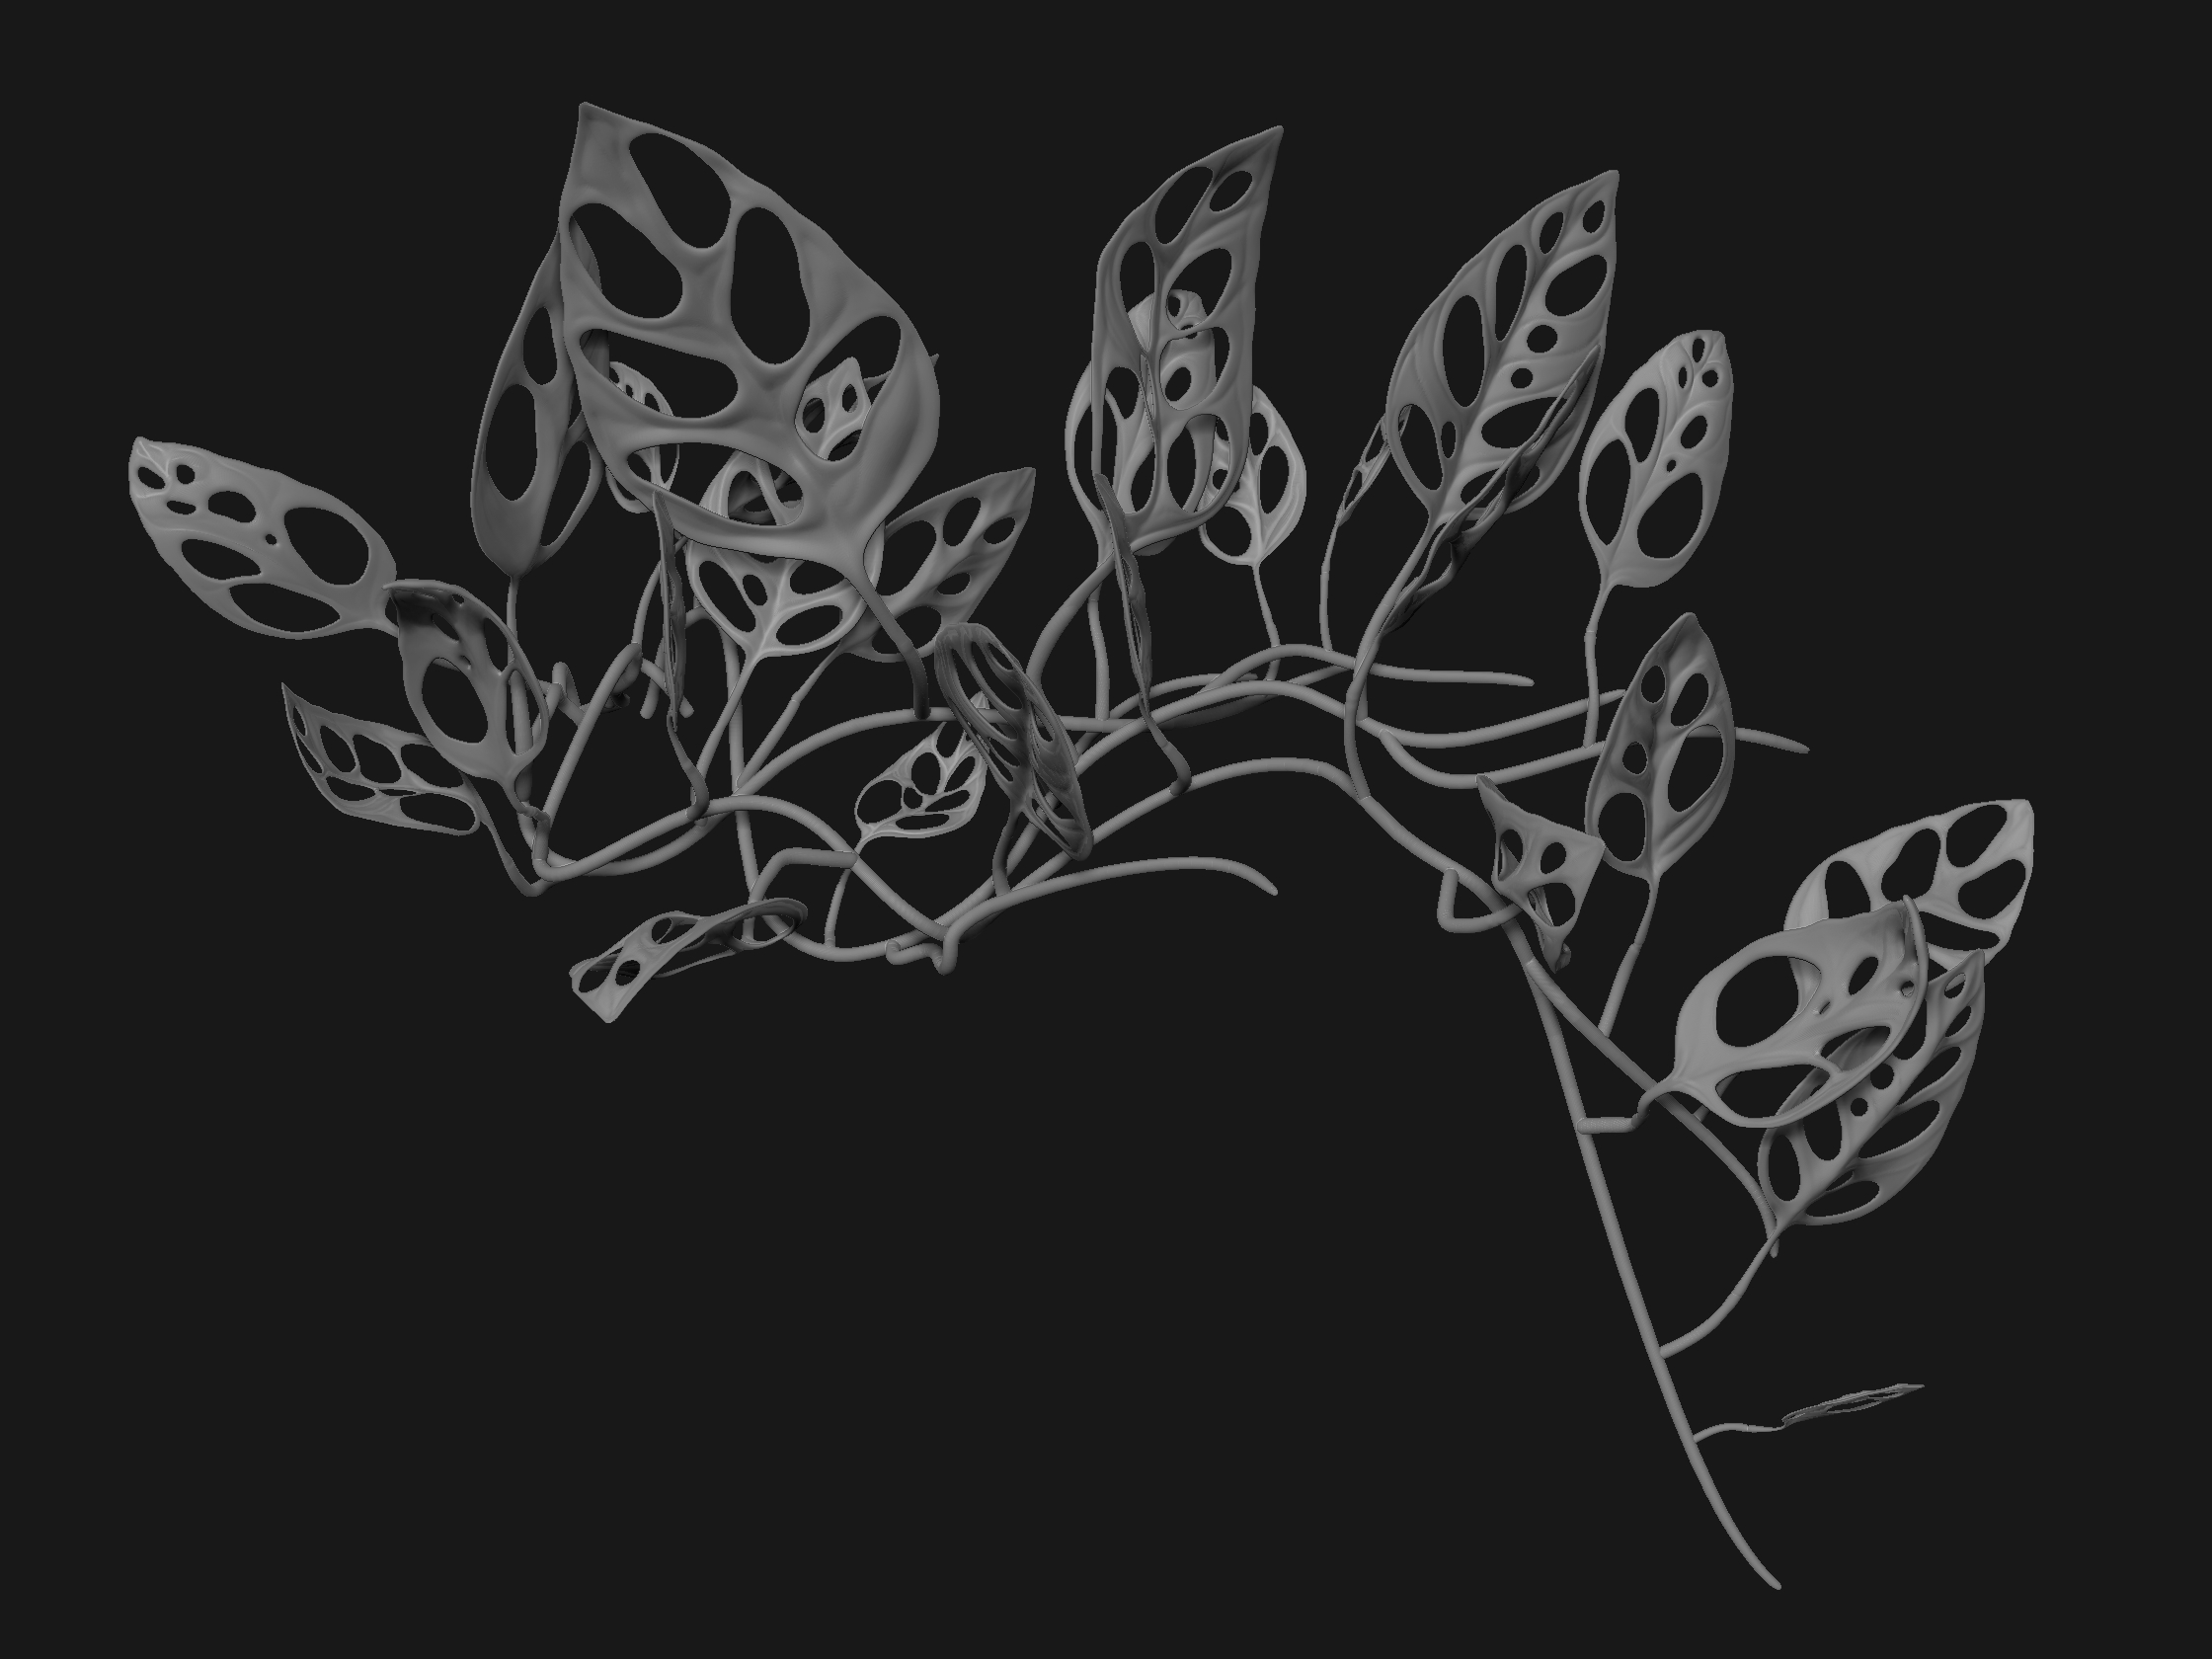
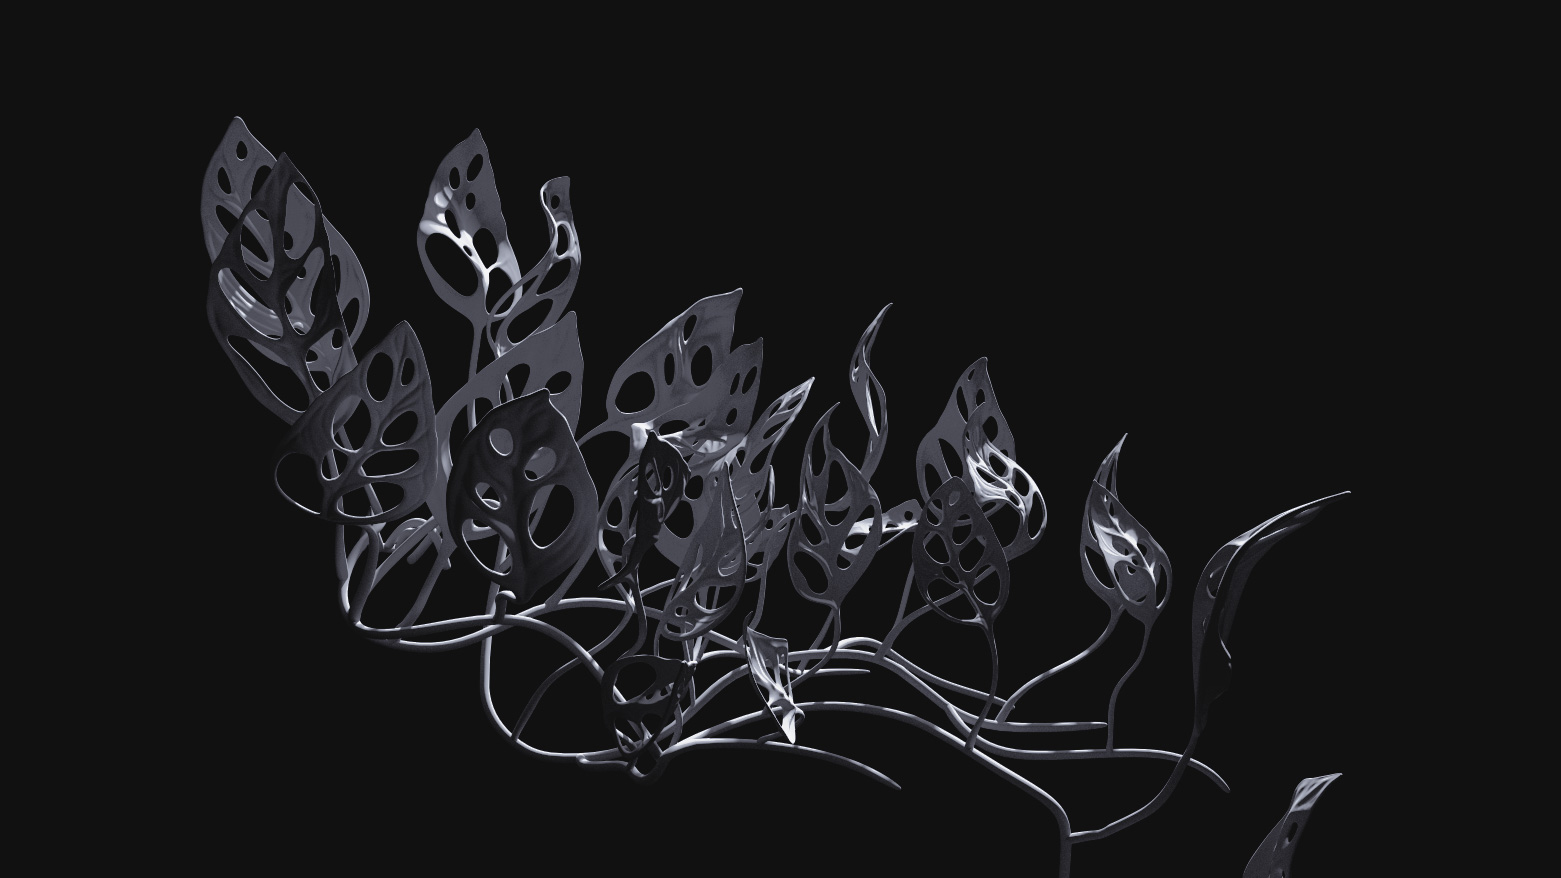
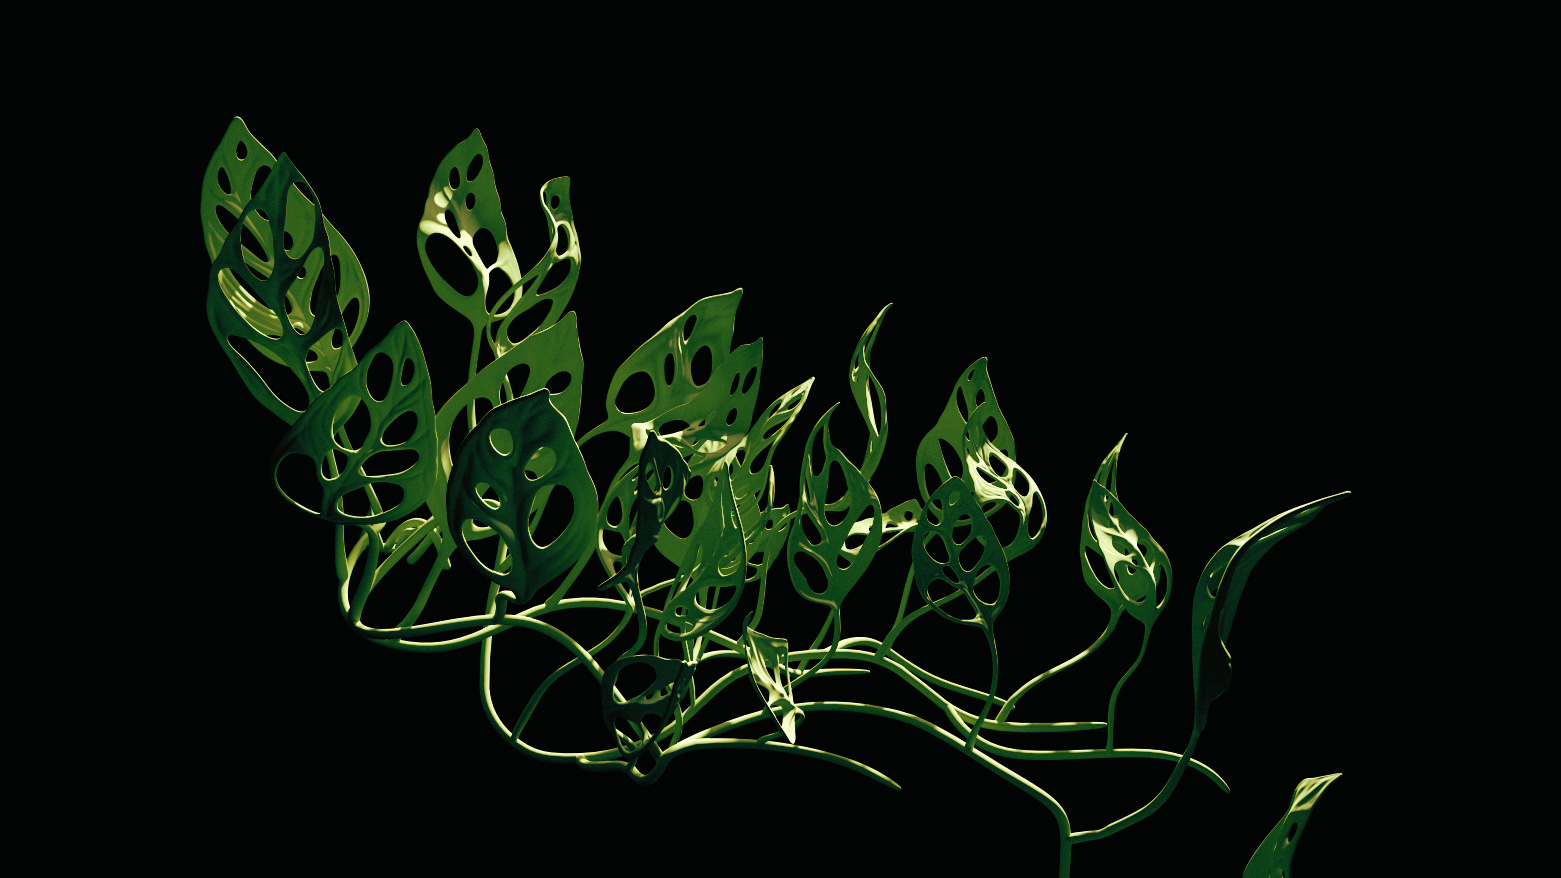
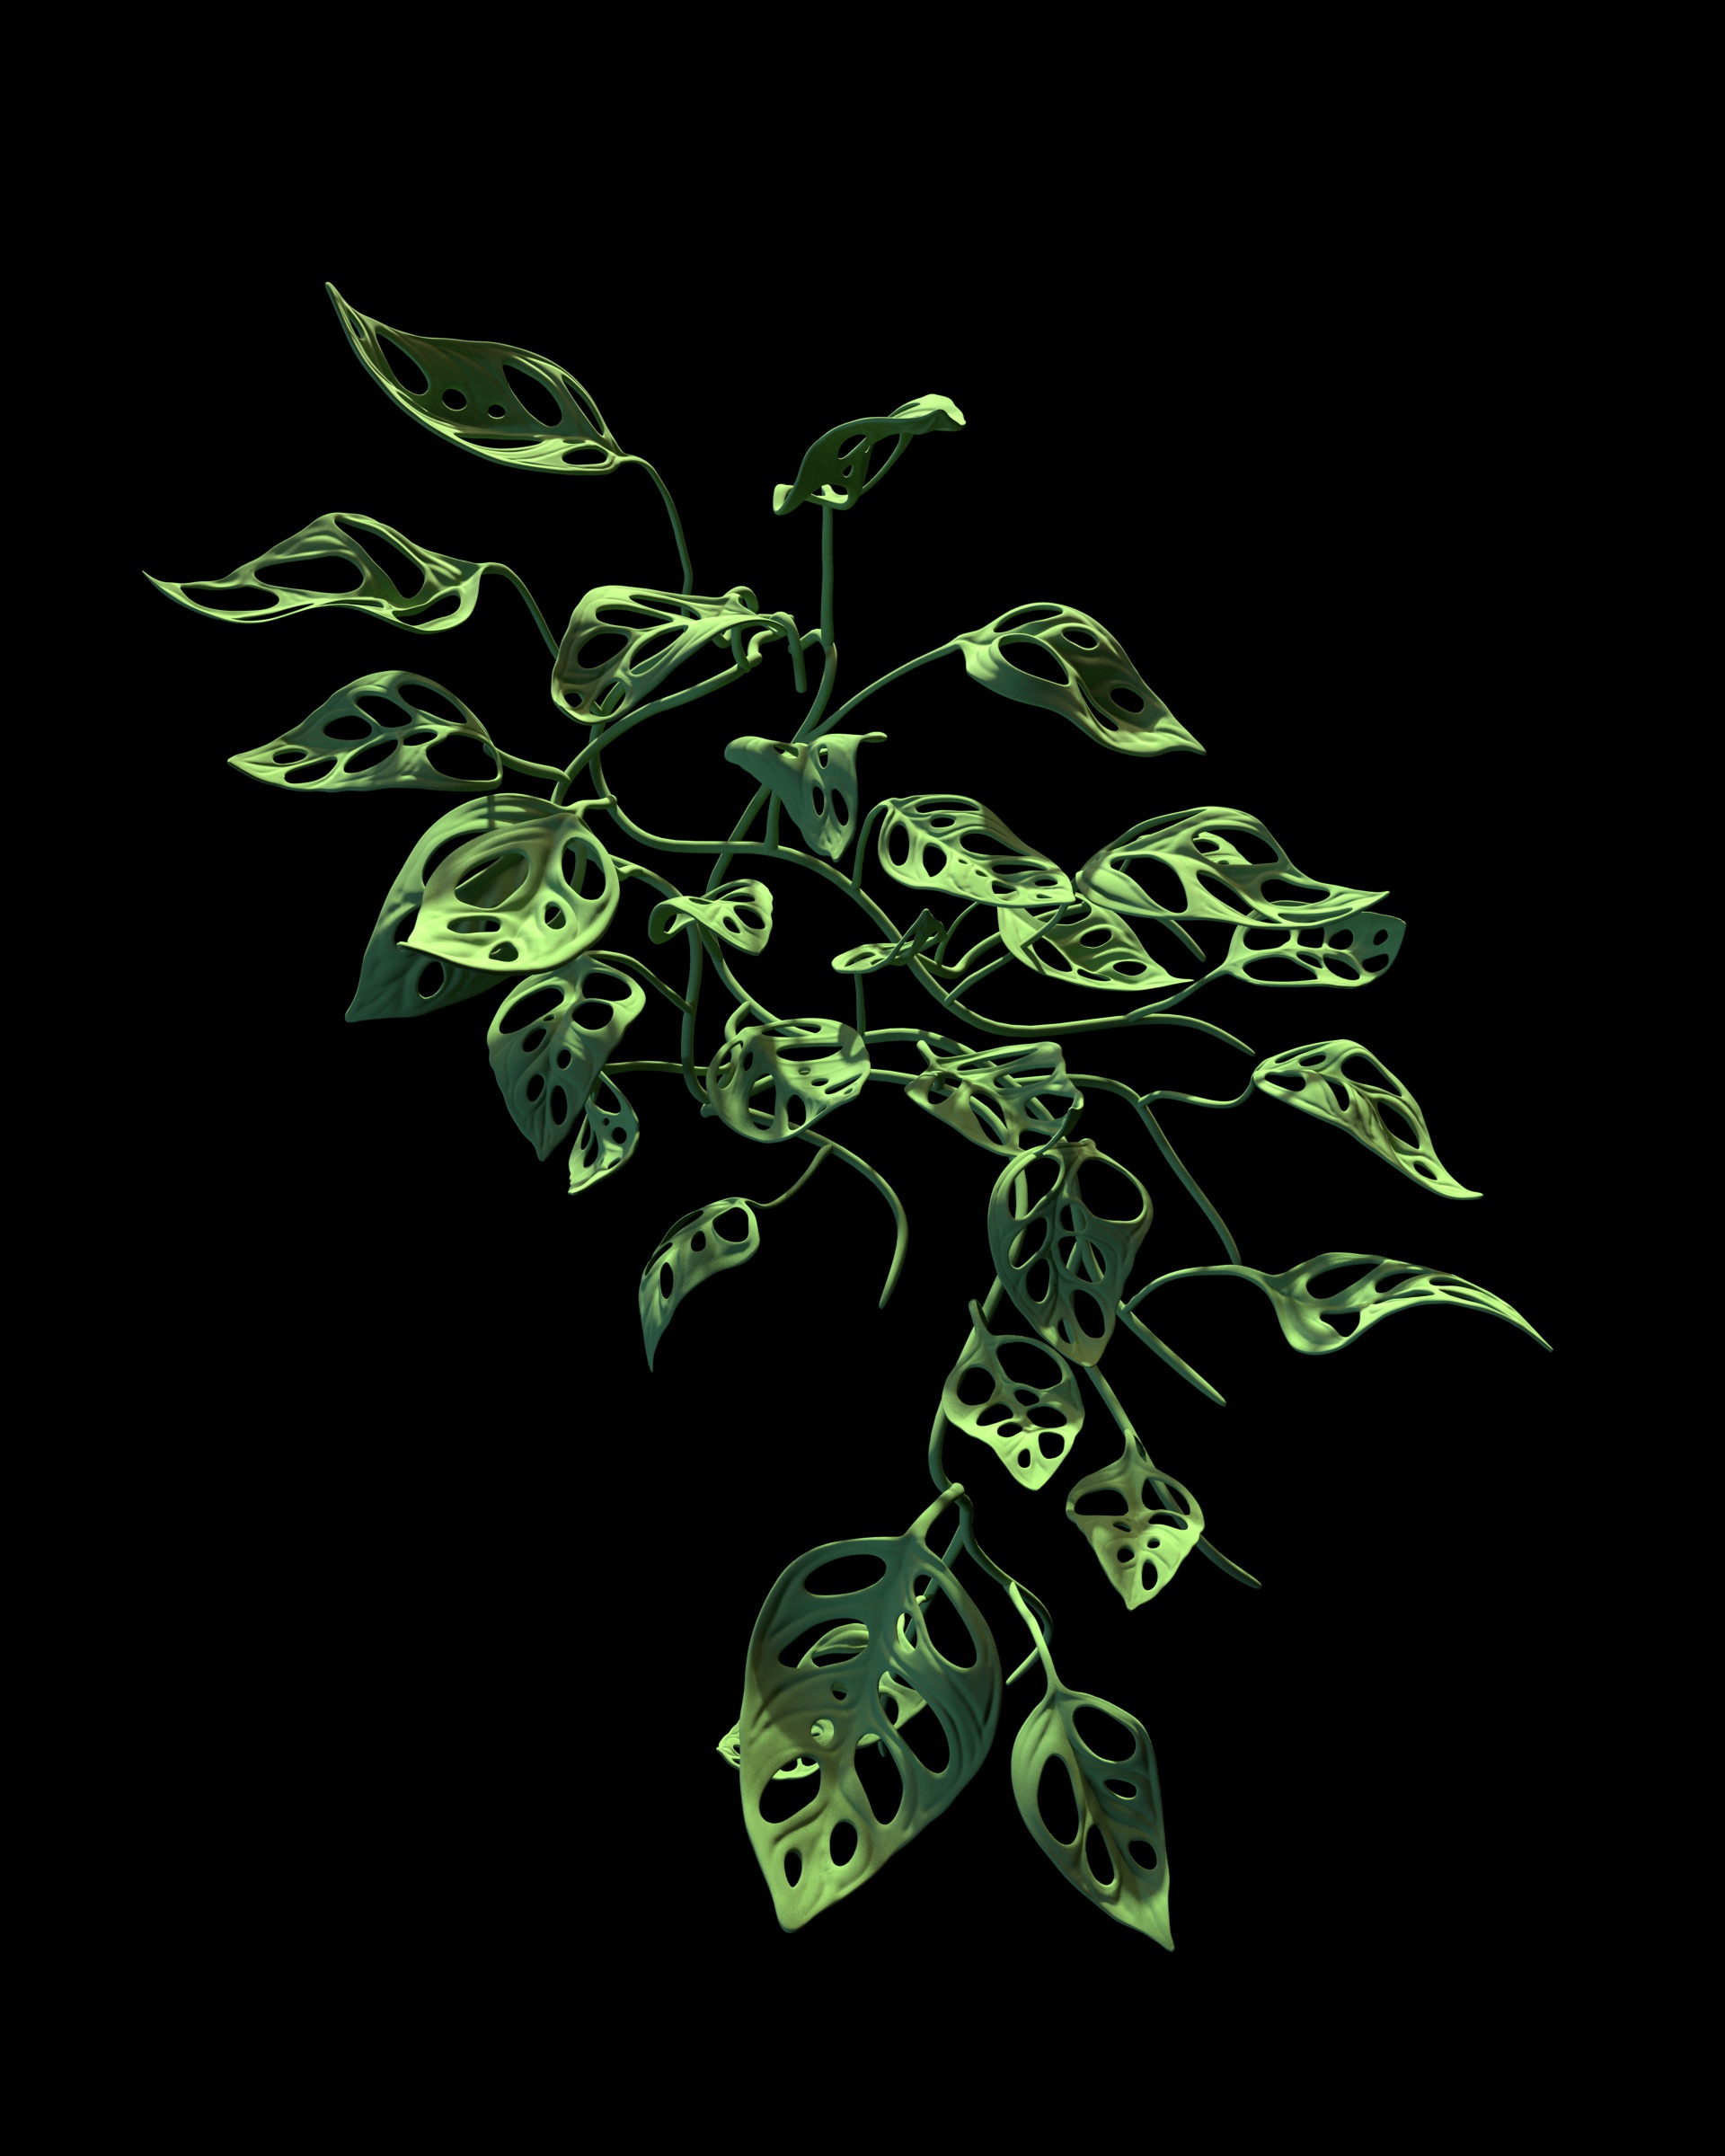
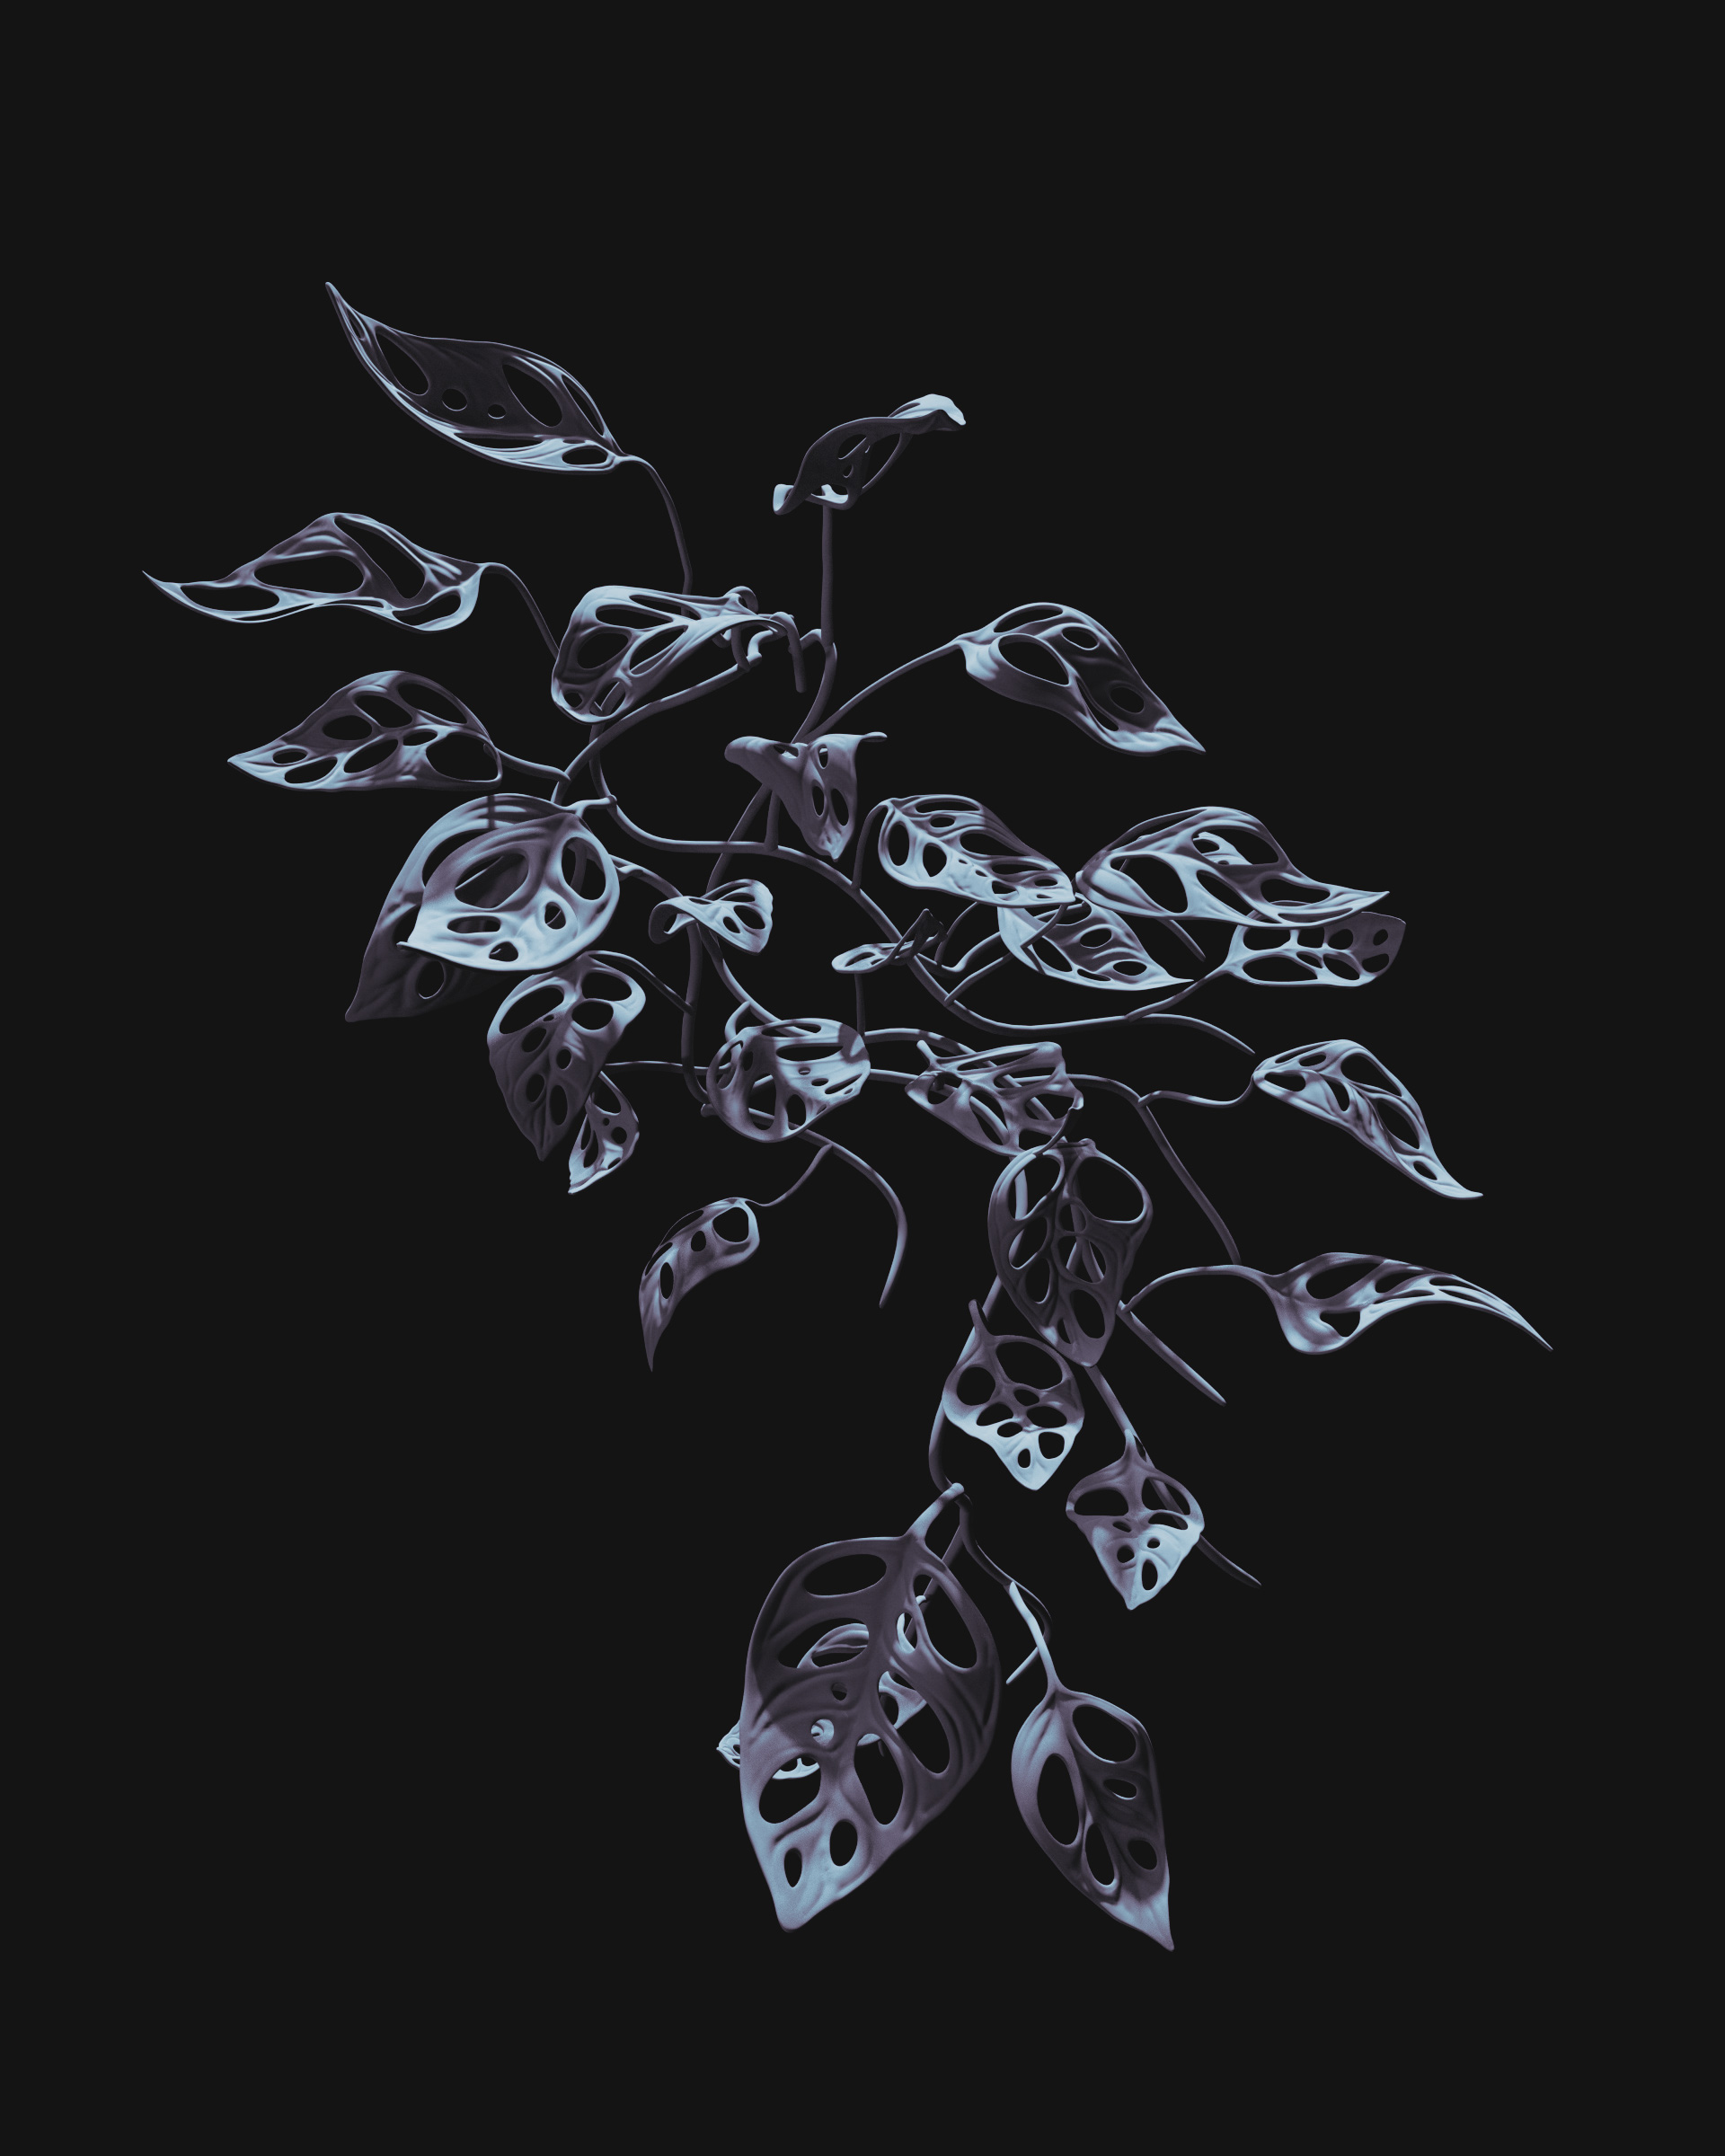
I’m working on a Monstera adansonii vine for part of a scene and… I made a huge mess of it:


PROCESS v01:

  1. Vines made in C4D with splines

  2. Imported to ZBrush via OBJ (very unfortunate that GoZ no longer works properly with C4D R20 & R21; not even with that new 3rd party plugin someone posted to Github)

  3. Made leaves separately in ZBrush (wrote up a whole Reddit post showing trial & error, and effective methods.)

Here’s where everything started going wrong:

  1. Thought it’d be a great idea to make my leaves an IMM. Didn’t realize IMM doesn’t store lower subdivs. F.

  2. Pulled Curve Tubes out of the main vine for the leaves’ petioles. Then attached the IMM leaves to those. Terrible idea: making & shaping a Curve Tube petiole for so many leaves was a ton of work, so I ended up splitting the 5 different leaf + petiole combos into Subtools anyway and copying those all over the plant. IMM was pointless.

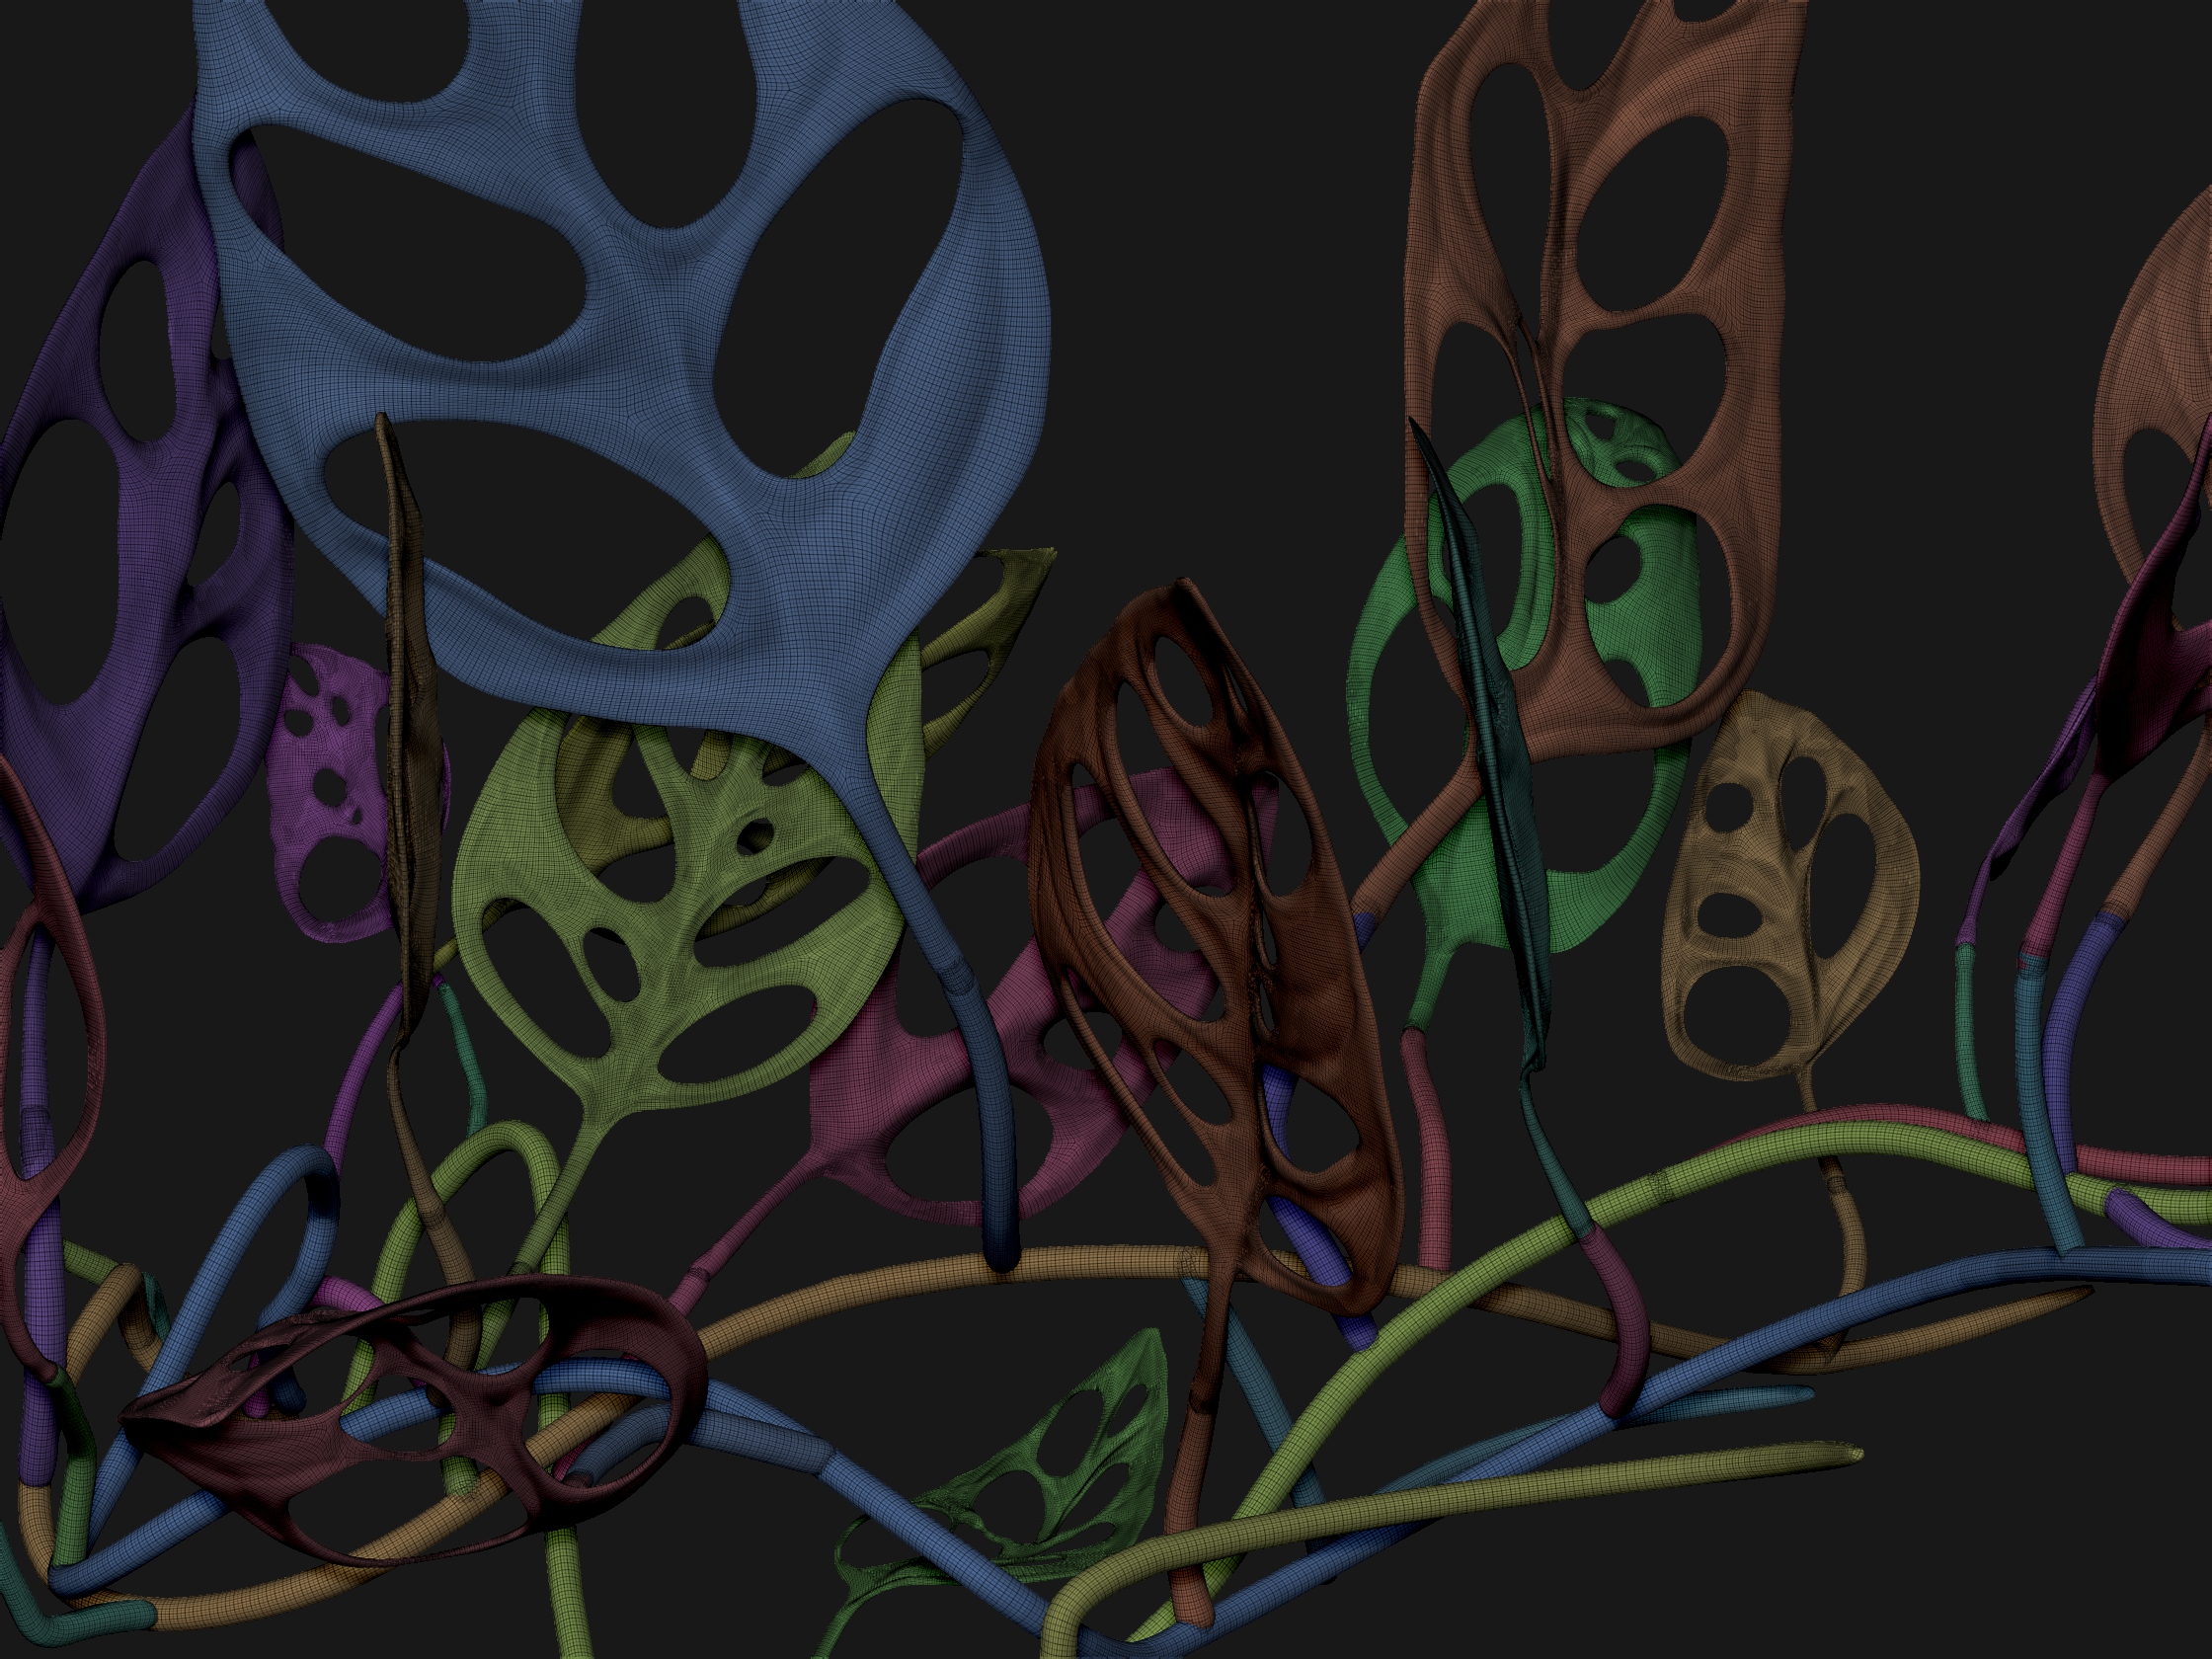
  3. Approaching UVs: this is when I saw that I couldn’t go back to lower subdiv for the leaves. Oops. I don’t care that much about nice geometry & UVs for this (it isn’t going to be animated and really no one will ever see them) so a quick auto retopo would have been fine but…

  4. That is A LOT of models and I didn’t want to do (or remesh) each individually, especially because there are only 5 base model leaves.

  5. Tried merging the whole thing and then everything from Decimation Master to Dynamesh to ZRemesher. None of that worked well; I’m sure you can imagine.

Well… that was a learning experience, I guess. I think I’m going to clean up my geometry and redo the leaf placement entirely.

PROCESS v02:

  1. Go back to the original leaf ZTL and extend the petioles from the leaf geometry itself (Freeze subdiv, pull out, add a few loops)

  2. UV each of the 5 leaf subtools

  3. Re-do all of the leaf placements on the original vine, referencing the merged model above for reference.

Any advice & process tips appreciated! Getting into sculpting with ZBrush was easy but I still trip over myself with the technical aspects like these.

Nice post! I see the workflow steps, and heres some thoughts on things you could try:

  1. Create a stem + leave > apply Bend Curve deformer to pose ( I like this option best)
  • see this GIF below: (Made this example in a quick minute so leaves ARENT shaped as well as yours)

a. DynaMeshed a cylider to a sculpted leave so they are 1 shell > ZRemes it so its low res will make it easy for deformer manipulation. (I didnt do this in the GIF, but make sure the DynaMesh is around 100K points or fewer so the deformer can react quickly. Going closer to 1mil active points may be too slow to manipulate to your liking…but it may not!)

b. Align the stem + leave vertically in Y space

c. turn on Gizmo3D > Click Gear “Settings” > enable Bend Curve
Set bend curve to Y space Axis (Grab the red cone and pull outwards until its green)
Grab the Orange “Curve Resolution” cone and drag outwards to add more points

d. move the points to pose and position

e. click and drag the blue cone to smooth the bend curve deformation effect

f. click Gizmo gear settings > click “Apply”

g. Create UVs and add subdivsions if you need them

  1. Create IMM Curve Brush
    a. Open brush palette > IMM Curve > Select “Vine 1-4”

b. These Vine brushes may need some tweaks to work correctly

c. After selecting them, go to Brush > Modifiers > Turn on Weld Points

d. draw the curve on any mesh to create them

e. Adjust draw size > click on the curve to increase or decrease the geometry size

e. Split the part to separate subtool > repeat for other stems/leaves

*These are just examples to show you can draw a mesh with leaves and stem along a curve, and if built correctly it will weld the parts and create a clean shell. You could use something like this to dynamically draw a curve & leaf at once, and repeat until done

Hope this gives you some ideas! Let me know how it goes if you try it :slight_smile:

Thanks a lot, Solomon!

I’d forgotten about the bend deformer — never used it before but had wanted to try it and learn; this could be the right time for it.

The biggest challenge with my plant are the holes in the leaves: holes + thin geometry mean I have to be careful with topology or it goes bad quickly. Relatively high rez is needed for the holey leaves, whether it’s Subdiv or Dynamesh. But I think I could easily integrate a Dynamesh boolean into your Part 1 steps if I were to redo the leaves entirely (maybe for another project).

Anyway, curious: how did you get such a nice flat leaf from a cylinder?

Redid the foliage; much cleaner now.

There’s probably a smarter process than placing each leaf manually; will think about that next time.

Was fun to try bend deformer but didn’t work for this; created glitchy geometry when I unfroze subdivs. Just used flat leaves and deformed each with plain old Move & Spiral.


Oh my apologies, I didnt explain the leaf creation very well:

  • Draw a mask of a leaf on a PolyMesh3D Plane
  • Subtool > Extract for thickness
  • DynaMesh the Leaf to a stretched out cylinder for stem
  • Live Booleans to apply holes to the leaf
  • ZRemesh the Boolean UMesh result, with a higher ZRemesher “target count” if needed. Increasing the target may or may not be needed to capture the geometry needed to retain the holes shapes, but is there to adjust if needed.

*I see your dilemma with needing a high res surface, but if you follow these steps above, it will produce a nice result as ZRemesher is very good at picking up the shapes from the DynaMesh/Boolean surface in a remesh like this. Once youve done this:

  • Duplicate the leaves into as many as needed (Or repeat the above process to make a few variations)
  • Apply the BendCruve Deformer to pose the leaf & stems
  • Create Subdivisions & UVs if needed at the end

Either way, if youre moving onto a new project I hope this info is useful in the future :slight_smile:

Have a great weekend

Ah I see! Thanks for explaining. I was thinking you’d somehow flattened a cylinder.

That process is actually one of the ones I used to make some of the leaves, or very similar to it (I wrote almost the exact same steps in that Reddit post I linked to in OP).

It works well, although I also liked one other method (also shown in that post) which gave slightly cleaner geometry in the end.

Appreciate your ideas, thank you.

Re-posed the leaves a bit to reflect how Monstera adansonii actually grows.

I’m happy with this now; certainly good enough for the cartoony scene it’s going into.