ZBrushCentral

Useful small ZScripts and Macros for ZBrush 4 & 4R3

Marcus,
When I hit preview, two chains are created. One is a bit offset from the other.

Another program (Modo) has this: you create the chain links, then you duplicate along a curve. Maya and other programs have this as well. Don’t worry to much if this is proving difficult.

I mean - chains are awesome and I think many people would love them. If you can create a way that works, great. The tutorial on the Zbrush wiki has opened a can of worms. After seeing it, trying it, and after your work on this plugin to make that tutorial actually ‘work’, after all of this, I’m not sure the method is better/faster than using Modo or other programs.
Thanks for the effort though.

-B

This is a beta version of Turntable Plus for ZBrush 4RX which I am posting here because some people have found it useful. This will export an image sequence for BPR renders.

For installation, follow the general instructions here:
http://docs.pixologic.com/user-guide/zbrush-plugins/#PluginInstallation

Note that this is simply a first pass and there will no doubt be issues and some things may not work as expected. It does not work with the Timeline.

Instructions:
The plugin works in the same way as before except for some new switches for BPR.

  • Turn on the Turntable Plus>Best Preview Render switch to use BPR
  • You then need to set the little switches to export the different maps
  • After pressing the Render Movie button you’ll get the options dialog. Note that if you are using BPR then the HDGeometry, Image, Alpha & Depth options will be ignored - you need to set these options either through the Shaded, Depth, Mask, etc. switches in the Turntable Plus menu or in the case of HDGeometry, the option in the Render palette.
  • After the options dialog you’ll be asked to save the first file for each of the different image exports. Note that what Turntable Plus calls an ‘Alpha’ is the BPR ‘Mask’.
  • For other BPR Render options, set the options in the Render palette.

Download ZBrush 4R6 version:

Download ZBrush 4R3 version:
Download ZBrush 4R2 version:
Download ZBrush 4 version: here

Attachments

TurntablePlus_4R2_01beta.zip (245 KB)

I created my own import and export buttons that automatically flip the UV’s of .obj’s when they are imported/exported.

I found it really tedious always having to vertically flip my textures and also things like “tool > UV > Morph UV” are a just waaay cooler when your UV’s are oriented correctly.

Ideally I think this should be an incorporated option into the “Preferences Importexport options” There are already a lot of options for flipping textures but not UVs, seems kind odd to me. My scripting knowledge isn’t great enough to have this be a toggle button that would run automatically like the rest of those buttons though… =/

***Anyway, these scripts are meant to be used together as they only Flip the UVs so that your UVs and textures are not upside down in zbrush. ***


Instructions:
simply extract all of the contents from each .zip into your Zstartup/Zplugs folder and then in zbrush under Zplugin you will see a “E” panel – where each of these plug-ins reside.


import_flip_uv_v.zsc
This script opens the import .obj dialogue box and then automatically flips the .obj’s UV’s Vertically for viewing of textures and UV’s correctly inside of zbrush.

export_flip_uv_v.zsc
This script automatically flips the selected tools UV’s vertically then opens the export dialogue box, then flips the tools UVs back again after export. This script is used in conjunction with “import_flip_UV_V” script. If you don’t flip your UV’s back before exporting than your UV’s will be flipped in whatever other application you are viewing your .obj in.

Thanks a lot --E-- !

@ --E–: :cool:
I also always flip the UV coordinates after import or before export (Tool -> UV Map -> Flip V) instead of flipping all the maps/textures to address the problem by the root and not just treat the symptoms.

But I really don’t understand why ZBrush creates/uses UV coordinates in this unusual manner at all!?

And I would actually vote for changing (fixing!) this offbeat behaviour in the next version of ZBrush.

SorinLupu - Glad you can use it :wink:
Phönix - Yes a global fix would be ideal. Or at the very least have it be a set option that you can turn on and always have it on every time you start zbrush like the other “Preferences > ImportExport” options. There are already a ton of options for always flipping your model upon import and export but nothing for flipping UV’s. :confused:

This little plugin gives fixed Y rotation in increments set using the slider.

Unzip to the ZStartup/ZPlugs. Restart ZBrush and there will be a new submenu called Y Axis Rotation in the Transform palette.

Set the Rot Incr slider to the increment you want, as part of a 360 degree turn. So for 45 degrees set the slider to 8. Then press the Rotate button and a model in Edit mode will be rotated by the increment.

There are a couple of issues - the canvas needs to be set at Actual Size. And sometimes the model will flip upside down - this tends to happen when the increments are exactly on 90 degrees so starting just a fraction off the full face on can solve it.

Download Here

[For an any axis version of this plugin see here.]

This macro will initialize ZBrush and then load the Startup Document if there is one.

Simply put the file in your ZBrush 4.0\ZStartup\Macros\Misc folder and then press the Macro>Reload all Macros button or restart ZBrush. There’ll be a new button called ‘Init_ZBrush’ in the Macros>Misc menu.

this not work for me.
it show this error to me.

Attachments

err.JPG

Sometimes you might want to do something to all subtools and would find it useful to have a macro for future use. This example shows how it can be done if you are prepared to edit a macro in a text editor like NotePad.

First of all record a macro of the action you want to apply but just do it with one subtool. Make sure you select the subtool before starting recording the macro and don’t select any other subtool before ending the recording. Save the macro to your macros folder, select a new subtool and test it, to see that the macro does what you want.

Next you’ll need to open the macro file in a text editor. You’ll find it in the ZStartup/Macros folder (or a subfolder of that). Open it up and you’ll see code something like that below. The Gray code is the start and end of the macro; leave that as it is. The bit you need to copy is between the [IConfig,4.0] and the last bracket ‘]’.

 
//ZBRUSH MACRO - Recorded in ZBrush version 4.0
[IButton,???,"Press to run this macro. Macros can be aborted by pressing the ‘esc’ key.",
   [IShowActions,0]
   [IConfig,4.0]
   

  //Copy all the code here and put it in the DoIt routine in the attached macro.


]//end of macro button

Next open the Do All SubTools macro attached to this post. You’ll find the Do It routine towards the top. Paste the code from your macro in the middle of the routine:


[RoutineDef,DoIt,
  

	//put code here 

  	
]//end of routine

When you’re done editing, save the file to the ZStartup/Macros/Misc subfolder and press ‘Reload All Macros’ or restart ZBrush. The macro should then work on any number of subtools.

The attached example macro All Subdiv 3 will set all subtools to subdivision 3 (if possible).

See here for a Visible SubTools Macro.

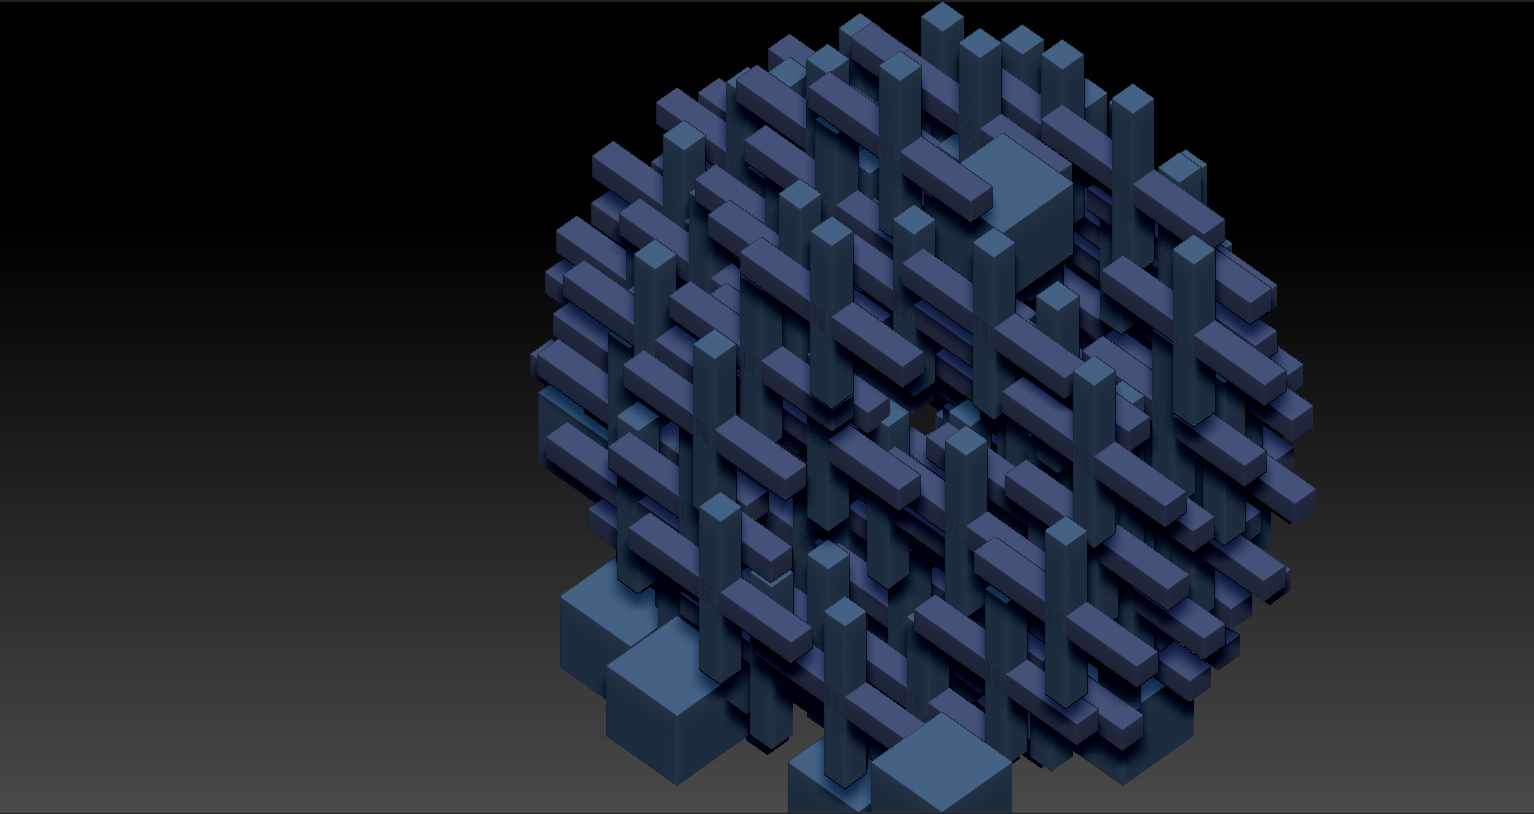
[ATT=245664]Cubics.jpg[/ATT]

Attachments

WIRE_2.zip (19.2 KB)

WIRE_4.zip (19.5 KB)

ARTES.ZIP (295 KB)

circles.zip (142 KB)

Rows_n_Columns.zip (146 KB)

Cubics.jpg

Spheres.zip (331 KB)

I am not sure exactly what your script does seniorpapa ?

Attachments

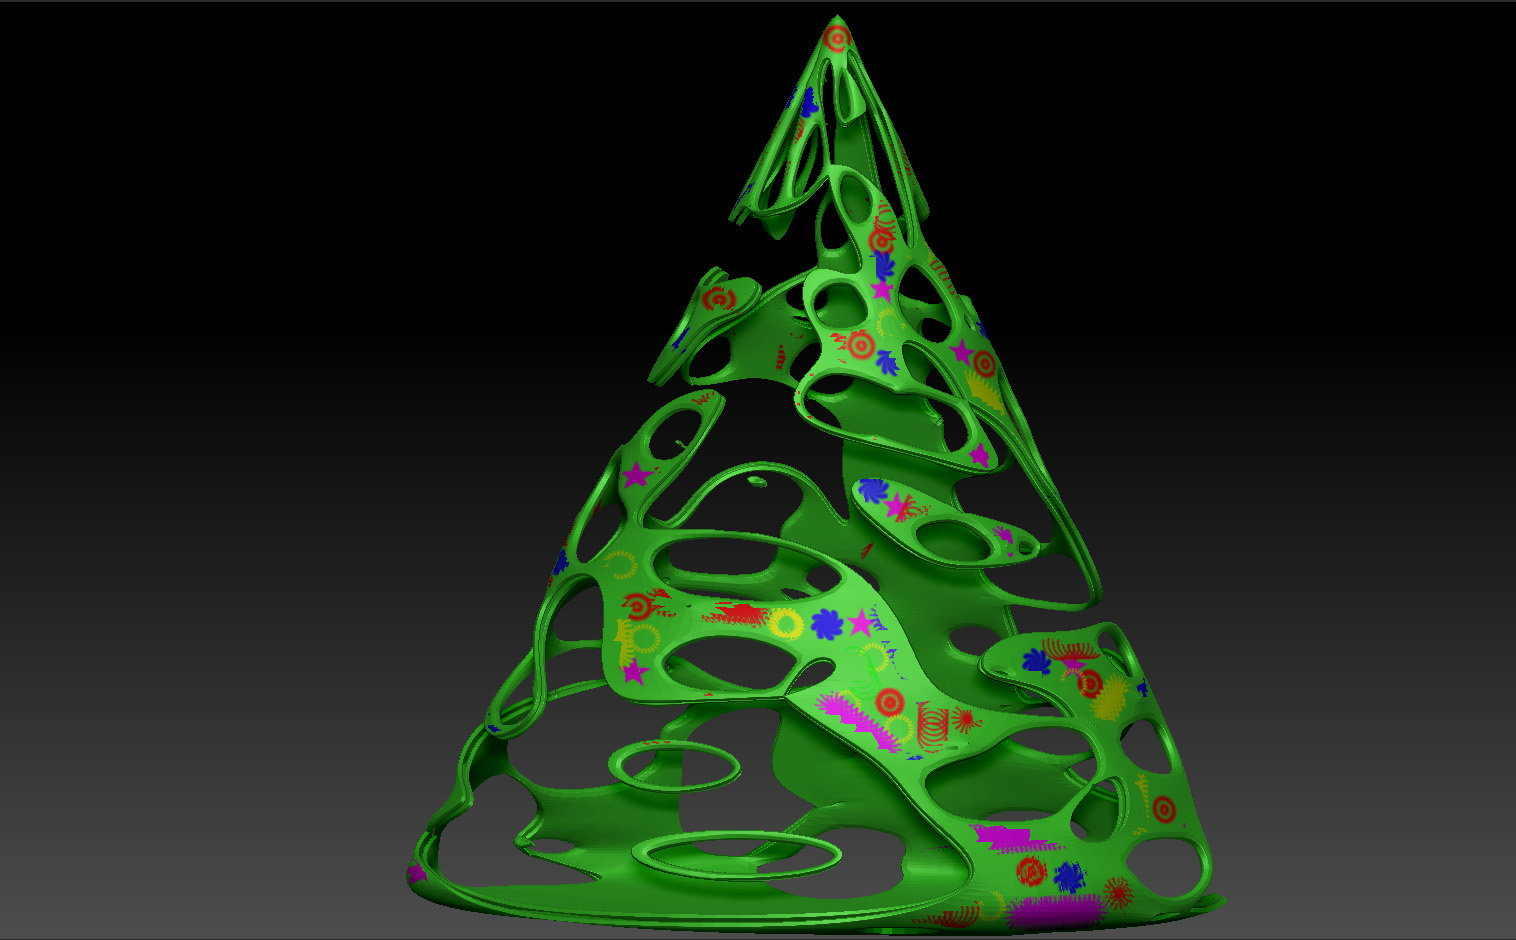
spruce.jpg

Come together Right now Over me

Attachments

Come together.zip (40.8 KB)

Come together Right now Over me.jpg

_antagonism.zip (42.1 KB)

antagonism.jpg

_Boy-n-Gerl.zip (185 KB)

Spheres_91_Boy-n-Gerl.jpg

_Sinus.zip (86 KB)

Rows_n_Columns_new1_SINUS.jpg

_Spheres_97_Row-n-Columns.zip (68.8 KB)

Spheres_97_Row-n-Columns_2.jpg

_Code_Almighty.zip (367 KB)

Code_Almighty_7.jpg

This little plugin will help when you want to embed materials you have polypainted into an existing texture map. This will mean the materials display correctly when the texture map is on the model. (Note: if you are making a new texture map from polypainting you can include materials by making sure the Draw>Mrgb button is switched on before pressing Tool>Texture Map>New From Polypaint.)

Unzip the file and place the Mat2Txr02.zsc in your ZStartup/ZPlugs folder. Restart ZBrush and you will find the Mat > Txr button in the ZPlugin>Marcus Tools menu.

Instructions

  1. Make sure your model is in Edit mode and with the texture displayed on it. The model must be a polymesh to work correctly. If you use one of the ZBrush primitives then it won’t work unless you convert to a polymesh first.
  2. Create a copy of the texture map as a back up by pressing Tool>Texture Map> Clone Txtr and exporting the map from the main Texture palette.
  3. Press the Mat > Txr button.

Notes

  1. Depending on your model’s UVs and the size of the texture map you may find that the UV seams show. You can correct this by using Projection Master and painting over the seams with the relevant material. Make sure only the ‘Material’ option is used in the Projection Master dialogue.

  2. Once materials are embedded in your texture map it will no longer display the selected material. You can reset the texture map by selecting the Flat Color material and pressing Tool>Texture Map>Fill Mat button.

Download here:

Very awesome marcus!

Seamless textures are easy to produce in ZBrush as you can drag the canvas by holding the ~ (tilde) key and the image will wrap around. You can then paint some more and fill any gaps. However there are a few things you need to do to export a perfect tile. This little plugin simplifies the process and will give perfect tiles in most situations [see Notes below].

Installation

  1. Unzip the zip file and put the SeamlessTexture.zsc in your ZStartup/ZPlugs folder.
  2. Restart ZBrush. There will be a new Tileable Texture menu in the Texture palette.

Instructions

  1. Create your texture using the ZBrush canvas. Check that rendering and shadows (if you are using them) are set up to your satisfaction.
  2. As a precaution, save a back up version of your Document.
  3. If you want to use Best render then press the Render:Best button; if you want to use Flat render then press the Render:Flat button, otherwise Preview render will be used.
  4. Press the Texture>Tileable Texture>Create Seamless button.

Depending on the canvas size and render settings the plugin will take a few moments to work. When it has finished the texture will be placed in the Texture palette from where it can be exported. There will also be an alpha of the canvas depth in the Alpha palette, should you want it.

Notes

  • AA Half will not work. If you want anti-aliasing use Render:SoftRGB instead or reduce in Photoshop or another image editor.
  • Some extreme shadows may produce slight artefacts at the image edge/joins.
  • The document dimensions should be divisible by 2. Odd pixel dimensions will be increased/decreased by 1 pixel.

Updated December 23 2011 to enable Flat Render option

Attachments

Texture.jpg

as it is quicker to save\load models when they are in their lower subdiv. Would it be possible to add another button to Svengali’s quicksave plugin that has tool:SubTool:AllLow?

jawa64,

You would have to ask Svengali about that.

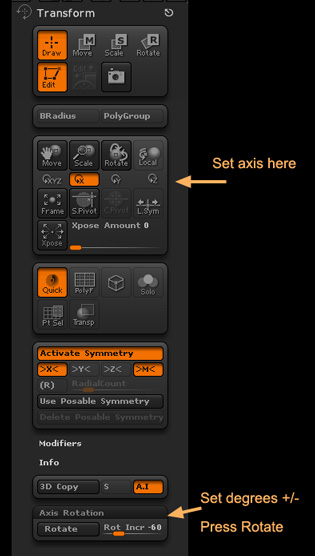
This is a revised version of the Y Axis Rotate posted above. Sometimes you may want to position a model face on but rotated by a set number of degrees - for example, when using the PlanarLine brush to cut a bevel. This plugin will help you do that. It works in much the same way as the Y Axis plugin except for these differences:

  • it will use the rotation axis set in the Transform palette (if XYZ is selected then Y is used as the default).
  • The increment slider can be set in 5 degree increments from -180 to 180 (so that rotation is in either direction).

AxisRotate.jpg

Unzip to the ZStartup/ZPlugs. Restart ZBrush and there will be a new submenu called Axis Rotation in the Transform palette.

Set the Rot Incr slider to the increment you want, in degrees. Then press the Rotate button and a model in Edit mode will be rotated by the increment.