ZBrushCentral

Tutorial: Rendering 32-bit displacements in Renerman for Maya 1.1

skomdra,

Did you open the map in any program other than Maya, such as Photoshop? Have you made sure that the filter mode on the displacement map’s file node is set to off?

If not re-download the zip file from Z-brush central, and start over with a fresh session of Maya. Sometimes during the renderman compilation stage files can be corrupeted resulting in corrupted shaders. Those compiled shaders are saved and re-used to speed up your renders. So, it best to start a brand new session. You also might want to go back through the pdf, and ensure that you followed it exactly.

Hope that helps.

Okay, back to Subsurface scattering in RfM. Here follows a few real world examples, be warned they involve CG nudity, so if you have an aversion to digital boobies, please reverse course now. :lol:

Subsurface Scattering Attributes: Scattering Map: Created automatically when the subsurface scattering renderman attribute is added to a material. rmanSSDiffusePass: Index of Refraction: Max Solid Angle: Smaller values cause more precise but slow scattering simulation. Large values result in low frequency banding artifacts. Scatter Strength: Controls the strength of the SSS effects. Scatter Entry Tint: Controls the color of the incoming illumination. Scatter Exit Tint: Controls the color of the incoming illumination. Scatting Albedo: Controls the diffuse color of the material for the purpose of subsurface scattering. This attribute is color that is added to the existing diffuse color. This attribute works like that of any other ambient attribute on traditional Maya materials. Scattering Free Path: Controls how far light penetrates the material before being reflected. Scattering Filter Scale: Conrols the scale of the filter used during brick lookups. Test Examples: No Subsurface Scattering Attribute added: [[img]http://img80.imageshack.us/img80/8903/blinnonly4pz.jpg[/img]](http://imageshack.us) This is mesh is a 2,700 poly model displaced to around 500K polys. No maps or sss attributes have been added; just a simple Blinn shader for reference purposes. Default Subsurface Scattering Attribute: [[img]http://img80.imageshack.us/img80/381/blinnwithdefaultsssatributesad.jpg[/img]](http://imageshack.us) Color Map: None Scatter Strength: 1.0 Scatter Entry Tint: R: 1.000 G: 1.000 B: 1.000 (white) Scatter Exit Tint: R: 1.000 G: 1.000 B: 1.000 (white) Scatting Albedo: R: 0.500 G: 0.500 B: 0.500 (50% gray) Scattering Free Path: 10.00 Scattering Filter Scale: 1.00

The same as the last image really, I’ve only added a Renderman SSS attribute to the mesh. No tweaking, simply the default values.

Color Map and Default SSS Attribute: [[img]http://img80.imageshack.us/img80/7414/colordefault0gq.jpg[/img]](http://imageshack.us) Color Map: Yes Scatter Strength: 1.0 Scatter Entry Tint: R: 1.000 G: 1.000 B: 1.000 (white) Scatter Exit Tint: R: 1.000 G: 1.000 B: 1.000 (white) Scatting Albedo: R: 0.500 G: 0.500 B: 0.500 (50% gray) Scattering Free Path: 10.00 Scattering Filter Scale: 1.00

Okay for this render I mapped a photo-realistic texture to the Blinn’s color attribute. As you can see the default sss shader is washing out the map. This is because of two reasons. First the tint values have a default color of white, so we have white light reflecting off the mesh’s surface. Meanwhile, the albedo attributes color defaults to 50% gray. which is essentially multiplied by the texture map darkening it. Yes, indeed lots of room for improvement.

SSS Attributes with Modified Tint Values and Albedo: [[img]http://img33.imageshack.us/img33/9747/tintalbedowhite8lm.jpg[/img]](http://imageshack.us) Color Map: Yes Scatter Strength: 1.0 Scatter Entry Tint: R: 1.000 G: 0.850 B: 0.850 Scatter Exit Tint: R: 1.000 G: 0.800 B: 0.700 Scatting Albedo: R: 1.000 G: 1.000 B: 1.000 (white) Scattering Free Path: 10.00 Scattering Filter Scale: 1.00

Okay for this render I’ve deleted the color map to better show the effects of tints and albedo. The tints have been modified to a suitably fleshy color. You can also see the effects of changing the color of the albedo attribute. Essentially, whatever color the albedo is set to is mutiplied by the meshescolor value. Here I’ve changed the albedo color to white.

Color Map: Yes Scatter Strength: 1.0 Scatter Entry Tint: R: 1.000 G: 0.850 B: 0.850 Scatter Exit Tint: R: 1.000 G: 0.800 B: 0.700 Scatting Albedo: R: 0.500 G: 0.500 B: 0.500 (50% gray) Scattering Free Path: 10.00 Scattering Filter Scale: 1.00

Here I’ve changed the albedo color to 50% gray.


Color Map: Yes Scatter Strength: 1.0 Scatter Entry Tint: R: 1.000 G: 0.850 B: 0.850 Scatter Exit Tint: R: 1.000 G: 0.800 B: 0.700 Scatting Albedo: R: 0.000 G: 0.000 B: 0.000 (black) Scattering Free Path: 10.00 Scattering Filter Scale: 1.00

Here I’ve changed the albedo color to black. Notice that the SSS effect is now completely blocked out.

Modified Tint and Mapped Albedo - No Color Map
:

[[img]http://img291.imageshack.us/img291/9864/mappedalbedo5jj.jpg[/img]](http://imageshack.us) Color Map: None Scatter Strength: 1.0 Scatter Entry Tint: R: 1.000 G: 0.850 B: 0.850 Scatter Exit Tint: R: 1.000 G: 0.800 B: 0.700 Scatting Albedo: mapped Scattering Free Path: 10.00 Scattering Filter Scale: 1.00 For this render I mapped the albedo color attribute with my color texture. Note how the light bleeds through the lighter areas of the texture but is blocked by darked areas of the texture. This effect is very useful, by mapping the albedo attribute with your color map, you can control the scattering effects with precision. The dark areas such as moles, tatoos, eyebrows, etc; won't have light reflecting out of them. The effect is still not there though as allot of the color maps details are being washed out by the scattering effect.

Modified Tint / Mapped Albedo / Color Map:

[[img]http://img30.imageshack.us/img30/1701/scatterstrength101tr.jpg[/img]](http://imageshack.us) Color Map: mapped Scatter Strength: 1.0 Scatter Entry Tint: R: 1.000 G: 0.850 B: 0.850 Scatter Exit Tint: R: 1.000 G: 0.800 B: 0.700 Scatting Albedo: mapped Scattering Free Path: 10.00 Scattering Filter Scale: 1.00

Okay, now this is more like it. I’ve mapped the color attribute of the Blinn and mapped the albedo with the same photo-real texture. The albedo map is controlling the scattering effects, while the color map has brought out the textures details. However, the SSS effect appears to be a touch to strong.

[[img]http://img30.imageshack.us/img30/7348/scatterstrength090wg.jpg[/img]](http://imageshack.us) Color Map: mapped Scatter Strength: 0.9 Scatter Entry Tint: R: 1.000 G: 0.850 B: 0.850 Scatter Exit Tint: R: 1.000 G: 0.800 B: 0.700 Scatting Albedo: mapped Scattering Free Path: 10.00 Scattering Filter Scale: 1.00

Here’s the final render. Its the same setup as the previous render, except that the scatter strength has been reduced from 1.0 to 0.9. That’s it, at this point the SSS is dialed in; you could ofcourse go further in the texturing process adding a bump or normal map; or adding reflection and specular maps.

I hope you found this helpful.

Okay, I’m back with a new tutorial on Ambient Occulsion in RfM. Unfortunately due to size restrictions on the file we can upload; I had to break it up into two parts. So “Rendering Ambient Occulsion” teaches you the basics, and “Rendering Displacement and Occulsion” teaches…well displacement and occulsion. :rolleyes: So, here ya go. Enjoy! :smiley:

Edit: I forgot to add this bit to the .pdf’s.

Optimizing Occulsion in RfM:

You can also bake out your occulsion as a 3D brick map and reuse that during an animated sequence; which saves a great deal of time. To bake the occulsion open enviromental light in the attribute editor. Click on the connection button next to the bake parameter. Render the current fram in IPR, which will store the occulsion as a baked map. Once done, select the enviroment light and got to the new tab in the attribute editor called rmanRenderGlobalDiffuse3dPass. Set the following attributes: set phase to once per job, turn off cull backfacing and cull hidden, switch the caching behavior from compute to reuse. Your baked occulsion will now be reused for all further renders.

Hey Enigma, was reading your run down on SSS in RFM, very cool, quick question have you had any problem mapping to other channels such as the SSS strength, cos when i do i get an error:-
Error: rman Error: T02001 Can’t open texture

Im using a tif, and have even tried converting it to a .tex with txmake, but no joy there.
any ideas.

Hi,

Your correct the strength channel in can not be mapped. However, the effect your looking for can be easily achieved by mapping the albedo channel. The strength attribute is similar to the weight channels in Mental Rays Misss. Its a global controls for the over all strength of the effect. So you really wouldn’t want to map it. Albedo is most likly what your looking for, it works like the overall color attribute in MR. When you map the alebedo your controlling how much light is allowed to be refected. Just slap a gray-scale map or desaturate version of your color map and your good.

Now if that’s not enough control over the effect you could plug a layered texture node in to the albedo channel and blend different texture maps. Or your could plug your base material into a layered shader and use multiple blinn shaders with mapped RfM SSS attributes. Go crazy. :lol:

Thanks for that Enigma, strangely I’m getting the same error for some reason when i try map the albedo channel, and whats even stranger is it seems to be doing 3 sss passes b4 the actual final render.
My texture is just a tif, with a lttle orange color for the parts i want the sss effect to come through on.

I would start a new scene and create a brand new material. Sometimes renderman for maya will reuse old brick maps and shaders, which can definitely cause problems. Heck, it often hangs during the shader conversion. You could also try posting on the Pixar’s support forum.

lets say you dont have renderman for maya, but you have maya. is there any way you can render out a 32 bit displacement map? does it work with mental ray or turtle or some other render?

joyster

enigma, your rman4maya tuts worked great man! rman for maya blew away my mray attempts.
i only had one problem with rman4maya that worked fine in mray, that was when i render my ambient occlusion pass in rman4maya with displacement it looks great, but if i add my 4k bump map to that same shader it causes black sections in the render, kind alike pinching or penetrating geometry. this didnt happen to my same render in mental ray. i dont ahve any filter on the bump map just that one that shows up under 2d attributes bump filter (on the bump node) its set to 1.

any idea what is causing this? i can upload pics if you need thanks bro!

  • D

I forgot to add that for ambient occlusion the min value is at 1, max distance is 1000, set to samlpes samples are 1024. shading rate is 1.0

basically i did the max settings used in your tutorial.
:slight_smile:

hey,

using renderman for maya to do some displacment blend stuff,

I have to use a ± node, and as i cant get these to work period in renderman F maya, I have to use a layerd shader, only when i pass a 32 bit displace through one of these it looses quality and definition… any ideas??, any other way of doing this with a different node???

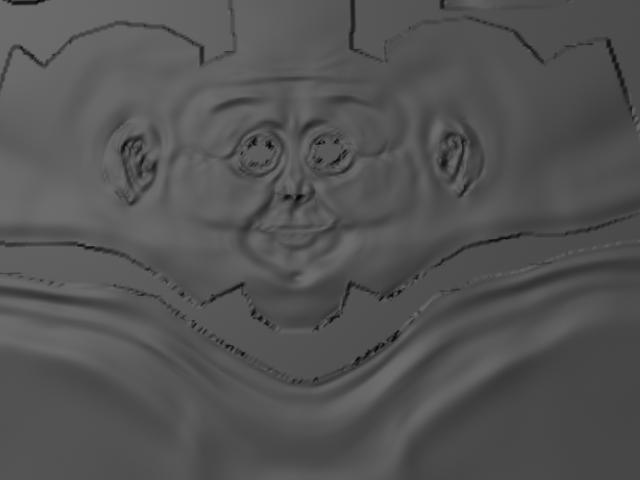
this first one is what it should look like, and the second is what it looks like after going through a layerd shader on its own.?!

Thanks for any help.

[flat_pack_01.jpg](javascript:zb_insimg(‘31272’,‘flat_pack_02.jpg’,1,0))
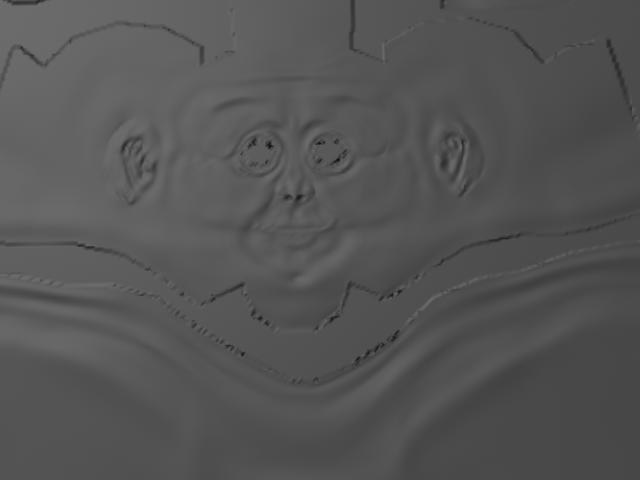
Attachments

flat_pack_02.jpg

Ok, I know now what the porblem is, but still unsure as to how and fix it… The alpha gain and offset is going walkies, as i tried changing this, and it made no difference in deformation… any ideaS???

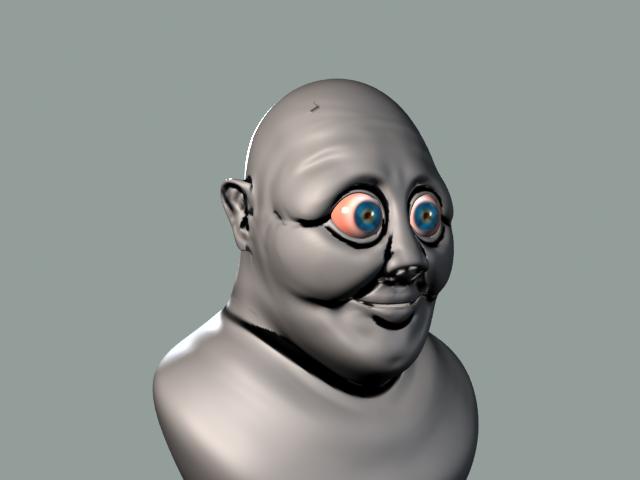
here is a shot of a render, the didplacment is working fine just i am getting these horible black cut outs around the place (it is not around my uv seams),… any light atall would be ace :smiley:

(this is only happening after its gone through a layered texture, which i need to add the base with the difference map)

oh and why are these marks not showing up when i render shader on a flat plane?

many thanks

[quality loss.jpg]

for the last problem, try adding trace bias to the mesh. Read the .PDFs it’s in there. It recommended 0.1 trace bias though sometimes I find that is not enough to make these black holes gone. Seems to need a little experimenting to get the exact value.

cheers feureau, but its not curing my problem :/, it is totaly due to the layerd texture node i am using, just cant figure out any other way of performing a subtract or plus (as average node does not work within renderman), even using a multiply divide causes the same gitch.
very frustrating!"

ok, solved my problem,…

When you put a displacment through a multiply divde layerd shader or average, the alpha depth and offset info is lost, to solve this put the same values in the colorGain, and colorOffset. This will then remain after passing through these other nodes.

I am having a different problem now with exporting from zbrush. Maps are not rendering, (renderman gives up before its started), says render time 1 second, but nothing shows. Any ideas??, I will post an explanation when I figure it out.

Thanks
Seb.

ok no worries, fixed it.

Was a bit stupid this time :rolleyes:

was using smooth in the displace exporter, rather than having smooth uv turned on in the generic displace exporter. Did not reliese that these controls work in conjunction, but they do!

For some reason this was making the renderman renders fail 90% of the time. After changing this they work perfectly!.

Will make a displament blendshape tutorial for maya if any one is interested?,. Now that I have it all working. posted one before, but has changed alot since then./ shout if you do!.

Thanks
Seb.

Hi Seb,

A tute on displacement blendshapes would be cool. I have started to use the trail edition of renderman and find very good although my paint FX look crap but other than that its very fast with quality results.

Cheers

Hi, i have the same problem, but i don’t know why. This happen when i transform my poly in subd.
It’s strange help please :wink:
test.jpg

I have the same issue Its the UVs forsomereason the conversion from poly to SubD messes up your UVs. I dont know a way around it I’d like to hear an answer if anyones got one though.