Hi gang!
I’m well aware these forums are more used for artwork rather than conversations but I still hope this can give some of you a few ideas. I’d also like to share my appreciation to be a part of the ZBrush community, I just started using it and it honestly blows my mind to learn of all the amazing stuff you can do!
Photoshop connection
As you probably know ZBrush can use Photoshop CC ‘out of the box’ through use of the “ZBrush To Photoshop” ZPlugin. All nice and well but Photoshop CC can only be used if you have a subscription with Adobe. And quite frankly I think that hiring software is a very bad idea: you pay a lot of money and basically end up with nothing. Maybe some artwork, sure, but you’ll no longer be able to work on that once your subscription ran out.
Photoshop Elements
A possible solution? Photoshop Elements (“PSE”)! PSE is a trimmed down version of Photoshop which you can get through a perpetual license. In other words: pay once and use forever, and it’s honestly not all that expensive (around E 99,-). While it doesn’t provide all of Photoshops specific features it’ll still be perfectly usable for common tasks, such as creating textures for example.
On a sidenote it’s also perfect for maintaining your photo or image collections through use of the Adobe Organizer, but that’s a little beyond the scope of my post.
ZAppLink
See, the reason I’m sharing this is because I just learned that PSE can be easily used with ZBrush through use of ZAppLink so I figured I’d share…
- Open the Documents panel and click the ZappLink button at the bottom.
- In the now open dialog click “Set Target App”.
- Browse to: x:\Program Files\Adobe\Photoshop Elements 2021 where you’ll find the “PhotoshopElementsEditor.exe” program, select this.
** ‘x’ refers to the drive where you installed PSE, and also don’t be fooled by the icon(s) which you may find in the Photoshop sub-folder.
*** Also keep in mind that you only need to select the application once. - Now, when ready, click the “DROP NOW” button (normally you’d click this immediately).
And done, now you can paint / change parts of your ZBrush project in PSE.
Examples
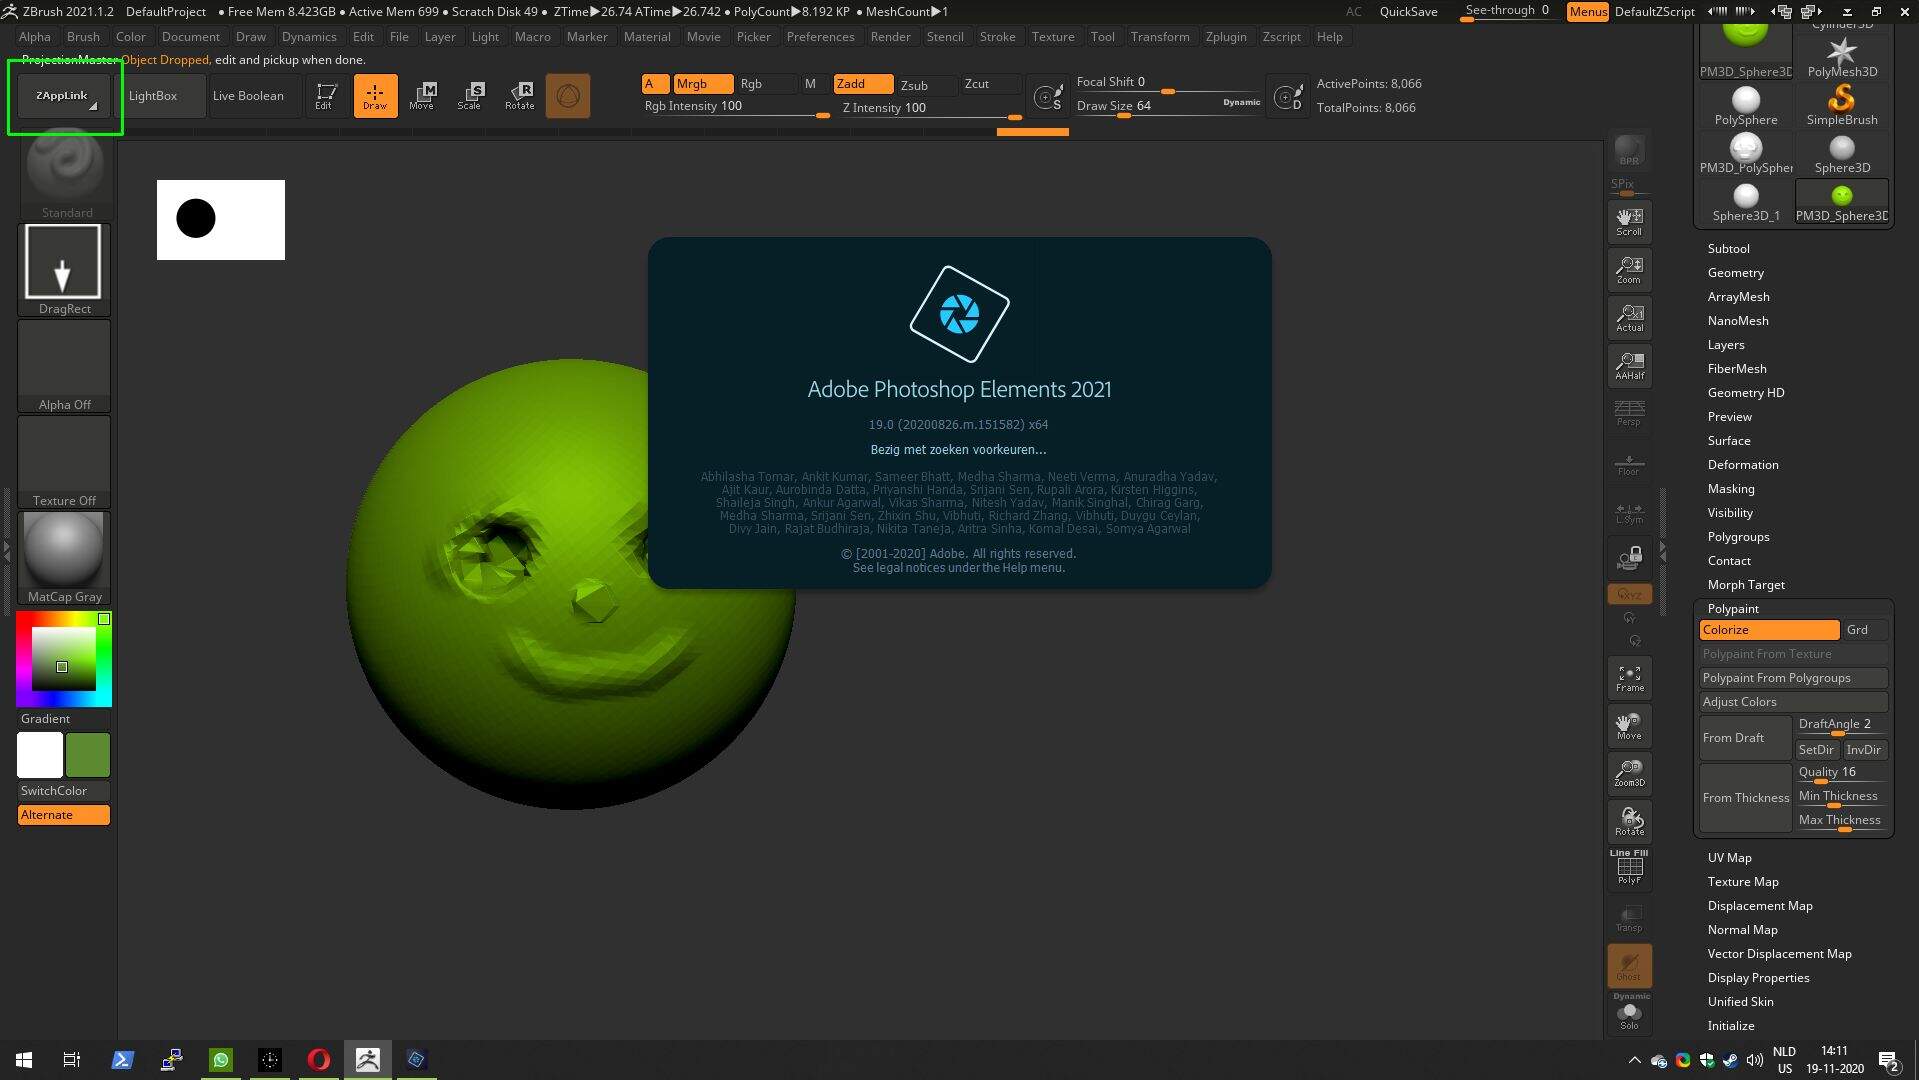
As you can see I edited my interface and replaced the ‘Homepage’ button with the ZAppLink. I’ve created a silly looking sphere and then “dropped” my project onto PSE, which is now starting.

So here I have my “silly sphere” and also opened the PSE logo. I then used the magnet selection and copied the logo onto my sphere. Warning: I’m still working with an extra layer here in order to position the logo. But you can’t add layers to the image and expect ZBrush to pick up on them. So… prepare to merge where needed!
When you’re done simply save your work and overwrite the document (by default this is called “TempZAppLinkExport.psd”). Then either close PSE or switch back to ZBrush. If you don’t see anything special be sure to use the “re-check” option, you should now see a new option which allows you to “re-enter ZBrush”:

And here is the result of my hard work 
Of course the logo isn’t clearly showing because my mesh was using a much lower resolution but that’s besides the point here. Still, it’s something you definitely should keep in mind.
In conclusion…
If you also don’t like the idea of having to pay Adobe a monthly fee just to use Photoshop CC then I think you’ll find a worthy substitute with Photoshop Elements. And might I be so bold and suggest that you also consider the Premiere Elements as well (both can be grabbed in one ‘suite’)? Premiere is used to make and edit movies, but even if you have no movie (or Youtube?) aspirations you can still use Premiere to make some really impressive photo collages (for example).
Of course this method works for any other image editor as well (like Gimp for example). The reason I mention this one though is because many PSE users aren’t even aware that you can start the editor (or Premiere and/or the Organizer) without going through the welcome screen which you get to see by default.
And there you have it, I hope this was useful for some of you. Thanks for reading!