ZBrushCentral

The Gardner

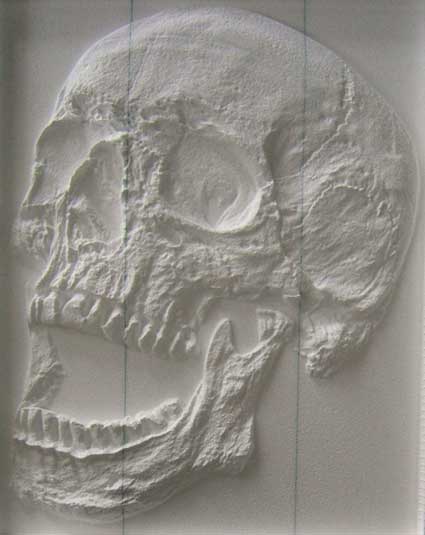
John, The skull looks great. Are you putting polyurethane hardcoat on it? If so, To bad you aren’t going to clay-up and mold…the level of finish you are getting on your molded work is amazing.

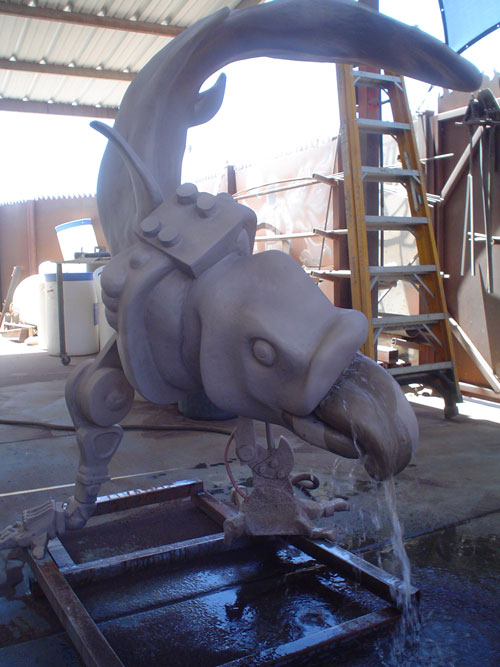
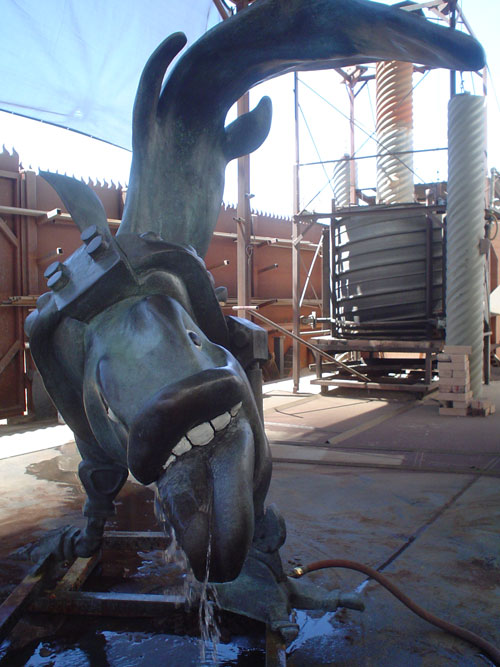
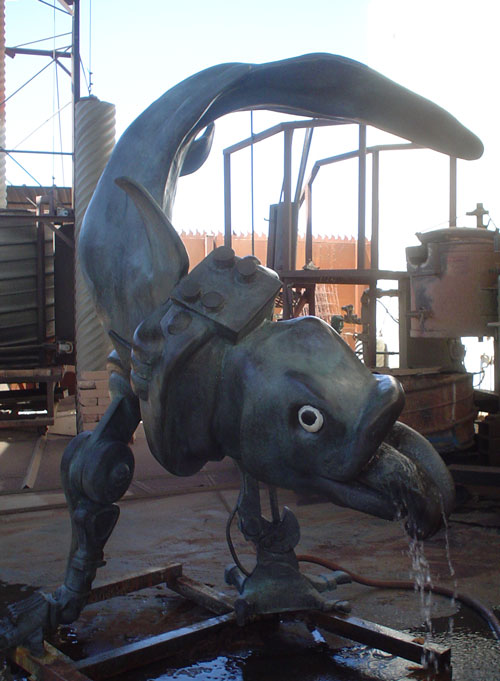
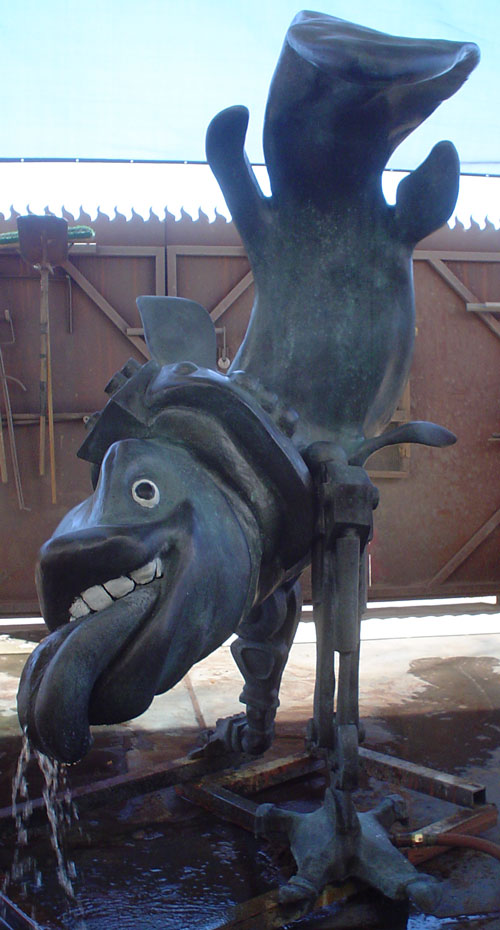
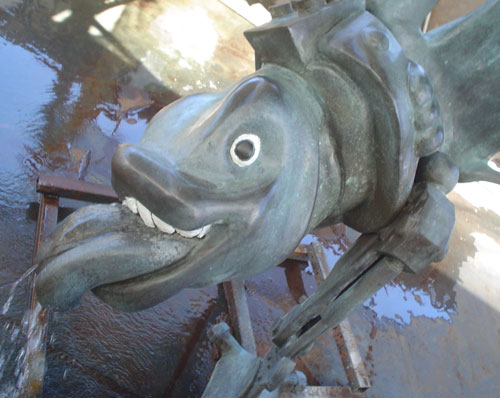
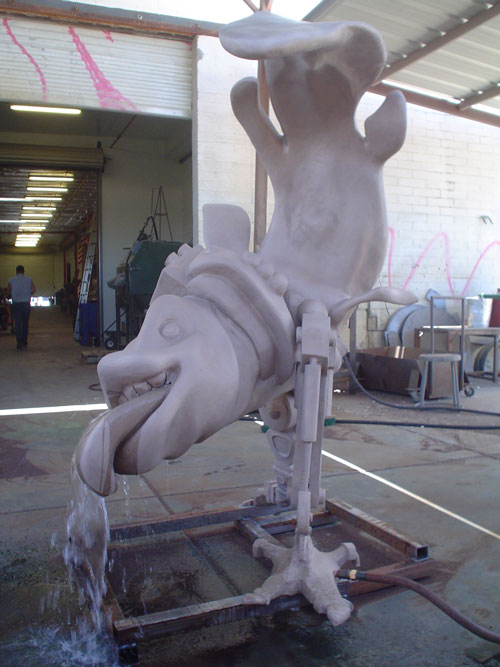
Here is today’s progress on the coelo fountain. All done except for patina.

[attach=94536]coelo_process_04.jpg[/attach] [attach=94537]coelo_process_05.jpg[/attach]

Attachments

coelo_process_04.jpg

coelo_process_05.jpg

Done.

coelo_process_done01.jpg

Attachments

coelo_process_done02.jpg

coelo_process_done03.jpg

coelo_process_done04.jpg

These are great! Such whimsical characters. Thanks for posting everything. Some inspiration was found here amid a tough sculpt…

-Shea

Seeing what everyone is doing with the hardware makes me even more excited about the software, nice work everyone :smiley:

John, you mentioned stenza, for what kind of work are you using this software.
Could the same not be done in Zbrush?

Don’t know about zbrush doing the same thing, I haven’t had the need to explore.

We import a greyscale photo into Stenza and enter the depth measurement, press a button and it’s done and then export as an stl. Usually takes very little time.

If you have found a way to do the same in zbrush please let me know.

John
skull-touched-up.jpg

Attachments

stenza.jpg

It’s so simple, you’ll scream…

Select 3d Plane tool and convert it into PolyPlane, then draw it onto the background and go into edit mode. Switch frame on, select geometry and divide it to 5 or about 1 mio polygons. Load your skull image in the alpha channel, then in the alpha menue select ‘make stencil’. Stencil shows up, or go to stencil and switch it on. Hit the space key to gain access to the stencil menu and rotate/scale/move to position. Then… select the drag rect stoke and the standard brush and… brush through the stencil. After a couple of tries you will have found a nice height ratio. With the plane turned sideways in the preview window, you can use the flatten command (smooth flatten) to compensate for excessive Z-Height. Then smooth, pinch, push, scratch, rattle, and roll around on the geometry as you like and then save the thing as .obj. Throw that into your fav cam and the result will be better than any of the various greyscale to toolpath crapola progs.

Happy trying! If you can’t get it baked… I’m happy to make a video tut in exchange for some foam :wink:

Lemo

Thanks Lemonnado, I have never used this feature and wasn’t even aware of it till now, I thought it was unique to MudBox’s latest version… great tool, would love to se it on a cam…

Ziggy

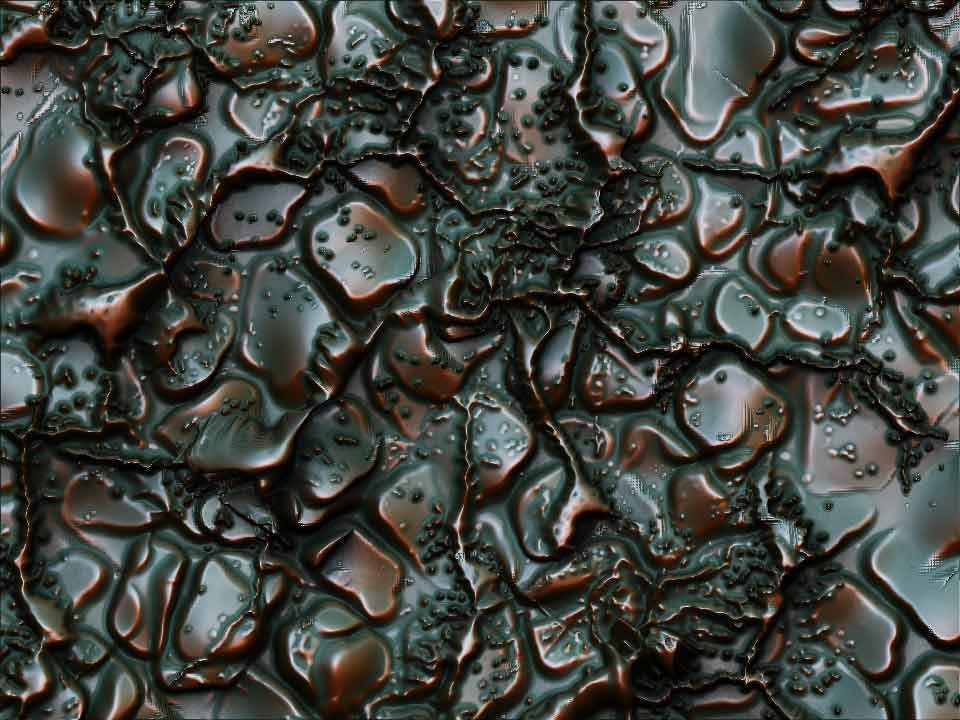
a quickie below using the process…

[copper.jpg]

You’re right, I did scream!

a cam would be great!!

LOL John

Yes, it’s great. The huge benefit is that you can model once it’s projected. ALL the other image to toolpath programs are only hacks. Lately I saw a sample image where a portrait of someone with glasses was created. Now… the glasses frame was black… that resulted in a deep ravine in the carving. How retarded does that look??? Stuff like that makes prototyping look bad. Now, with ZB in the middle, the inherent defects of simple ‘dark is low’ and ‘bright is high’ extrusions can be corrected.

I’m working on some fun stuff with Erklaerbar from the forum here and will post our collaborative result towards the end of the week.

Glad I could help…

Cheers
Lemo

PS:Ziggy, send me a MRGBZ grab of your pattern and I show you how it would look cut using the simulation feature of my cam. lemonnado at gmail dot com.

Lemo,
a portrait is a good example:

  • eyebrows can be dark or bright
  • the same with hair
  • the eyes itself can have different colors

Thanks for your help

Sorry didn’t save, will do one and send it off… first of to bed, nearly midnight here, but are we not used to late nights, all because of ZB…

Thanks Lemo,
I can’t think how you found out how to get zbrush to do that. It does work perfectly and as you say you can continue to model.
Black is low white is high is very constrictive. Don’t expect I’ll ever turn on Stenza again!

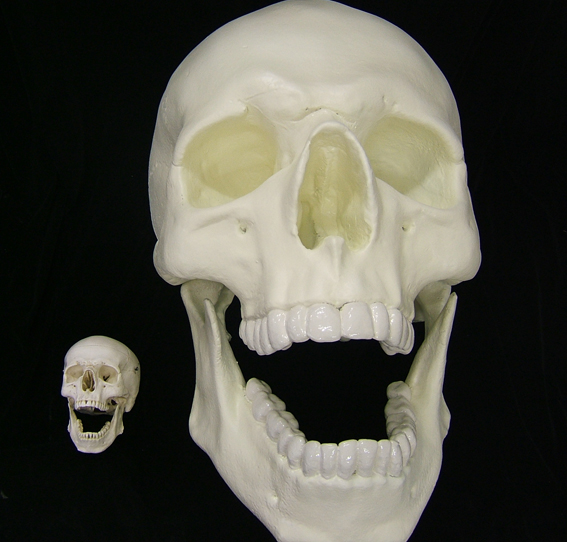
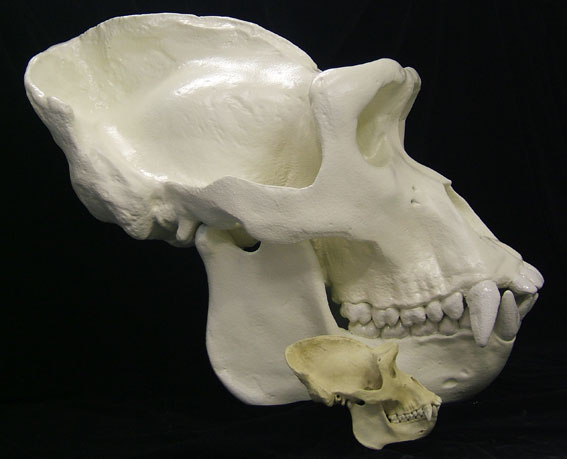
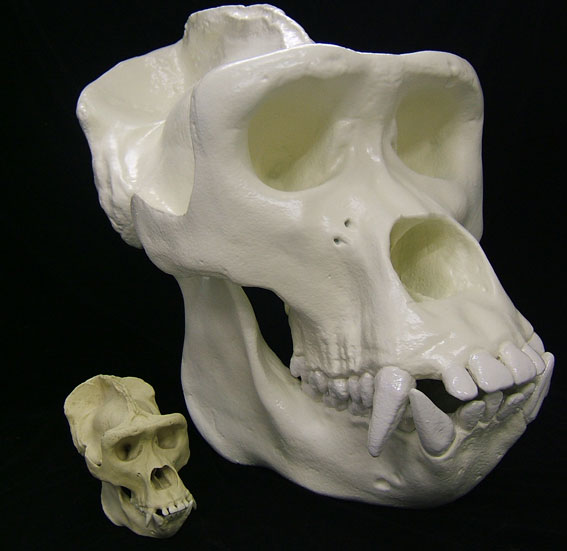
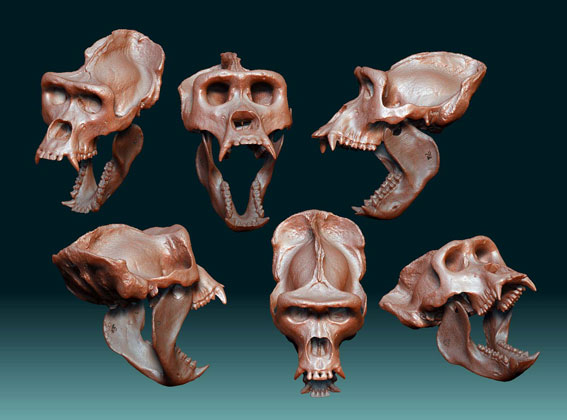
Here are the latest skulls for Halloween at our place, we’re going to paint them using fluoro colours and light them with UV. Creepy but not scary…I hope. The small skulls are the life size versions that were scanned.
The big gorilla skull is about 45inches (114cm) long 36 inches (91cm) high. The complete gorilla would have been 21ft (6.4 metres) tall.
human.jpg

Lemo, my next problem is getting type onto/into a zbrush model.
If I use type as an alpha, how do I get rid of jagged edges? Is this the right way to go about this?

John

Attachments

gorilla-profile.jpg

gorilla-1.jpg

gor-skull-zbrush.jpg

John,
Another workflow required by the internal ZB workings is required for total control there. And that’s external UV’ing of a medium sized subd level. Import that again, and ye olde ZBrushe can stencil,mask, and deform like the big boyz.

Any Job’s in AU? I’m ready to leave… The last presidential debate did me in…
Lemo

http://www.zbrushcentral.com/zbc/attachment.php?attachmentid=26753

PS;If you don’t mind…send me a high res MRGBZ grab or two so I can carve a scary head for the neighbor kids 8) to lemonnado at gmail dot com…

Hi Lemonnado, you want to move…? just don’t move to Africa… in my country our currency is 9.5 to 1 U$ Dollar… and the average earnings per month is below N$ 3000 which gives you U$ 315 … so this is why I use this forum for most of my training as DVD’s are bloody expensive and then you get a guy showing off his work instead of show how to, he even uuumm’s and aaahhh’s every 3 to 5 words, making up extra time and doesn’t conclude the tuts… sorry I bought a tut on the web and am very disapointed… sorry.

You are worried about your polatitions, just browse and see what ours are charged of day by day… rape, fraud, etc…

Yeah, I would move down under at the snap of a finger, maybe 3D could become a living, only a hobby now…

Hope you come right, to which you could create a opening for me there… Hahahaha…

Maybe I am right where I should be… However, it’s always a reminder that once things do not go so well, politicians actually had little to do with the good times, and that they can’t do much to better the bad times. But they talk a lot to stay in business for themselves. One has to do his own research, educate himself, and then apply the skills to earn money. Lucky if someone actually helps in the process. ZBrush is a great app to tie other things together. No time wasted getting into ZBrush.
Lemo from the US, Canada’s Mexico.

Hi Lemonnado, I have been thinking of getting a small Roland MDX 40 or 20 to get myself kick started in this direction, as I would have to create a market in our small country. What do you think of these machines?

We have sign companies with routers in Namibia, but they use these for flat routering and engraving, as they don’t have a clue about 3D…

Looking forward to your much appriciated advice

THX Ziggy - “Lost Viking”

Roland is precise and very expensive. The problem is, and that is a real challenge, that when you have a small router, it will be tooooo small in the matter of no time. If you are able to do some wiring and light assembly, then there are various systems out there which can be build from a kit for below 1000$ and have a 1ftx2ftx3-6 inches envelope. All those systems use the PC to control stepper motors.

I started of with a metal working mill. It works well with wood to.
The working envelope is small compared to other small machines, but this little beasty made all the parts for my larger machine. It is very precise and was less than 2000$ including a 4th axis when I bought it. One can put a TAIG CNC kit together for 1500-2000$. http://www.cartertools.com/mill.html

Larger self build systems are the Mechmate concept:
http://www.mechmate.com/
A very nice system.
Or a commercially build version, the shop bot:
http://www.shopbottools.com/?gclid=CISFiKCprpYCFQObFQodfVlsLA

Complete commercial setups are starting at 20-25000$ with very good components. Like the shop sabre machine.
http://www.shopsabre.com/

Then… there are the heavy weights like Thermwood and others. Above the price of a small house… in Manhattan…

I would not recommend a machine with a smaller envelop than a good sized house door and at least 6 inches of Z clearance. Z clearance is important because the tooling protrudes, the material has thickness, and you need to clamp stuff down on fixtures which have dimension by themselves. If you wish to be able to do 3d milling, then you also want to end up with more than an inch to carve. So, 6 inches minimum… My prototype has 24 inches.

Cheers Lemo
Hi Lemo,

what about a small cam to show what you described in 67:D
Would be verry usefull for Zbrush beginner:o

Daniel