ZBrushCentral

T-rex

The icon of this always looks great and then I click to see the image and then eveything is flat.

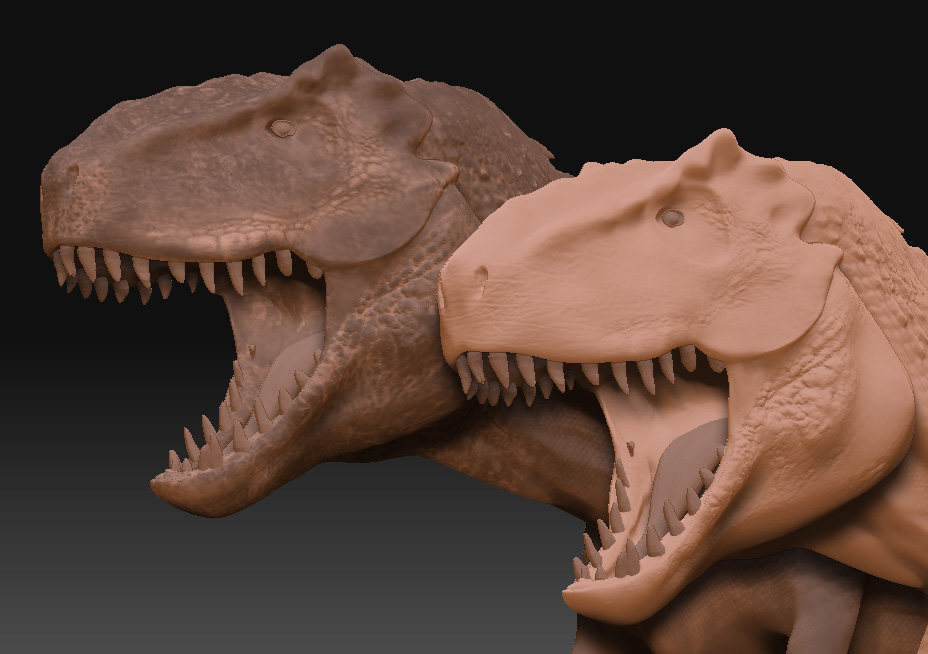
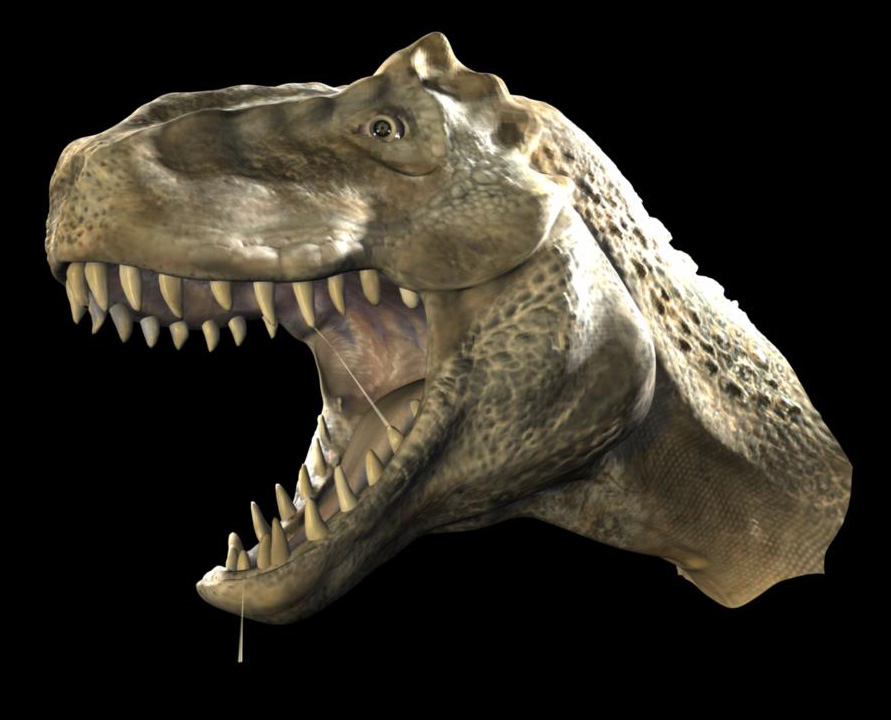
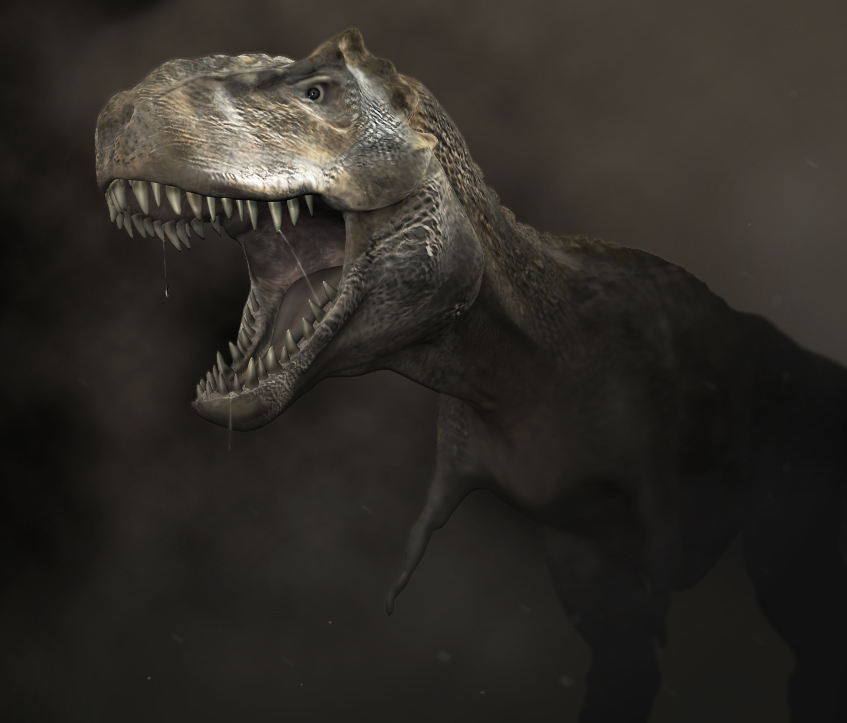
If I may, could I suggest this? Your color map looks very cool for your sulpt, there is an easy trick that you could use to bring some of that detail in as a true sculpt an not just a texture.

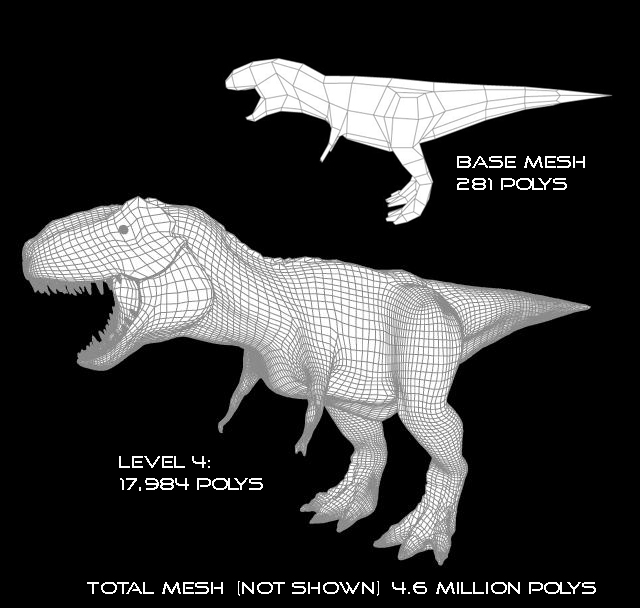
Take your color map in Photoshop, desaturate it so it is grey scale, then play with the level or the curves to seperate the craks out from the scales. Try to get the scales to be white and get the cracks to push toward black. If you can get any other details to show up in there then great.

Now take that image and import it into ZBrush as an alpha. Once the alpha is loaded then go to the masking section and then “mask by alpha” Now hide your mask (ctrl h) and then start to paint in some of your scales. When you are done pulling out the detail, deselect your mask and very, very lightly use the smooth brush to smooth out any stair stepping along the edges of your newly raised scales.

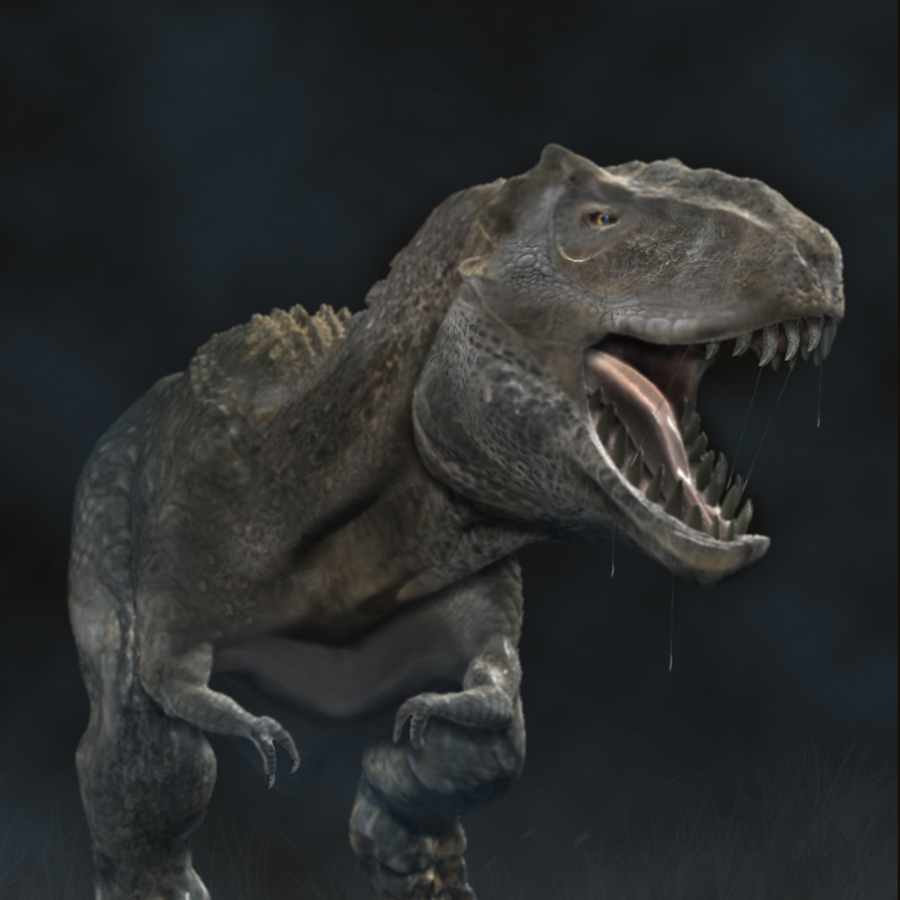
I think this will really help with the look of your beast.

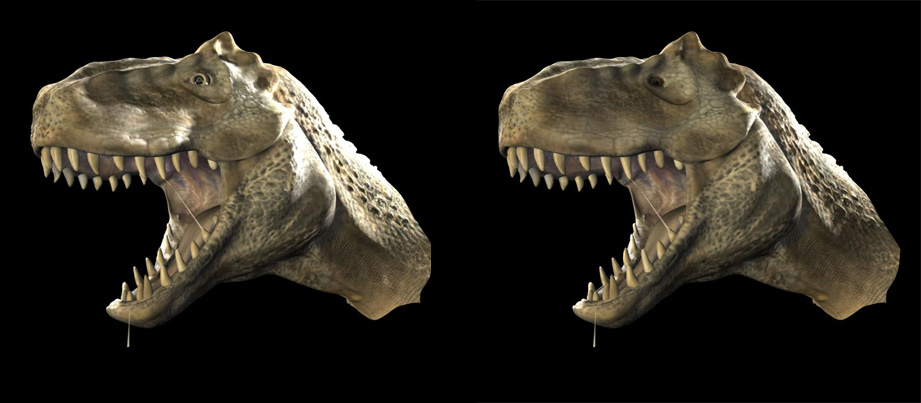
Also spend a little more time on how the eye lid meets the eye ball. A good looking eye will bring your character to life.

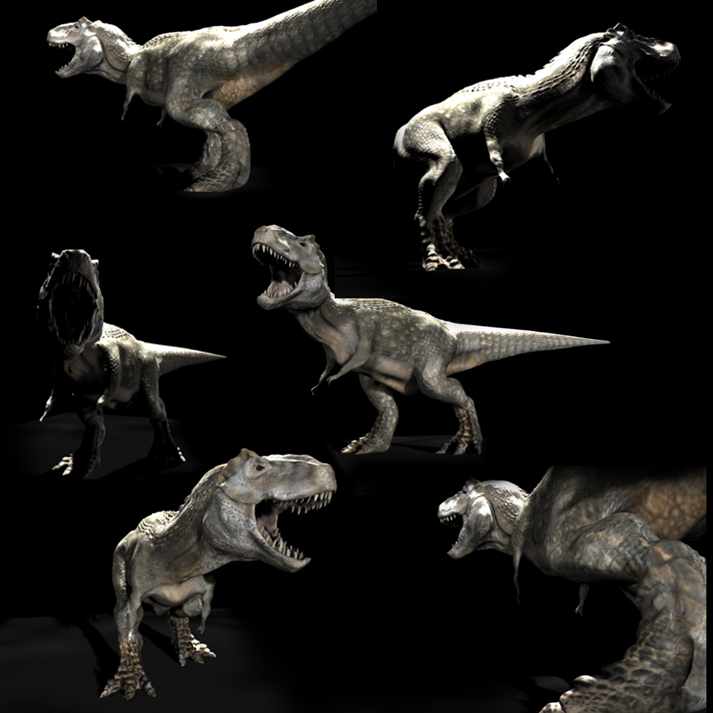
Hope you know that I like this piece, I just want to see you push it more.

Great work, keep it up!

NickZ. :slight_smile:

Thanks for the tips nickz! That was very helpful. I’ll post some updates as soon as I give that a try. BTW - I was looking at your posts and your work is quite impressive.

I’m attempting to bring out some detail via the alpha mask: Here is an update: (left: no change / right: detail pulled out

[![slightbump.jpg|952x621](upload://b6Dds1383rKeh5SvdBelh6xgGc9.jpeg)]![compare.jpg|819x410](upload://rIGn52ZmlueXzZfrPojeenMsJhb.jpeg) Question: Can I re-UV (scale the face portion) larger - then the face has it's own 4k map - use that as the alpha mask so I can pull out some finer detail then go back to the orginal uv layout to apply the texture? - When I tried it zbrush freaked out - Am I doing something wrong or can't you move the uv's once its in zbrush

Attachments

alpha.jpg

alpha.jpg

You might want to bump up the contrast in your alpha map in photoshop, I think you can even do it in ZBrush in the alpha section using the curve that adjust levels.

YOu should also be able to update UV’s at will. Drop down to lowest sub D level, export as an obj, do edits in other app (In maya make sure to import with “create multiple objects” set to FALSE.) then export the changes as an obj, then reimport the obj model back in using the import buton in the tool section.

Hope this helps - NickZ. :slight_smile:

is coming up nicely.

Thanks nickz that worked. (I’m now able to change my uv layout without the model expoding). I just realized that resizing my head to fit the entire 4K map will not really help with the detail - because I would have to scale the current one up and it would essentally be the same resolution. The current resolution isn’t that bad but I was just trying a trick. I guess I was thinking that when I export the uv map from Maya I can pick any size - but that only adjust the uv’s not the image too - silly me. I’ll try adjusting in Photoshop when I get some time. Thanks for the tips / critiques!

[zbrush3.jpg]

Looking much better! Now here is my next suggestion. Convert your texture to poly paint (texture>Txr>Col) and then poly paint a dark color (For this dino you might have to go with a lighter color, try them both out and see what looks better) at the same time as you dig into your model. (turn on rgb and Zsub (or alt with Zadd) at the same time and start to build a more natural pattern from the scales that you have made so far. This way you will be sculpting and painting all at the same time, very cool to see in real-time! It wont take too much effort and you will be able to build a little more interesting variation on the skin. Then in the end if you need a texture again, make a new texture at the final resolution and then go Texture > Col>Txr

Keep up the good work!

Peace,

NickZ.

nickz: Thanks again for the great suggestions. I understand exactly what you are saying and I’ll definatly give that a try.

I think the eye still looks wrong. I used a lizards eye for the texture so I think it looks like it needs some more white area or something.

Hey dcbittorf that Trex looks quite good.:+1:
For his eyes try with small pupils, they make his face look more mean and more like a Trex!! With larger pupils he looks like a happy puppy.

Keep it up!!

ja_popov: Thanks for the input - you are absolutly right. I’m taking another look at yours and the small eyes help out a lot.

update:

[[attach=93197]trex2.jpg[/attach]]trex2.jpg

hopefully the new one isn’t looking as flat as the old one (still needs some work though) -haven’t tried the poly paint / push suggestion yet. Added a new eye. The eye is Staffan Linder’s shader I down loaded from highend3d.com (which is originally a human bloodshot eye) and I tweaked it to look more trex like - less red and smaller pupil.

[[attach=93198]compare.jpg[/attach]]compare.jpg

It was also suggested to me that he is able to see from the front. (which he could not before)

[fronteyes.jpg]

update: Maya Render with normal map.

[backgroundflat copy.jpg]

Oh, I realy like this!!! :slight_smile:

delima1975 - thanks, i’m still working on it

I tried using the transpose tool on this beast. These are all the same pose taken from various angles.

[poses.jpg]

[wireimage.jpg]

update:

[T-rex.jpg]

Aww! he wants a hug.:wink: