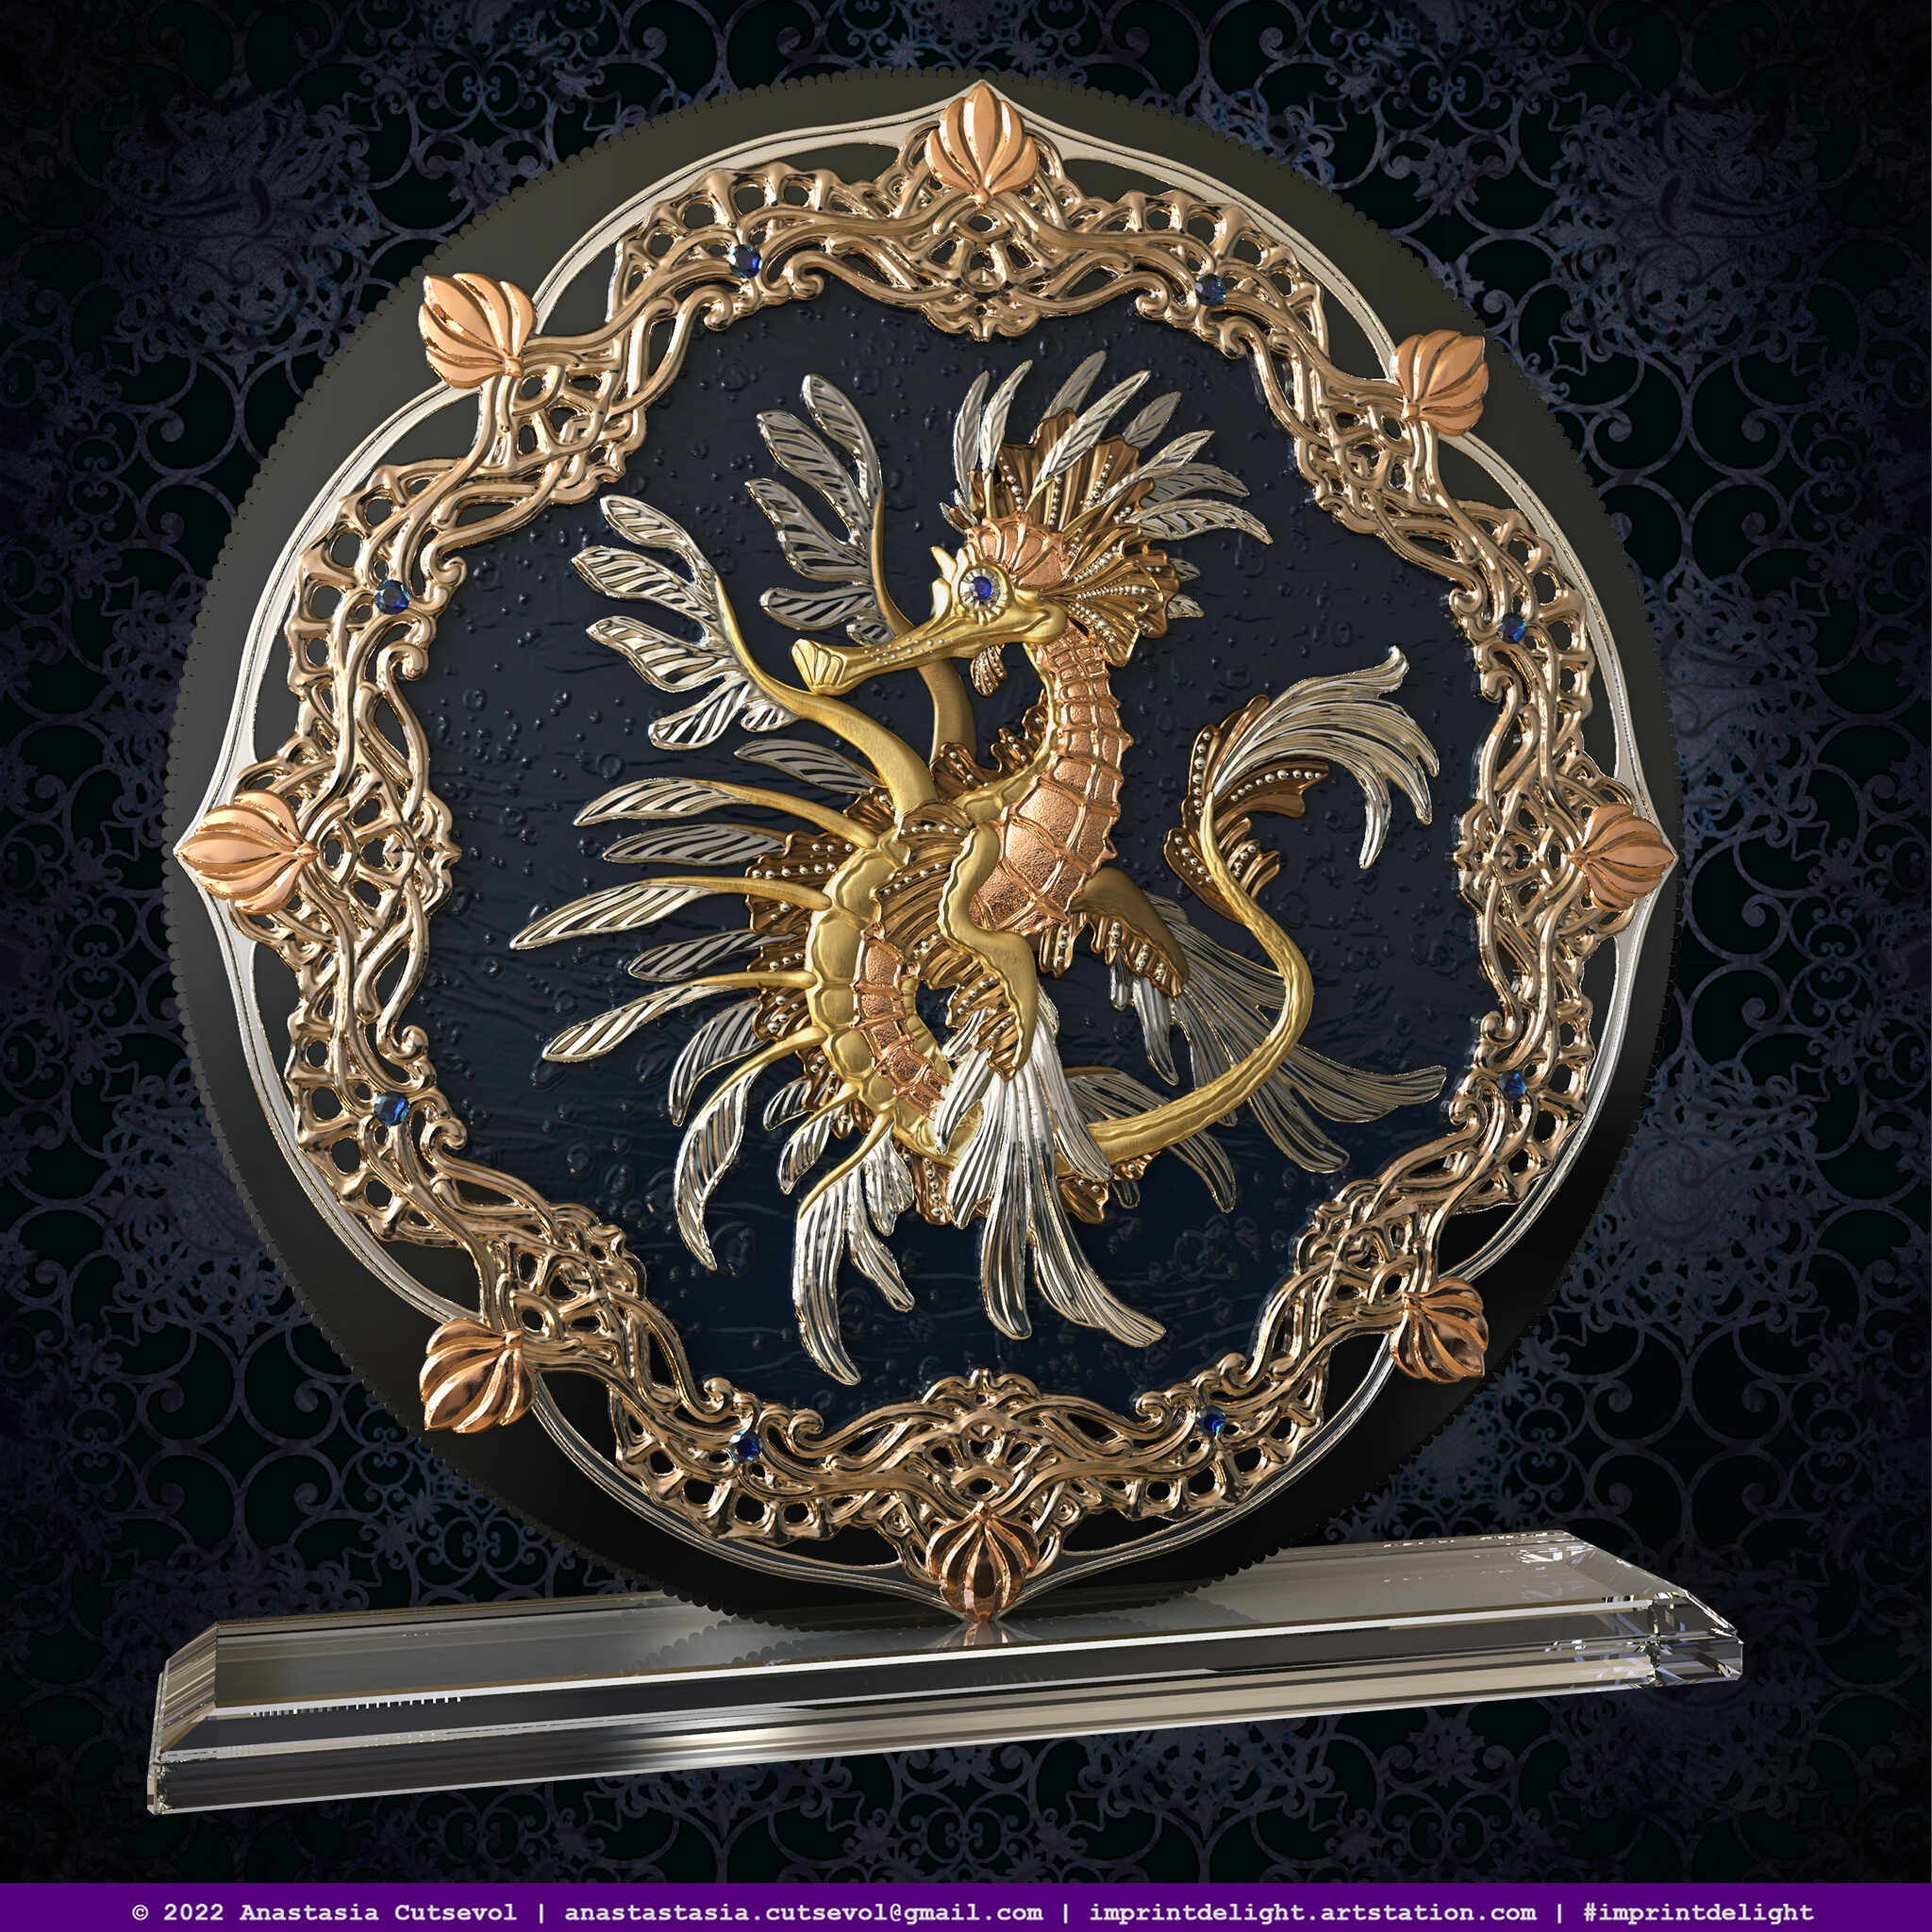
I’m glad to introduce you to my sweet creature. This will be a coin produced by the Scottsdale Mint.
I was inspired by the seahorse and a related species called the sea dragon or sea pegasus. I think they have unical shapes even in real life.
I added some artistic imagination and drew this fantastic concept in Photoshop.
Bas-relief made on its basis in ZBrush. The presentation was made in Keyshot.
More images here https://www.artstation.com/imprintdelight and here https://www.instagram.com/imprintdelight/
I guess soon I will made a breakdown of the work process 


6 Likes
Making Of
- Preparation
My task was to create something interesting on the theme of the seahorse.
Before doing anything, I always do research. I usually use Pinterest to collect art ideas and real life photos.
I also learned my topic to choose the message and mood of my future project.
I have discovered that there are related species of seahorses. Sea dragons or sea pegasus. They have fantastic and completely unusual shapes. Unlike seahorses, their bodies are dynamic with many wing-like fins.
But I would like to keep the curved body of a seahorse with hard armors and ribs.
So my creature is based on the anatomy of a seahorse and a sea dragon.
I also really like the little “arms” of the sea dragons, which I transform into the wings of the arms. And I added some other artistic details.
As for me, they all look cute, so I have no doubts about the mood of my character.

- Photoshop | 2d Concept
Most of my models are based on 2D concepts created by other artists.
For a long time I thought that I could sculpt and I couldn’t draw. But the time has come and I open Photoshop for painting. It’s fun and greatly simplifies the approval process.
The main prerogative is that I can do what is best for me. So, if I can draw the concept myself, I always do
- 4k canvas and 144 resolution
- each logical part on its own layer
- using dynamic layer effects to be able to turn them off later
- I almost try not to use absolutely bright and dark colors. This is required for the next step.
In general, I do it well enough for me and my client to understand. But this is not the end goal, so I don’t bother much with the quality.
- Photoshop | Alphas export
Once the concept is approved, I prepare the alphas for the Make 3D process in ZBrush.
This is more than a good start. This allows me to have all the individual subtools in the right places with the main details from the 2D images.
It’s a simple process. I make each part on a black background in psd format. Light space will be convex space in 3d, dark space will be concave. Just remember that absolutely dark colors will turn into holes. So if ZBrush is done this way, I just use Levels in Photoshop to cut out the blacks.

- ZBrush | Make 3D
I transform all my alphas from Photoshop into meshes using the Make 3D function. With a resolution of 2k. Of course, as a result, I do not have a perfect bas-relief, but I can work with it.
If I don’t have a high quality reference image, I start with masks and Extract.
So, a great concept is a big investment in bas-relief.

- ZBrush | Base Mesh
This step is about cleaning, positions and sizes.
My requirements: the diameter of the base of the coin is 39 mm, the relief is 0.5 mm inside and 0.5 mm outside. According to this and my concept, I set up each subtool.
I also enable Dynamesh mode and remove all artifacts.
If the detail is next to the viewer, then it has the maximum height of the relief, if further, then accordingly lower.
For relief height control, I use two 0.5mm deep boxes.

- ZBrush | Basic Sculpting
The sculpting itself. I use my favorite brushes to make the base meshes look like the reference image.
There are not many worlds; it’s years of practice.
Just a few moments
- the key is using good material to see what happens, with a cavity function such as Red Clay
- sculpting a bas-relief is almost like a full 3d model
- since the detail is thin, I use the brushes in the Backface Mask mode
- to make the relief more complete, I always remove the straight cut and chamfer the edges

- ZBrush | Advanced Details
It’s kind of a challenge to find extra volume in a super cramped space. But as for me, after that the relief looks better. There are some tricks that I use
- I don’t ignore the z-axis, even in this case where the depth is quite small. Even a slight tilt creates a filling of perspective. Note its back wings and wing arms.
- Once again about round edges. This makes the relief more voluminous.
- I also use strokes when I need to separate overlapping parts. Look, for example, at its head fins.
- Some alpha texture is also a good idea to separate the parts. Rough and polished surfaces create contrast. I use this to highlight his central part of the body.
- Contrast can be done between the levels of detail. This gave me the ability to combine many layers in a low base relief.
- You know that the farther away an object is, the more blurry it appears. Theoretically, I can use this with the Smooth Brush, but in reality I prefer to just reduce the brush’s depth effect. Look at the difference between front and rear wings.
- The bas-relief is the bas-relief. This is not a physically correct scene, so I allow myself to break the rules if I need to. If any part is important, I can bring it closer than it should be. For example, his full head has the same relief height as his full body.
Well, here is the final sculpt


- Final and Keyshot Presentation
My final step involves checking the meshes with the Print Hub plugin. I checked the dimensions again and sent the final file to my client.
For my portfolio, I take several shots with Keyshot. I am using a bridge to send a model to an external render.
Since this is a coin, I use metallic materials. Keyshot is a great program, but sometimes after using it, I stopped counting on its realism. I use a preset and change it to my taste. Lightning is based on HDR images. Once I’m happy with the base image, I render it as layers and import it into Photoshop for post-processing.
And yes, this project started in Photoshop and ended in Photoshop.
Here are the final images.
That’s all. Hope was helpful, as I was sometimes asked how I do my job.
Special thanks to my client. The Scottsdale Mint will make it real https://www.scottsdalemint.com/.
Obviously! All rights reserved.
Good luck and be patient =)
1 Like
Nice process Ana, Thank you for detailing this incredible kind of art. How many time do you spend from begin to end for a project like this ?