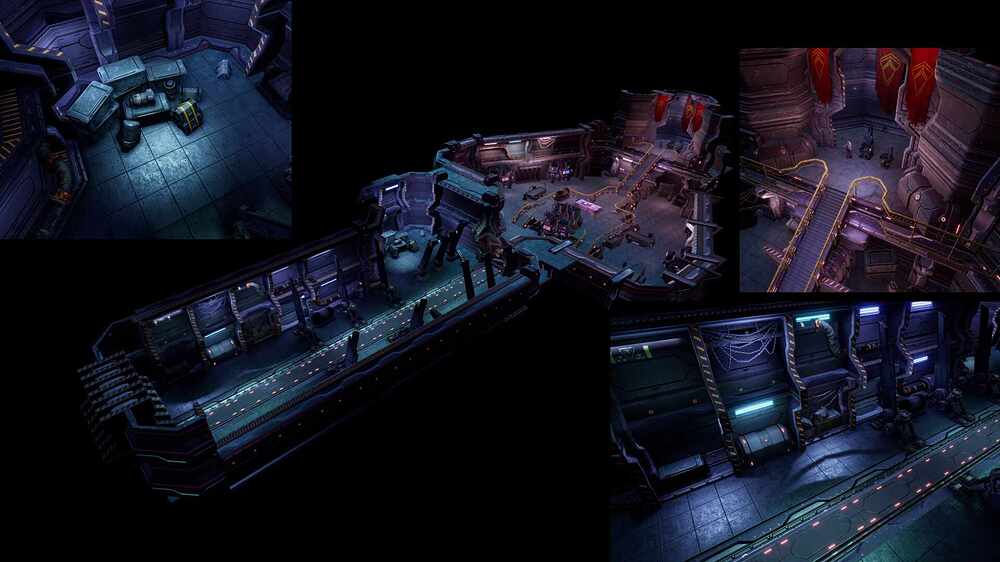
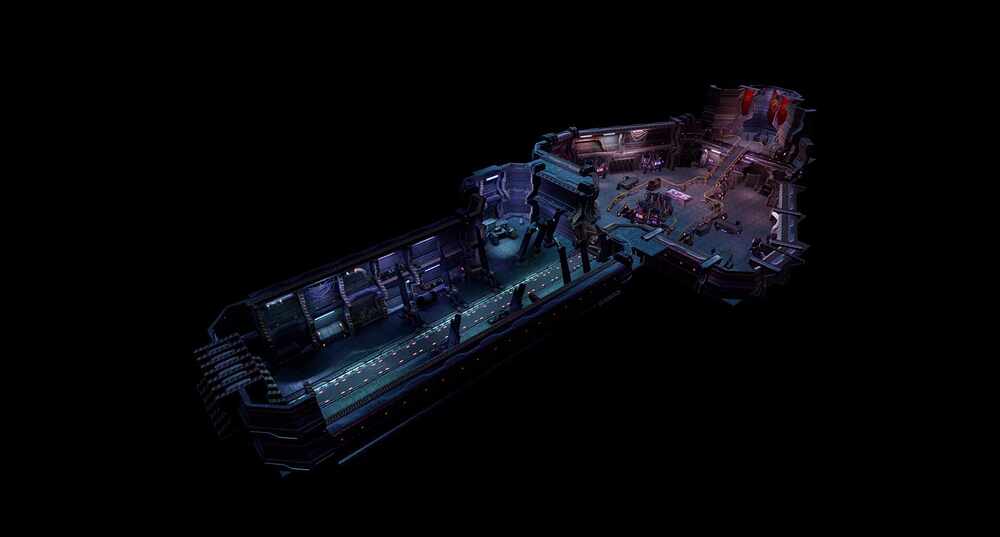
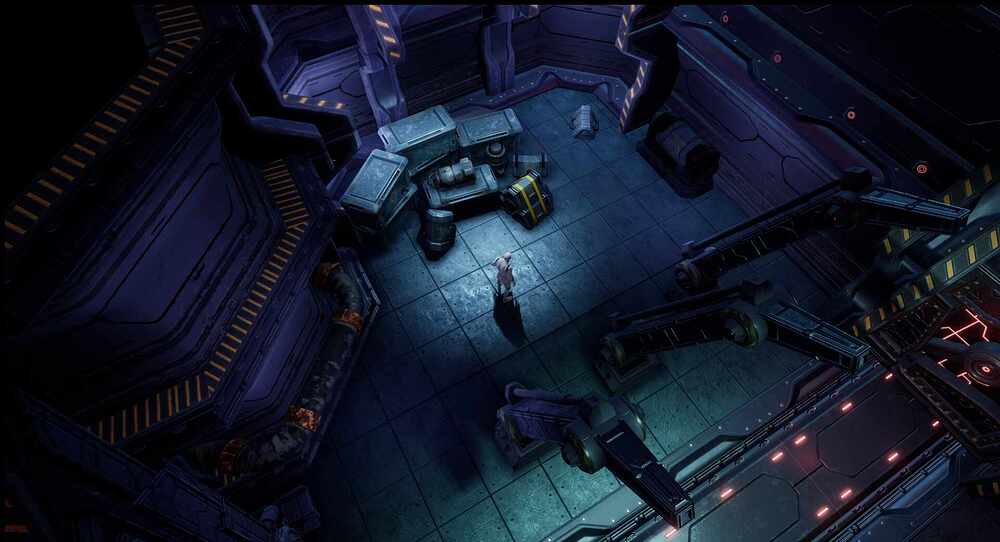
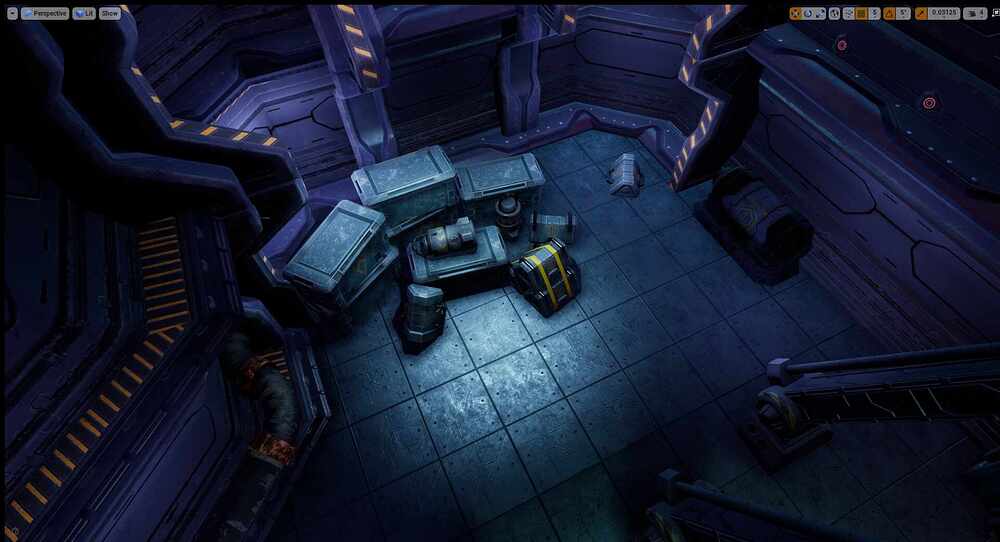
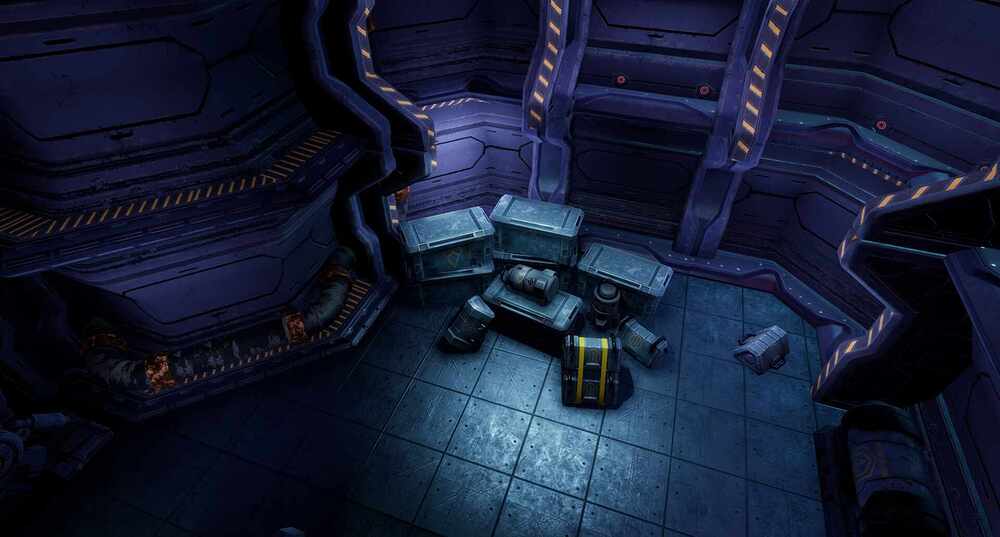
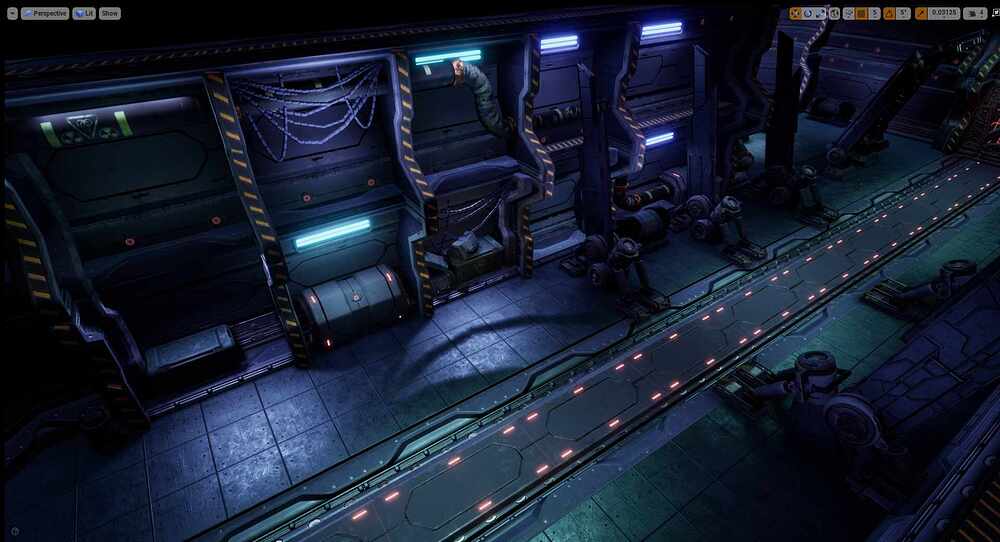
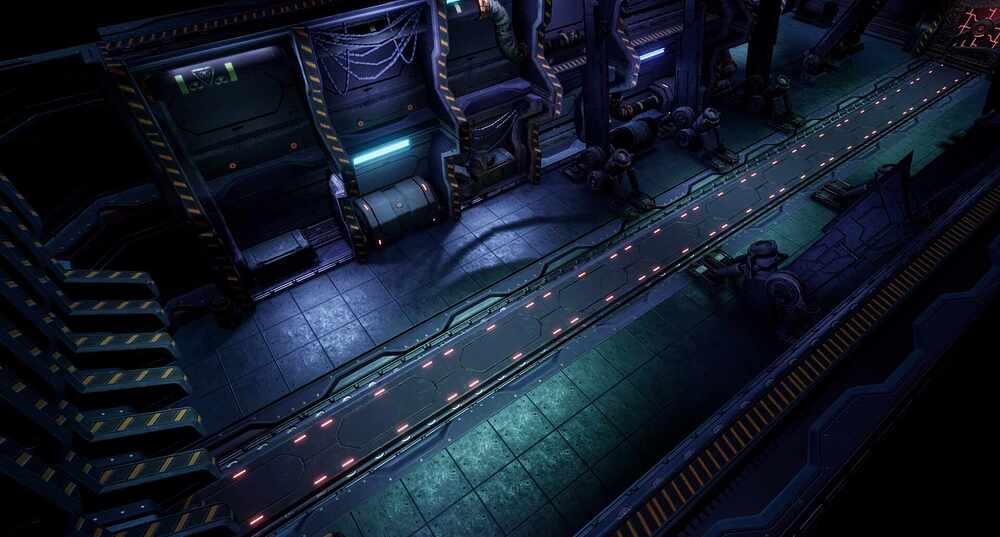
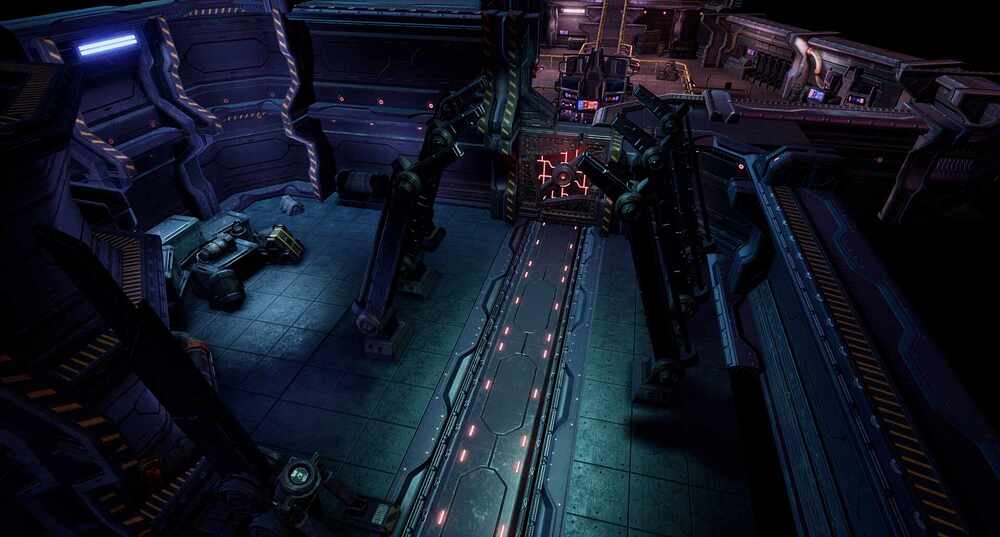
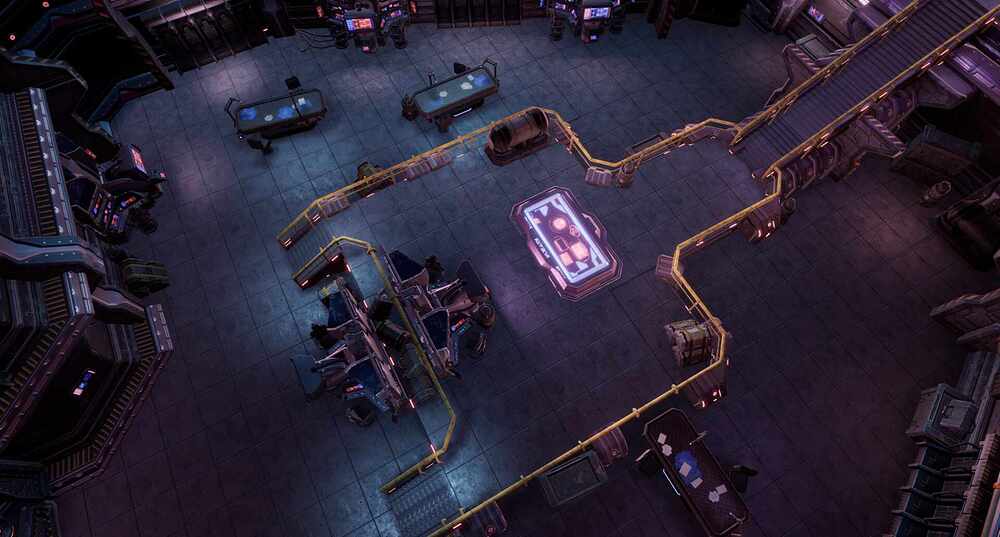
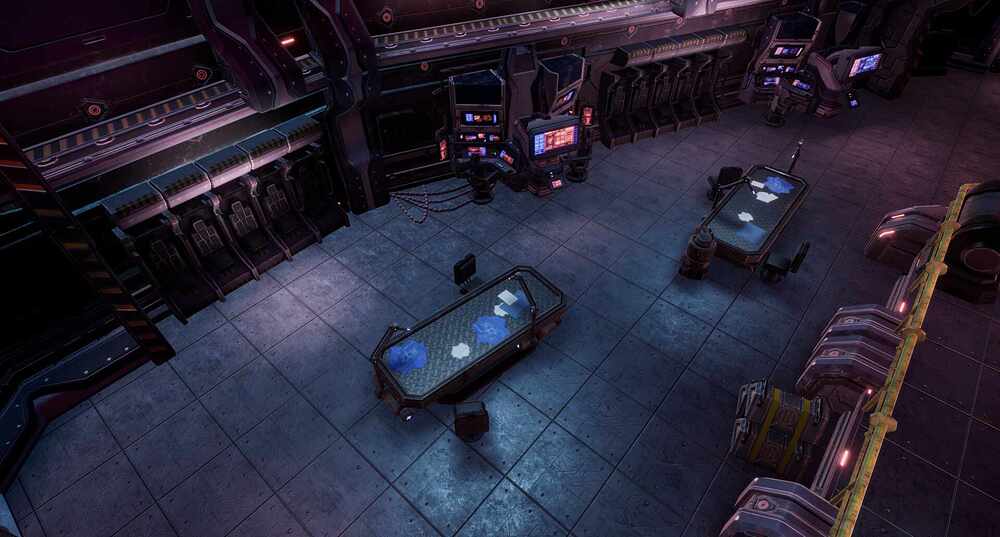
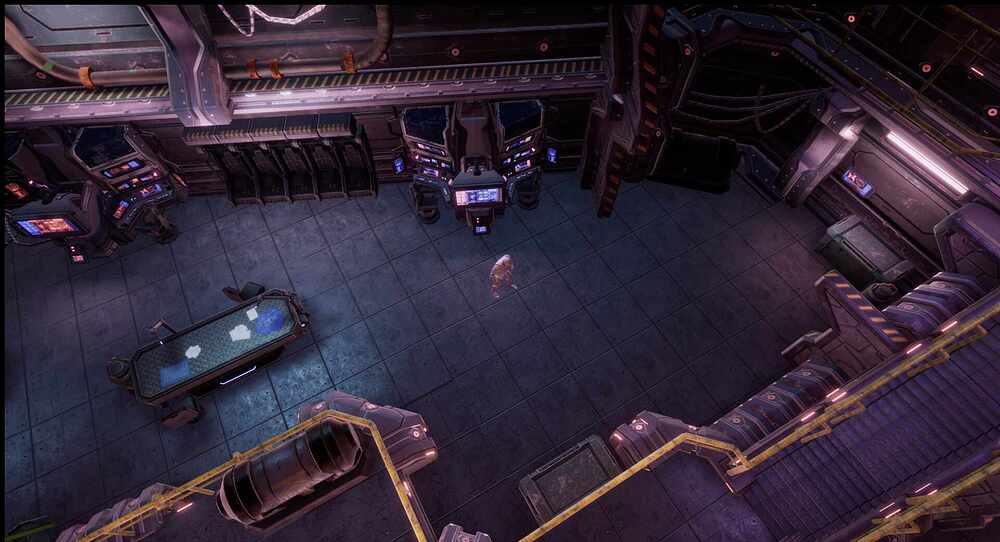
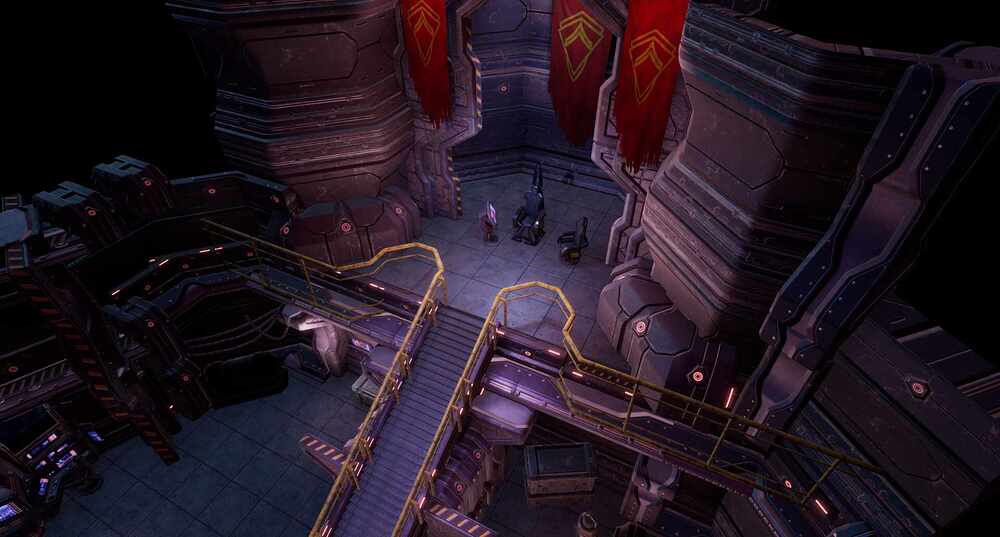
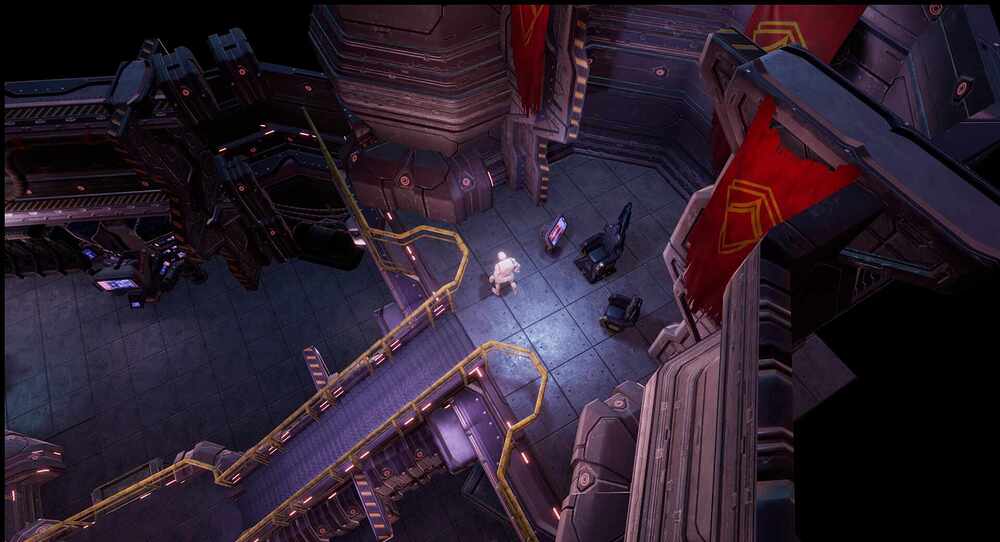
This piece was made in 6 weeks as part of ongoing MA in Game Art.
I had a few technical restrictions due to it being targeted for mobile platforms: I couldn’t go beyond 200k polys for the whole level, I wasn’t allowed to use higher than 1k textures, wasn’t allowed to do high poly to low poly baking and had restrictions when it comes to material and texture draw calls, but that didn’t stop me from concepting and doing texture patterns in Zbrush  . It’s a full mobile game environment made for Unreal Engine 4 but in here I’ll attach a few breakdowns of the Zbrush part of the process.
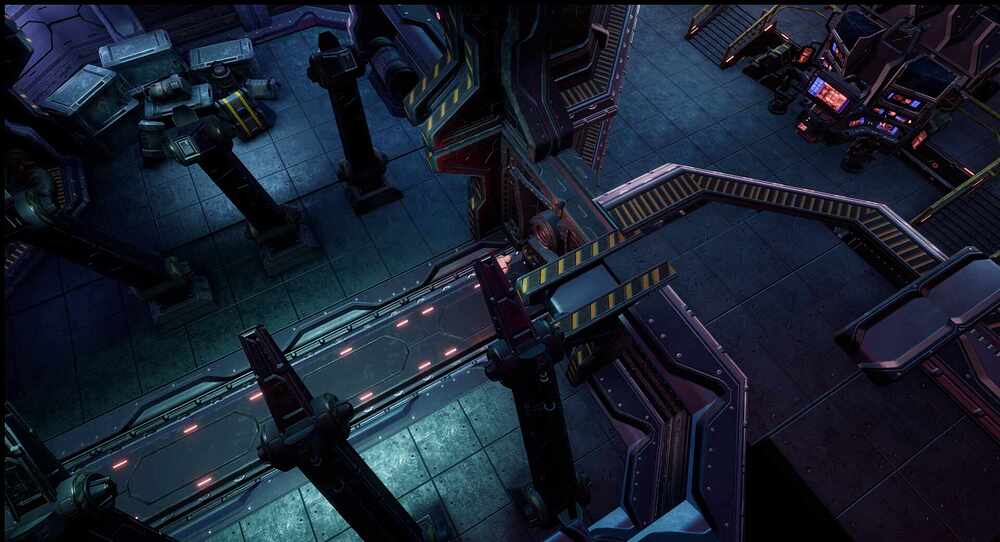
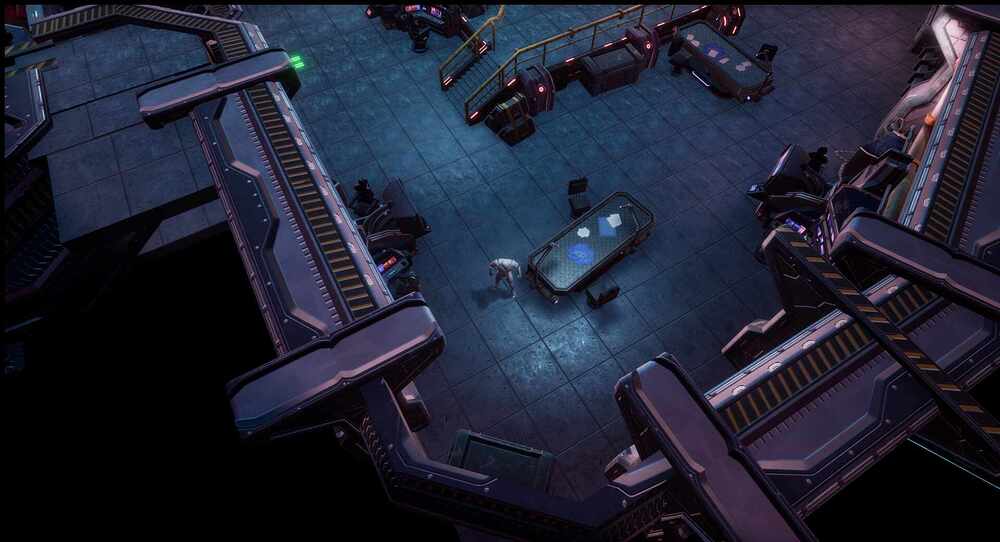
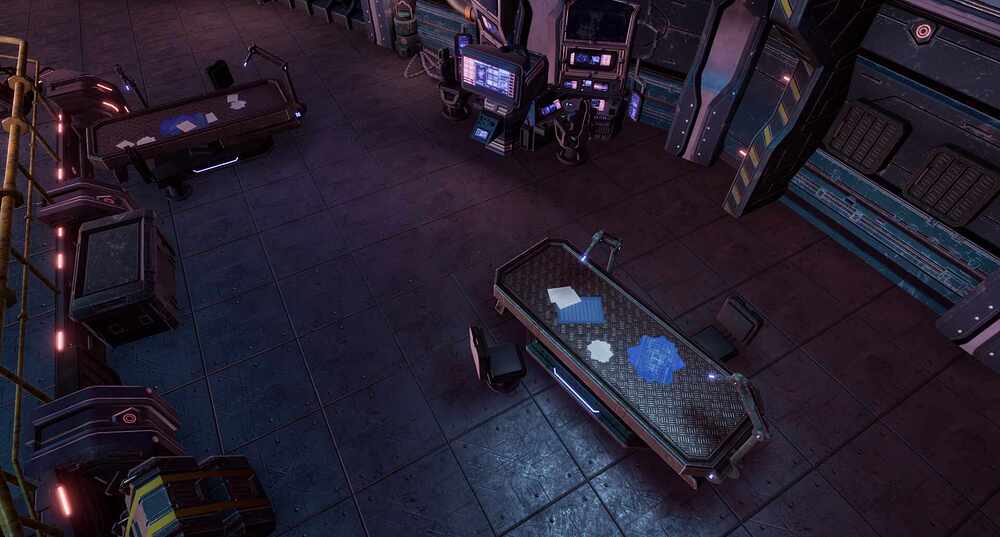
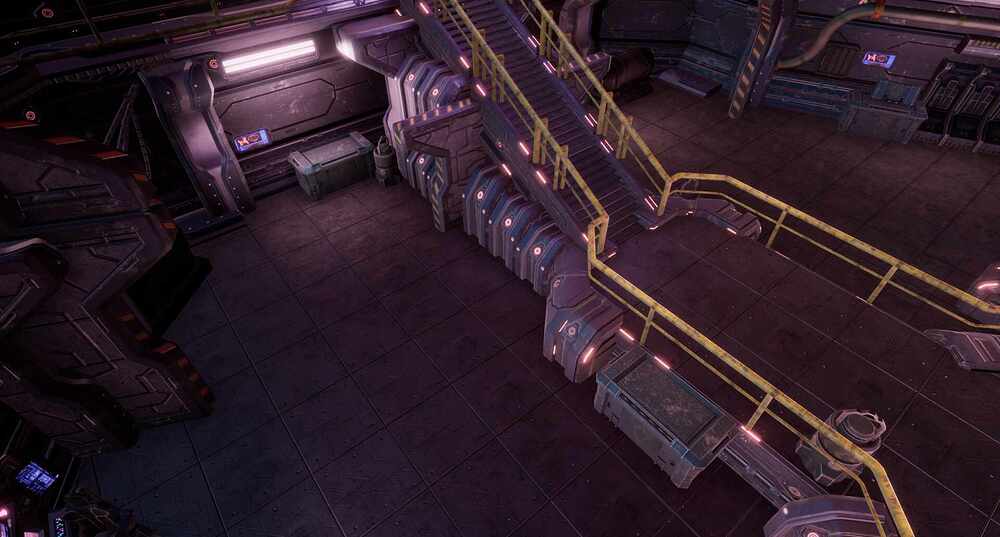
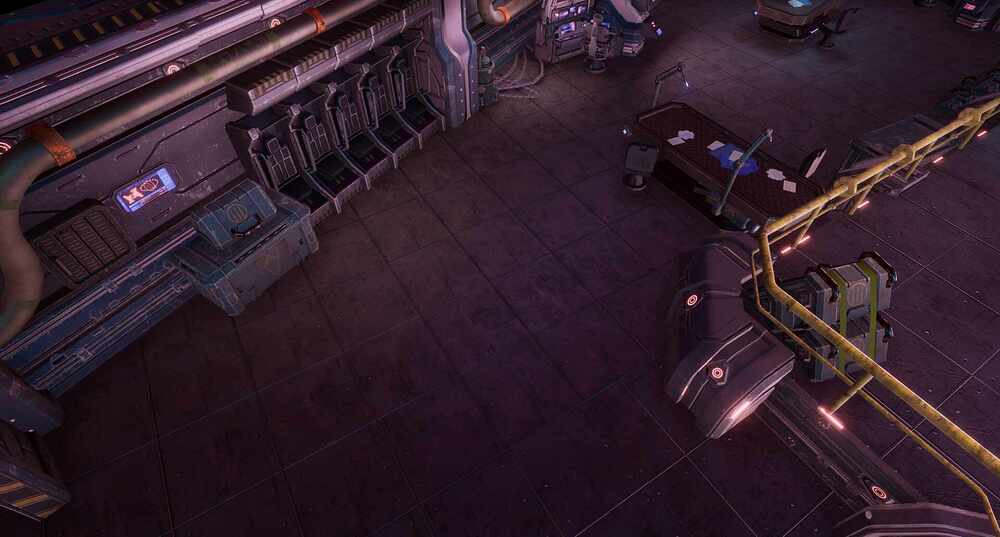
Detail Shots:
BREAKDOWN:
The whole idea of it being a mobile game environment was to reuse a lot of the same assets throughout the level. So I had to extensively use modularity, trim sheets, tilable textures and shared material IDs for this one.
3 things need to be done initially in order to keep visual cohesion:
- quickly concept out ideas for the unique props .
- plan out and create a cohesive look for the modular pieces by reusing trimsheets,
- plan and iterate on the tiling textures of the floor and tech patterns.
Zbrush offered all the tools needed to do that especially since visual consistency was paramount.
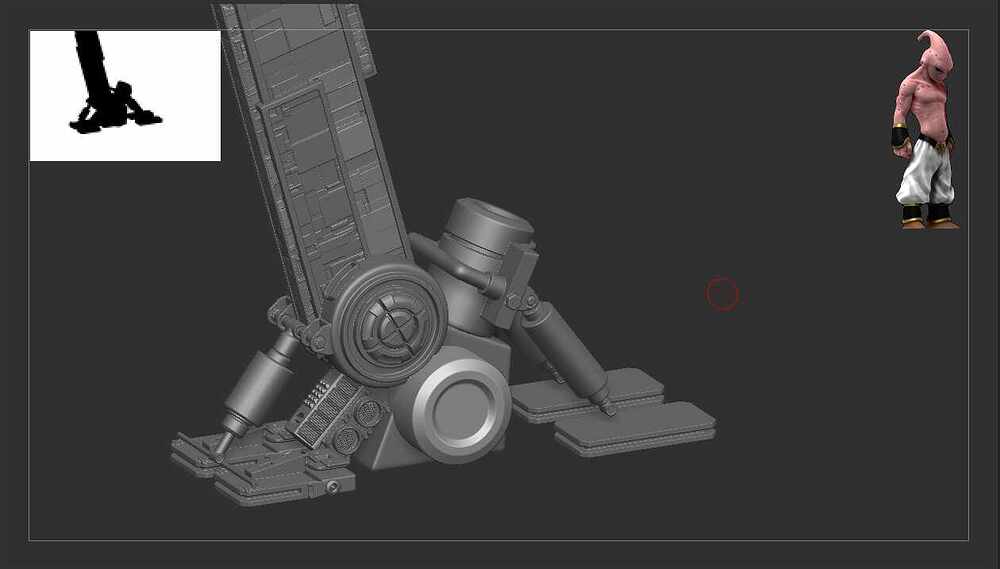
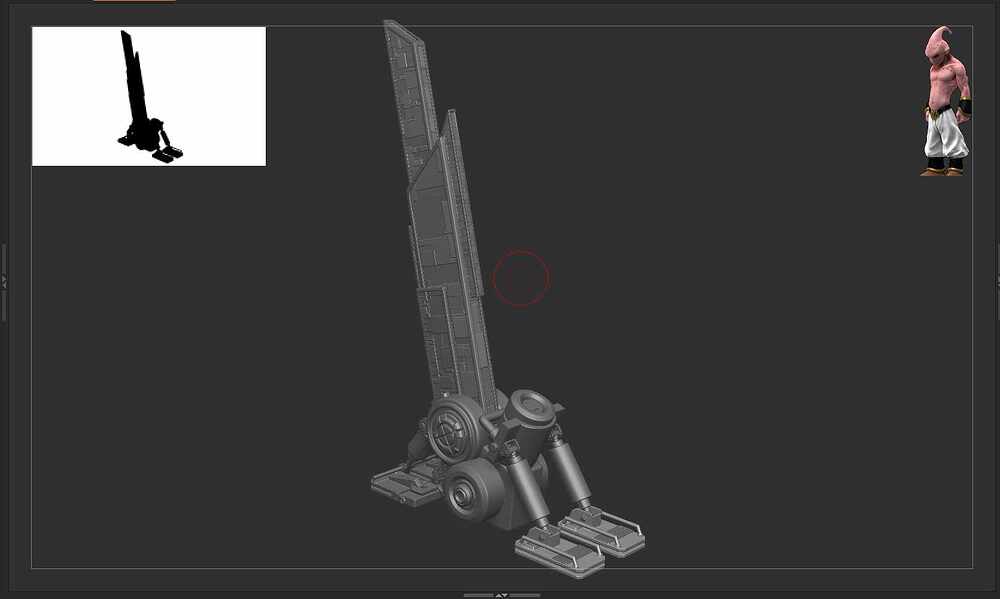
I started the whole thing by doing some quick concepting and ideation in Zbrush for the props using the references I had researched
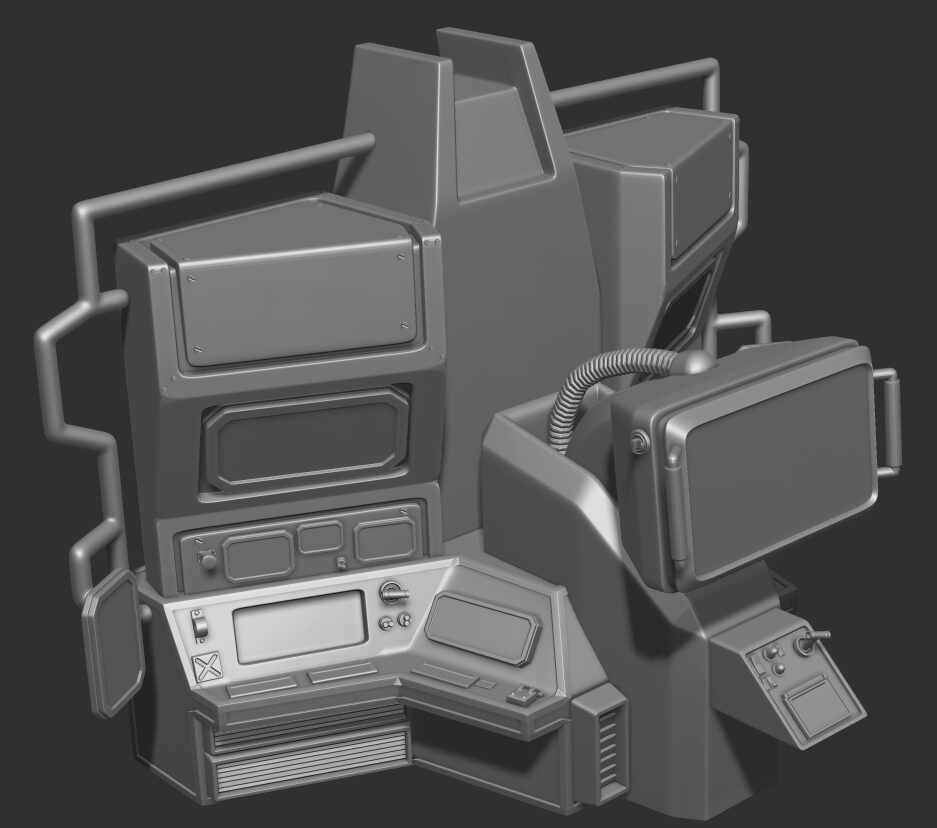
I used a mix of Zmodeler, IMM brushes and Dynamic subdiv which allowed me to quickly ideate and change things super fast while still retaining a low poly workflow which would speed up the mesh cleanup stage later and make it easier to get it into the engine as quickly as possible to check how it looked inside the actual level Every prop was modeled this way and then brought to Maya for cleanup, poly count check, smoothing normals UV mapping and Material ID assigning:
Example of a model in Zbrush:
Model imported into maya:
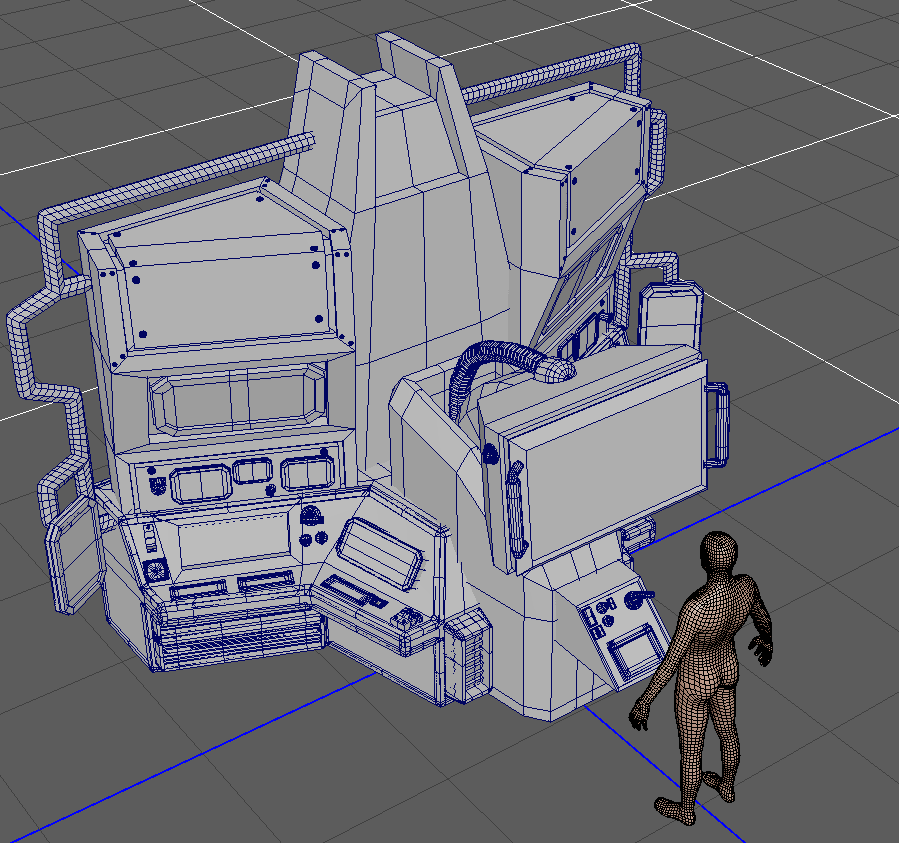
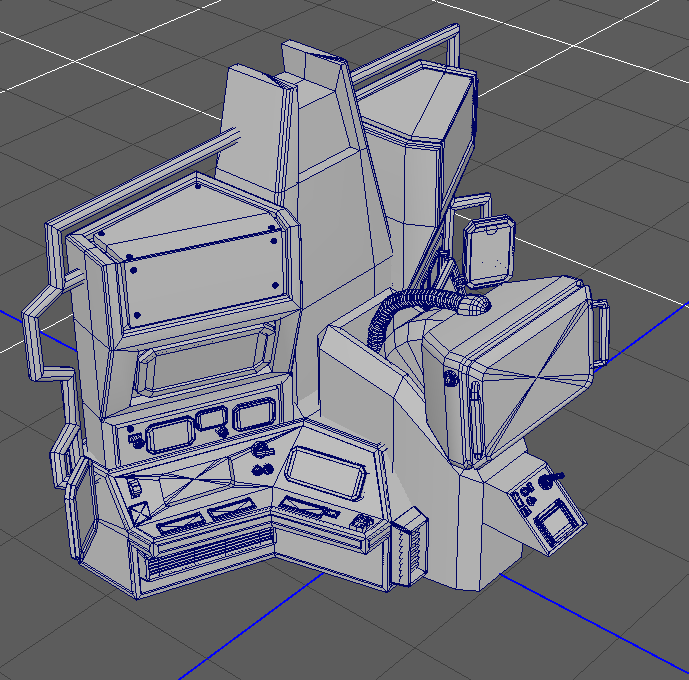
work in progress of clean up, beveling and poly count reduction:
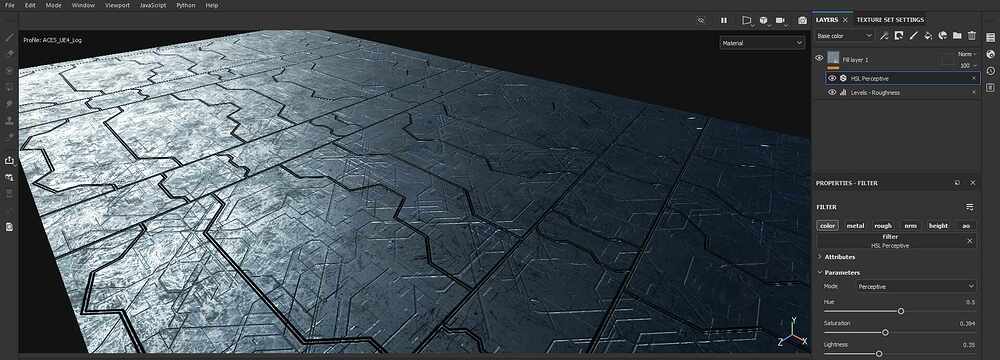
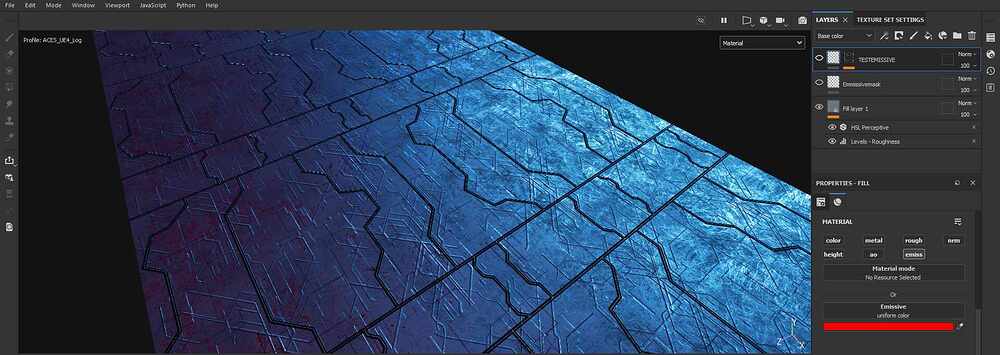
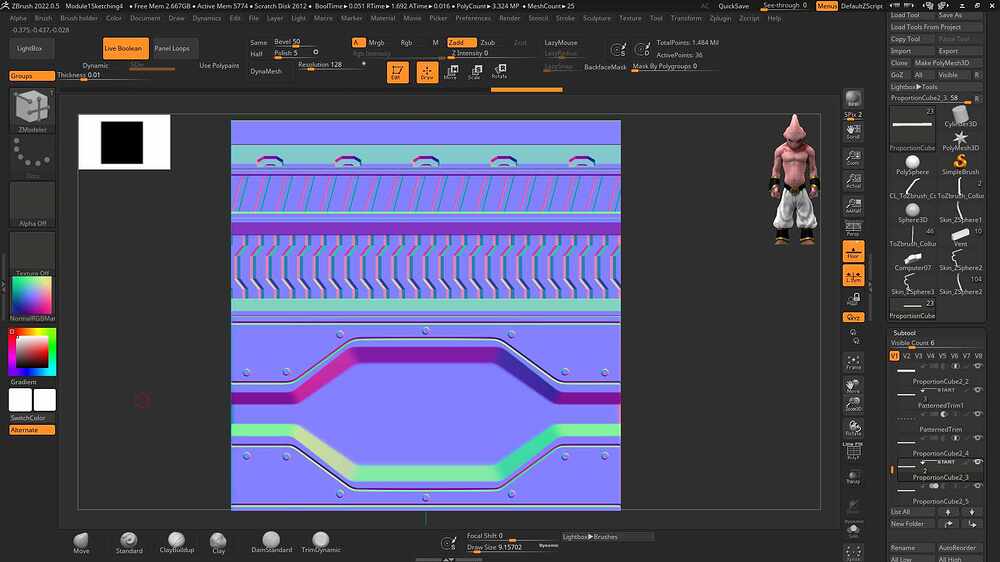
For the tech pattern I generated a few alpha patterns in JsPlacement and used them as surface noise to preview what it would look like on parts of the assets this same pattern would be layered on top of the tiling texture of the floor to glue it together consistently
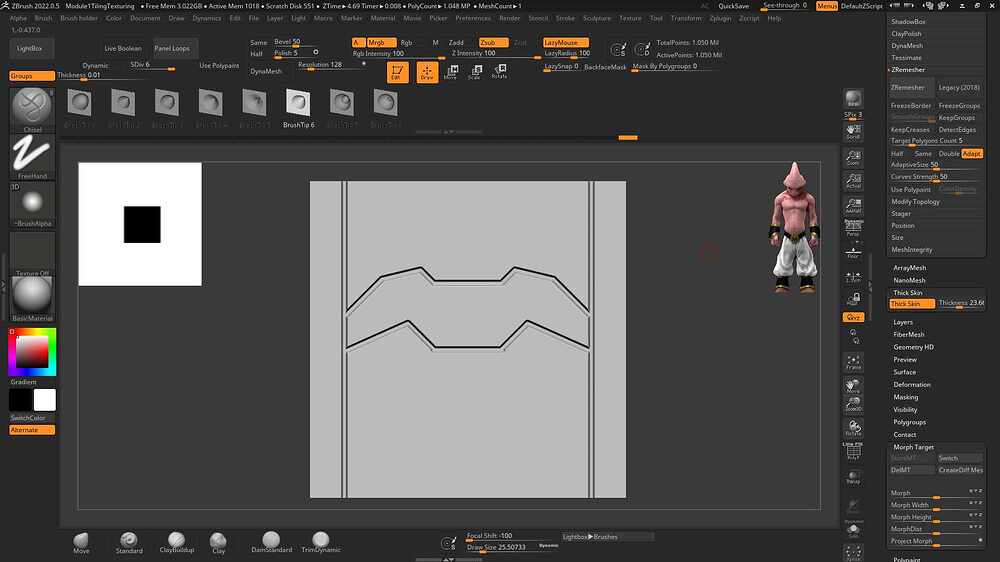
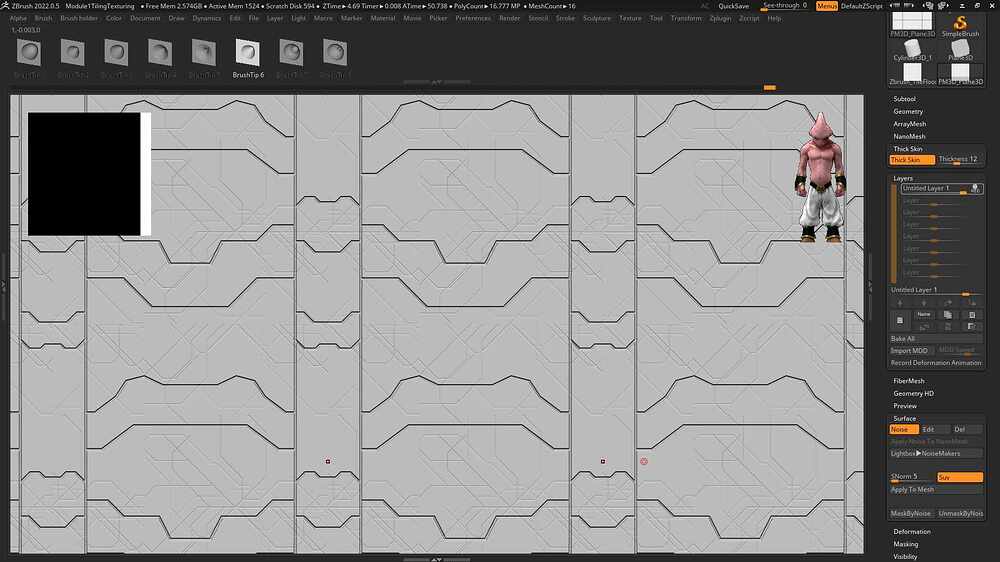
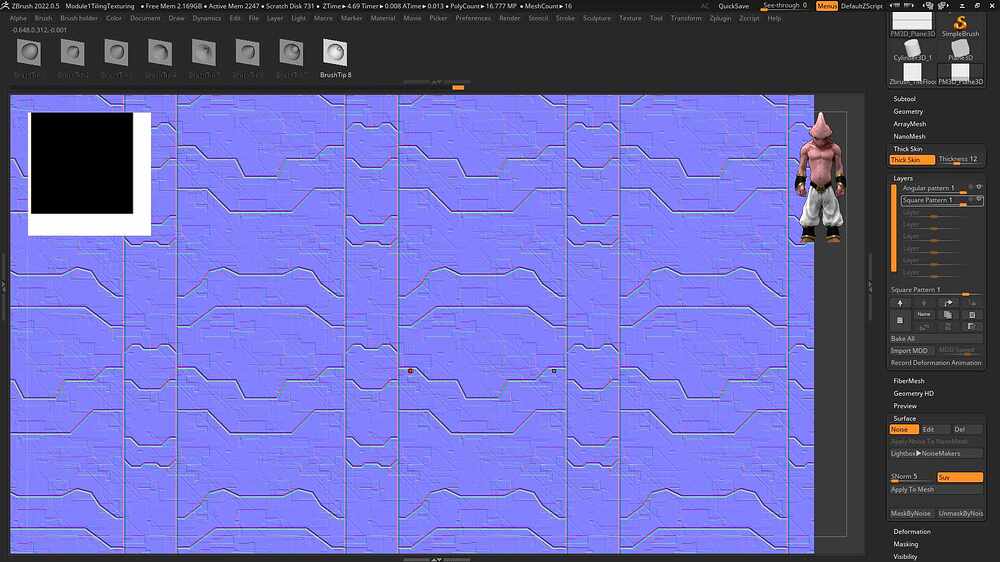
For the tiling textures I used a simple plane with subdivisions since the whole Idea was to extract a normal map from Zbrush that could then be used as a basis to bake the rest of the maps in either Designer or Painter in order to start texturing.
Workflow was as follows:
Flat subdivide the plane, store a morph target to be able to erase the patterns, use a chisel brush with wrap mode and thick skin on, store the diferent patterns in layers so it makes iteration easier and gives the ability to blend diferent layers together to generate new effects. this also applies to the the previewsly mentioned tech pattern. Also used Arraymesh to preview the tiling before commiting to any pattern:
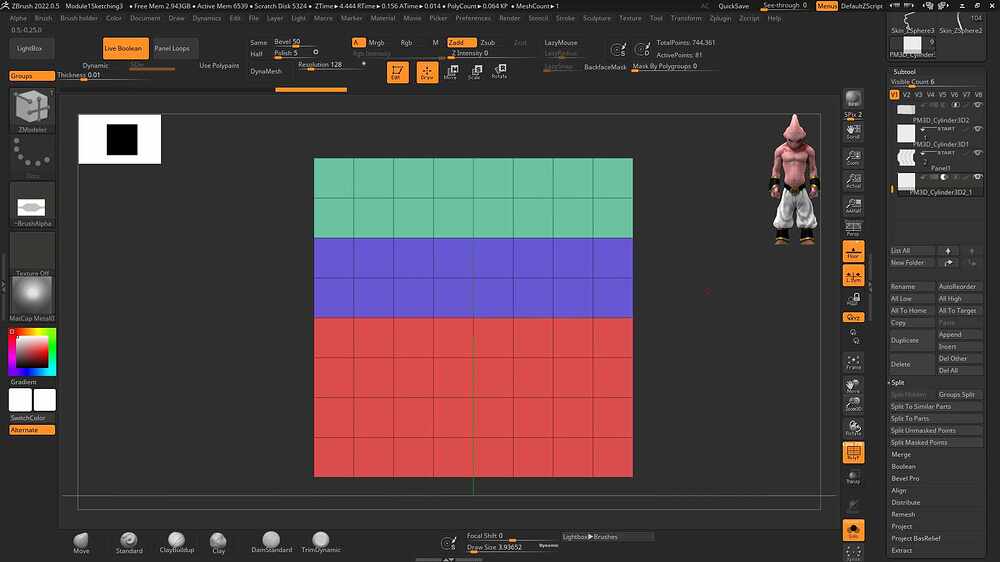
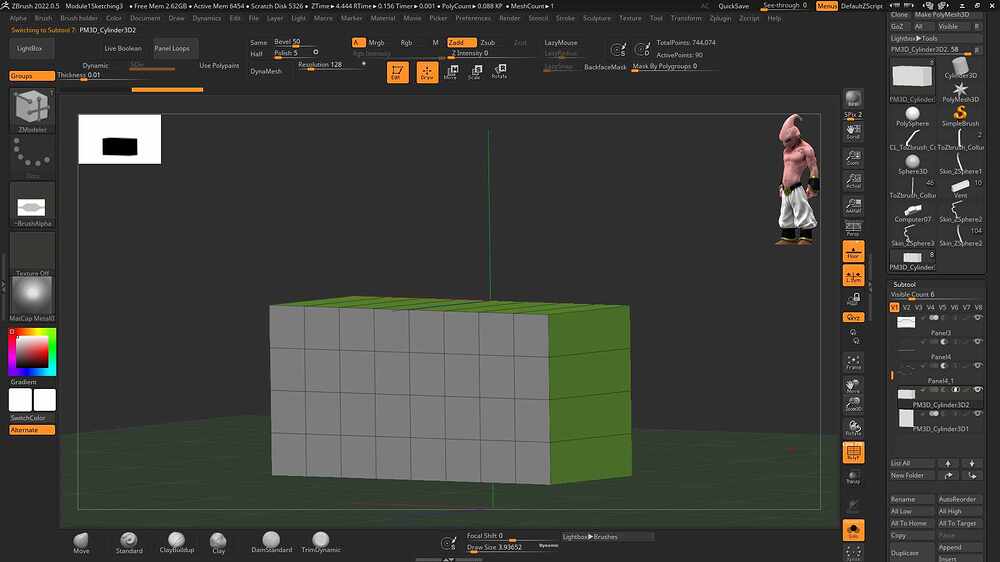
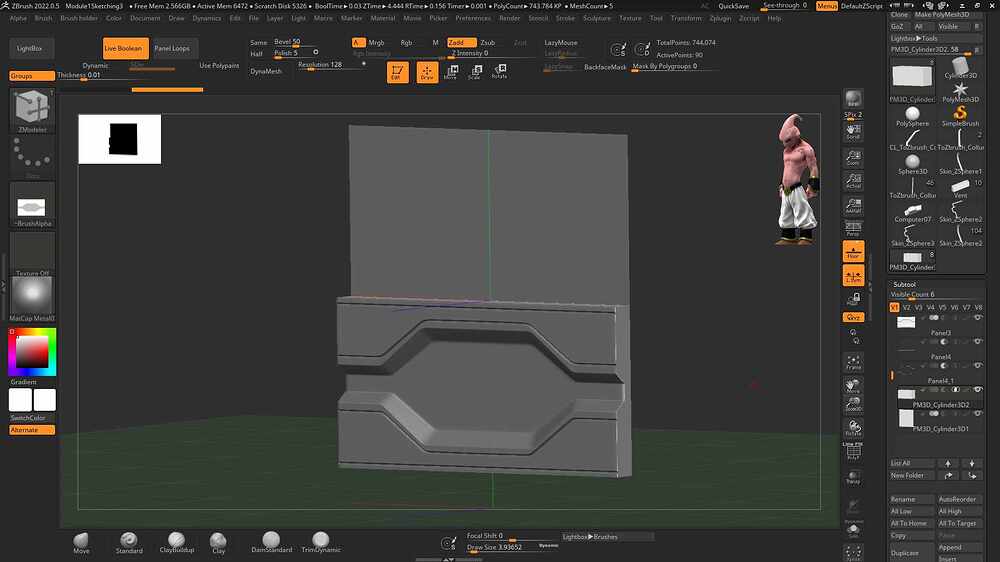
For the Trim sheets I used a basic plane divided in the height according to the 2d resolution desired for each pattern. and then extruded that and used live booleans to keep the sculpt within the ratio of the trim sheet. That allowed me to model without having to worry about ratios since the Boolean would make sure everything was packed into the trim:
(For example: if the whole texture is 1k and I want a 256 height pattern I would extract a quarter of the rows of polys on the plane and use that as a boolean for thsubtools that incorporated that part of the trim sheet)
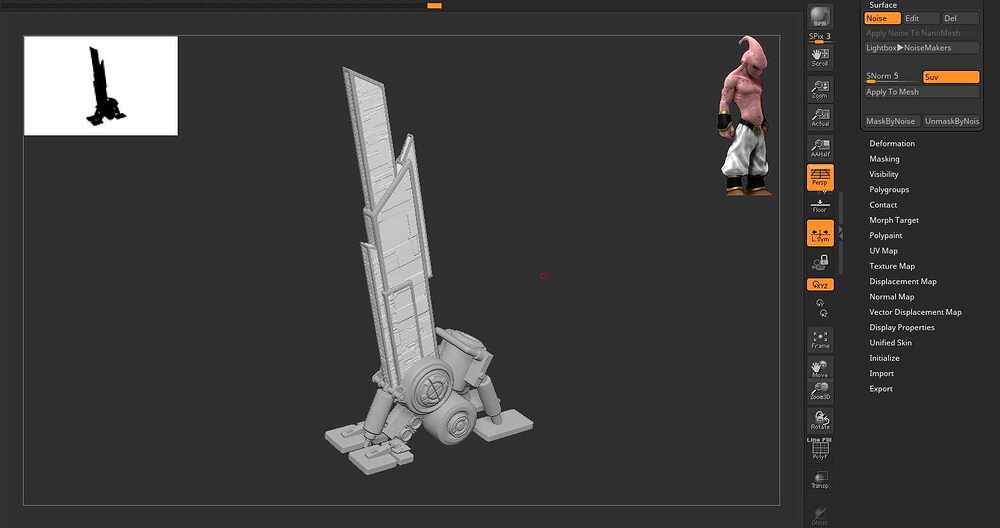
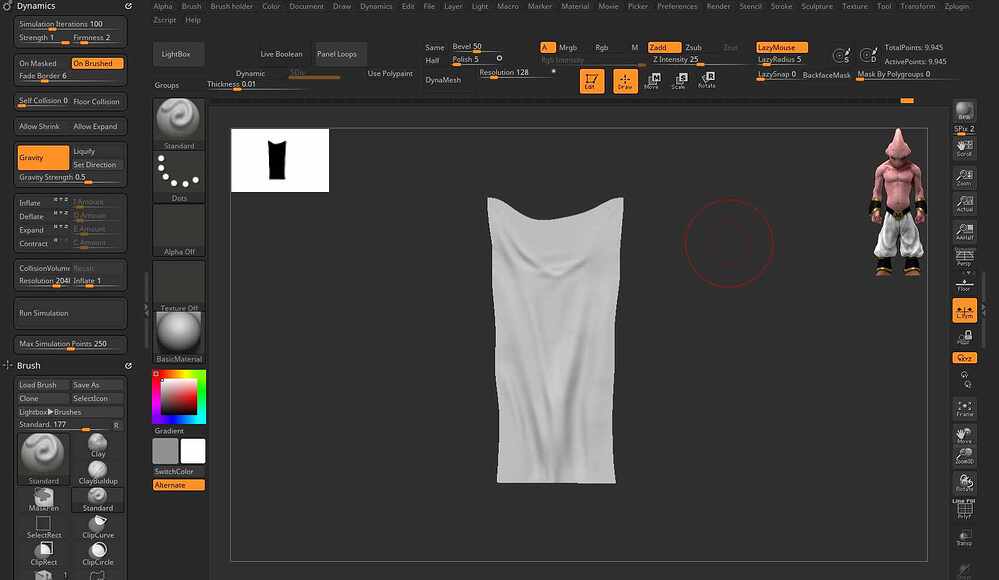
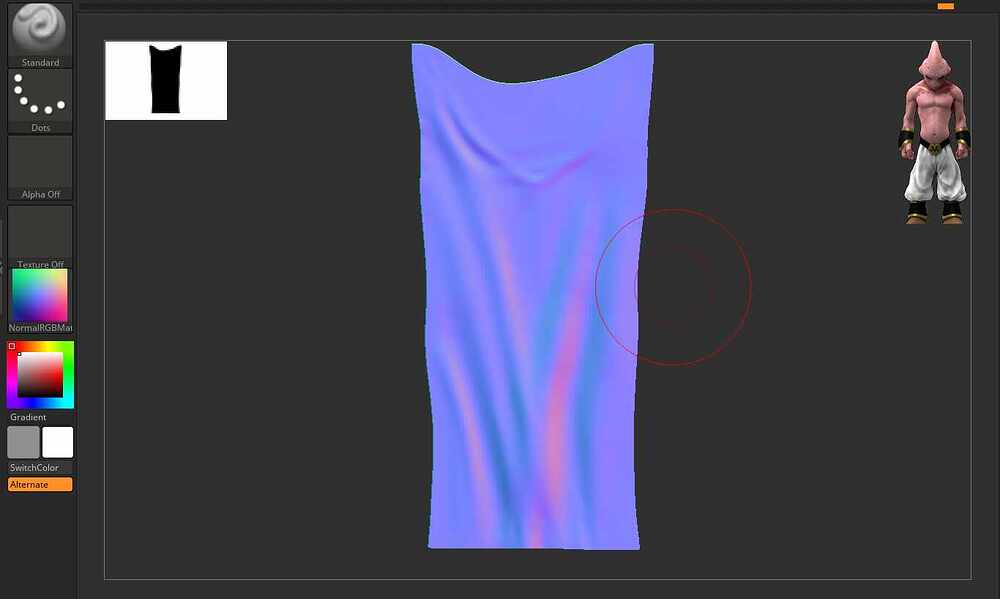
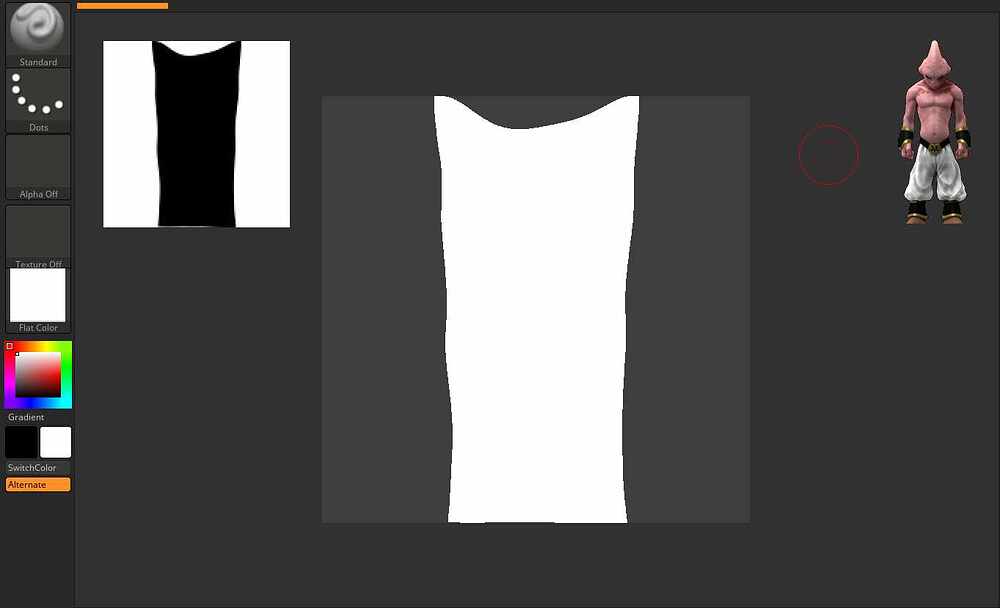
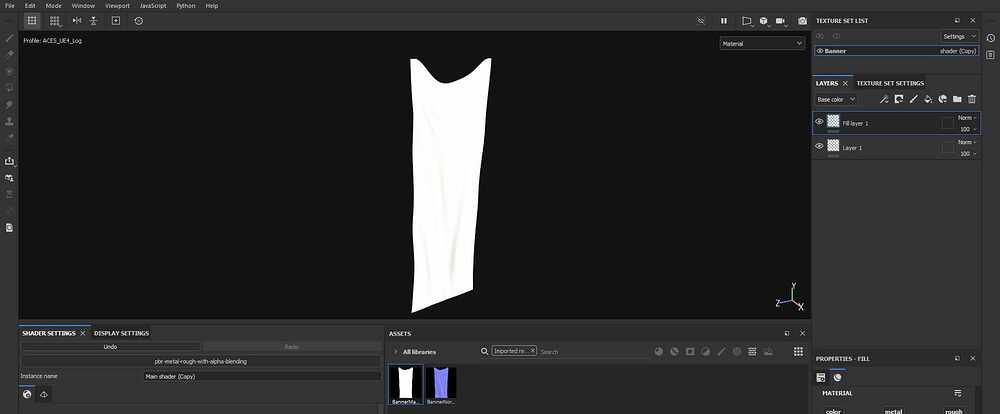
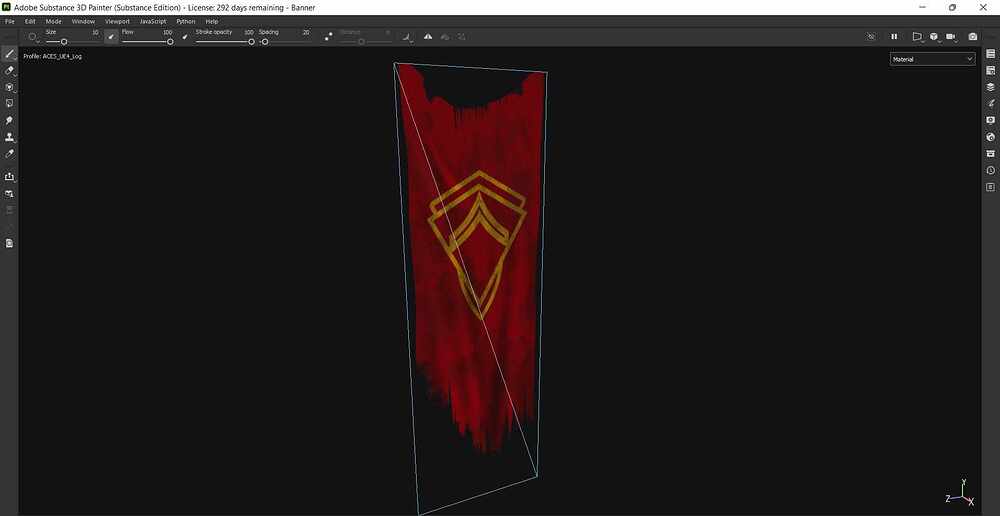
I also used Zbrush for some basic cloth patterns needed for the banners:
This one was pretty straight forward, just a simple tall plane and running it trought the dynamics feature set in Zbrush to get some simple folds and then extracting the normal using an RGBnormal material and extracting an opacity mask using a flat shaded material. then I just painted some wear on the opacity channel in Painter and voila!!! 
