thanks for the heads up man! I bought your other books and loved them. I glad you covered all the new features! Hey, what is the release date that we all can buy it? do you have that info yet? I love your new cover art! its great man! 
Introducing ZBrush should be out in February 2011. The book was delayed a lot because the release date for ZBrush 4 was pushed back. I pretty much rewrote the damn thing twice!
I’ll post a link to the amazon listing once the publisher puts it up there.
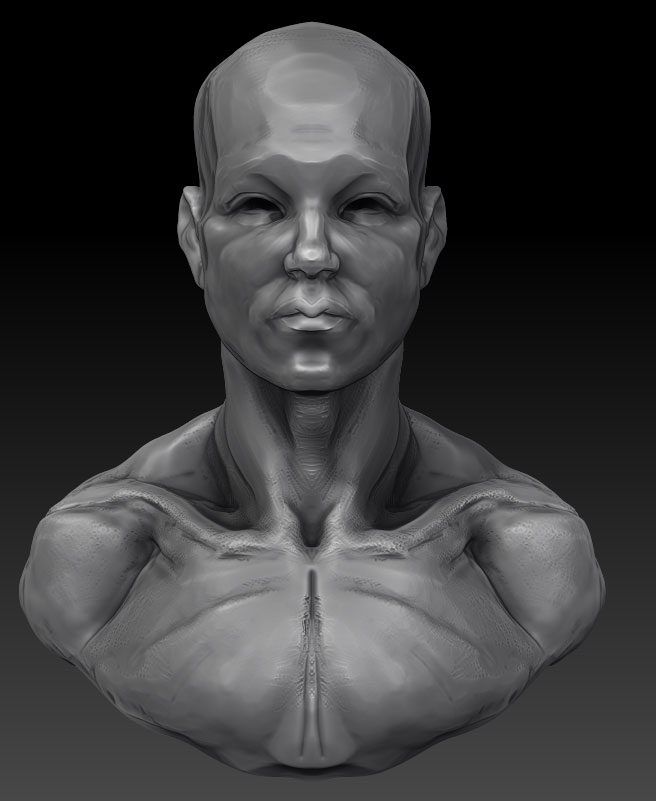
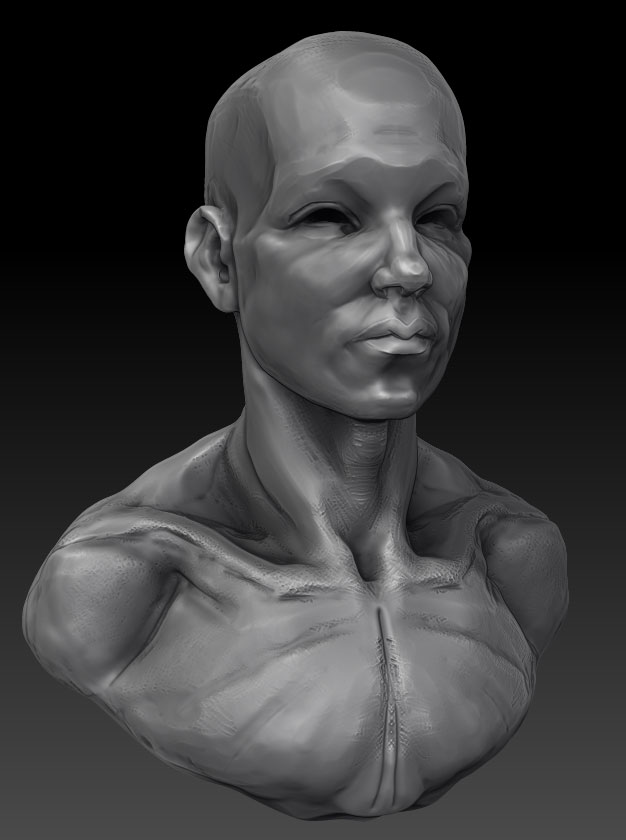
Just a Thanksgiving day head study for practice (while the wife cooks). 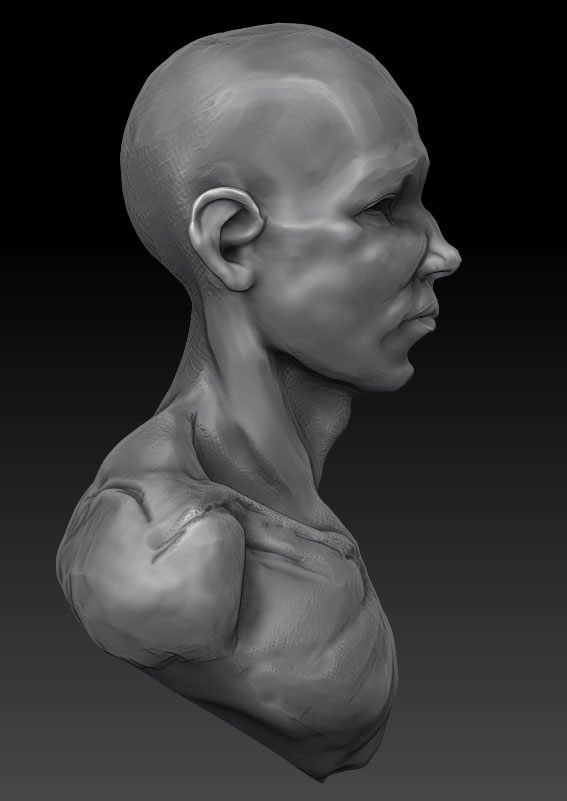
Some mechanical doodles I created during the ZB4 beta using shadowbox, matchmaker, and various clip brushes. Not sure what it is but I think it makes espresso.
Cool espresso machine 

Thanks Geert!
Always enjoy your work!
Fooling around with shadow box and matchmaker to make an overly complex-abstract robot head.
thats looks great…
how was that done then?
When I get a chance I’ll try and do a more complete video but the general idea is explained in the vidoes i did for ZClassroom:
http://www.pixologic.com/zclassroom/homeroom/tutorial.php?lesson=zbrush4
Check out “Shadow Box Alphas” and “Matchmaker Basics”
Hope that helps. “Matchmaker Basics” shows the robot head at the end. the whole technique is just a combination of making cool surfaces in Shadow Box and then using Matchmaker to make them conform to the shape of a character’s head.
Here are a few painting I created using ZBrush as a starting point. The images were completed in Painter. i’m working on creating an animation based on these images.
i’m digging those last images - fungal nebulas!
looking forward to the animation.
Your great classes and book has really created some inspired and learned students! If anyone out there wants a great zbrush class with fantastic teacher take Eric Keller’s class! Get his book! No he didn’t pay me to say this, yet! 
wow out standing work. i like Medusa
Thanks Mark - I owe you a coke I s’ppose!
Hoping to take your class at some point but I think I have to do some actual work next semester at a studio. Maybe the job will fall through and I’ll hang around in the back of your character modeling class!
Eric you are welcome anytime! Its a privilege to get students after you have had them! Good luck on the studio gig. I’m going that rout soon freelance is getting old I miss that collaborative environment. I’m loving teaching though and being able to work on my own stuff as of late though! Holla Honkey!
If I go to a studio it will most likely be freelance (like a small studio) I’m not giving up my teaching gig though - it’s too much fun!
Hey Guys, i was inspired by Julian K’s Hypertoon material so I created some toon-type materials of my own using a MatCap material. Its super easy and a lot of fun. I used these in my monster car project (see earlier post in this thread).
A MatCap material uses a texture to determine how to shade a material. If you’ve used the Mat Cap tool before you may have an idea how this workd. essentially a simple image is created by sampling colors on the canvas. the resulting texture can be see at the bottom of the MatCap modifiers subpalette of the Material Palette. The circle in the texture tells Zbrush which colors to apply to the surface based on the normal direction of the surface.
The Mat Cap tool takes some practice to use. I did an online video laste year that shows how you can use it. it in the ZClassroom under artist tutorials http://www.pixologic.com/zclassroom/homeroom/tutorial.php?lesson=webcast (see Eric Keller).
But there is a MUCH easier way to create MatCaps as many of you may know. I’m sure I’m not the first to post a tutorial on this but I thought I would post my own method anyhow.
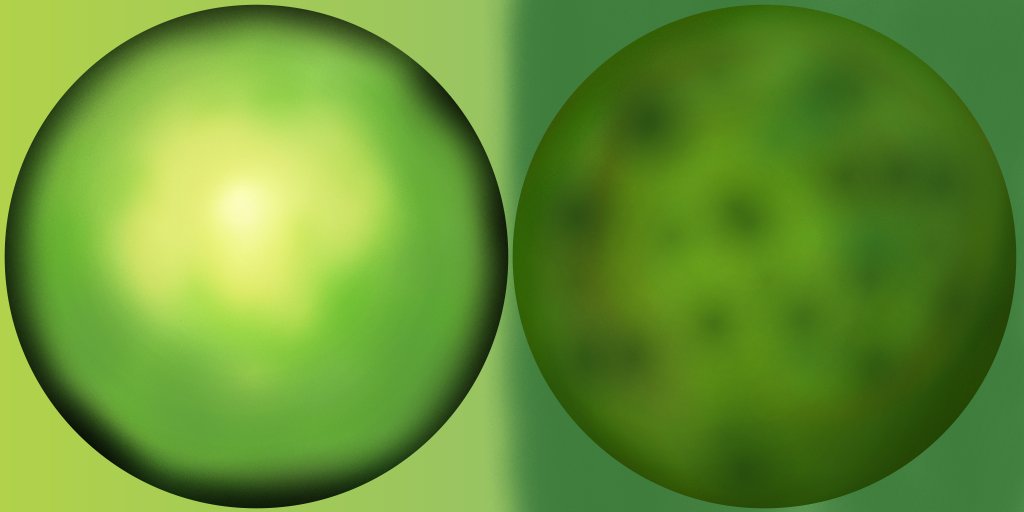
All I did was create a simple square image in Painter (or Photoshop) and paint a circle that goes all the way to the edge. Within the circle I painted some smudgey type toony colors and I made sure that the outer edge of the circle was dark - this creates a dark toon like edge to the surface. Here’s the texture I painted for the Flame in my monster car scene:
here’s what I painted for the monster skin. In this case I created two circles for the A and B channel of the MatCap material:
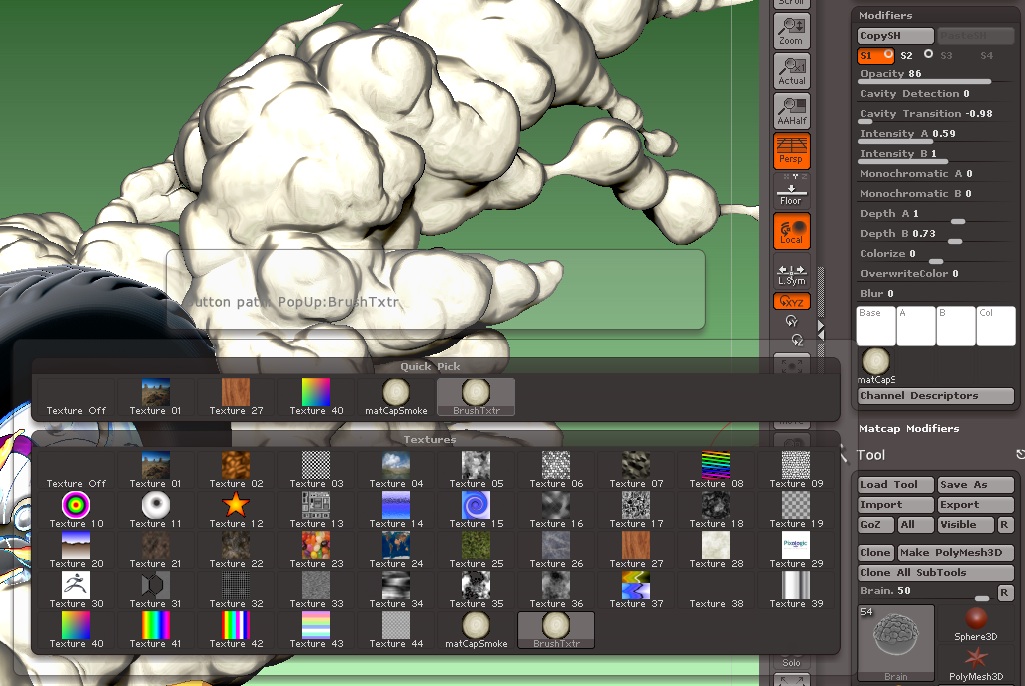
I saved these as PSD and imported them into the Texture palette. Then I selected a MatCap material such as matCap white from the Material palette. In the MatCap modifiers I clicked on the sample image to open up the texture browser and selected the imported image. In the image below I’m importing the image I created for the smoke.
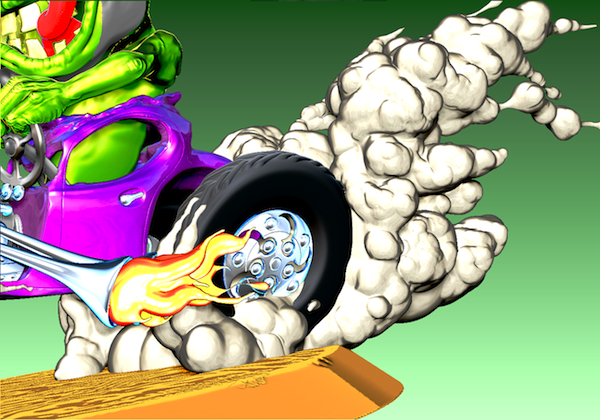
I modelled some smoke coming off the tires using ZSketching and then applied the material:
then rendered using BPR with transparency enabled. BPR transparency is demonstrated in this video: http://www.pixologic.com/zclassroom/homeroom/tutorial.php?lesson=zbrush4 (watch the BPR video).
Here’s the render:
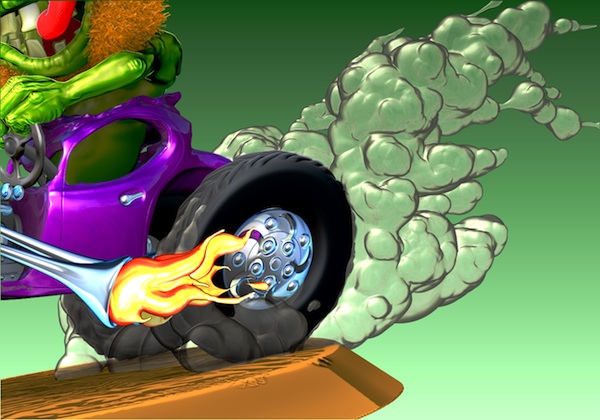
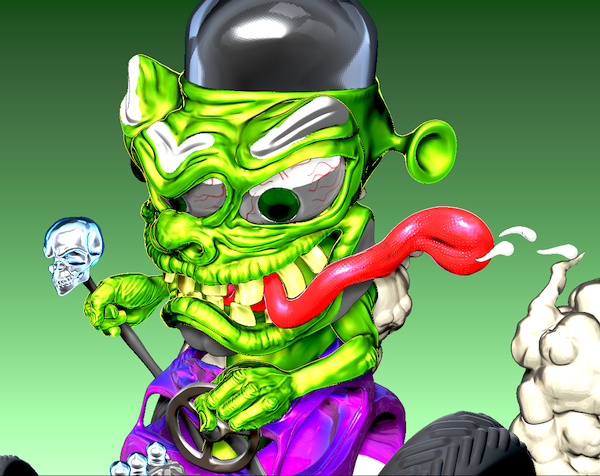
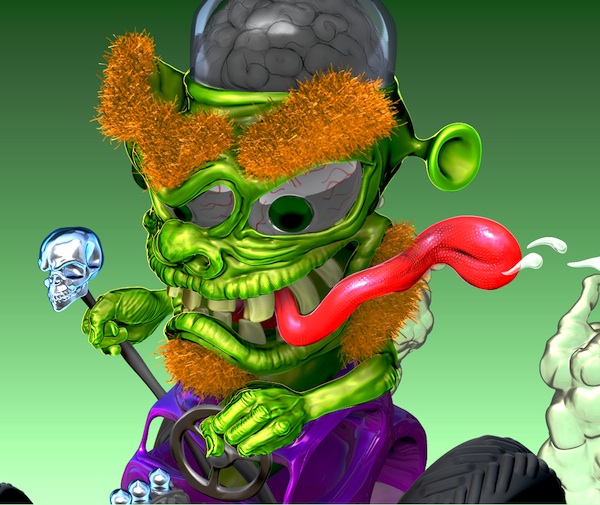
For the monster skin I copied the MatCap I created using the monster skin texture into a material with two shaders and used the second shader to create the shiny look. Here’s how it looks in Preview mode:
and then rendered with BPR:
I know this is brief but hopefully it will inspire you to create more cartoony and illustrative materials. if I’m repeating something another poster has done before I apologize, I just wanted to do a quick demo in case anyone was interested.
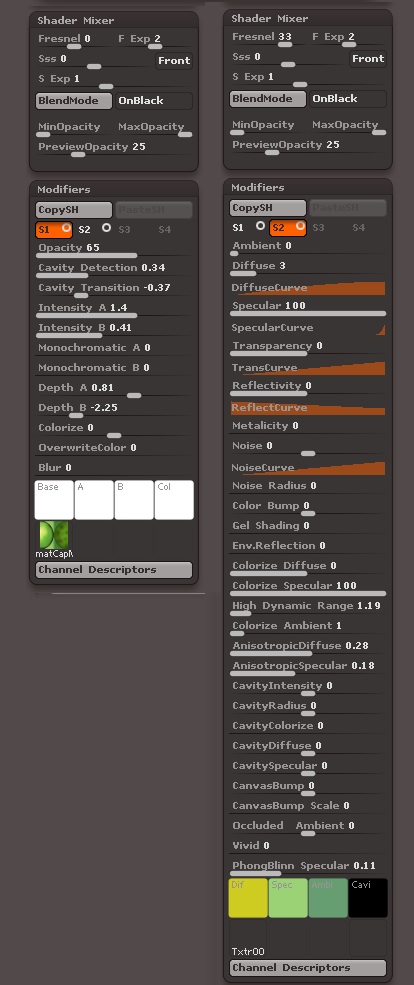
here are the settings for the two shaders in the monster skin material:
The Blend mode for Shader 1 is set to Overlay BTW.
The materials are too big to attach to this post. I’ll figure out a way to post them if anyone is interested - The image size for my matcap textures is probably too large.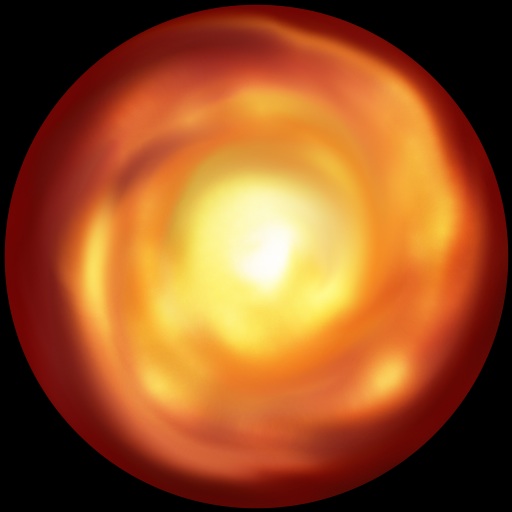
Found on the hard drive. A ZBrush+Painter experiment.
Very nice
I have always wanted to try painter, do you prefer it over photoshop?