I get strange squares on my model when I render with the normal map applied and it only happens with the normal map applied yet there is nothing wrong with the normal map, at first I thought it was because of the tiled uv layout so I tried it using uv spherical and the same thing happens. I examined the bump map and I see no squares on that…
I have tried two methods of exporting the normal map from zbrush, I have done it using the 3ds max configuration in zmapper and I have tried exporting a displacment map and then converting that to a normal map using another program. Both methods produce the same out come with the strange squares.
This happens with everything I create and it is so frustrating!
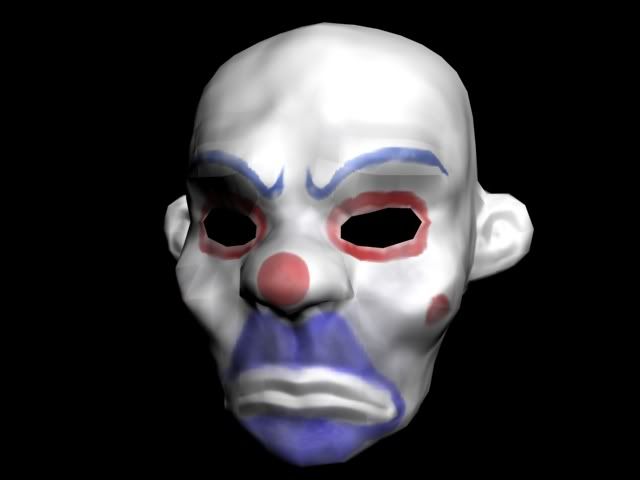
here is an example of what I am talking about
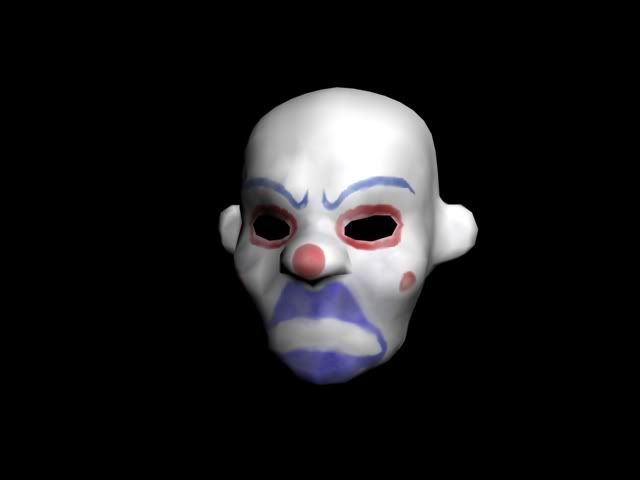
and that same model without the normal map applied…
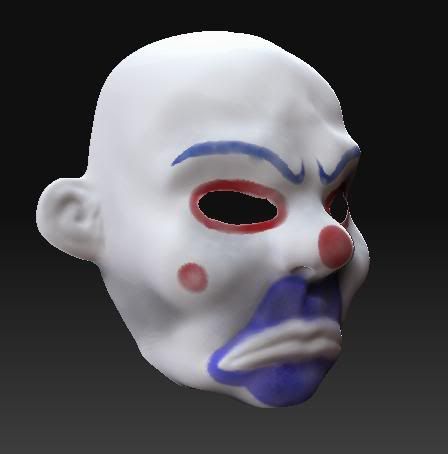
and the model from zbrush to show that it’s not got those squares on the high poly