ZBrushCentral

NickZ Video Tutorials

Smeagol - Would you mind posting some images of your model before and after you project? Could you please let me take a look at your base mesh in with wire frame turned on as well? This will help me give you advice on how you might go about fixing things, because for the most part I am getting a really clean projection, I do have problem areas as well but I have been able to deal with them for the most part.

Thanks,

NickZ.

thanks again and sorry for the late replay , i was pretty busy .
finally i make some tests with that functin ( project all ) with other model
and it works pretty good .
its very cool if you know how to use it :lol:
about my model , there is a problem in the eyes and a little bit in the mouth
i think its becouze the mesh have open hole in the both cases
but i am not sure .
here is my model ,it will be great to hear some suggestion of how to fix it .

[attach=84660]beforeandafterprojection.jpg[/attach]

Attachments

beforeandafterprojection.jpg

Smeagol - I have run into this problem before. What I do is this.

  1. Take my smoothed model at the highest sub level and store a morph target.

  2. Transfer the detail with the “project all” button.

  3. Take my new topology with the new projection and then I hit the “switch” button in the morph target area. (This will give you back you smoothed model.)

  4. use the morph brush to paint/sculpt in your projection. (Make sure to stay away from your problem areas.)

  5. Re sculpt in your missing detail.

Hope this helps,

NickZ.

[attach=114454]BuildingEnvironments_01_ZB.jpg[/attach]

NickVideoIcon.jpg


Attachments

BuildingEnvironments_01_ZB.jpg

You can hide mesh parts for both the target and reference meshes so that when you ‘project all’ only the visible mesh gets projected. That can give you a bit more control of the tool.

Revanto :stuck_out_tongue:

PS: In regards to your mesh, try group both meshes separately at the middle of the eyeline then ‘project all’ in two parts: the top of the head and the bottom of the head. Also, Project all works best when there are no holes in your mesh unfortunately.

Wait a minute. How’d I miss your new thread? You sneaky bugger you. haha.
Cool to see a tut thread from you. You keep giving. Where do you find the time? haha.

Hope your well bud. Look after yourself. Chat soon.

Cheers
Brett

Edit: Ah! Its an old thread! haha. Nevermind:P.

Thank you so much for this awesome tut!

Is it possible to download these? I’d love to have a library of video tuts on my laptop, without need to be connected to the internet. I also have a smart filter block on streaming videos at work, which is part of the problem. :confused:

hey nickz, this may be off topic but i wanted to know ur opinion… right now i have maya and zbrush, i was thinking about adding another program to the mix… im trying to decide between lightwave and modo, and they are both around the same price… which do you think is better to assist modeling? they both have nice symmetry and a nice subdivision system, i jus havent used either i dono which one is more powerful/useful for modeling

Great video Nick! Always cool to see videos on creating environment assets.

Revanto- Thanks for the tips on this, I was unaware so thanks for sharing! Very cool of you! :slight_smile:

brettSinclair- Brett…buddy! Time is the enemy is it not? Doing good, thanks for asking. Hope all is well in your neck of the woods. Old thread with some new updates! :slight_smile: Keep going on you Fathom model…she’s looking good! :slight_smile:

Goodrichm-No problem.

Womball - I think it is possible to download the Veoh video’s, you have to have account. I know for fact that you can download the Vimeo video’s. Sign up for an account and you can download the HD video right off of the site.

Konjo - I wish I could tell you the answer but I have not used either one of the applications. I konw that most Lightwave users are real die hards, I heard that it is great for modeling. What I have seen from Modo is very nice. Perhaphs someone here can speak for the app that they have used.

Sasquatchpoacher - Thanks buddy! Always cool to see your latest and greatest! :slight_smile:

[attach=114674]buildingEnvironments_Part_02_ZB2.jpg[/attach]

You can now see these video's in HD directly off of my blog. Use the controls in the vimeo play bar to view full screen, while in full screen you can turn of screen scaling on and off. Video is in 1280 X 720. If you want to download the full HD video visit the location where the video lives and log in to vimeo using your account (have to join to do this.)

icon.jpg

Attachments

buildingEnvironments_Part_02_ZB2.jpg

[attach=114762]BuildingEnvironments_03_V2.jpg[/attach]

icon.jpg

Attachments

BuildingEnvironments_03_V2.jpg

Hey Nick.

Thanks again for bringing these out.

Keep well bud :+1:

Very nice of you sharing your knowlage with us!
I apreciate it!

Never thought of doing something like this in zbrush!
have to try that out!

cheers!

Wow thanks for the tutorial nick, BUILDING A COLUMN, the pop up info box is fantastic.
From this one video alone iv learned so much but the info box is great,
reading things stick in my head more than trying to remember what iv seen.
I use zbrush on a basic level but with this kind of knowledge you’ll be watching my videos by the end of the week… Hahaha
And by the end of the next week… Ill rule the world…haha
cheers mate, it’s a great help, THANKS

Thanks for all great videos. I love them all!

Thanks just watched your ZProject vid, much appreciated.

Thank you so much for this Nick! As a beginner it’s great to see and listen to someone who knows their stuff :slight_smile:

But I am still on my journey to understand retopology and what it does! To be the batmobile!

Hello there fellow ZArtist,

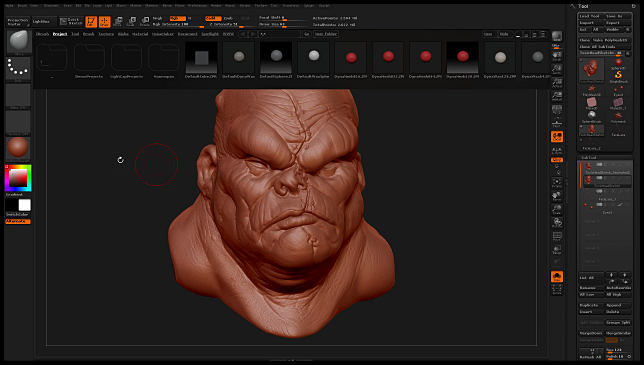
It is sad to say…but I forgot I even had this thread…well I have something new for us to look at!! Yeah!!! I just finished up making a video that covers how we can uses some awesome comic book ZBrush shaders that were created by the artist Mathieu Bernier (AKA MATEO/M4T30)

Click Here To Download the Shader Pack

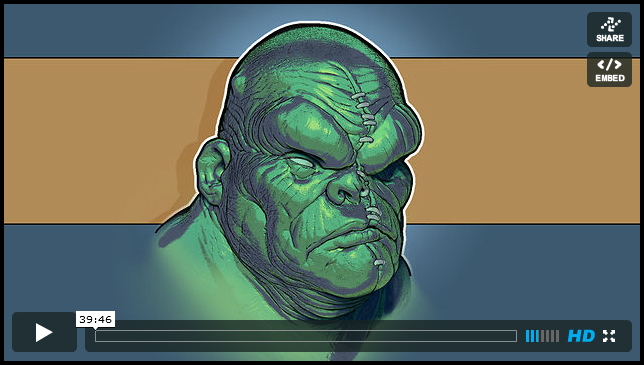
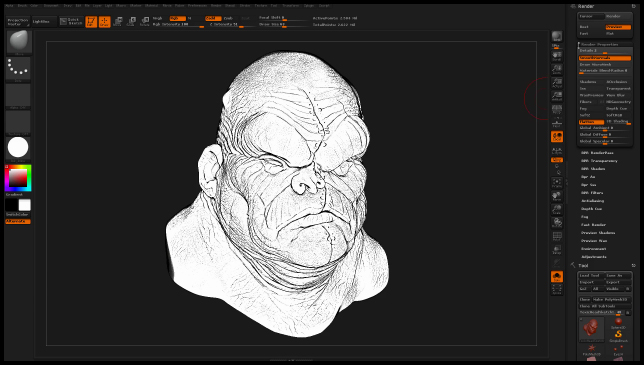
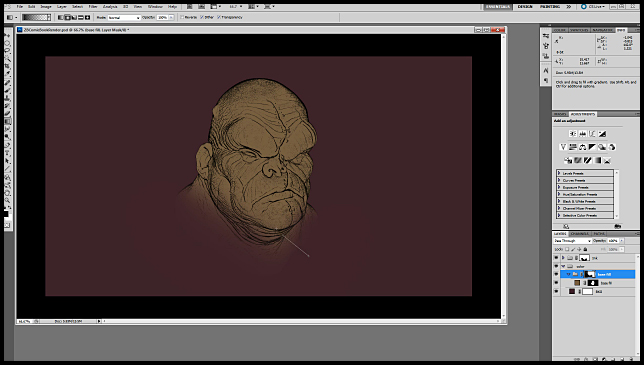
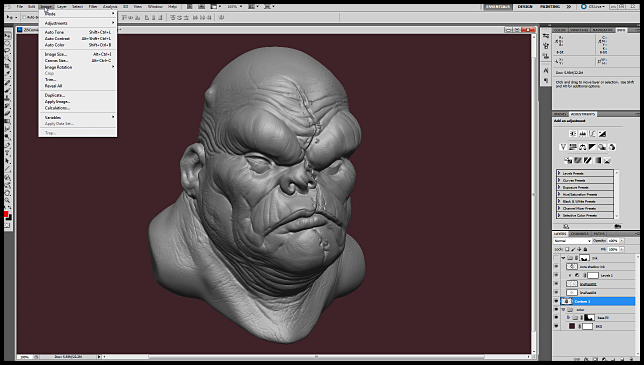
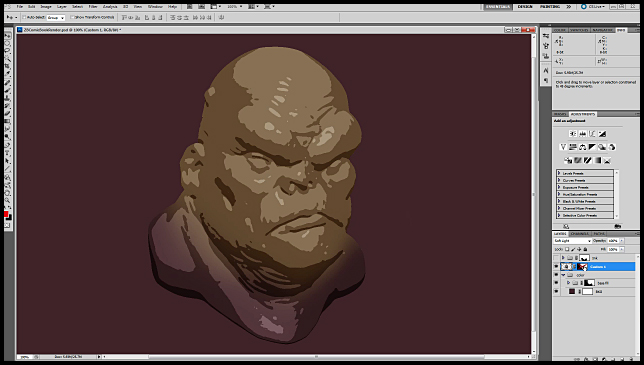
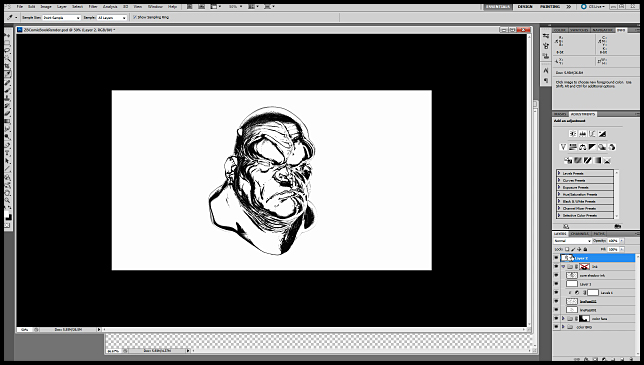
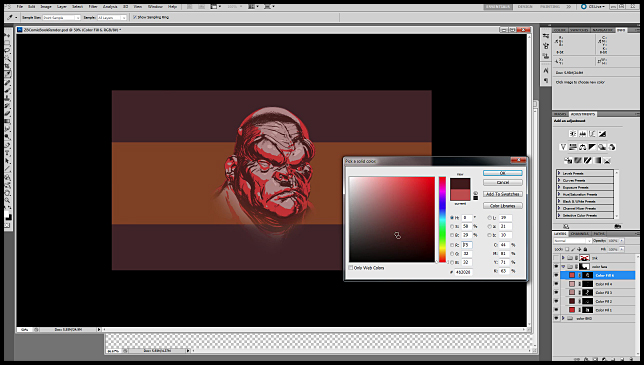
In the video we take a look at how we can use these shaders to kick out really quick and cool looking line work from ZBrush, then we harness the power of ZApplink to send our images over to Photoshop quickly. From there I will be showing you how to harness the power of Solid Color Layers in Photoshop. (Really Awesome for quickly making color combinations and color changes.)

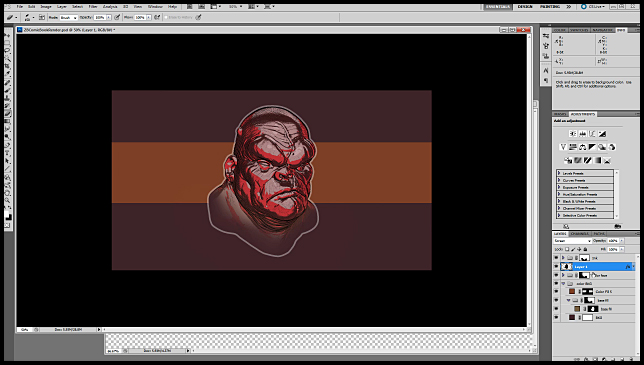
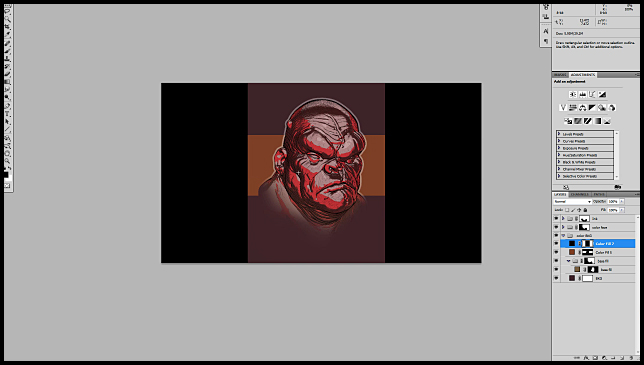
We will also be looking at layer masks, layer groups, the gradient tool, how to create thick outlines around your illustration, how to take a gray scale render from ZBrush and turn that into more of an illustrative look that we can convert into interactive color shading.

Best of all the tutorial is free and in HD!

CLICK HERE TO SEE THE TUTORIAL ON MY BLOG!!!

ZBComicBookTechniques_001.jpgZBComicBookTechniques_002.jpgZBComicBookTechniques_003.jpgZBComicBookTechniques_004.jpgZBComicBookTechniques_005.jpgZBComicBookTechniques_006.jpgZBComicBookTechniques_007.jpgZBComicBookTechniques_008.jpgZBComicBookTechniques_009.jpgZBComicBookTechniques_010.jpg

Hope this helps someone out! Peace-NickZ. :slight_smile: