Here is a raw render of the worker. I changed the pose a little.
Attachments
Here is a raw render of the worker. I changed the pose a little.
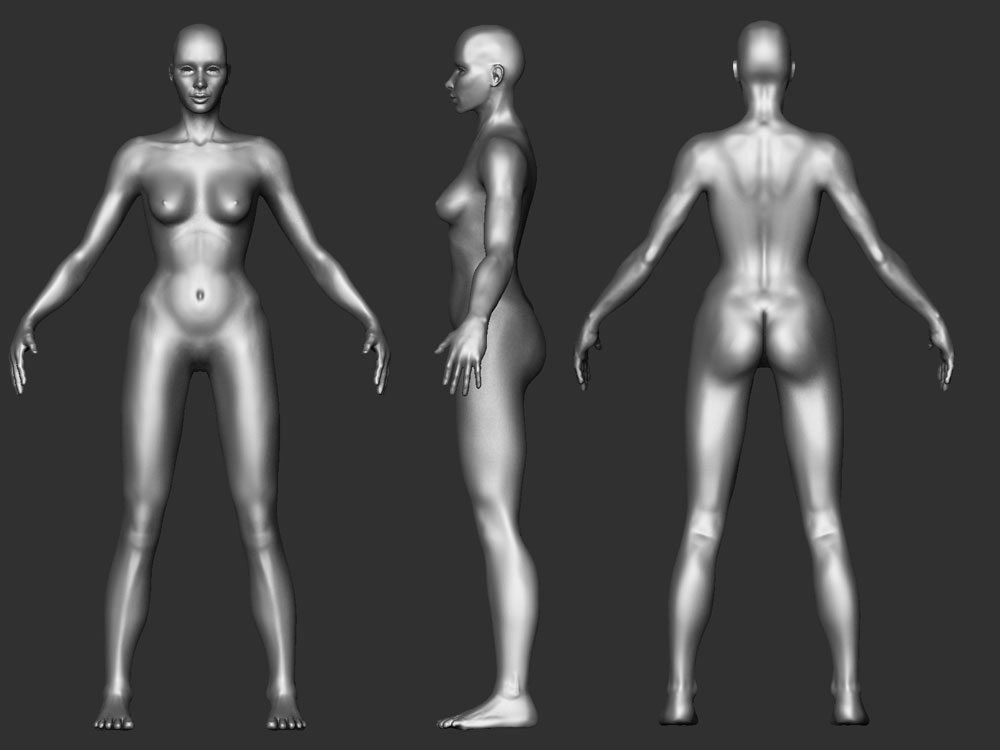
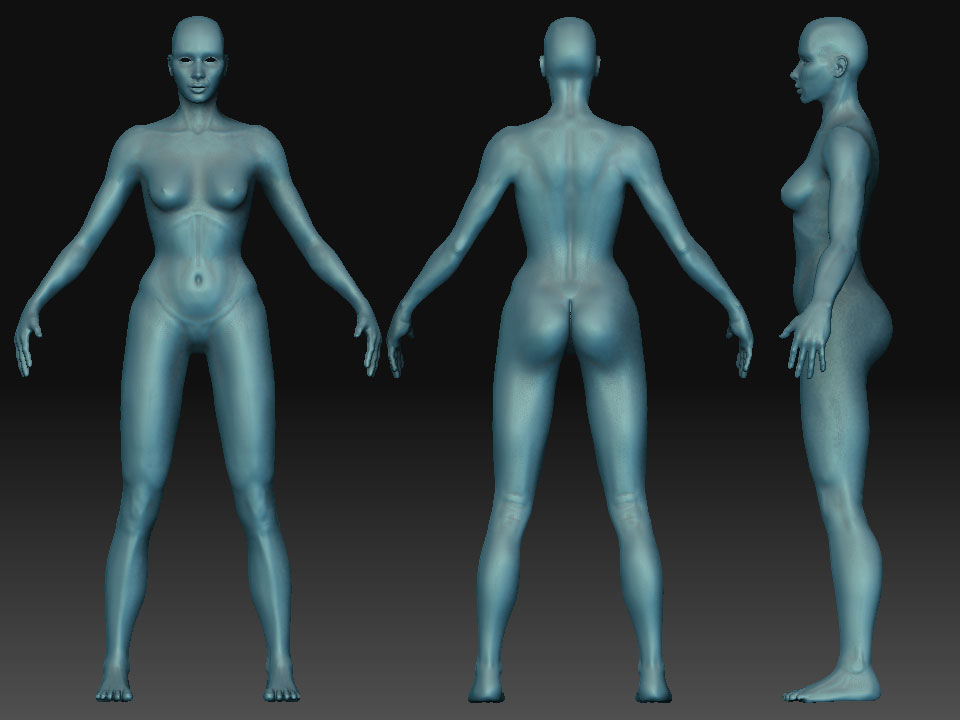
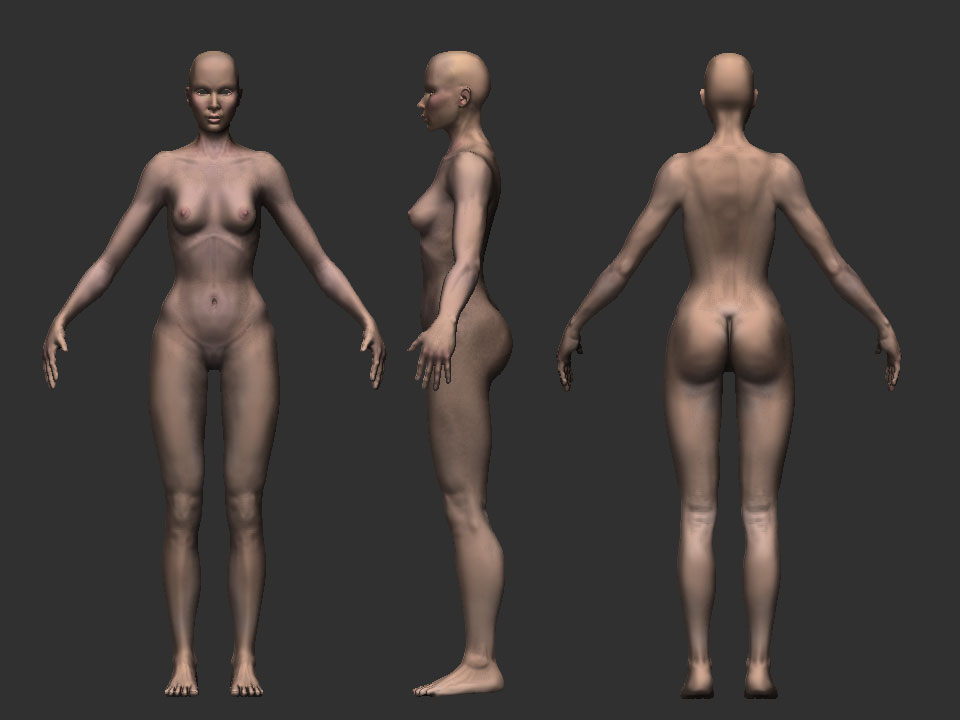
Here is an update on my female anatomy study.
hey matt
the female is looking good. the arms and hands are especially strong. i think the overall gesture of the legs is off a little the lower legs, near the ankles looks a little too chunky. keep it up! and ill be throwing some videos on the media fire account in the next few days.
thanks matt,
I look forward to the files.
I am still working on anatomical stuff. Trying to shape up the body and make it look more natural.
nice update! her…erm…buttcrack looks a little too perfect. i think it needs a little more taper. id post and example of what i am talking about, but i dont think its forum appropriate
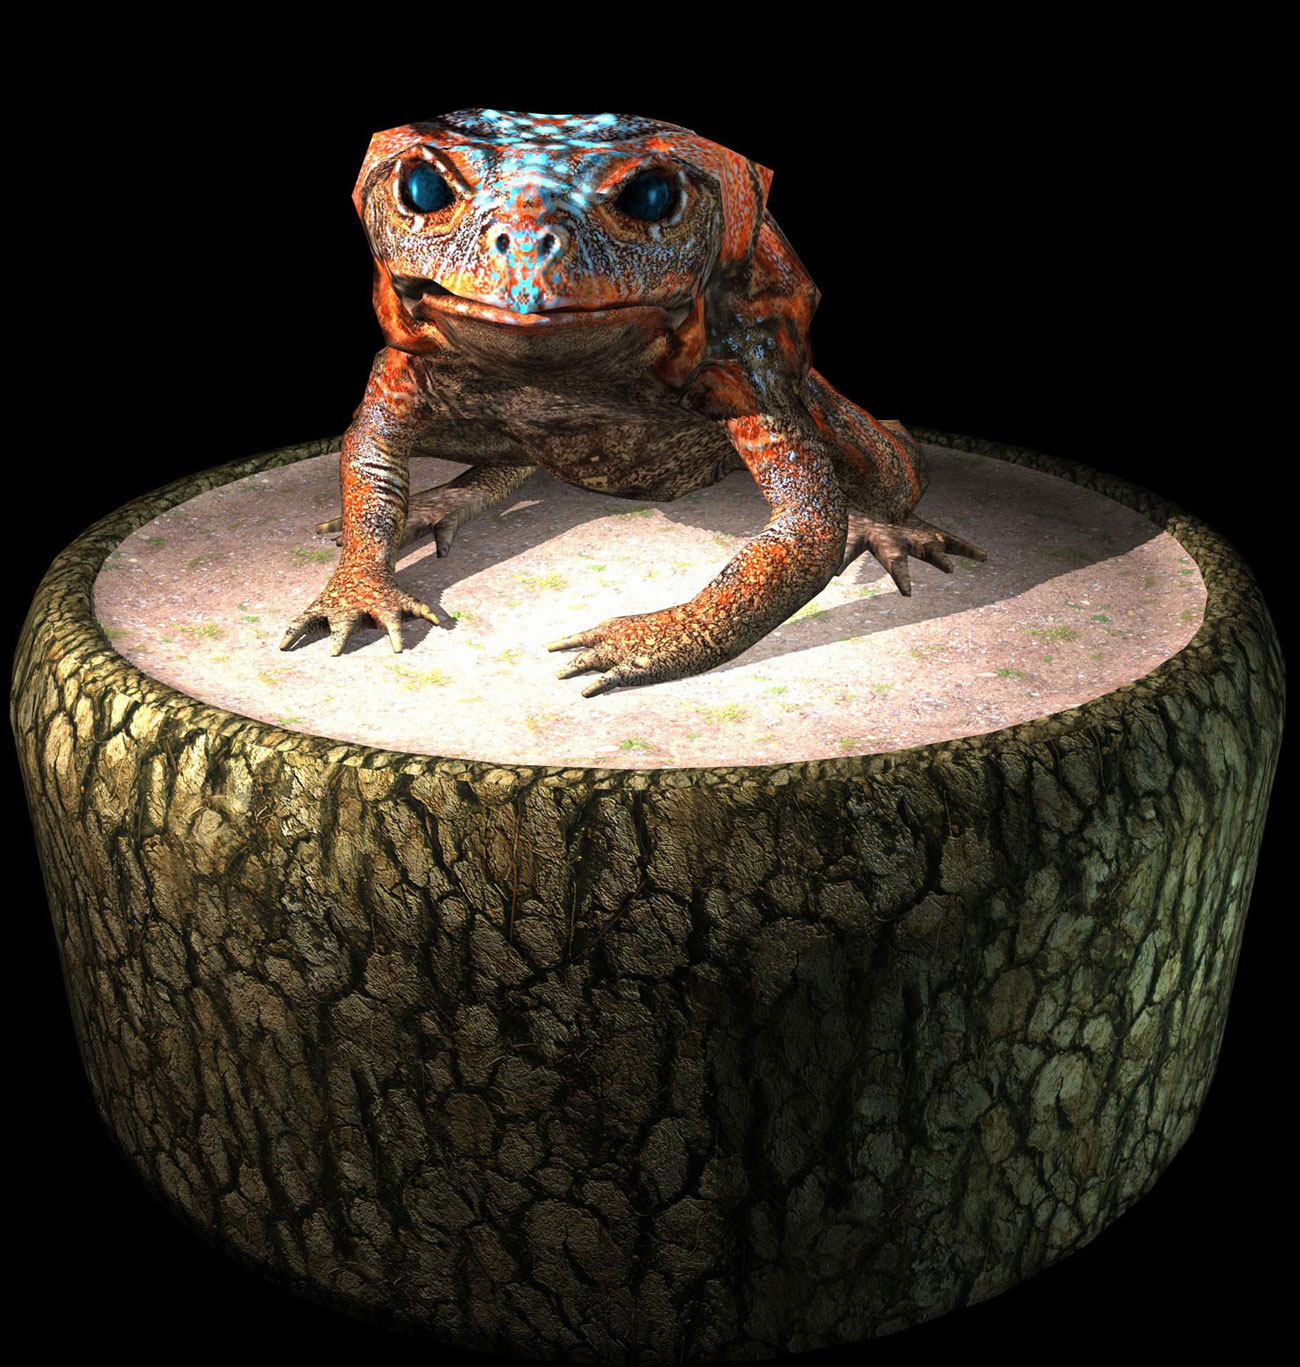
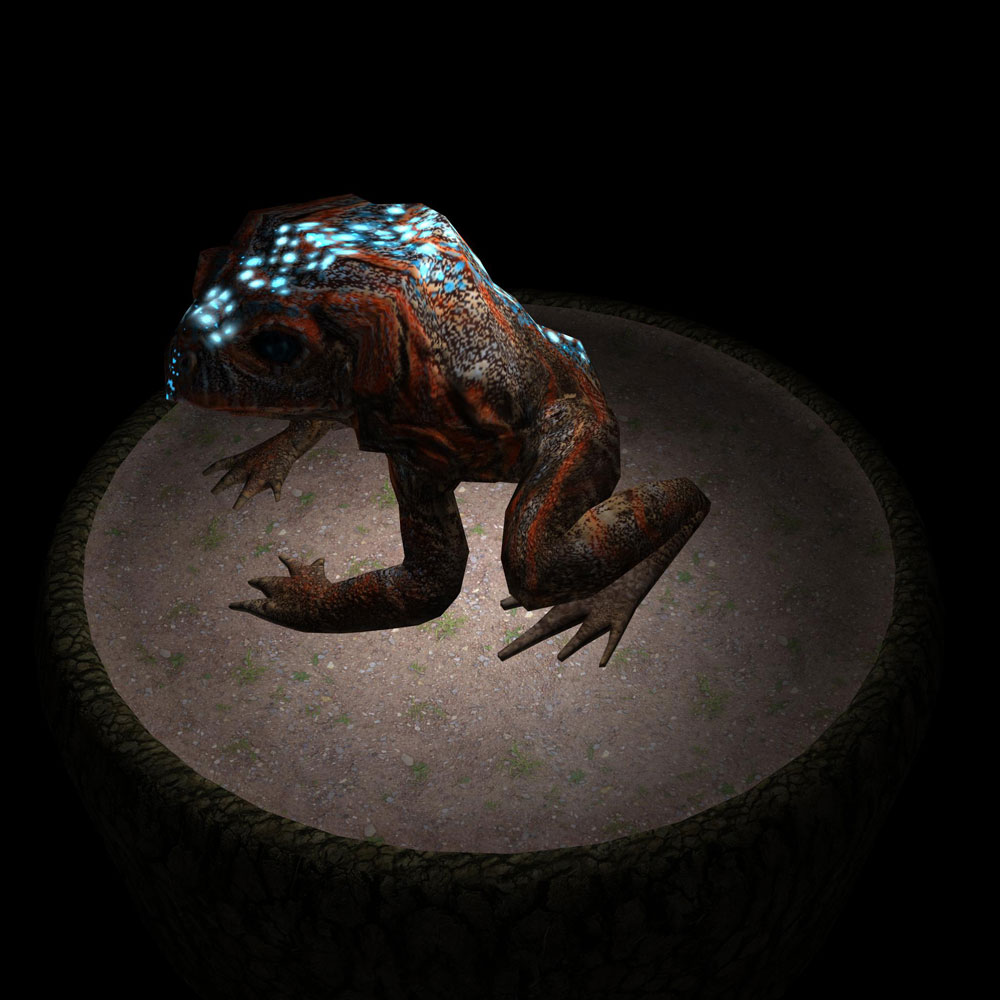
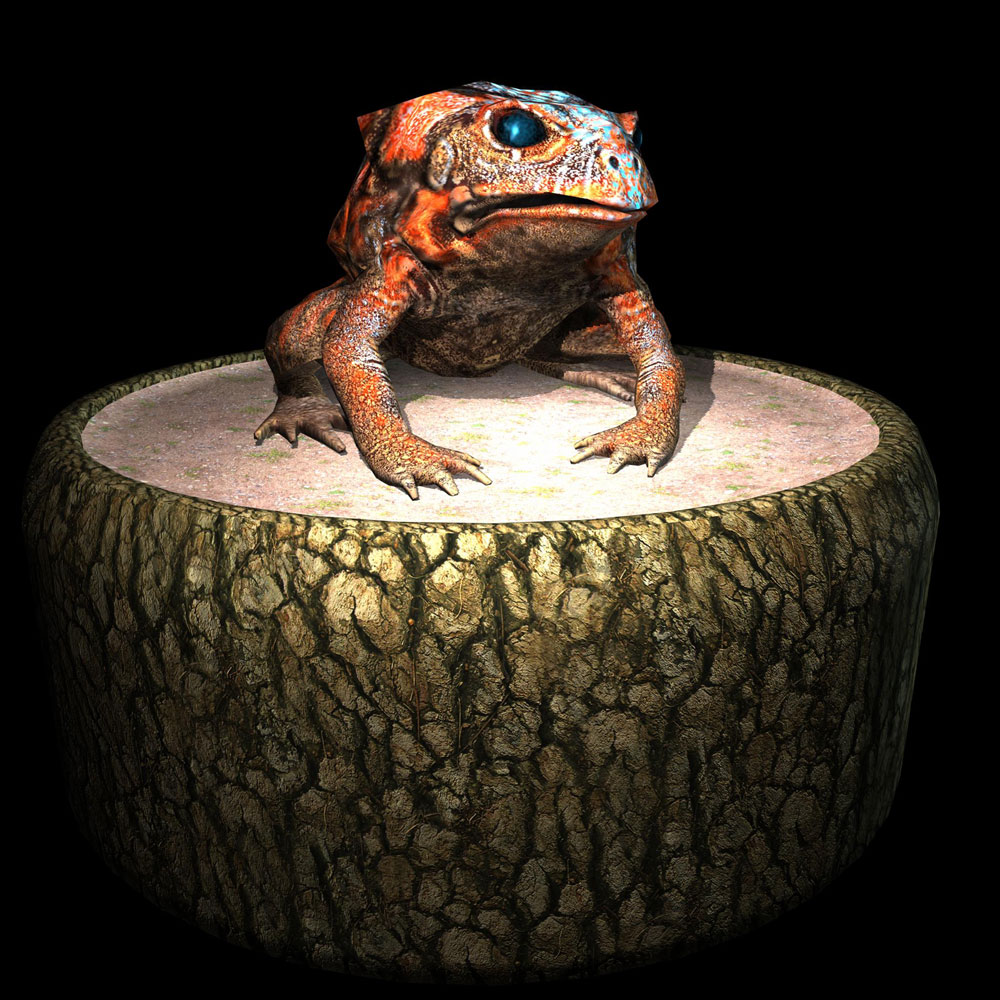
Here is a toad that i spent about 20 hours on. The base mesh is just under 1000 polys.(Does not include pedastal.) This is a hardware render from Maya with 4 spots and an ambient light. It was really fun to sculpt. I was aiming for a fantasy style toad.
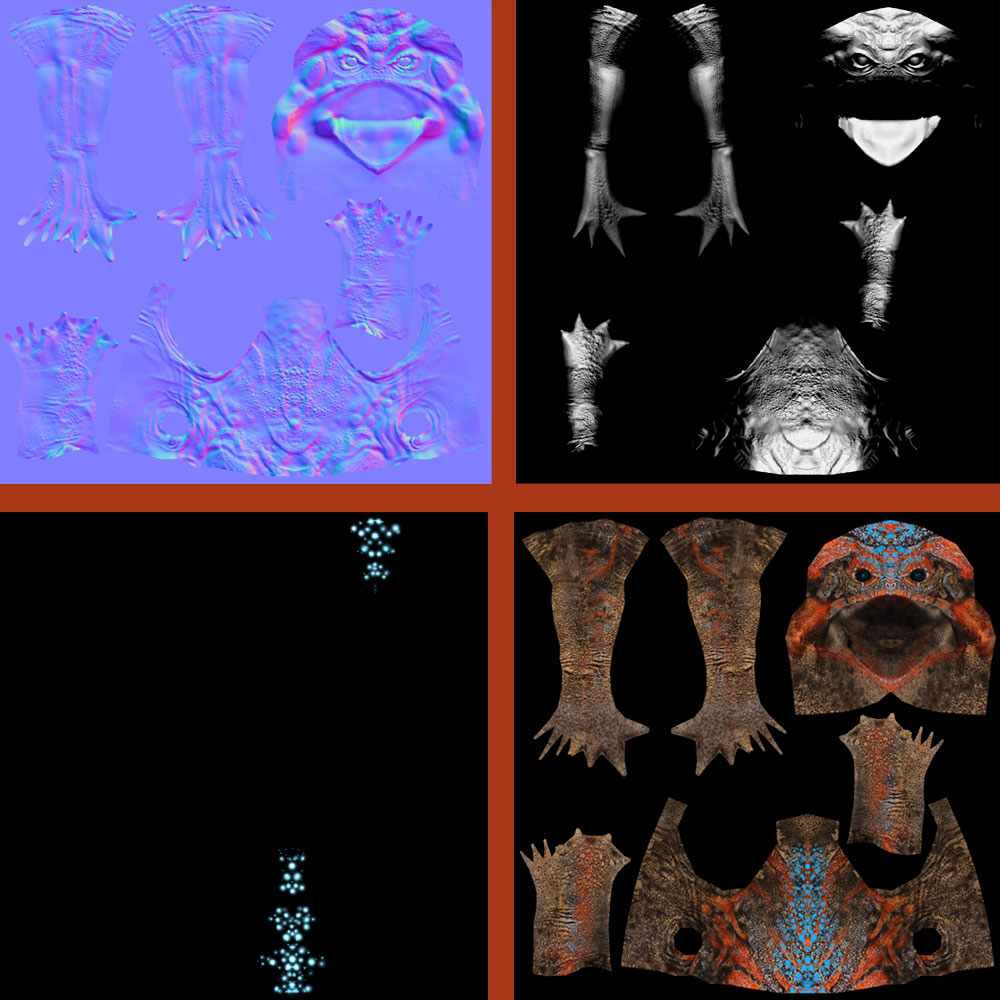
I used Decimation Master to reduce the sculpt down to about 300k and baked Normal Maps in Maya. The color was all polypainted by hand in ZBrush. Ao baked in maya along with spec map. Glow map was made in photoshop. Oh, the bark texture is from the ZBrush texture library!
Rigid but nice, very good textures, and I mean VERY ;)
Thanks for the feedback Cherub Rock. (Cool name too BTW) I am a huge Jimmy Chamberlin Fan!
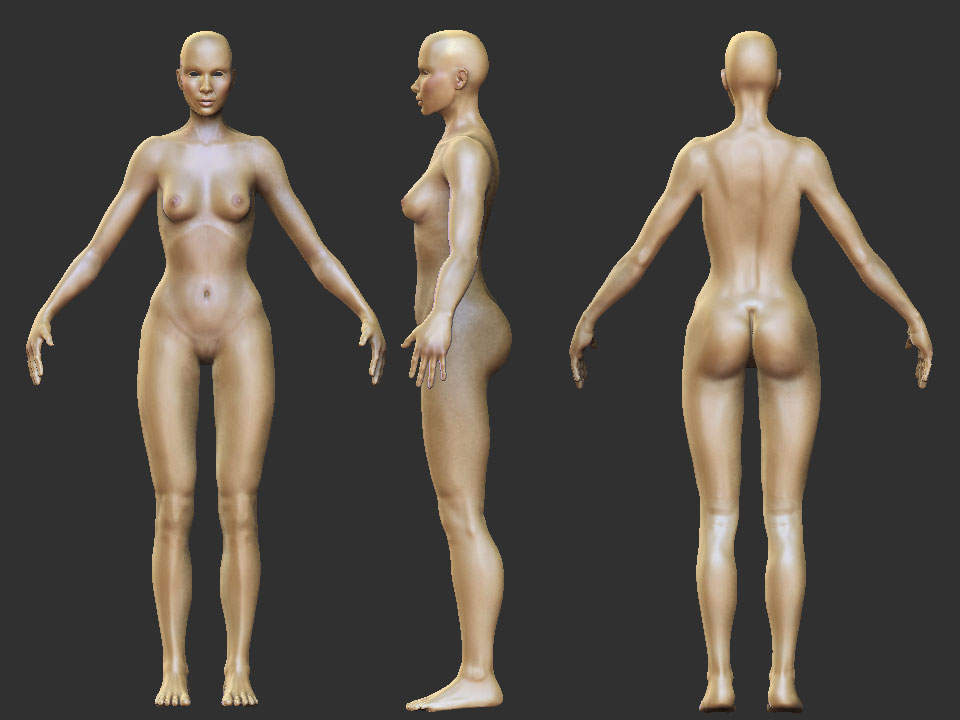
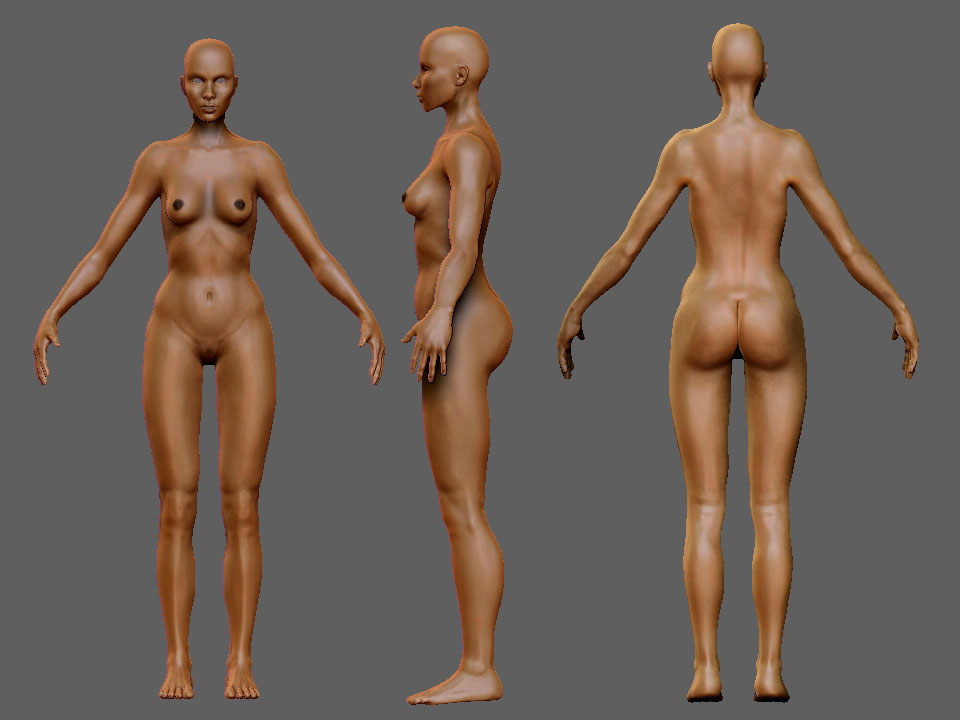
Here are some updates of the female from previous posts. I am going for a natural looking female. The color is a mixture of hand painting and photos. I still need to work on the back and add additional details.
As always, I appreciate your perusal!
hey matt,
i really like the toad! very cool. something out of a fairy tale!
i see that you used an emissive map, how do you go about including that in your shader? will it only show up in hardware? ive heard the mental ray sucks for normal maps.
Hey Matt,
Just paint out the glow and then plug it into incandescence. It will work OK. It looks better in UED3 than in Mental Ray. The hardware render is nice b/c the model is for real time. Using mental ray seemed a bit like overkill, though some GI or FG would add richness. Hey! Congrats on your internship and Good luck!
thanks matt! i am working on some warcraft-esqe (non zbrush) low poly weapons/shields, and wanted some mystical glows on them.
also: do you think (since you are my teacher and all) you could type up a little tutorial on baking normal maps in maya? i have notes on it from gnomon, but i think i missed a key step, because i cannot get it to work. i could really use some help on it, its getting aggrivating. shoot it to my email or something if you want to. thanks! 
Sure, no prob. BTW, I just DL’d the eat 3d vid Intro to Max. The guy that made the vids is autodesk certified. I just unzipped them and the lesosns look really good. Might help with your internship… I will get you a tutorial for the normal maps. There is one in the games issue of 3D world magazine. I just let Elliott borrow it. I’ll give you a fresh one.
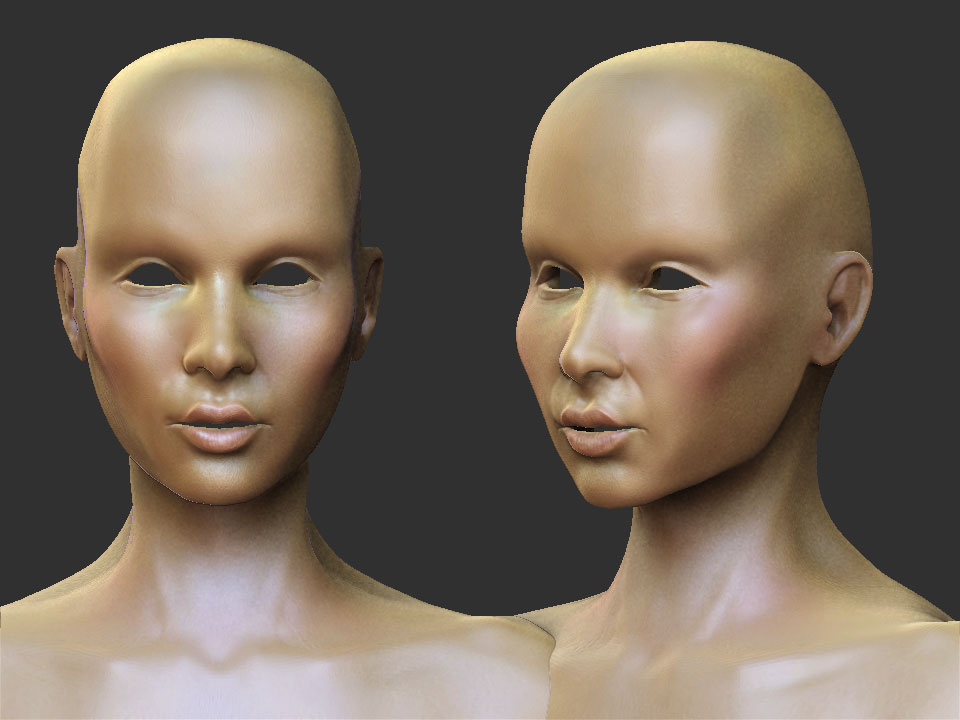
Made some progress on the female today.
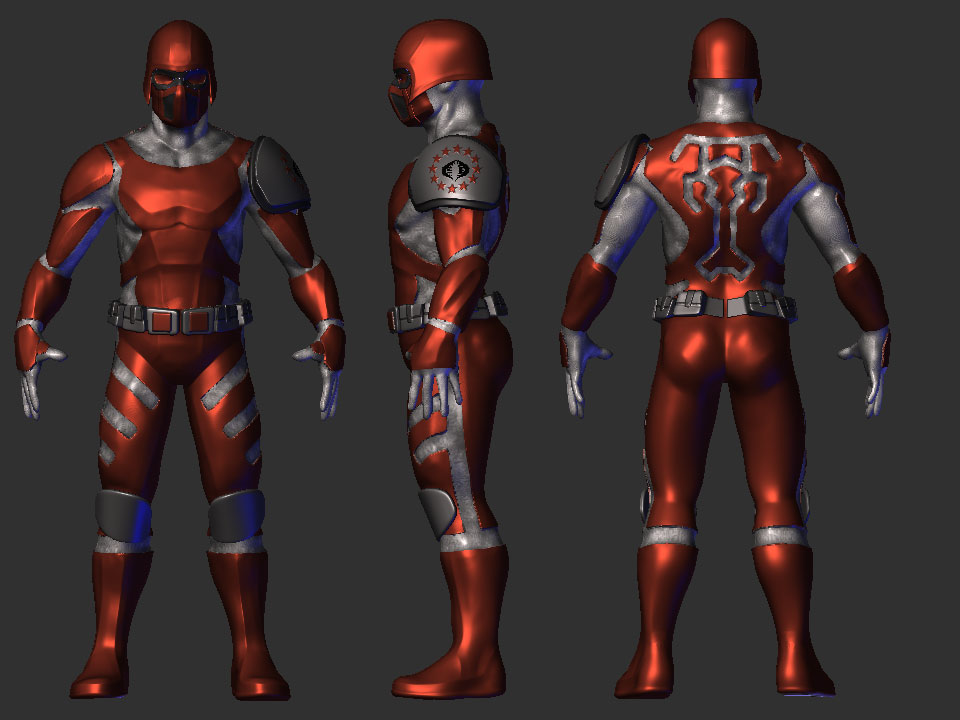
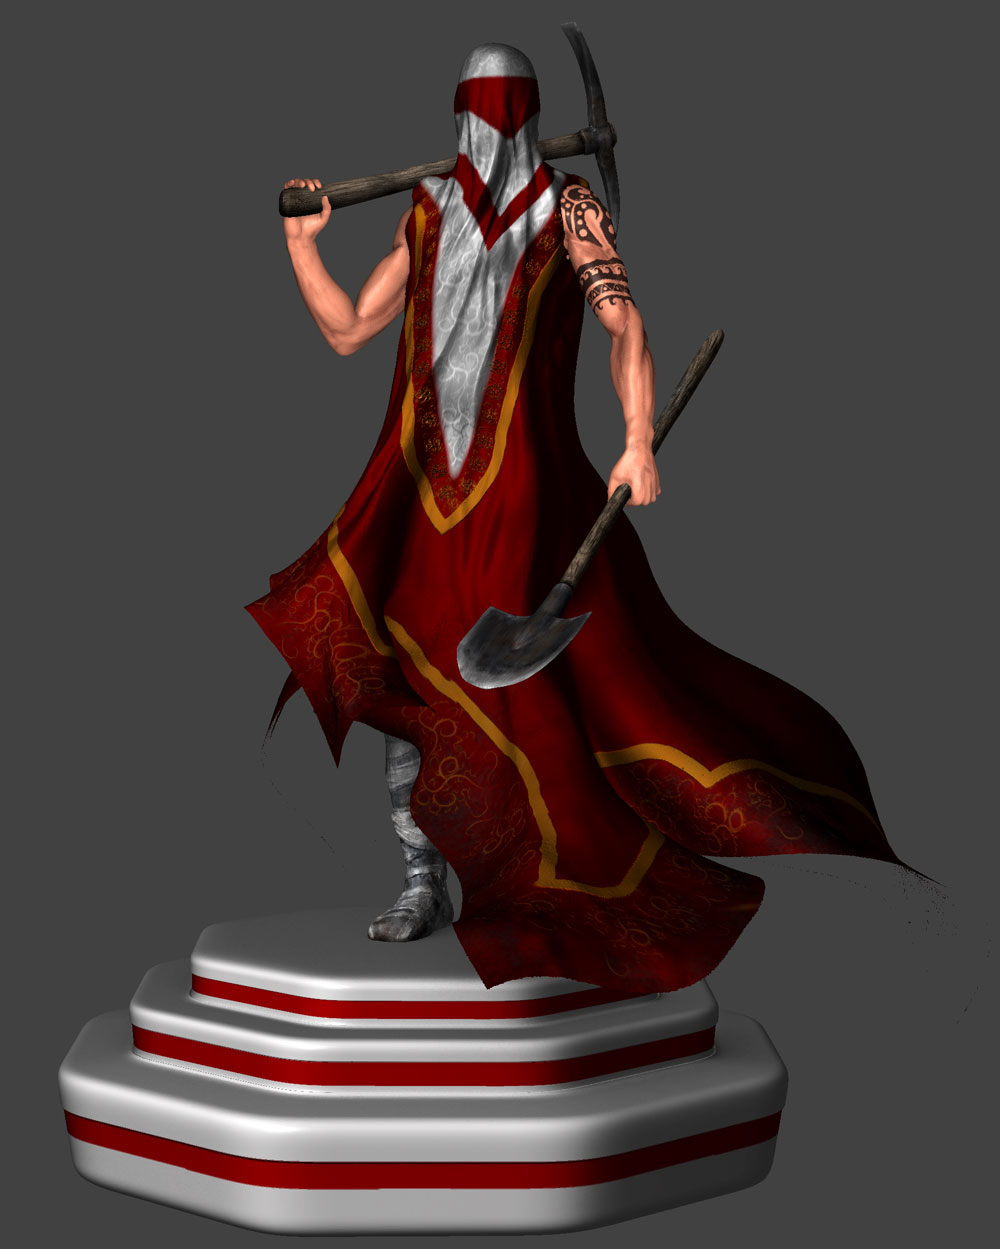
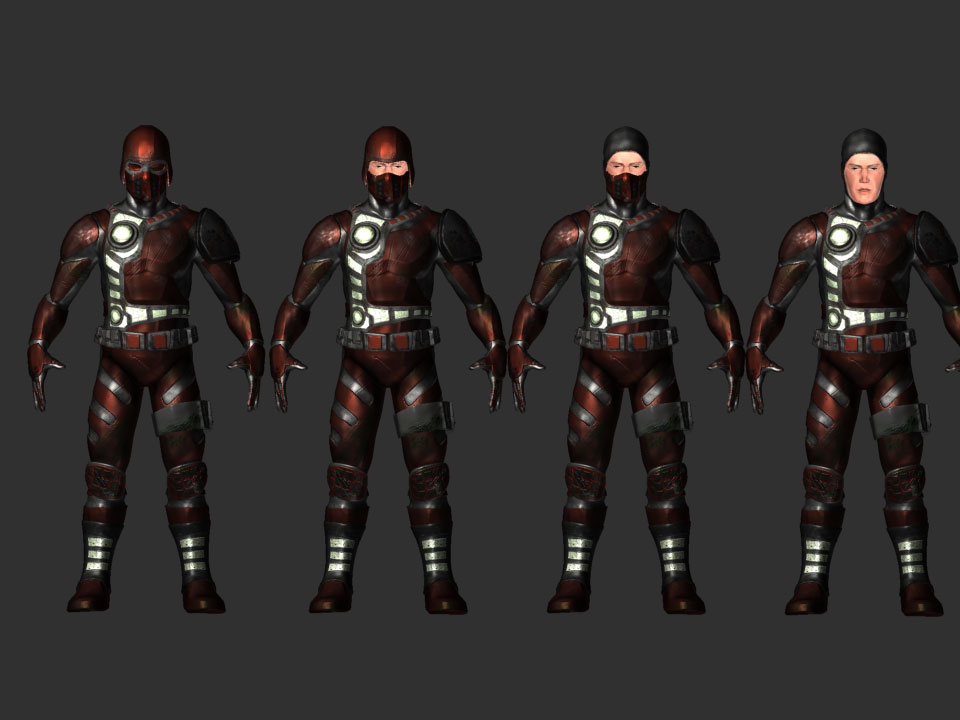
Here is a character I am working on for my protfolio. He is also being made as a custom character mod for UT3. I kinda picked the red and then decided he looks very similar to a crimson guardsman from cobra.
I want to have a record of him all shiny and new looking before I beat up the armor. I modeled the base around the UT3 male rig in max and now I am sculpting and polypainting. More to come soon!
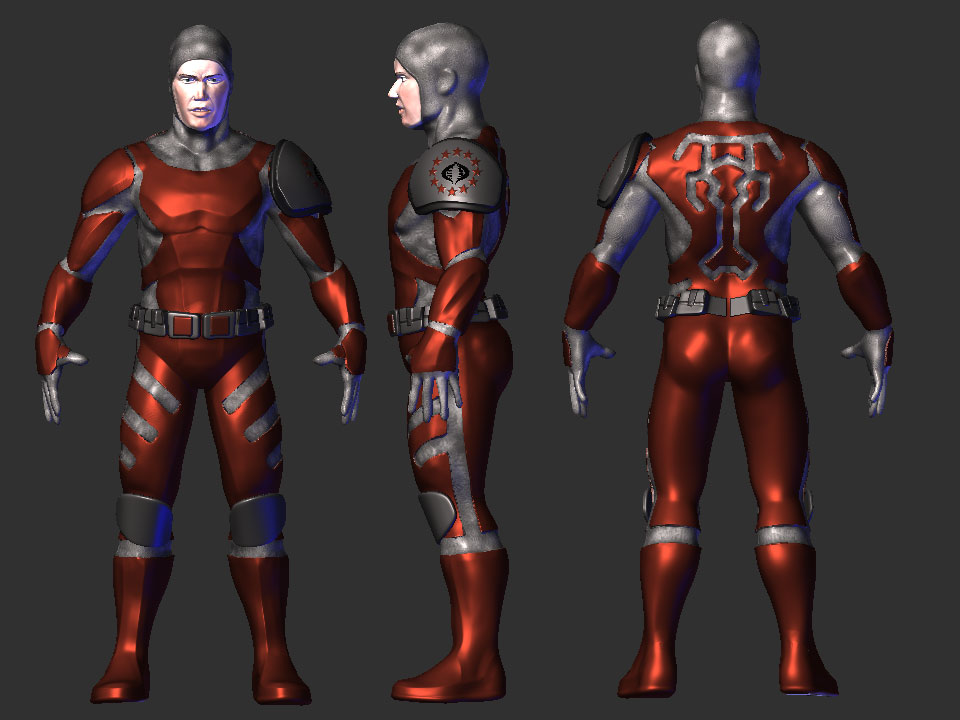
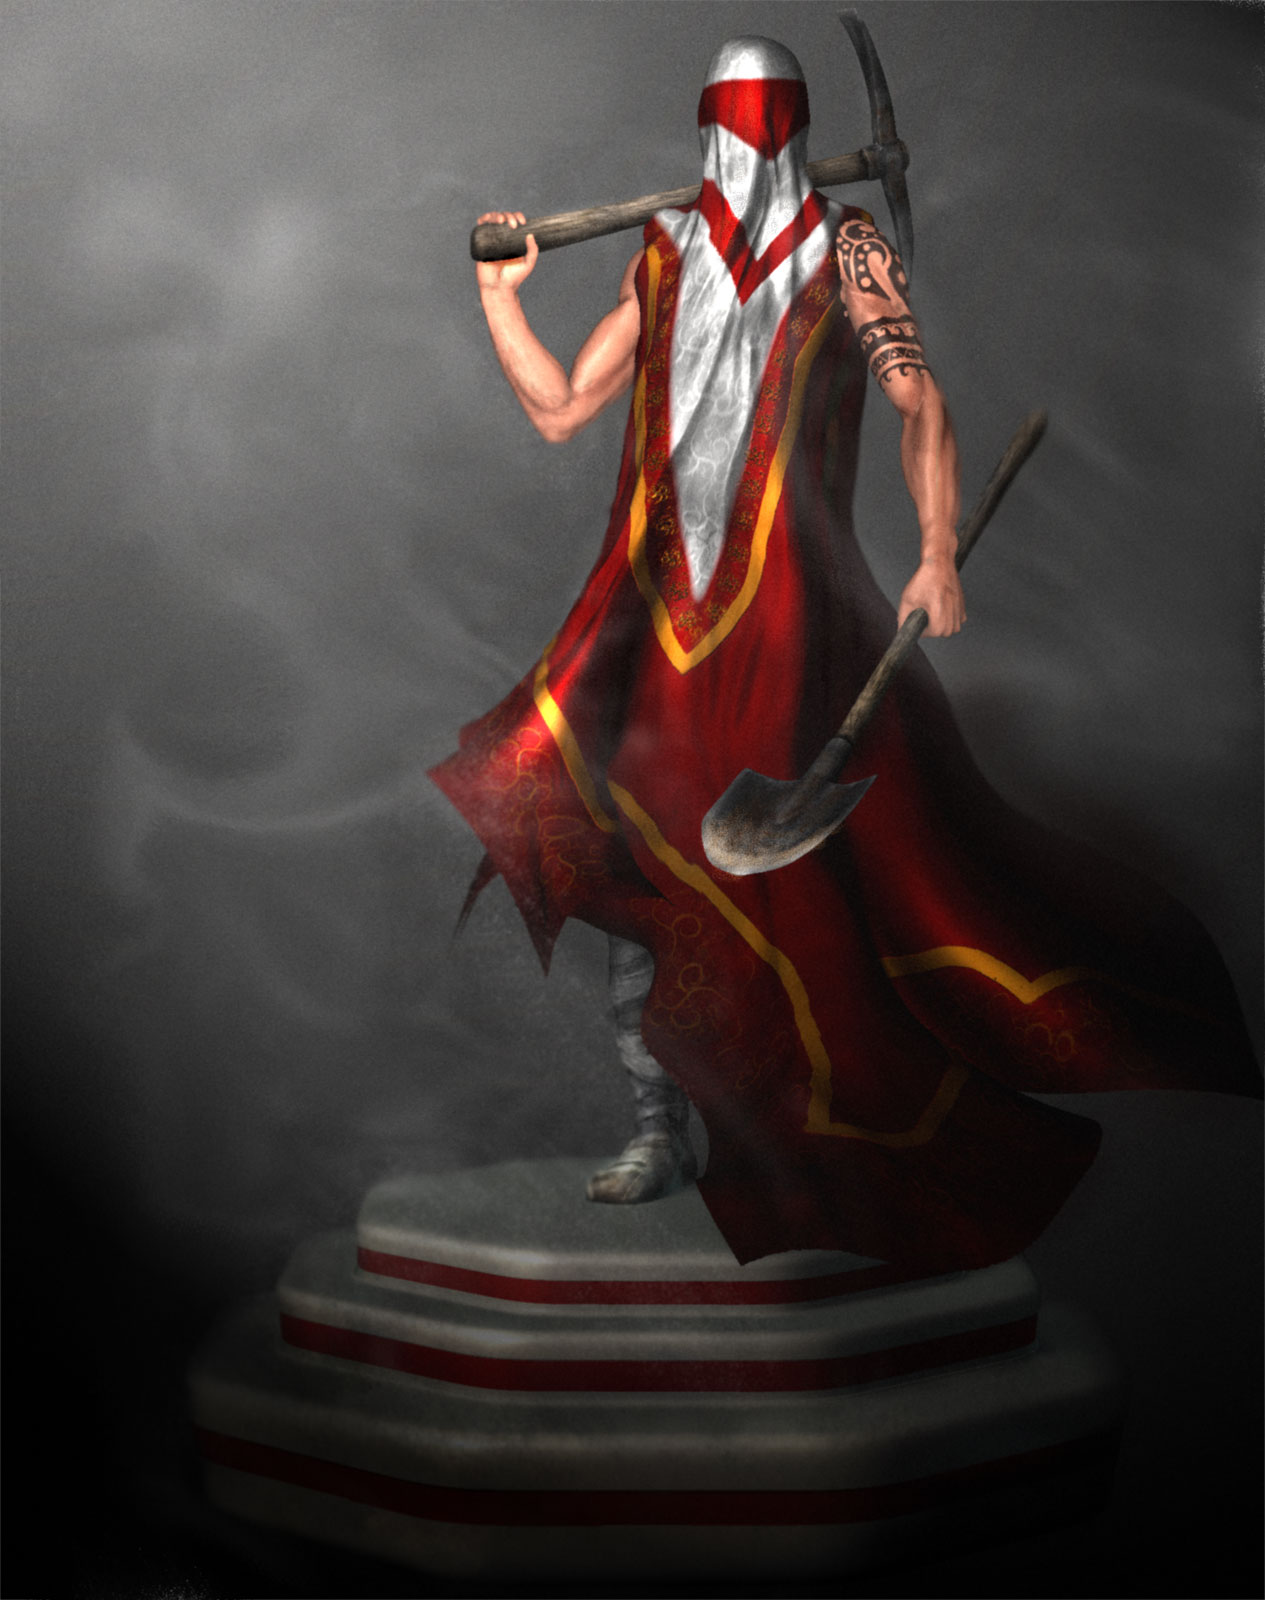
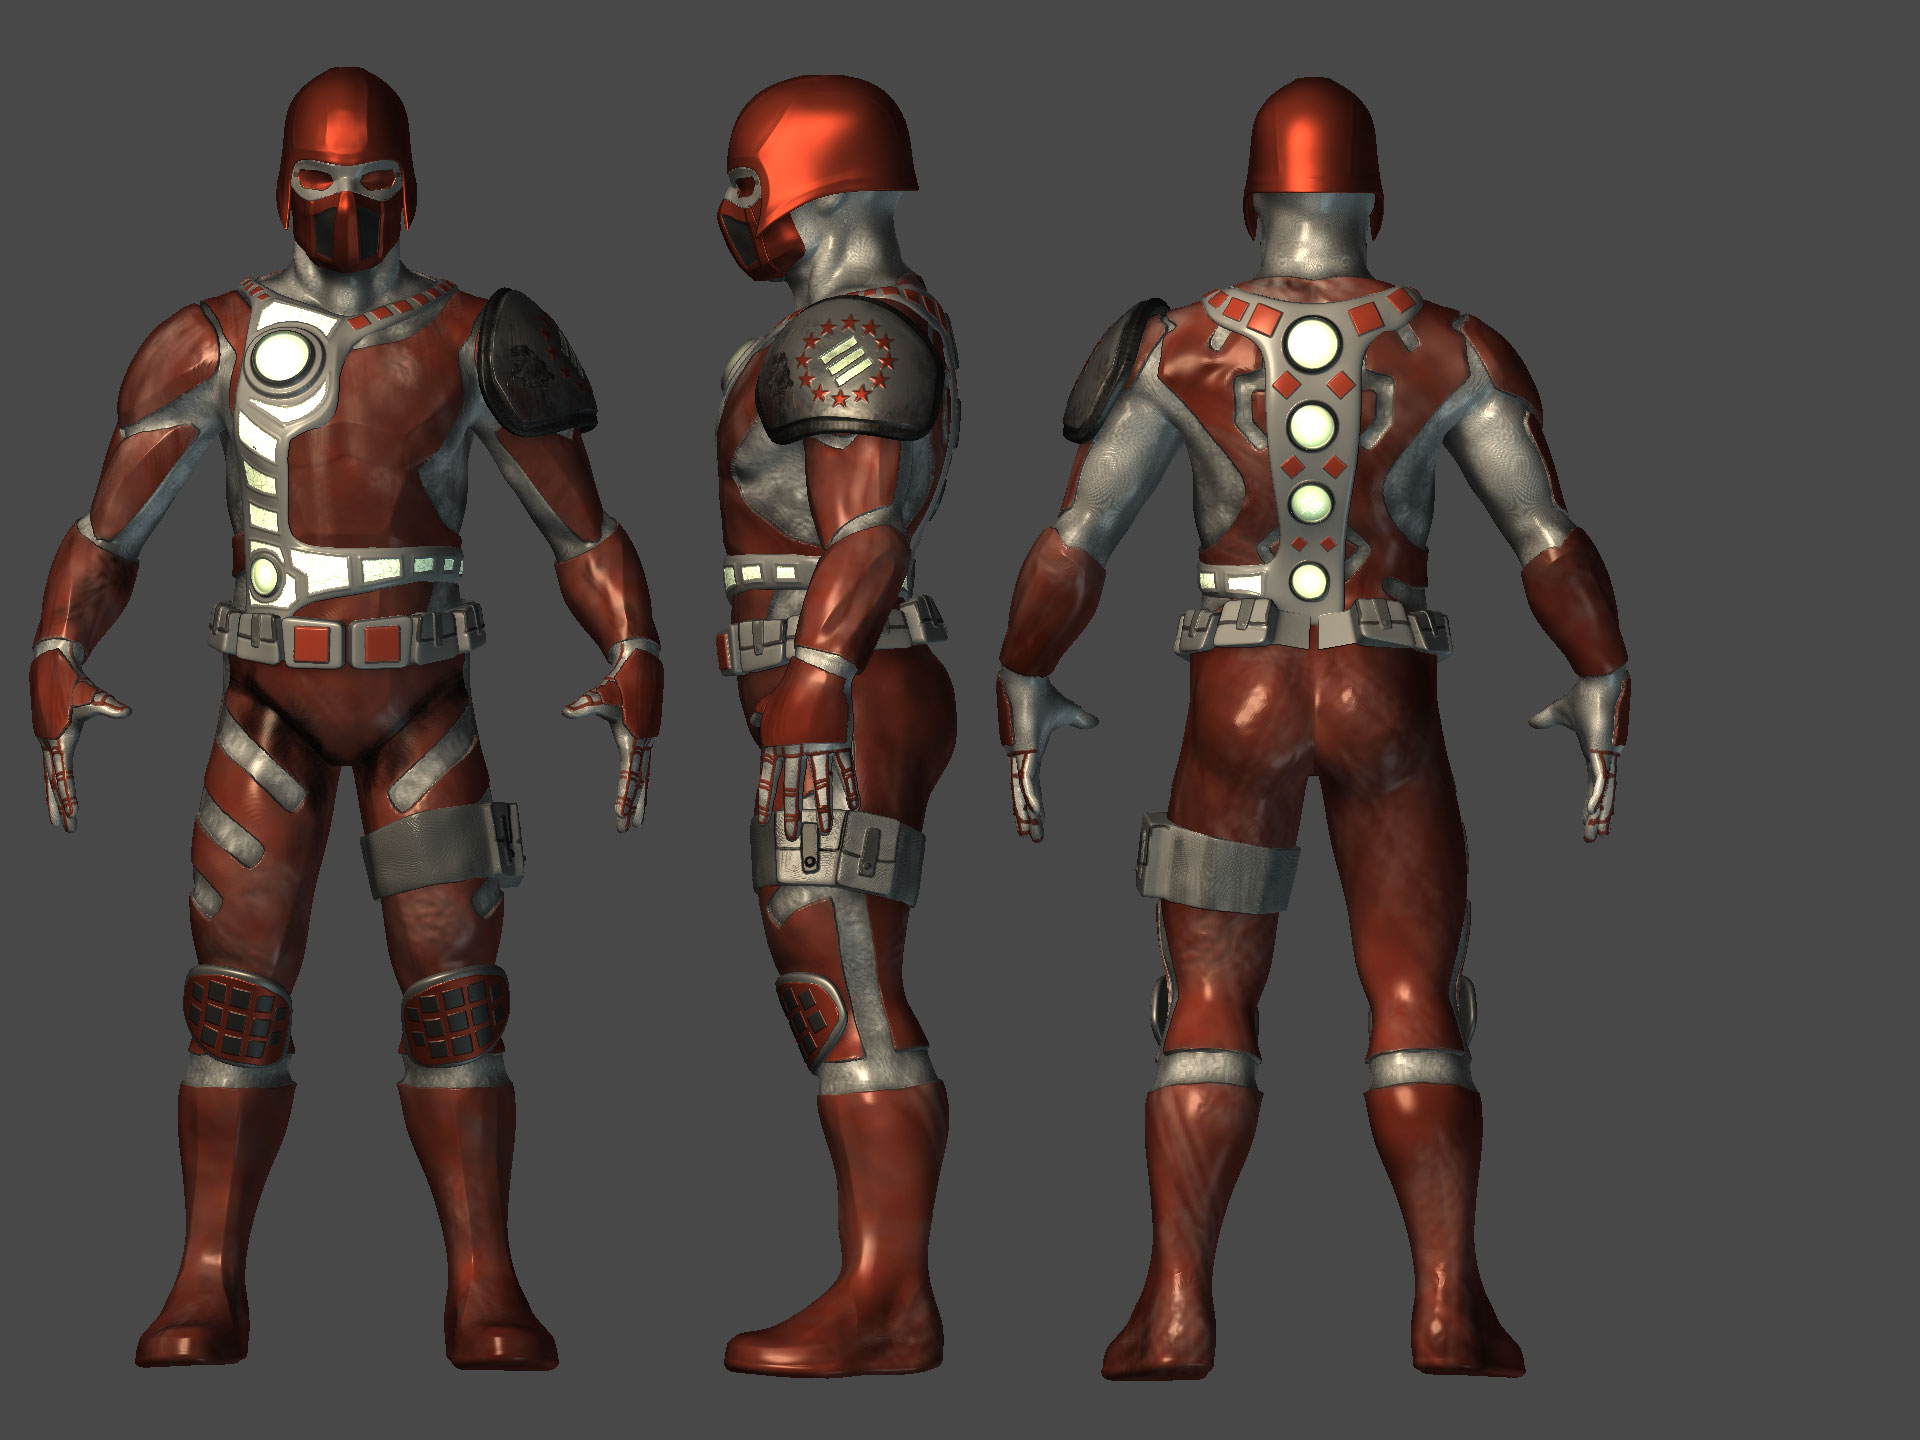
Here is an update of my UT3 character. Thanks for looking!
[attach=147938]update2.jpg[/attach]
[attach=147939]Crimupdate1.jpg[/attach]

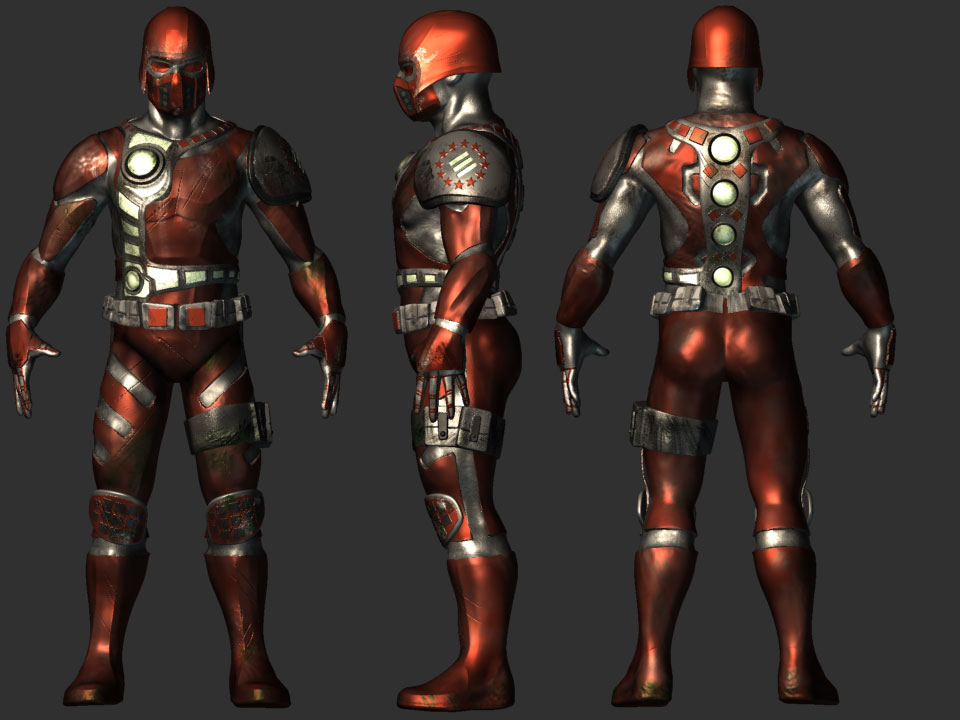
Here is an update. I added some scratches and grime. I think the design of the boots could use some more attention.
[attach=148034]grungyupdate.jpg[/attach]
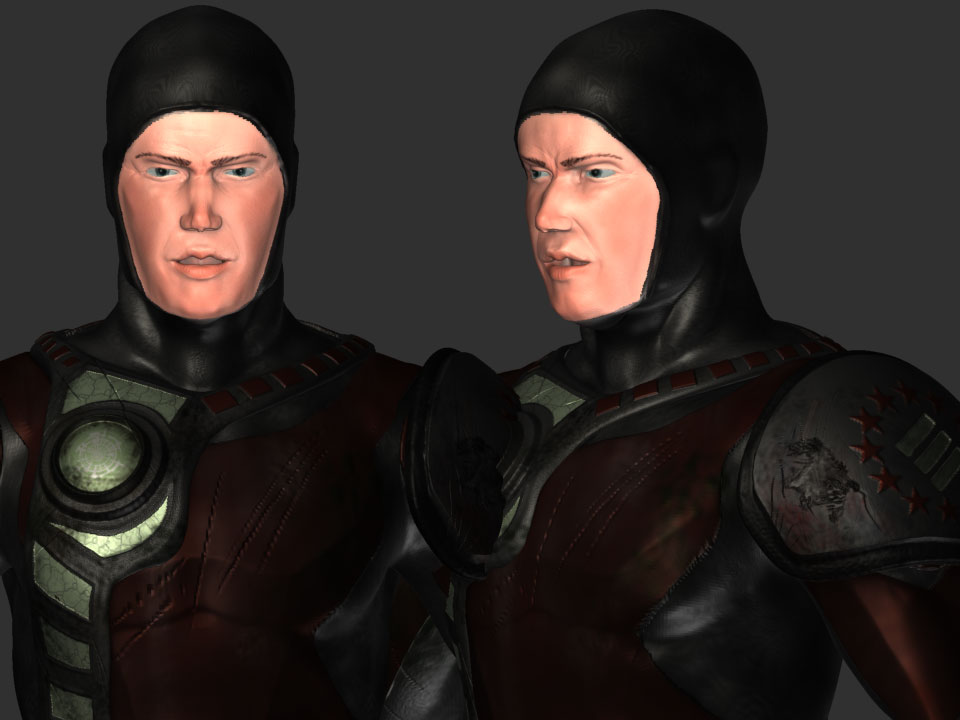
Here is a closeup of the face and an image with helmet/goggle/mask variants.
Hi Fluxist
You would really benifit from the video tutorial in the ZClassroom on the Pixologic site … Link Here
The video is Baking Mat Cap Materials to Textures by Joseph Drust. I really recommend going through it and writing down as many of the steps as you can and applying it to this model. Is this model manually UV’ed?
I really like your toad on Page 2. The texture gives it a lot of variation.
Edit You posted the previous pictures before I finished writing this post! The textures are much improved !
Upham:)
thanks Upham! I appreciate the feedback. Baking the matcap into the texture is pretty sweet. If you take that texture with the matcap baked in, you can get a pretty nice spec from it in crazy bump. Yes, I unwrapped the UVS in Maya with the Roadkill plugin. I haven’t imported the UVS yet though.
thanks again!