This is really great work, jewelry has been tickling my fance for sometime… I just have a problem with wax producing agents and casting agents in Namibia and sources in South Africa are slow…
Keep them coming…
This is really great work, jewelry has been tickling my fance for sometime… I just have a problem with wax producing agents and casting agents in Namibia and sources in South Africa are slow…
Keep them coming…
…od ZBrush! 
And bravo for the tuts video 
Fantastic use of ZBrush - small_orange_diamondsmall_orange_diamondsmall_orange_diamondsmall_orange_diamond
Great Work - very inspiring
Did you print and cast it by yourself ???
Thank you for the Top Row Posting… I am honoured.I will do the best to keep up the pace
@yoogy@ alas I don’t own a printing machine. I usea UK based company called protowax. As for casting, I have done some, thoughmore often now I get protowax to cast it in silver so that it arrives in onepiece, as the waxes are very fragile, so if you want to avoid the disappointmentof the waxes arriving broken. pay a little extra and get it cast.
Then we take a vulcanized rubber mould of the silver cast, and using a wax injector we can make copies to cast a run. So printingonly needs to happen once as a master, and the rest is cast from that.
Nice work! and thanks for the videos. Really like your shadow box techniques.
wow…love this stuff…would love to get one of these made from you some day! 
I WANT THE AC RING!!!
AWESOMEENSSEESESSESES…
really great work…i’m looking forward to more of it…
Hello C4th, thank you for sharing, and of course you realy deserve top row!!!
Can you post the litlle tutorial you talked about? I woul love to take a try to this. My wife is studiing joullery and it will be a great help for her.
Thank you in advance.
Ok as promised this is a short tutorial on how I set uppieces and export for printing. It is important to note that while I’ve donethis a few times I’m not an expert as every time I do these I learn somethingabout the models or the programs I use…. But this is the most up-to-date methodI use
BEFORE YOU START
You will need the following:-
Zbrush print exporter - http://www.pixologic.com/zbrush/downloadcenter/zplugins/
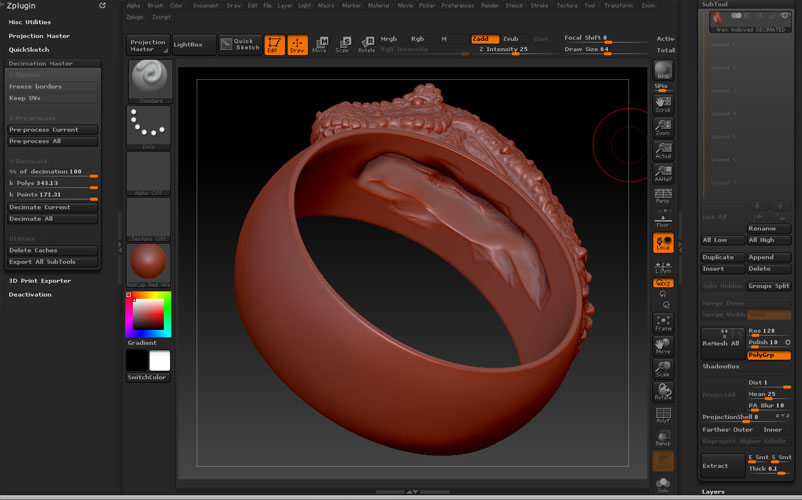
Zbrush Decimation Master – (ifyou don’t have it already)
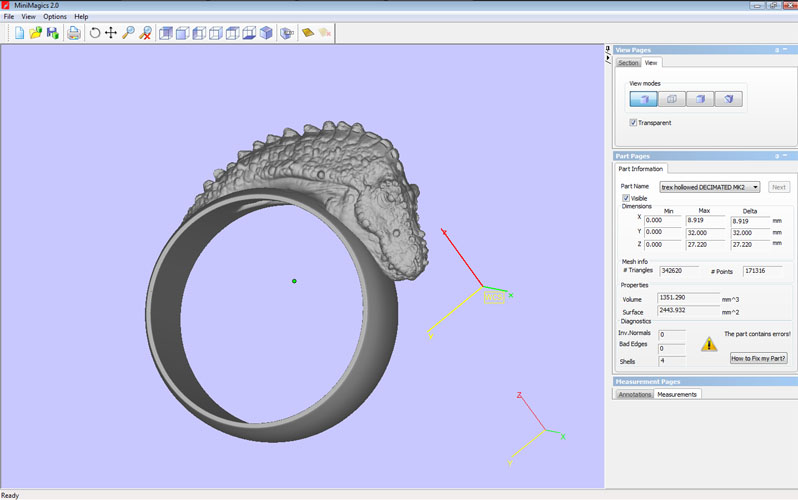
MiniMagics 2.0 – This is a FREE STLreader
Ok here goes:-
Hope this helps
Yours
Morgan Morey
Mouse Jeweller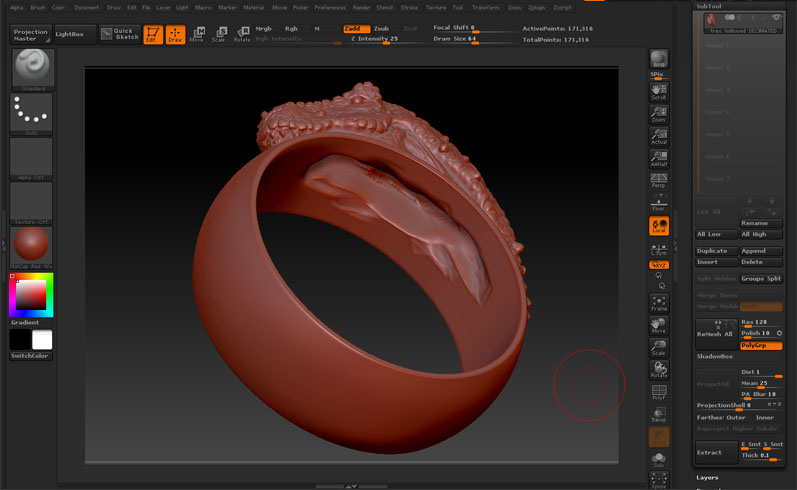

That is awesome information…many thanks!
Thank you for sharing. Sorry if you’ve covered this or it sounds like a noob question, but how do you hollow out models?
its not a noob question
i just use claybuild up brush on Zsub on the merged model. for some more complex models where i have to subtract through many layers of geometry ill use mask and move tool though seprate subtools.
Wow, the Leopard Ring video is awesome. I can’t imagine any jeweler being without Zbrush, I mean, if they are still sitting there hand carving wax blanks then they’re idiots.
Well deserved Top Row!
Well certainty for more detailed pieces. But occasionallyit’s easier to work by hand especially on simple one-offs. First piece of jewellery I own is a hand made one, made by my own hand in this case. Its fairly beasty. Maybe ill attach a photo when I get a chance
THX a lot for Information and Tutorial -
and congrats to Top Row small_orange_diamondsmall_orange_diamondsmall_orange_diamondsmall_orange_diamond
really cool work - you´ve done
This is a real cool different way to make Jewelry
I think i`ll try Protowax for my next printing and casting
and the rest of finishing - i ll do by my self -
because my professional is Goldsmith. 
you gunna be at IJL?
It is an amazing tutorial, I never knew about MM, looks like it is a good software.
I usually work with Rhino and now I´m learning Tsplines for Rhino and Solidworks.
I realy liked the ZBrush to Solidworks webnar they didi in TSpline last week.
Thank you again.
Whats IJL ???
international jewellery london… its a trade show in the uk
Cool Hint - THX
i never heard before…
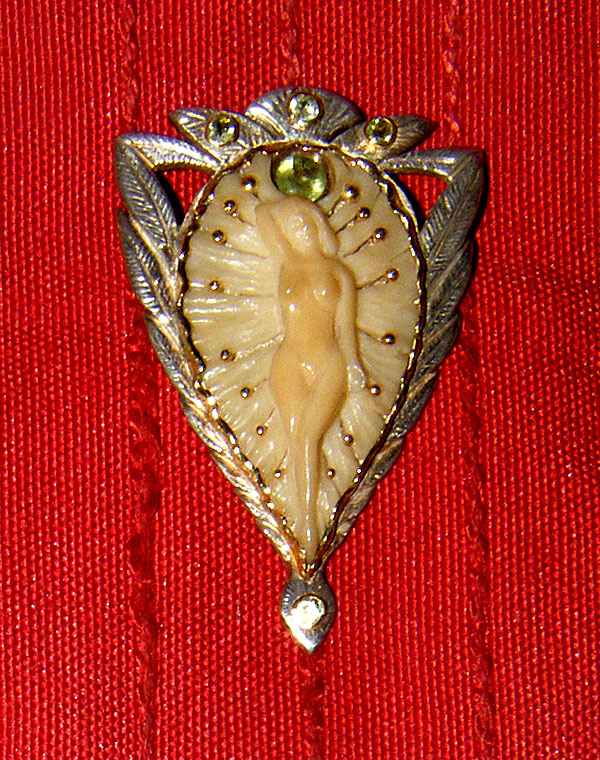
Her is a older Peace of Jewelry…
Its done by Hand - Carving Paua-nut and Silver/Gold and Olivin
Old School Handmade 
But i will see whats possibilities can made with Sculptris/ZB and Rpt.
[]