there is refraction in zbrush
http://www.zbrushcentral.com/zbc/showthread.php?t=032481
it was metioned here, i eaven posted a screen of it :]
:o I was not very clear - sorry. Yes, refraction is possible but not with this type of material. Also I can only get it to refract what is on the same layer. In this example you can see that when you place a translucent object inside of a transparent one it disappears. I don’t know any way around this. Since transparency is only possible with the transparent item on another layer I don’t think they can be used together. If there is a way it would be great. Does anyone know if that can be done???:qu:
tred to marge the leyers, and then use refract ?
:o :o :o Now I really feel dumb. It is possible.
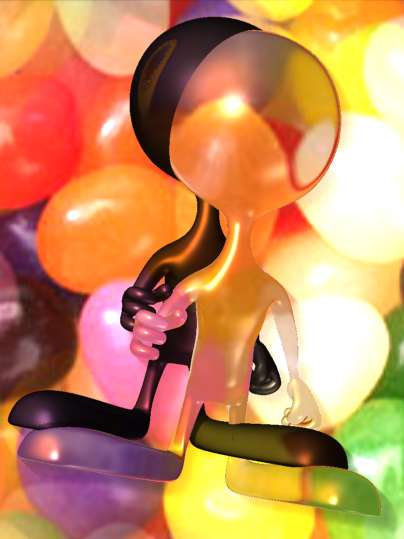
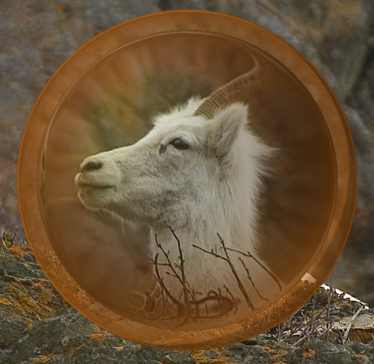
- Create the background in the first layer. In this case I filled the layer with the photo as a texture and used the flat material.
- Create the object with refraction on the same layer. Set the rgb level to below 100. Go to Draw and select Refraction and select the amount. Mark the position.
- Create a new layer.
- Create the object on the new layer by clicking on the marker so it is created in the same location. Go to deformation and change the size there if you wish. Apply the transparent material with the quality’s you want. Render with flatten off and shadows and best selected.
This looks great Blaine! Have to try that out…
Lemo
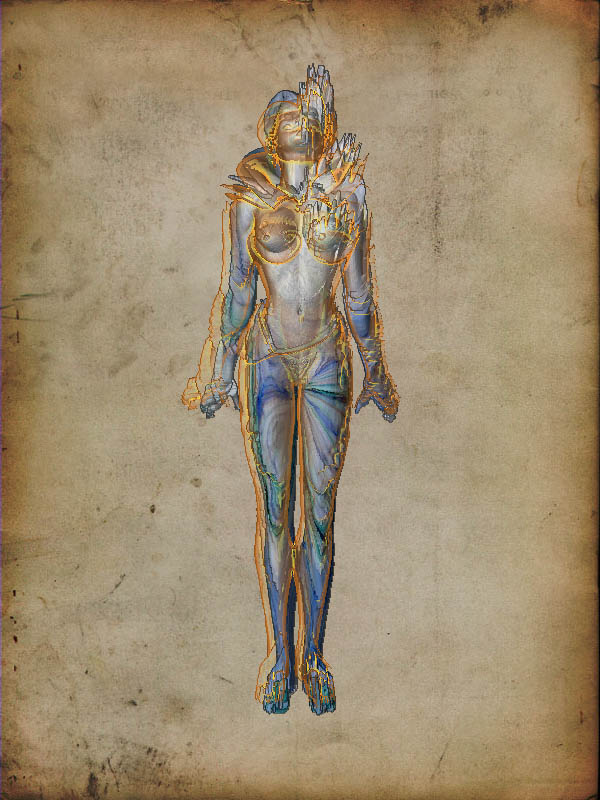
wow!!! Blaine(BATMAN)91555 cool gold mat and refraction image
I used your new gold trans mat over a translucent mat
Attachments


Update and a warning. This only works while the object on the second layer is still in edit mode. When I exited edit mode the object in the first layer became opaque.
There are som great effects here! 
You can’t do this with objects on different layers. If you use Multimarkers (or Marker Master) to group objects together they can only be drawn on one layer at a time. If you want to move two objects on two layers you need to repeat the draw/marking method for each layer.
2 Does the transparent mat top layer have to be on the top layer or can this be changed to put the transparent mat on the first layer render and then on the second layer maker tool use a different mat.and scale so that the transparent marker tool becomes a glow for the top layer marker tool?
There isn’t a ‘top layer’ or ‘bottom layer’ in ZBrush. All the layers occupy the same 3D space and the numbering is simply to help you keep track of which layer you are working on. What matters is where in 3D space you draw your objects. For transparency to work the transparent object must be in front of the objects you wish to see through it (as well as on a separate layer). You can move all the objects on a layer forward or backward by adjusting the Displace Z slider in the Layer palette.
Sometimes switching layers can cause a loss of transparency. Switch back to the layer with the transparent object, do a best render and all should be well.
For translucency and refraction effects the objects need to be on the same layer. Sometimes baking the layer after achieving the effect you’re after can be useful before applying a transparent object on a different layer.
Thanks Marcus - I had not thought of baking the first layer.
Arggg, finally, I’ve done the refraction with Z, I’m happy now… I’ve still problems to import displacement map in Carrara, but I try many things in Z, and I will post new shaders … thank you for the hands and for these material, very instructive…
wait and see
Thanks Marcus
the scaling of the trans is not to easy to do - here’s an image trying to scale it right - the jpeg lost a lot of the shiney look when I save it to fit on the forum
Attachments
SpaceMan,
That looks good! The scaling will always be a problem if you are trying to fit two identical objects inside each other as the relative proportions remain the same. 
smileman,
There is a displacement in Carrara tutorial at eovia3d.net which you may find useful. (You may need to register at eovia3d to view it).
Cheers,
Thanks Marcus I am starting to get into the work flow:)
I think we could use a scale micro incerment - + button for fine detailing:lol:
You can scale a model numerically by input to the Transform>Info sliders. These sliders change their propeties depending on which Transform mode you are in. So, with the Gyro showing and the Scale button pressed, values can be entered to adjust scale; with Rotate button pressed rotation can be adjusted; and Move button, the model moved. Adjust precisely by clicking on a slider and then input a value from the keyboard. Press TAB to move to the next slider down. Obviously for scale you will generally want to enter the same value for all three sliders.
HTH,
I just had the same problem trying your idea to see what it would look like. Hope you get it to work OK. Looks like a great idea.
Thanks Blaine91555 
And there are some really nice mats posted in this challenge
LOL Marcus forgot to thank you for the scaling work flow
Marcus thanks for the scaling work flow post
Erklanerbar - I’ll have to post some more mats here as I get time. I know I’ve learned from others mats and appreciate them.
SpaceMan -
I don’t know if you’re still following this thread and I thought I’d post this while I was thinking about it.
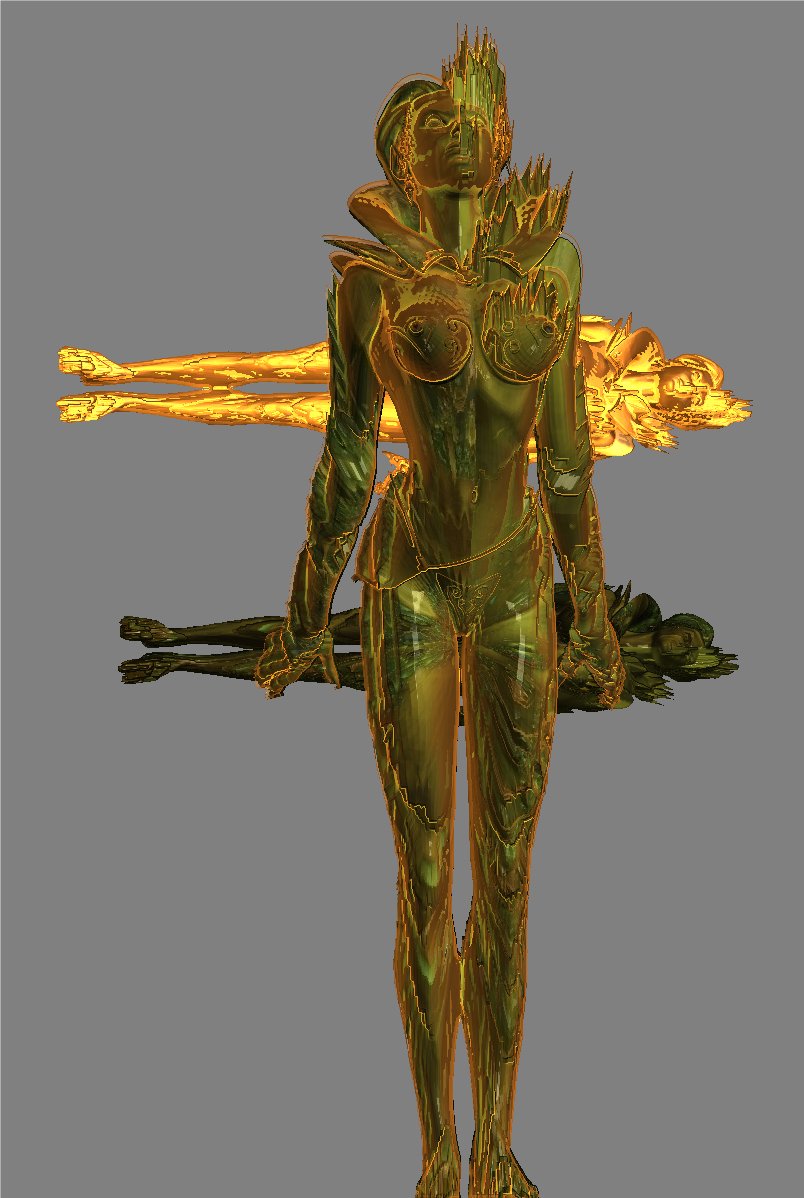
I got interested in what you were trying to do. After thinking about it I realized that inflate is what is needed, not size. This seems to work out pretty good.
Place your interior object first as it is the smallest. Select the mat or texture and do a best render. Bake the layer and mark the location.
Create a new layer for the transparent outer object.
Click on the marker to place and select your transparent mat and go to edit mode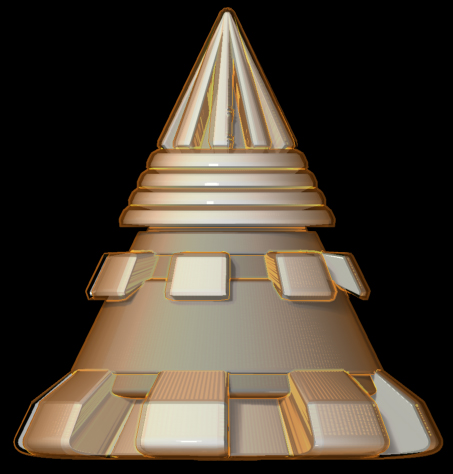 . Then inflate a little at a time. This one was inflated about 10%.
If you try and place the outer larger object and then deflate the interior object you get unwanted results.
hey there, glad to see some life back in here. It is meant as an inspiring thread for everyone to post, and im sure there are quite a few people that like all of the contributions inhere. Dont get confused because it got a one star rating, someone is putting that on every thread i open so nothing at all to do with the thread. I would post some more mats too if i had some cool ones. But then … lets see. :rolleyes:
Blaine91555  thanks for posting about using the inflate in the work flow. Your image shows that it gives very clean edges and fits the model so that it looks like part of the model and not two models put together