ZBrushCentral

Macross VF-1A Zbrush Hard Surface Project

Hi all,

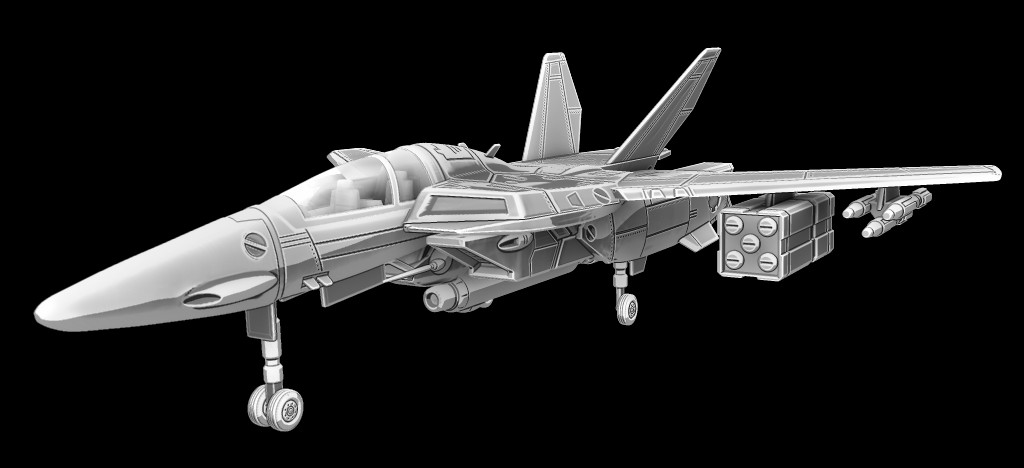
To explore and learn Zbrush 4 new hard surface tools I decided to recreate the seminal Macross (Robotech) VF-1A Jet Fighter (which was based on the real life F-14 Tomcat). This is model was created exclusively in Zbrush ! Ill upload some more making of information and images shortly.
Hope you enjoy it.
cheers
jim

Front New.jpg

Attachments

ZBrush Documentbeauty.jpg

Side New.jpg

Top New.jpg

Back New.jpg

Bottom New.jpg

nice to see this kind of modeling done with Z :+1: :+1: great job lookin forward too seein some paint textures glass??

Partially Exposed version:lol:
Expose2.jpg

This is awesome, nice hardsurface sculpting man. It’s very clean and well detailed. :+1: making of/wip images would be much appreciated… :sunglasses:

Hi Jim Kalogiratos,

Nice hard surface modeling…and details are too good.:+1:

http://hussainss.blogspot.com/

Wow, awesome modeling … :+1:

hoho dude, great modeling! I love Macross! Congrats :smiley: :+1:small_orange_diamond:+1:small_orange_diamond:+1:small_orange_diamond:+1:small_orange_diamond:+1:


www.leotaksakamoto.blogspot.com :smiley:

Thanks guys ! My congratulations go to the zbrush 4 dev team for creating these awesome hard surface tools. I think it won’t be long before hard surface artists embrace zbrush and rid themselves of the slow tedium of poly modeling hard surfaces. Carving edge loops and having to constantly check and manage smoothing problems in subdivided surfaces is not very intuitive or creative for me.

Hello friend !!!

I am really impressed with the amazingly beautiful masterpiece created by you. I am sure that you will reach the heights one day.

All the very best for your bright future.

God Bless you !

Regards,

Pankaj Malik

Business Development | CG Innovation
http://www.cginnovation.com

Hi guys,

Here are some interesting facts about this project.

This was modeled on a PC circa 2004 (dual zeon) with 2 gigs of ram on XP with a cheepo mini wacom 6x8 consumer range graphire tablet.

I worked on one half on the model most of the way through the project and was forced to decimate most of the parts when it came to duplicating and mirroring the objects. My computer simply could not handle the 60 million polys at that point.

I found that saving ZPR (zbrush project files) used much more ram and created more instability than using ZTL’s. At one point I simply could not open files I had saved. So I’d advise you to stick the ZTL’s if you are maxing your ram.

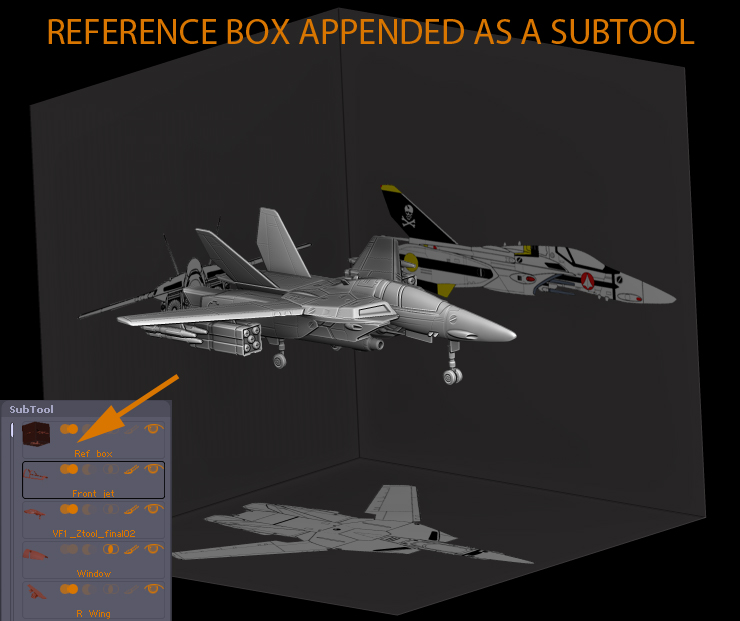
First up in my tutorial images is and example of my reference set up.
The reference box was super useful when working on the individual peices and getting proportions right. Also with using shadow box and photoshop … but more on that later.
RefBoxt.jpg

Looks Great! Amazing for the specs your working with. :+1:

Question; isn’t this kind of model too heavy to be used in an animation or game? Or its just for still rendering.

Hi the model is around 9 million polys after it has been decimated.
This model is not for games its purely a concept sculpt although It would be suitable for rendering.

The idea is that you can quickly knock up concept hard surface models in ZB and then retopologise them to target medium after your art director has signed off on it.

Thanks Jim, giving your familiarity, how much time have you spent on it? I am reluctant to learn many of Zbrush features due to the real job constrains, the sculpt and paint and project is all I can manage.

I like the Macross goodies

This is beautiful. I never think to use zbrush for hard surface sculpting. This is a superb example. Keep it up.

Hi guys,
After getting the basic shape of the parts of this model , Here are the brushes I used to refine the surfaces. Hard polish brush is by far my favorite :slight_smile:

brushes tut.jpg

freakins awesome work man. nice workflow.

Really nice and thanks for the pointers on the workflow :slight_smile:

Hi guys,
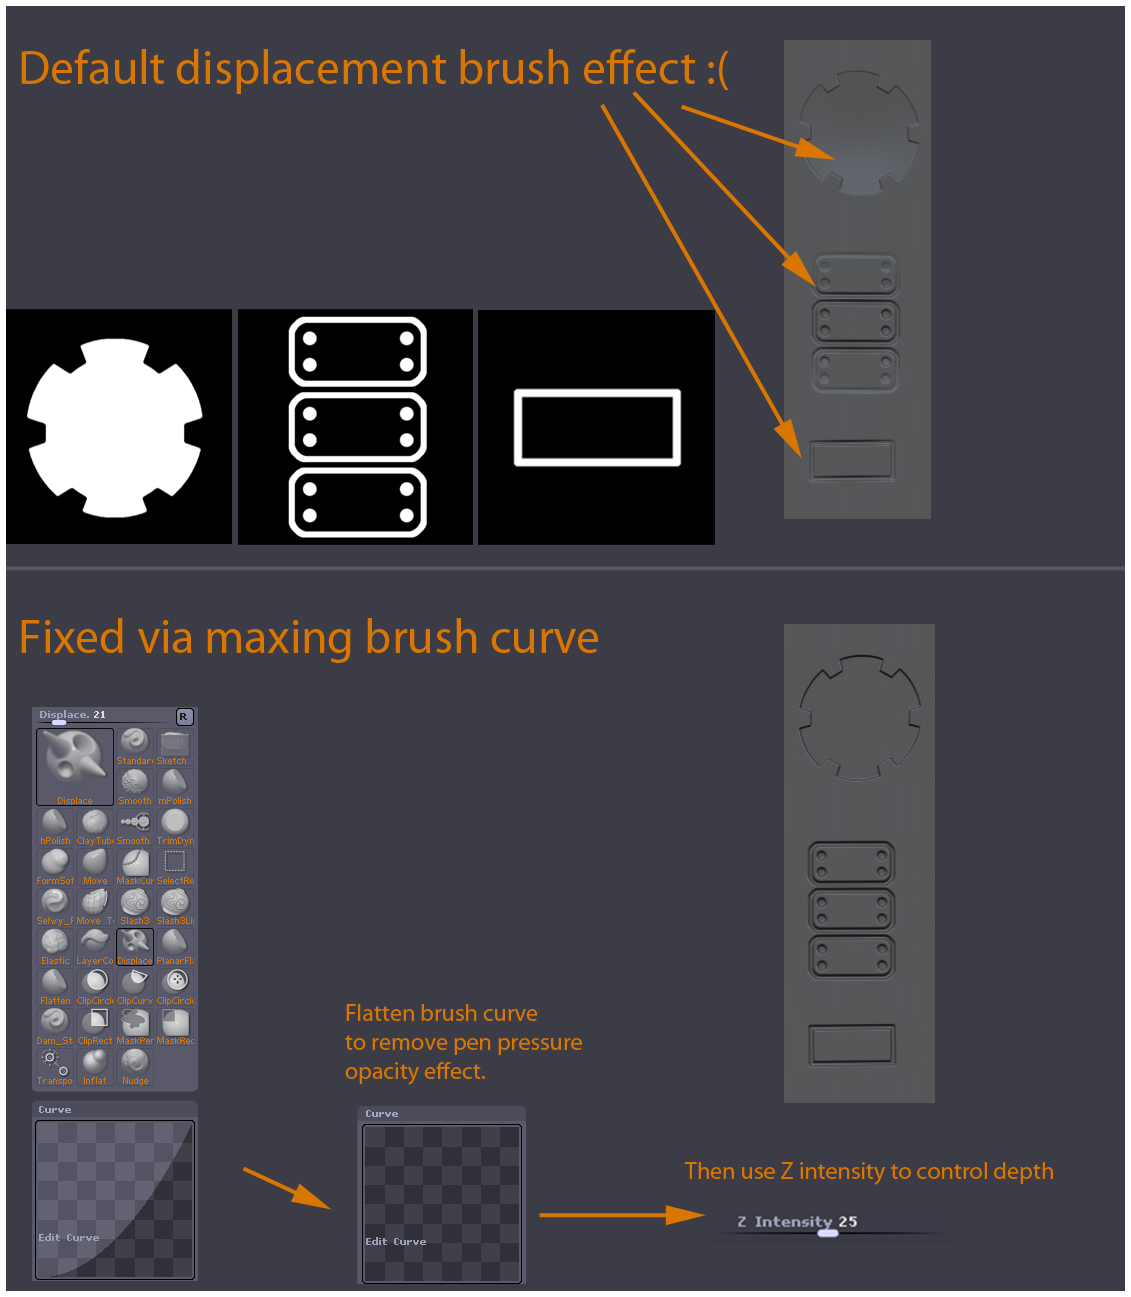
I tried a few methods to project details onto this model and they all had some issues. Displacing through a spotlight image crunches the alpha to a low bit-depth when projecting , Projection master was better but a little too unpredictable and not really interactive, Stencil maps gave a good result but I was frustrated by the fact that my model was partially obscured by a grey film. And the Displace brush with draw rectangle stroke was interactive and easy to use but left me with a partially rounded gradient to the displacement !! Until I figured out the problem to to trial and error … Personally I think Pixologic should set the displace brush to default to settings similar to the ones I have indicated. It is a bit counterintuitive to use brush pressure and a intensity z curve when projecting displacement details … dunno ?

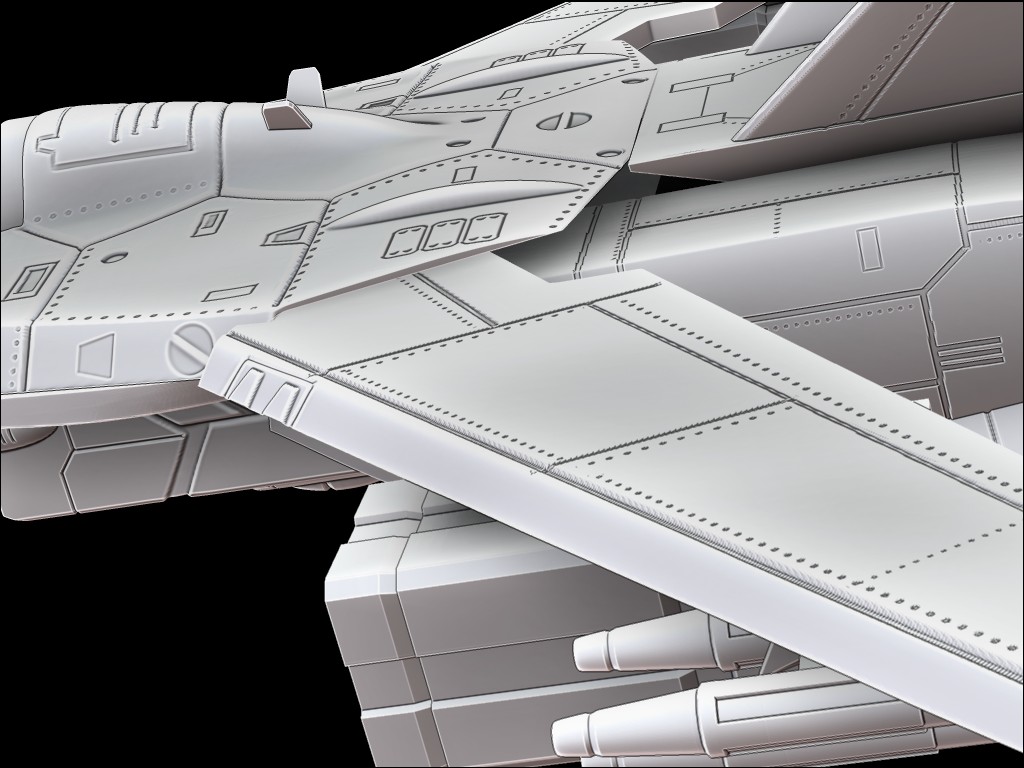
Detail shot
(the details are a bit rough, but the model was not made to be viewed this close :))
Detail Shot.jpg

Attachments

displace tut2.jpg