The key is to change the rotation of the model in the Tool palette preview window. You do this by using the Tool>Modifiers>Deformation>Rotate command.
In the example at left, the robe was given Cylidrical mapping at the default orientation (shown in the inset). At right, I applied a Rotate X -90 deformation and then applied the cylindrical mapping again. You can see the difference in the preview window, and also in the results on the canvas.
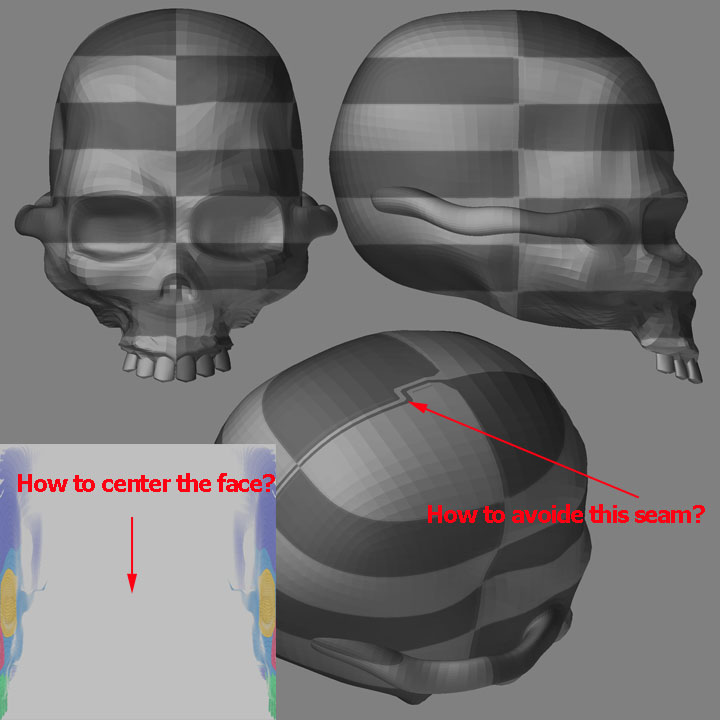
With the model that you show, this same deformation will have the effect that you’re looking for.
The order is:
- Apply the deformation
- Press Tool>Modifiers>Texture>Uvc
For this model, though, I would really recommend using the Adaptive UVTiles instead. You’ll avoid the distortion on the arms that is clearly visible in my example above. While your model won’t be as drastic because the arms are lowered, it will still be noticeable.
Create a new texture that is the size that you plan to use (using the Texture palette to set the size and then press Texture>New) or load a texture that you want to use as a base, and apply it to the model. If you do not have a texture applied to the model, ZBrush will assume a size of 1024x1024. Optimal results will be attained if the texture size is a power of 2 (such as 1024x1024, 2048x2048, etc.)
Next, set the Tool>Modifiers>Texture>AUVRatio slider to a value that you like (I used 30 here), then press the AUVTiles button right next to it. If your texture is not optimal (either too small for the mesh or not sized to a power of 2), ZBrush will display a warning. Otherwise, AUVTiles will be calculated to make the best use of the available texture space.
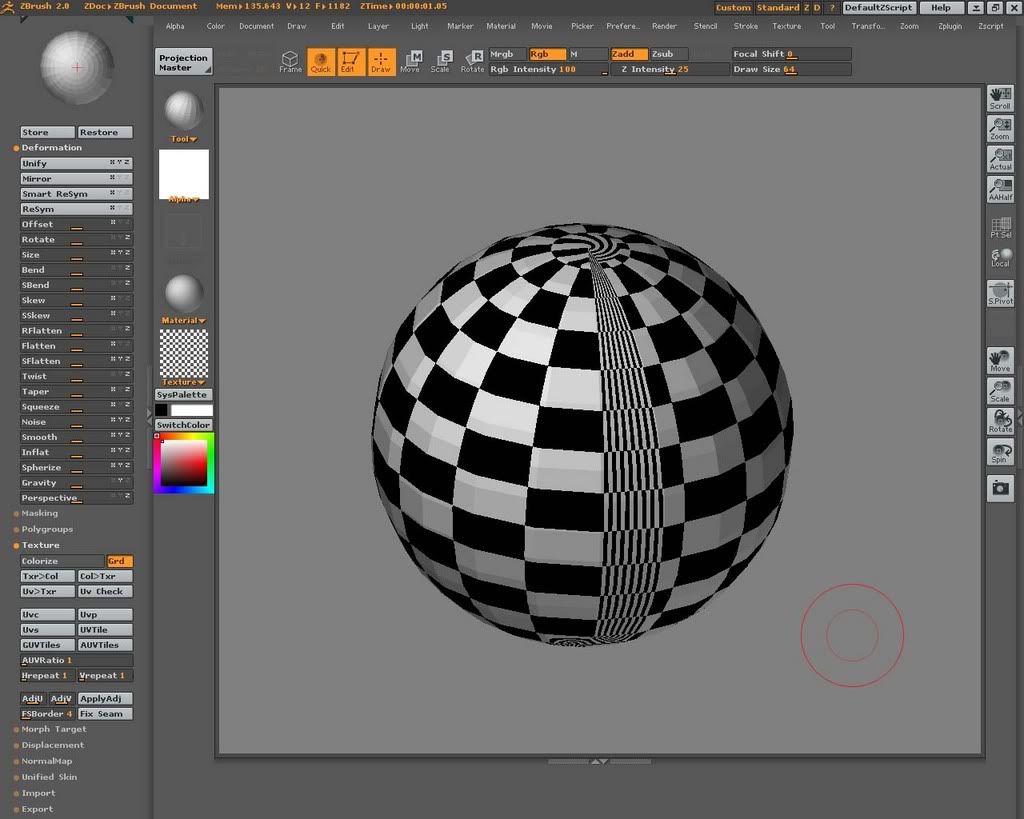
I applied the grid texture by dropping the model with TextureMaster, setting B+F on and turning Fade off. Then I dragged a couple of textures across with the Simple Brush and picked. Presto! Instant mapping with no need to worry about object orientation.
A couple of other really nice things about the new process: When you export the model from ZBrush, the texture will automatically be saved in the same folder as the OBJ as a BMP with the same name. It will be flipped vertically so that you don’t have to mess with that before taking the model to another program. In addition, the Fix Seams procedure will be run, “padding” the edges of the tiles to eliminate any artifacts when the model and texture are used in another program. How’s that for user-friendly? 
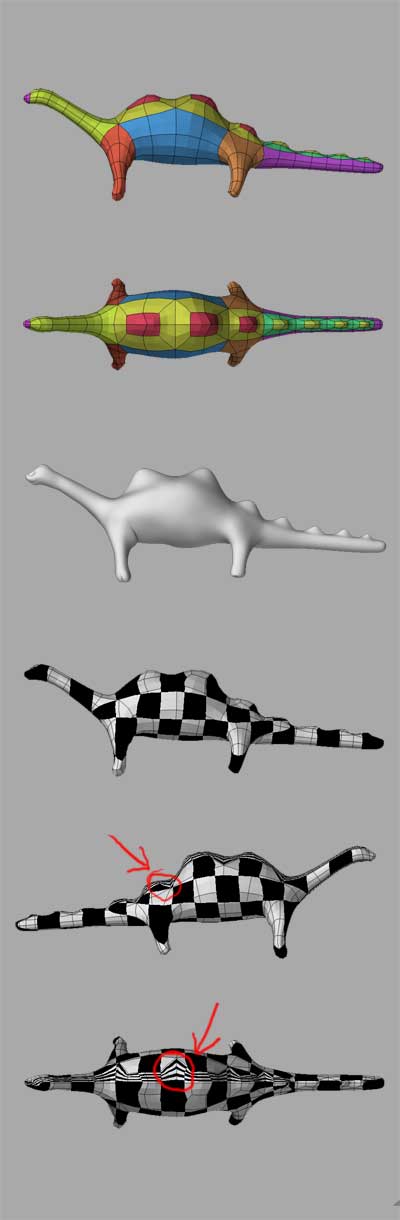
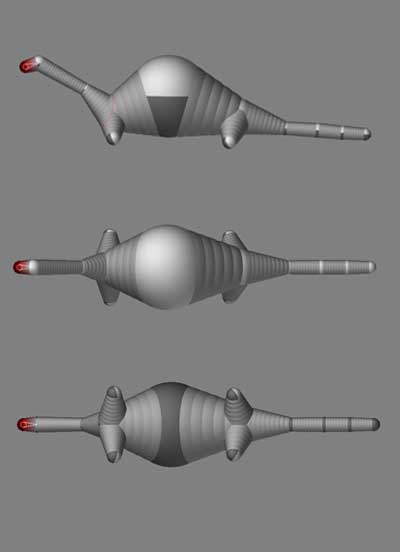
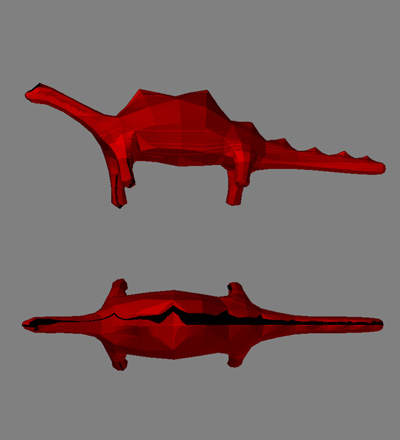
 I bake the layer shading and transfer it as rgb values to a flat color switched model at the time of transmission. (settings, S, AI off)

 Take some pity on a little newbie, please.