ZBrushCentral

Isolating Details in Alpha Mask

I want to use my head texture to create stubble and eyebrows onto my model. So I turn my image grayscale, invert it (cause the hair is dark) isolate the details and create a mask. What’s next is where my problem lies… and i’m hoping there is a setting I can tweak to help me here.

The next step I take the standard brush and run over my model to pull the hair detail out… unfortunately this also sculpts my model… and I only want affect my hair… is there a curve I can adjust for this or soemthing? Something so that only certain values in my alpha mask are affected?

Thanks!
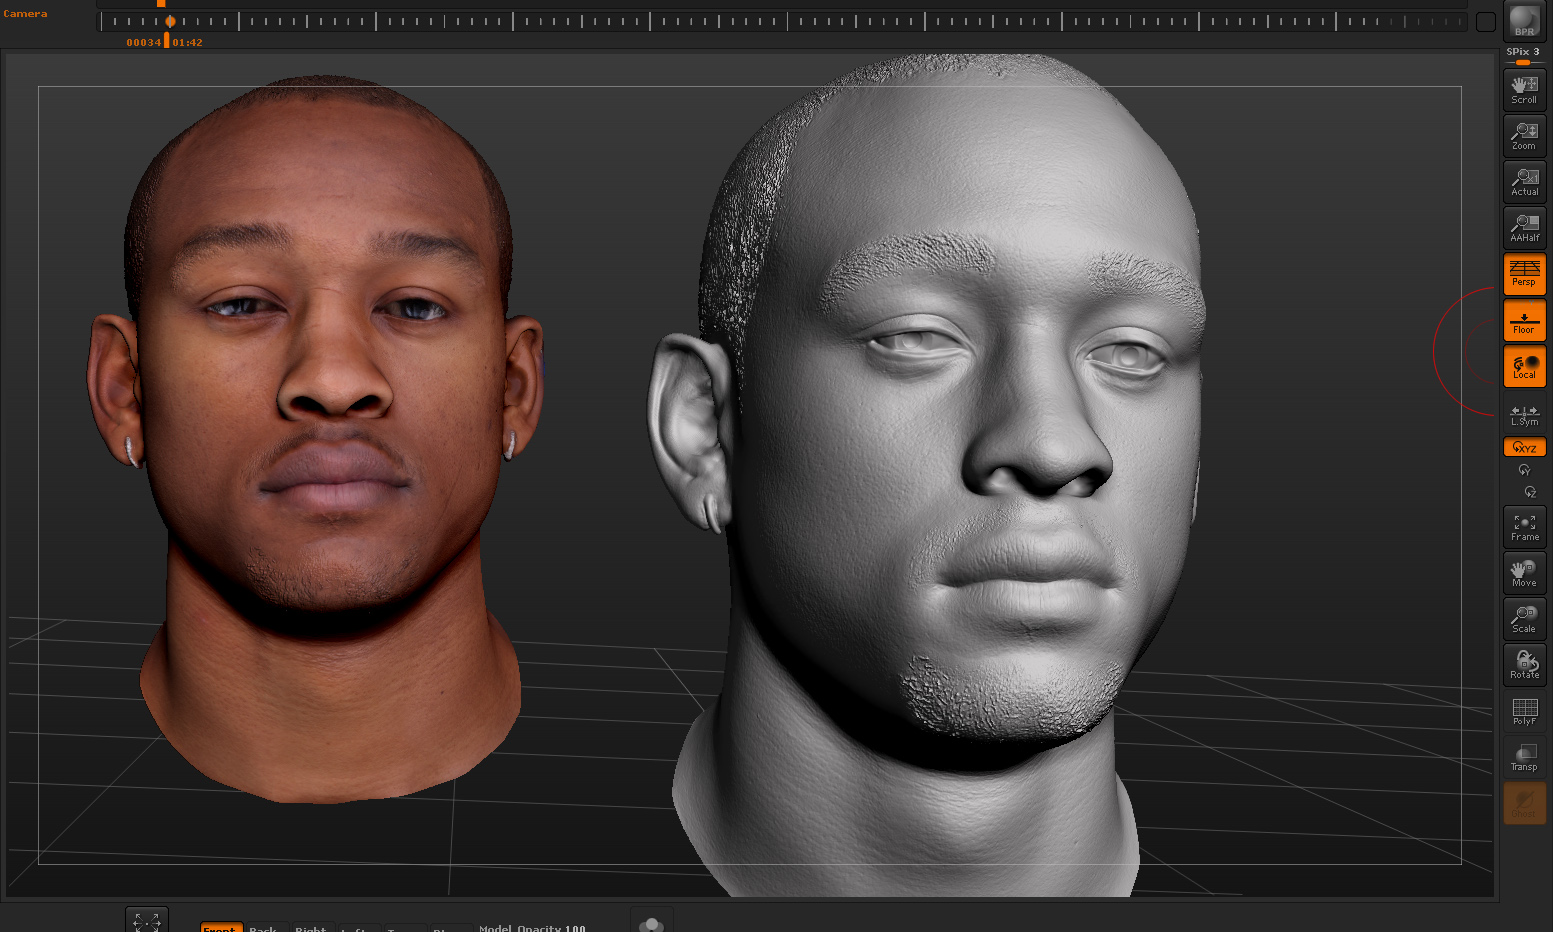
Make sure your alpha is loaded in the alpha window. Go to the mask palette. Mask by alpha. Now go to the deformation palette. Down near the bottom is a slider for inflate. Depending on your alpha, either inflate positive or negative, but really low, like 3 to 5. Don’t bother with actually moving the slider, just enter numbers in the field. then go to the smooth slider above it, and smooth by 10. repeat as needed to get the intensity you want. You may need to alter the settings for your alpha in the alpha drop down. I usually open my alpha in photoshop and adjust the levels and brightness and contrast to isolate just the hair follicles. It is tricky, but you can get really nice results this way.

My 2 cents

Attachments

ZBrush ScreenGrab01.jpg

Awesome. I appreciate the reply. I really like the amount of detail you have there in that character. Did you manage to get most of it from the color map? Also, hair is a tricky subject even when isolating it from the color map. Do you find you have to REMOVE the hair detail from the color map when you are using that to displace pore detail to avoid two separate displacement depths fighting one another? I find that if I apply the color map without removing the stubble, hair and eyebrows and then apply an isolated hair displacement map I end up with an odd result…

I used the color map for most of it. With the map active in the texture slot of your tool, go to masking, mask by intensity. Then turn off the map, and turn off colorize so you can see the mask. I do this for a first pass. After I have done the inflate/smooth step, I usually turn the color map into a greyscale map in photoshop and start messing with the levels and brightness/contrast values until I am really only seeing the hair features in the map. Then I load that version into the alpha window in Zbrush and mask by alpha. There is a lot of time tickling the alpha in both photoshop and Zbrush. It is really trial and error. I do use the inflate brush, and either the clay tubes or clay buildup brushes to shape the hair volume, but only at lower sub division levels. Like I said, a lot of tickling the settings.

Thanks again Carver… so do you find that when you are processing your color maps you have to use a separated hair layer to remove the hair? Or do you sculpt it in selectively avoiding in pushing IN the stubble etc?