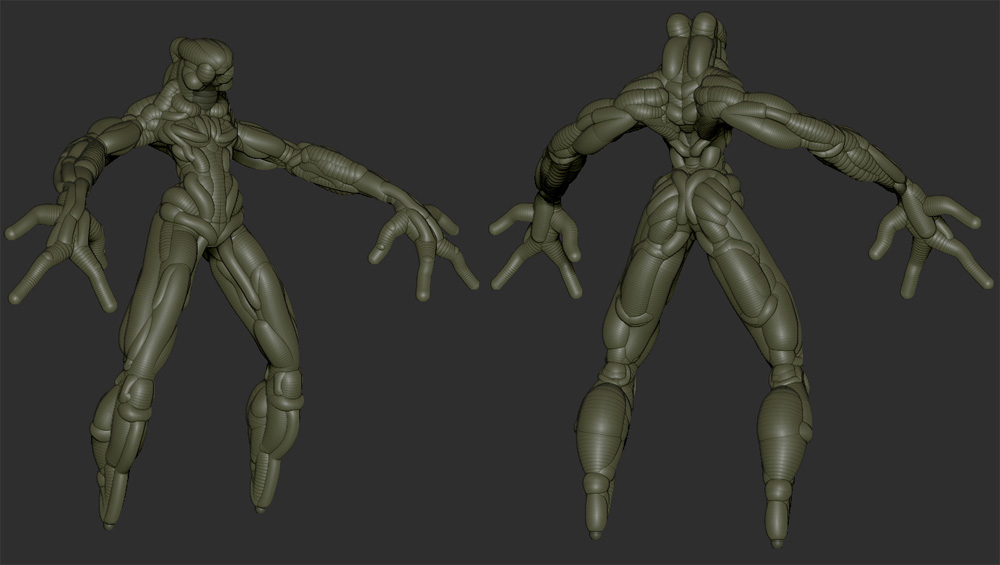
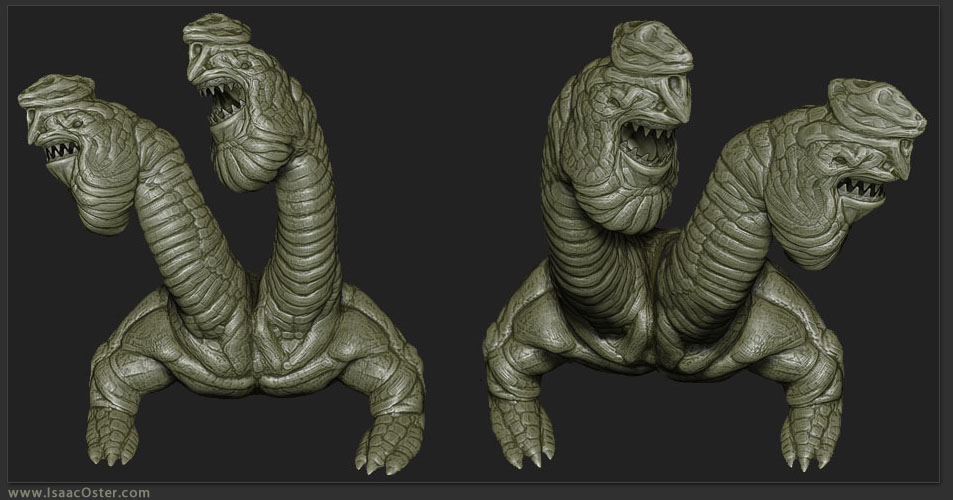
This is the initial zsphere mesh.
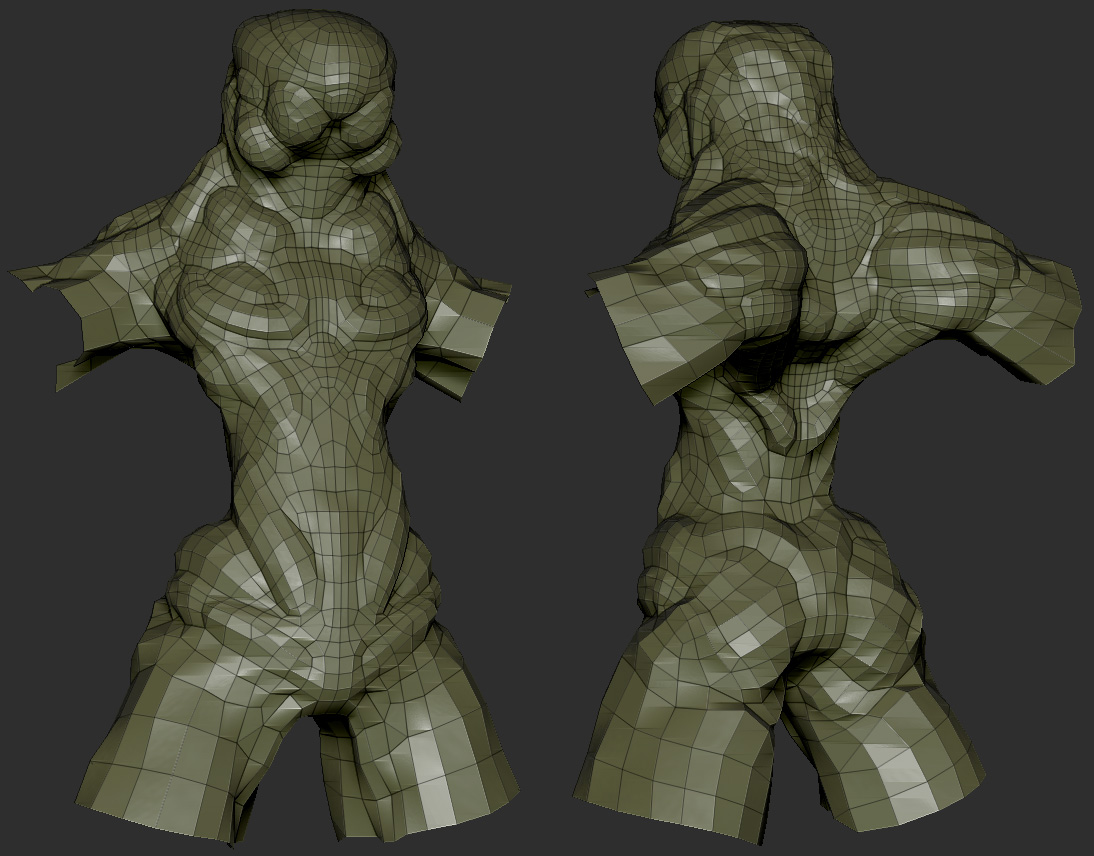
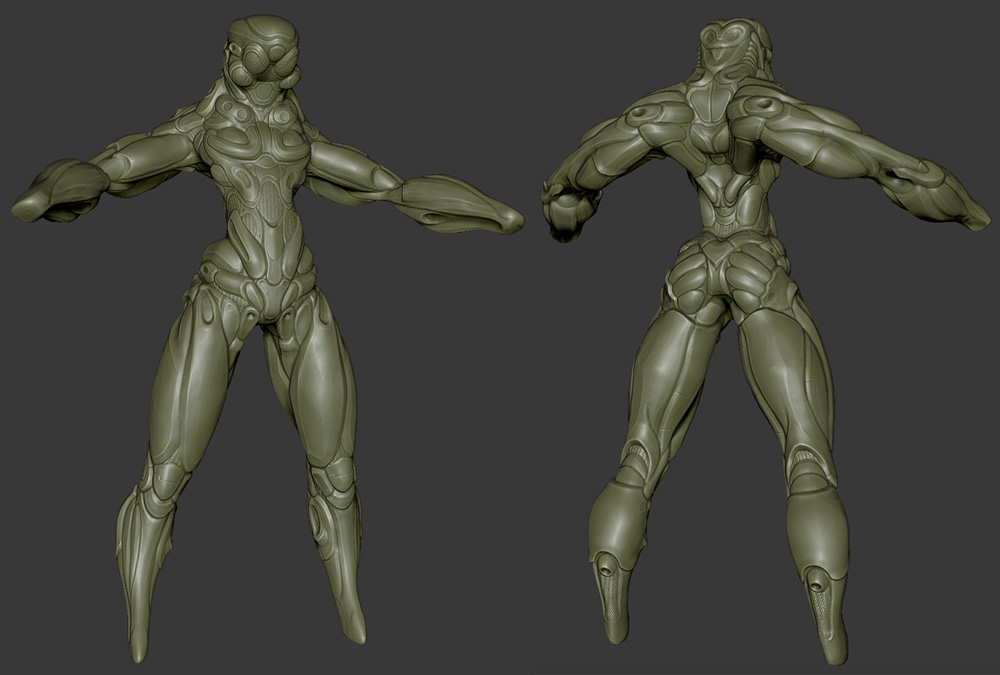
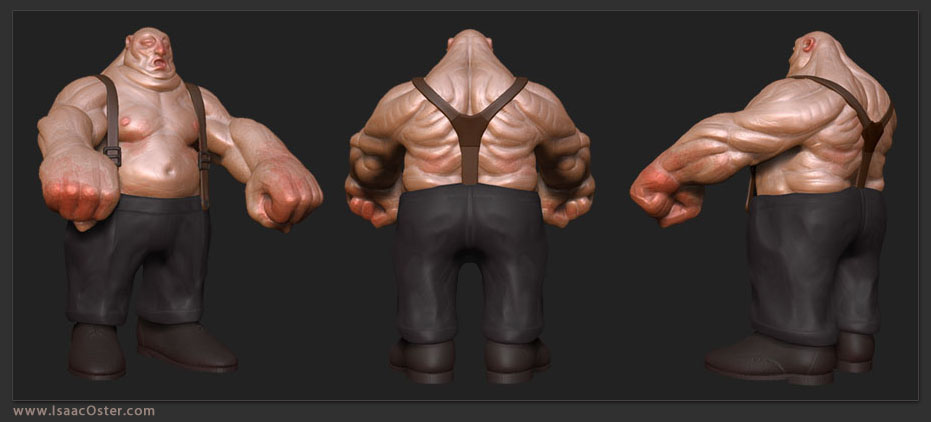
This is the main mesh. It was retopologized early on.
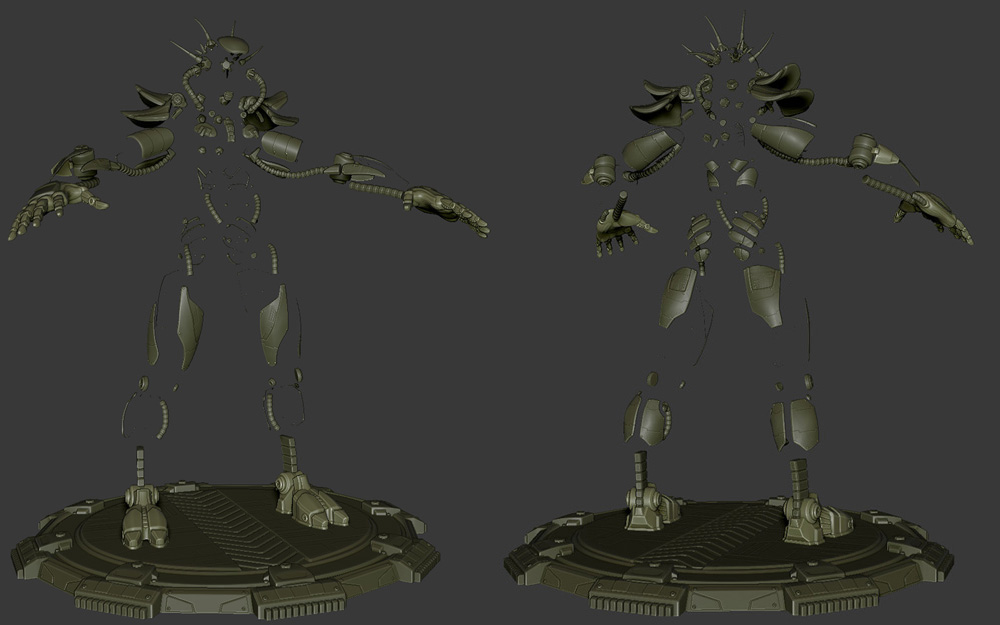
These are all the props I added over the course of the project. I used a combination of Topogun and 3DS Max for the low poly meshes and Zbrush for the high poly detail. More on that process below.
This is what the low poly looks like.
Turntable:
//youtu.be/pFdJeVfw4i0&hl=en_US&fs=1?rel=0&hd=1
I’ve been interested in trying to figure out a good hard surface workflow in zbrush for a while. I decided to try out the new zspheres as well. This model started off as a 10 minute experiment, but ended up consuming several months. You can see the initial mesh above - it’s pretty rough. I tossed the arms and legs early on, but a lot of the initial strokes survived on the head and torso through to the finished product.
I used the following brushes for this project:
dam standard at an intensity of 10-20
flatten with a tight falloff and the square alpha
hpolish
move
inflate
clay
morph
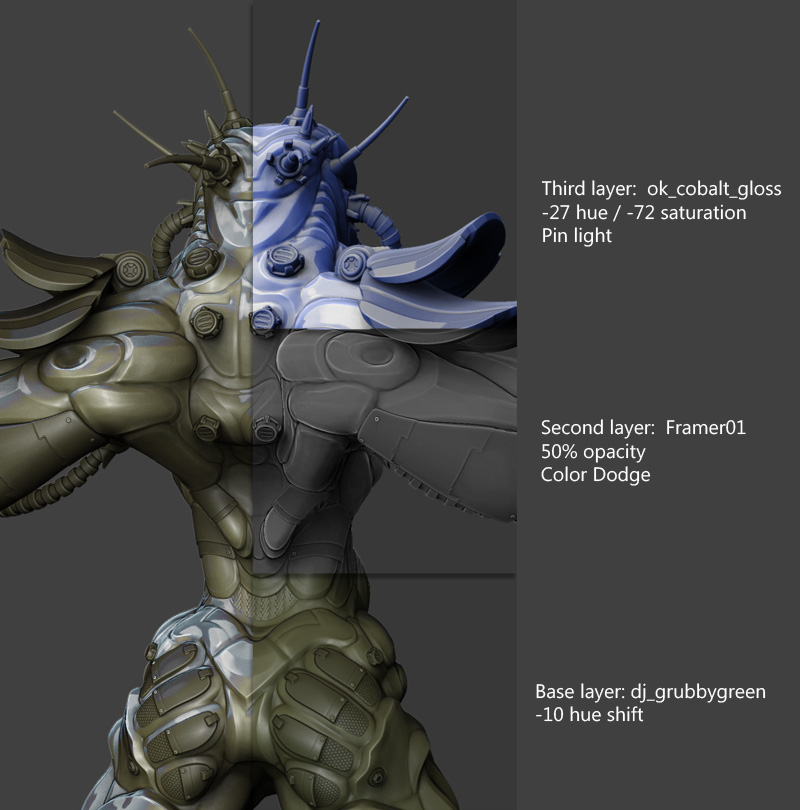
This is a diagram of the composite process. Grubby and Cobalt are available at Pixologic’s download area.
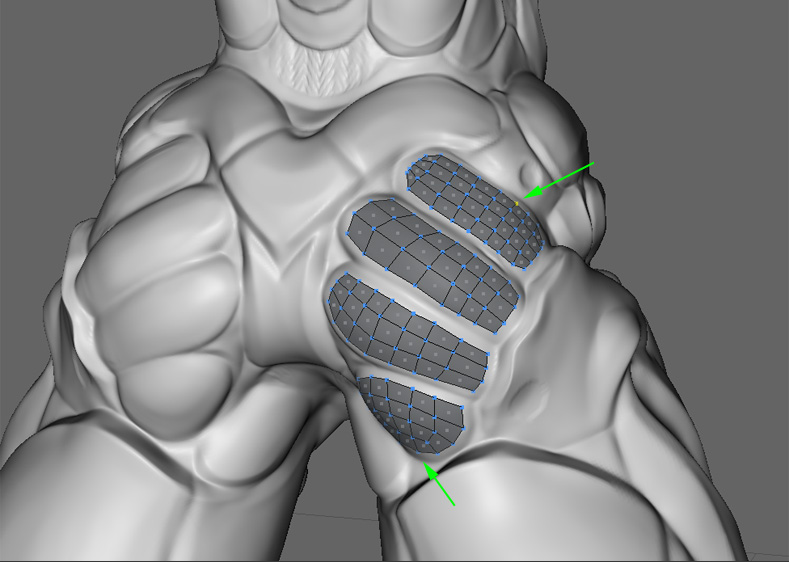
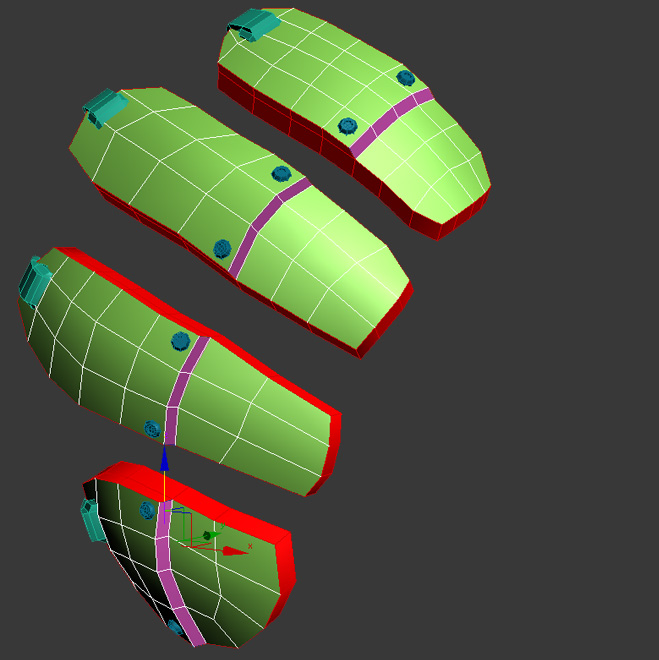
The following images show my workflow for adding panels.
I start out by building low poly planes over a relatively high detail mesh. Zbrush has a retopo tool, but I prefer some of the features available in Topogun. I wanted a raised bevel running down all the sections, so I made sure there was a loop in the low poly to extrude in the next step (indicated by the green arrows).
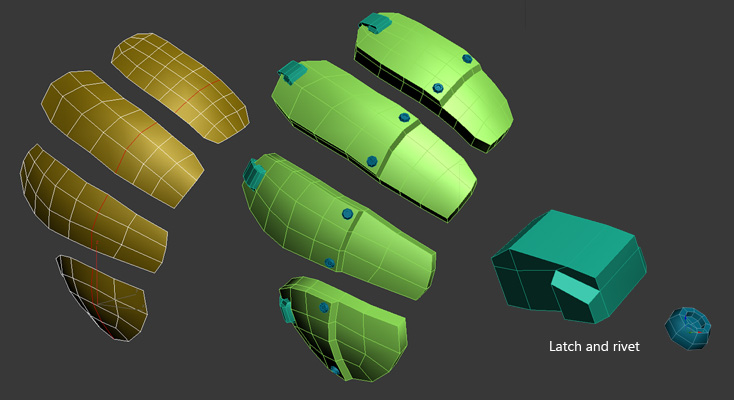
Here is the geo imported into Max. I had the main mesh visible while working, but it’s hidden here for clarity. Note the edge loop highlighted in red. I extruded all the faces, then extruded the higher faces, using this edge loop as the boundary. Way easier than trying to sculpt it in. Then I built little latches to fit onto one side of the pads. These kinds of details help to add a sense of mechanical reality to the model. It’s always a good idea to ask yourself how something might actually work. You can see I didn’t put a lot of effort into the latch or the rivet geometry. It’s not always necessary to go nuts on everything.
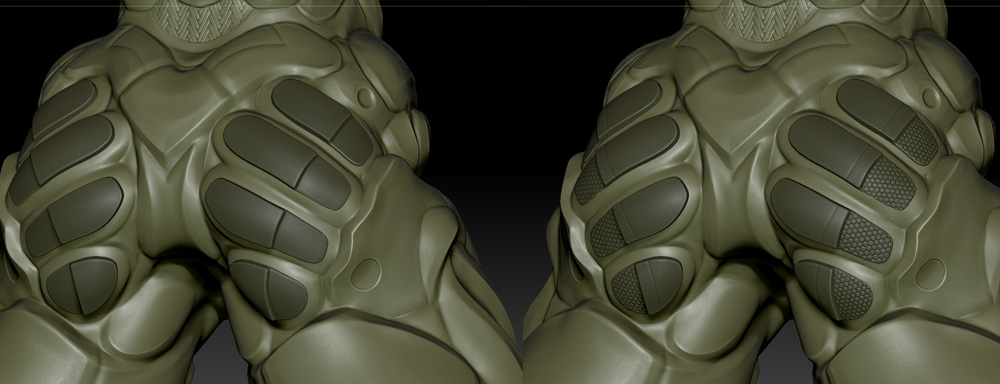
I use the crease smoothing groups plugin a lot. I set the border faces to one group, and the surface faces to two separate groups. It’s ready to be exported to zbrush. Rivets needed to be added to every new panel, so rather than having a lot of rivet subtools cluttering up my subtool menu even more than it already was, I reexported all of them into one subtool whenever I had a new batch. I wanted to emboss a pattern on the pads, which calls for a high poly density. The latches look fine after only 3 or 4 divisions, so to spare myself the extra geo, I exported the latches separately as well.
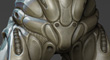
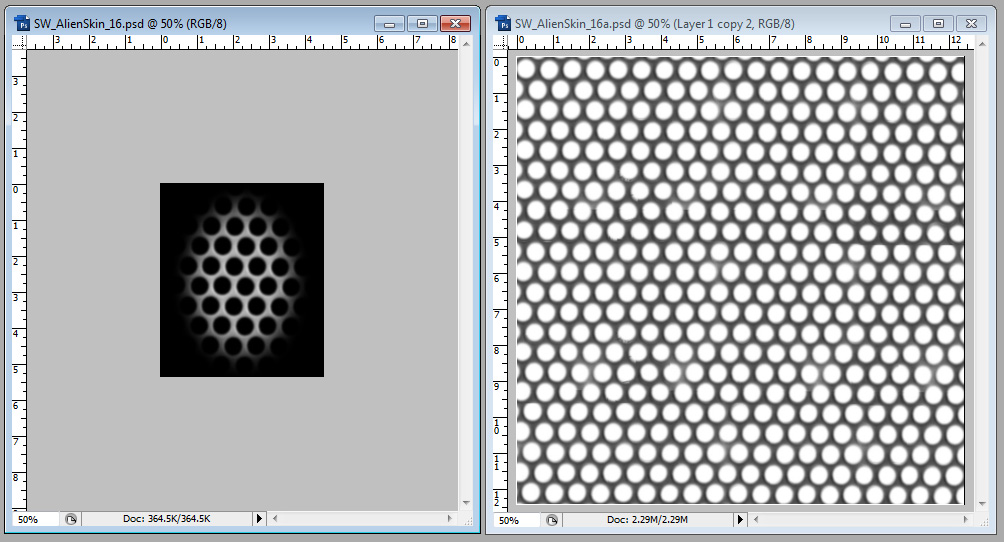
Here it is subdivided. I usually set the crease level to 3 or 4. The higher you go, the sharper your crease edges become. To get the result on the right, I masked off the lower area of each pad one at a time. The HPolish brush is pretty convenient for masking off planes as it tends to ignore non-planar geo. Using the standard brush at a Zintensity around 15, the drag rect stroke, and a modified alpha I laid down the pattern. I found the alpha at pixologic and made it bigger (SW_AlienSkin_16). This is actually only a small piece. If you find you want to cover a lot of area with the drag rect stroke, you may need to alter the alpha. The little line was carved using the MAHcut Mech B brush. Once this was complete I imported the latches and rivets.
This is the alpha.
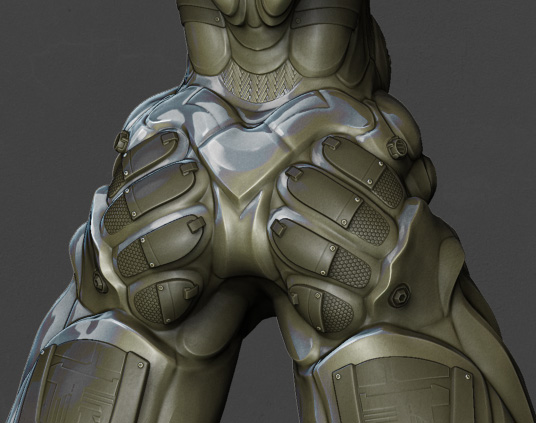
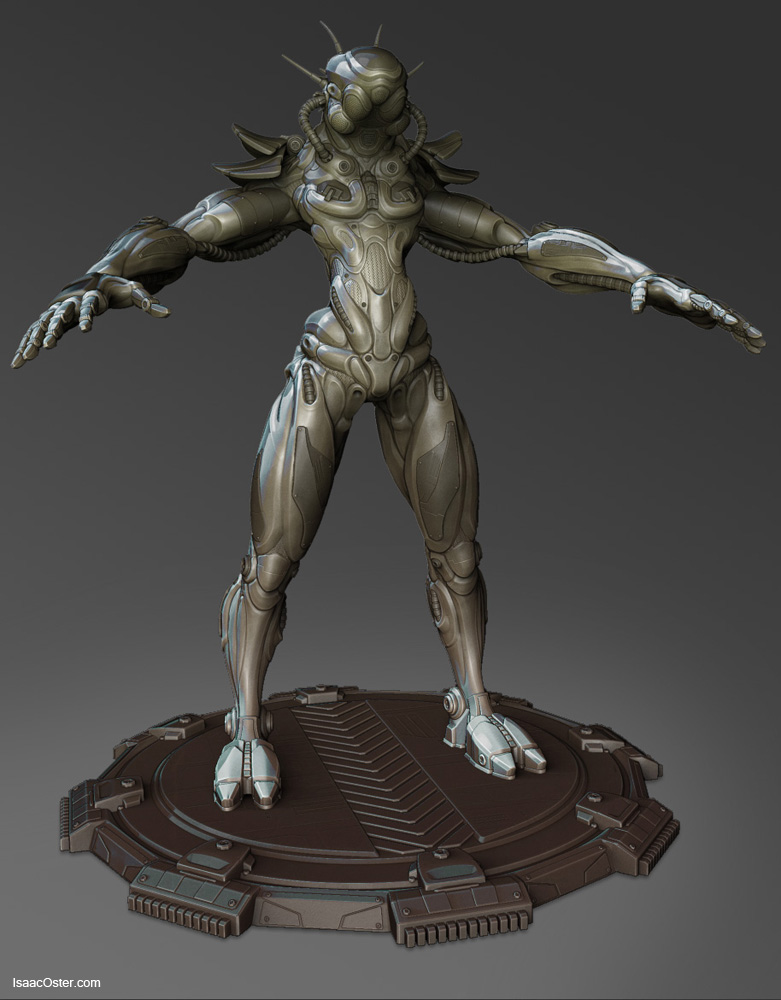
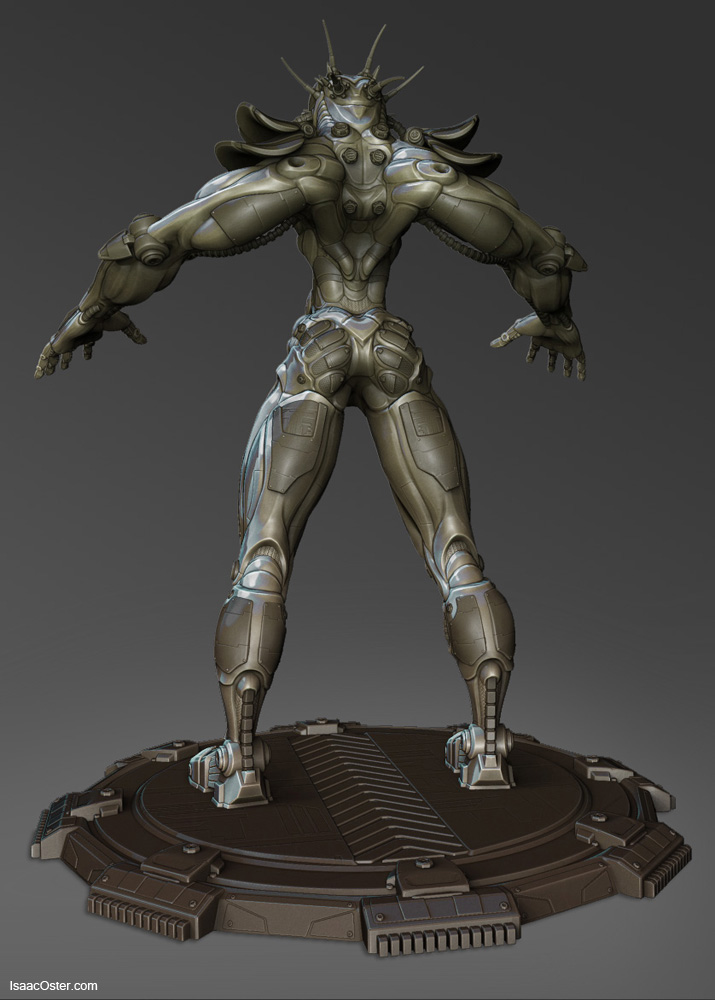
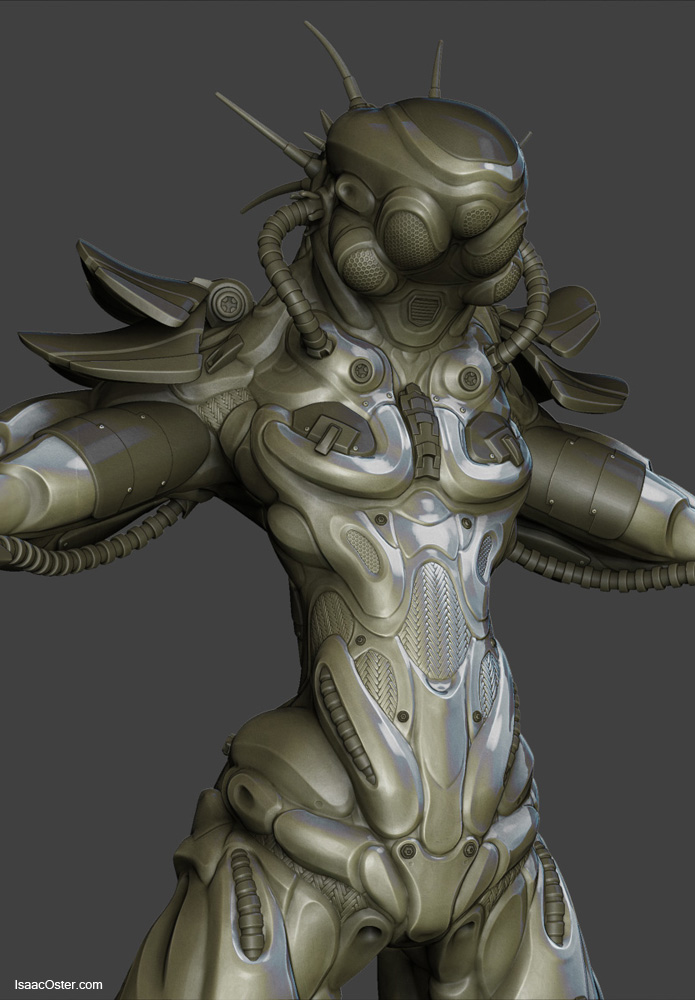
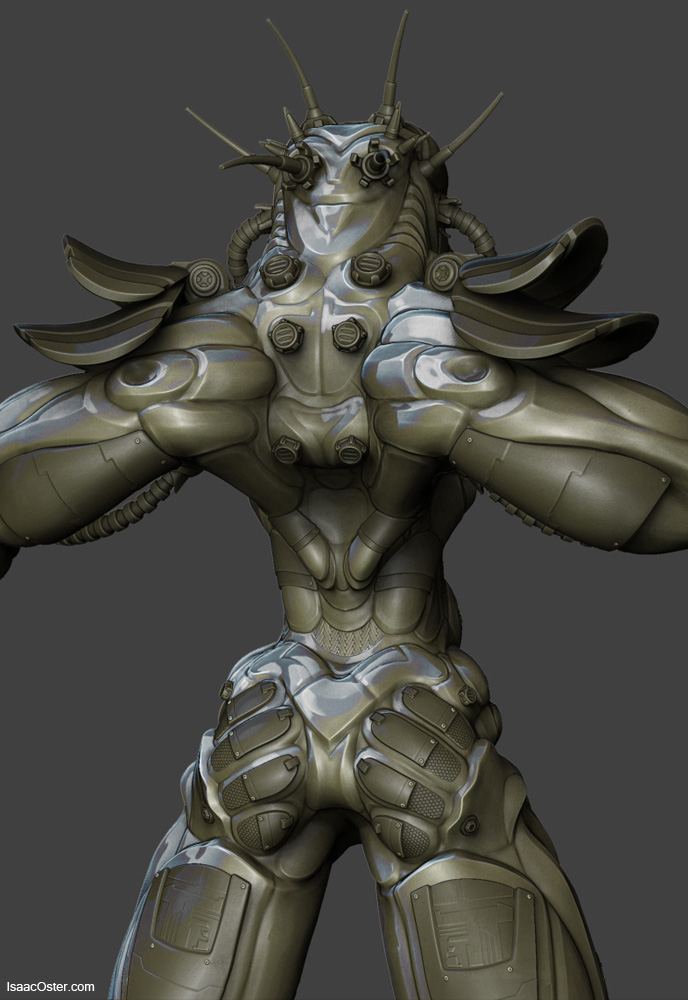
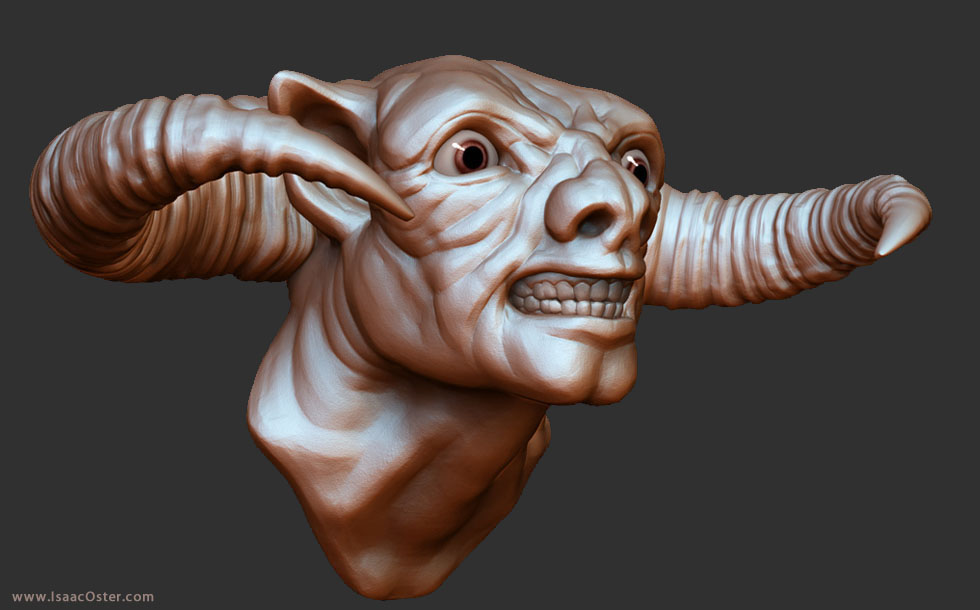
The finished product.
There’s a lot of stuff I didn’t talk about above, so if you have any questions about technique or workflow or whatever please fire away. Thanks for looking!